 by
by 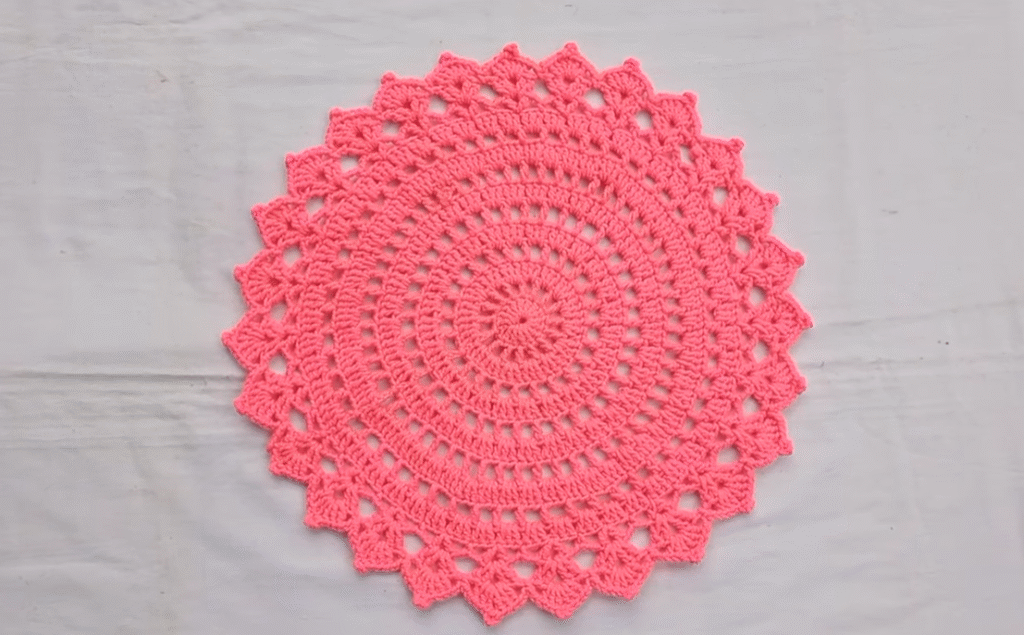
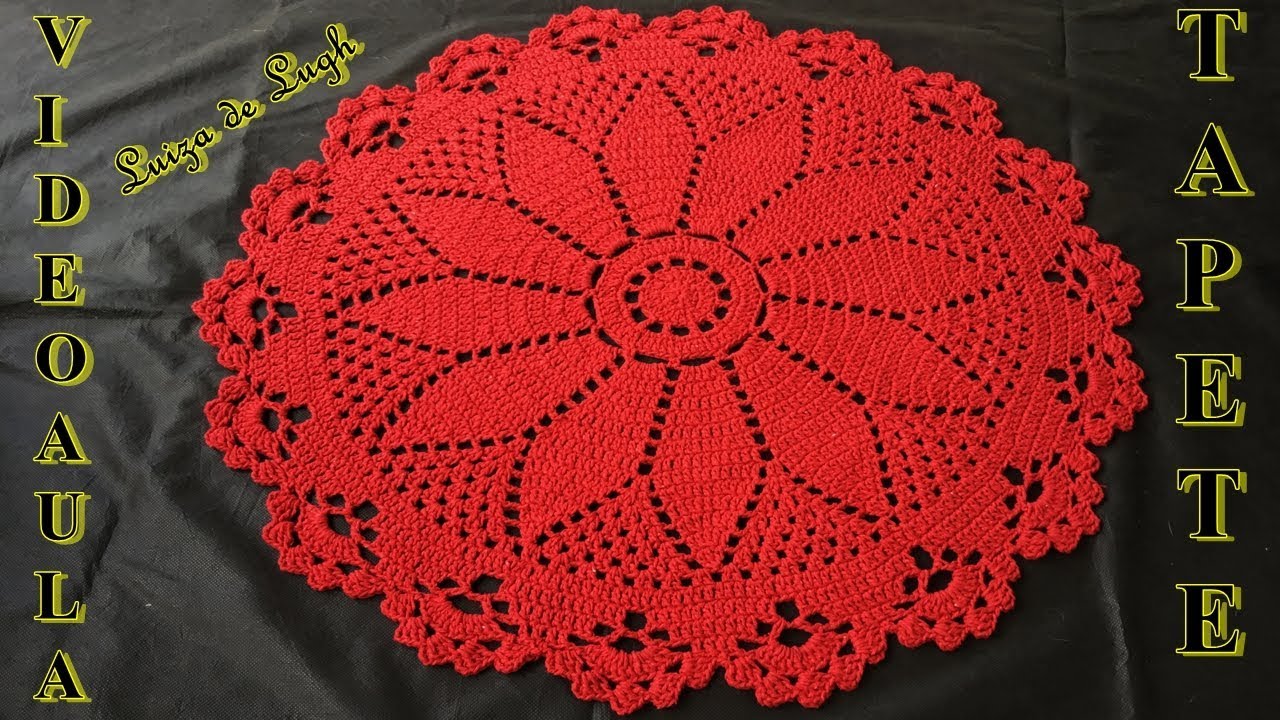
Add a timeless touch to your home decor with this beautiful round crochet doily! Featuring a classic design with a solid center and a delightful pointed lace border, this pattern is perfect for crocheters of all skill levels, from confident beginners to experienced crafters. It works up quickly and makes a lovely coaster, a decorative accent under a small plant or vase, or a thoughtful handmade gift.
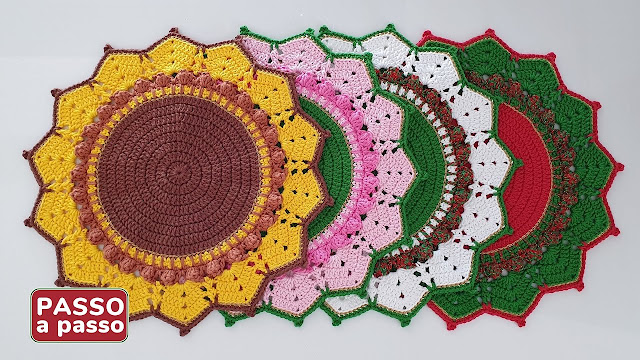
This doily is shown in a vibrant pink, but imagine it in crisp white, soft pastels, or even a bold jewel tone to match your unique style!
Finished Size: Approximately 10-12 inches in diameter (adjust hook and yarn for different sizes).
Materials You’ll Need:
- Yarn: DK (Light Worsted) weight cotton yarn in your chosen color. Approximately 100-150 yards.
- Hook: 3.5 mm (E/4) crochet hook (or size needed to obtain desired gauge and drape).
- Scissors
- Yarn Needle for weaving in ends.
Stitches Used (US Terms):
- ch: chain
- sl st: slip stitch
- sc: single crochet
- dc: double crochet
- tr: treble crochet (yarn over twice, insert hook, yarn over, pull up loop, [yarn over, pull through 2 loops] 3 times)
- ch-sp: chain space
Pattern Notes:
- The ch 3 at the beginning of a round counts as a dc.
- Join each round with a sl st to the top of the initial ch 3 (or first stitch of the round).
- Numbers in parentheses
()at the end of a round indicate the total stitch count for that round.
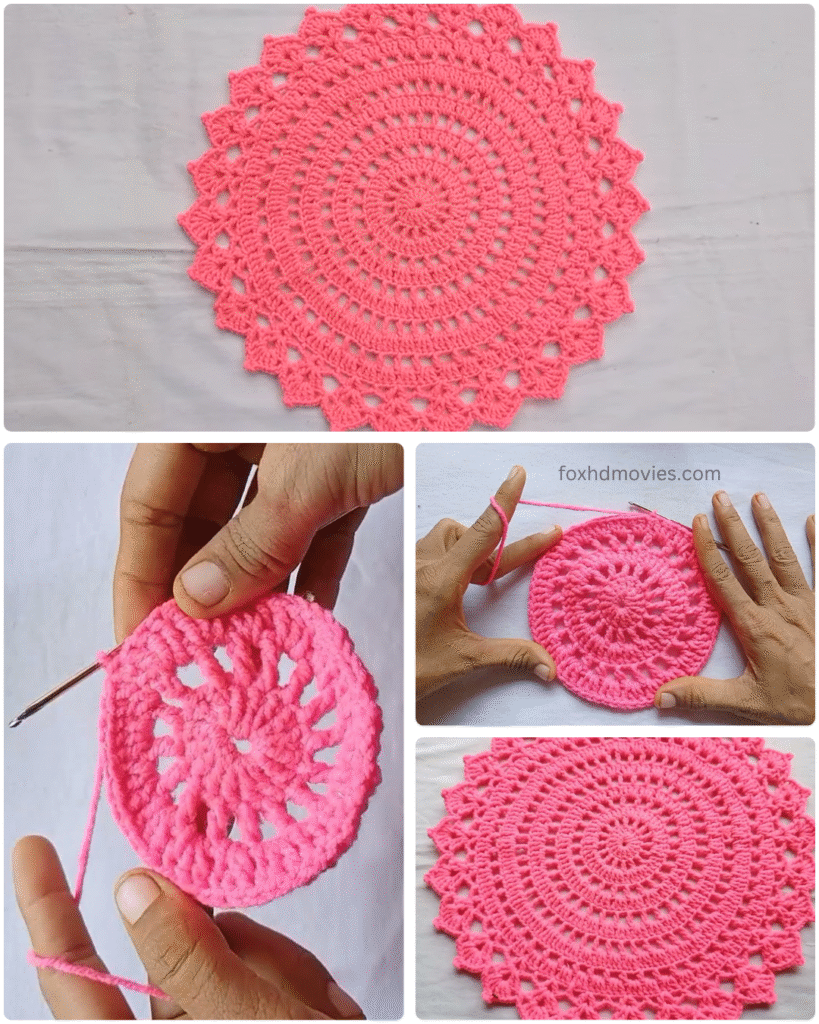
Pattern Instructions
Center Ring
Round 1: Ch 4, join with a sl st to form a ring.
Round 2: Ch 3 (counts as 1 dc), 11 dc into the ring. Join with a sl st to the top of initial ch 3. (12 dc)

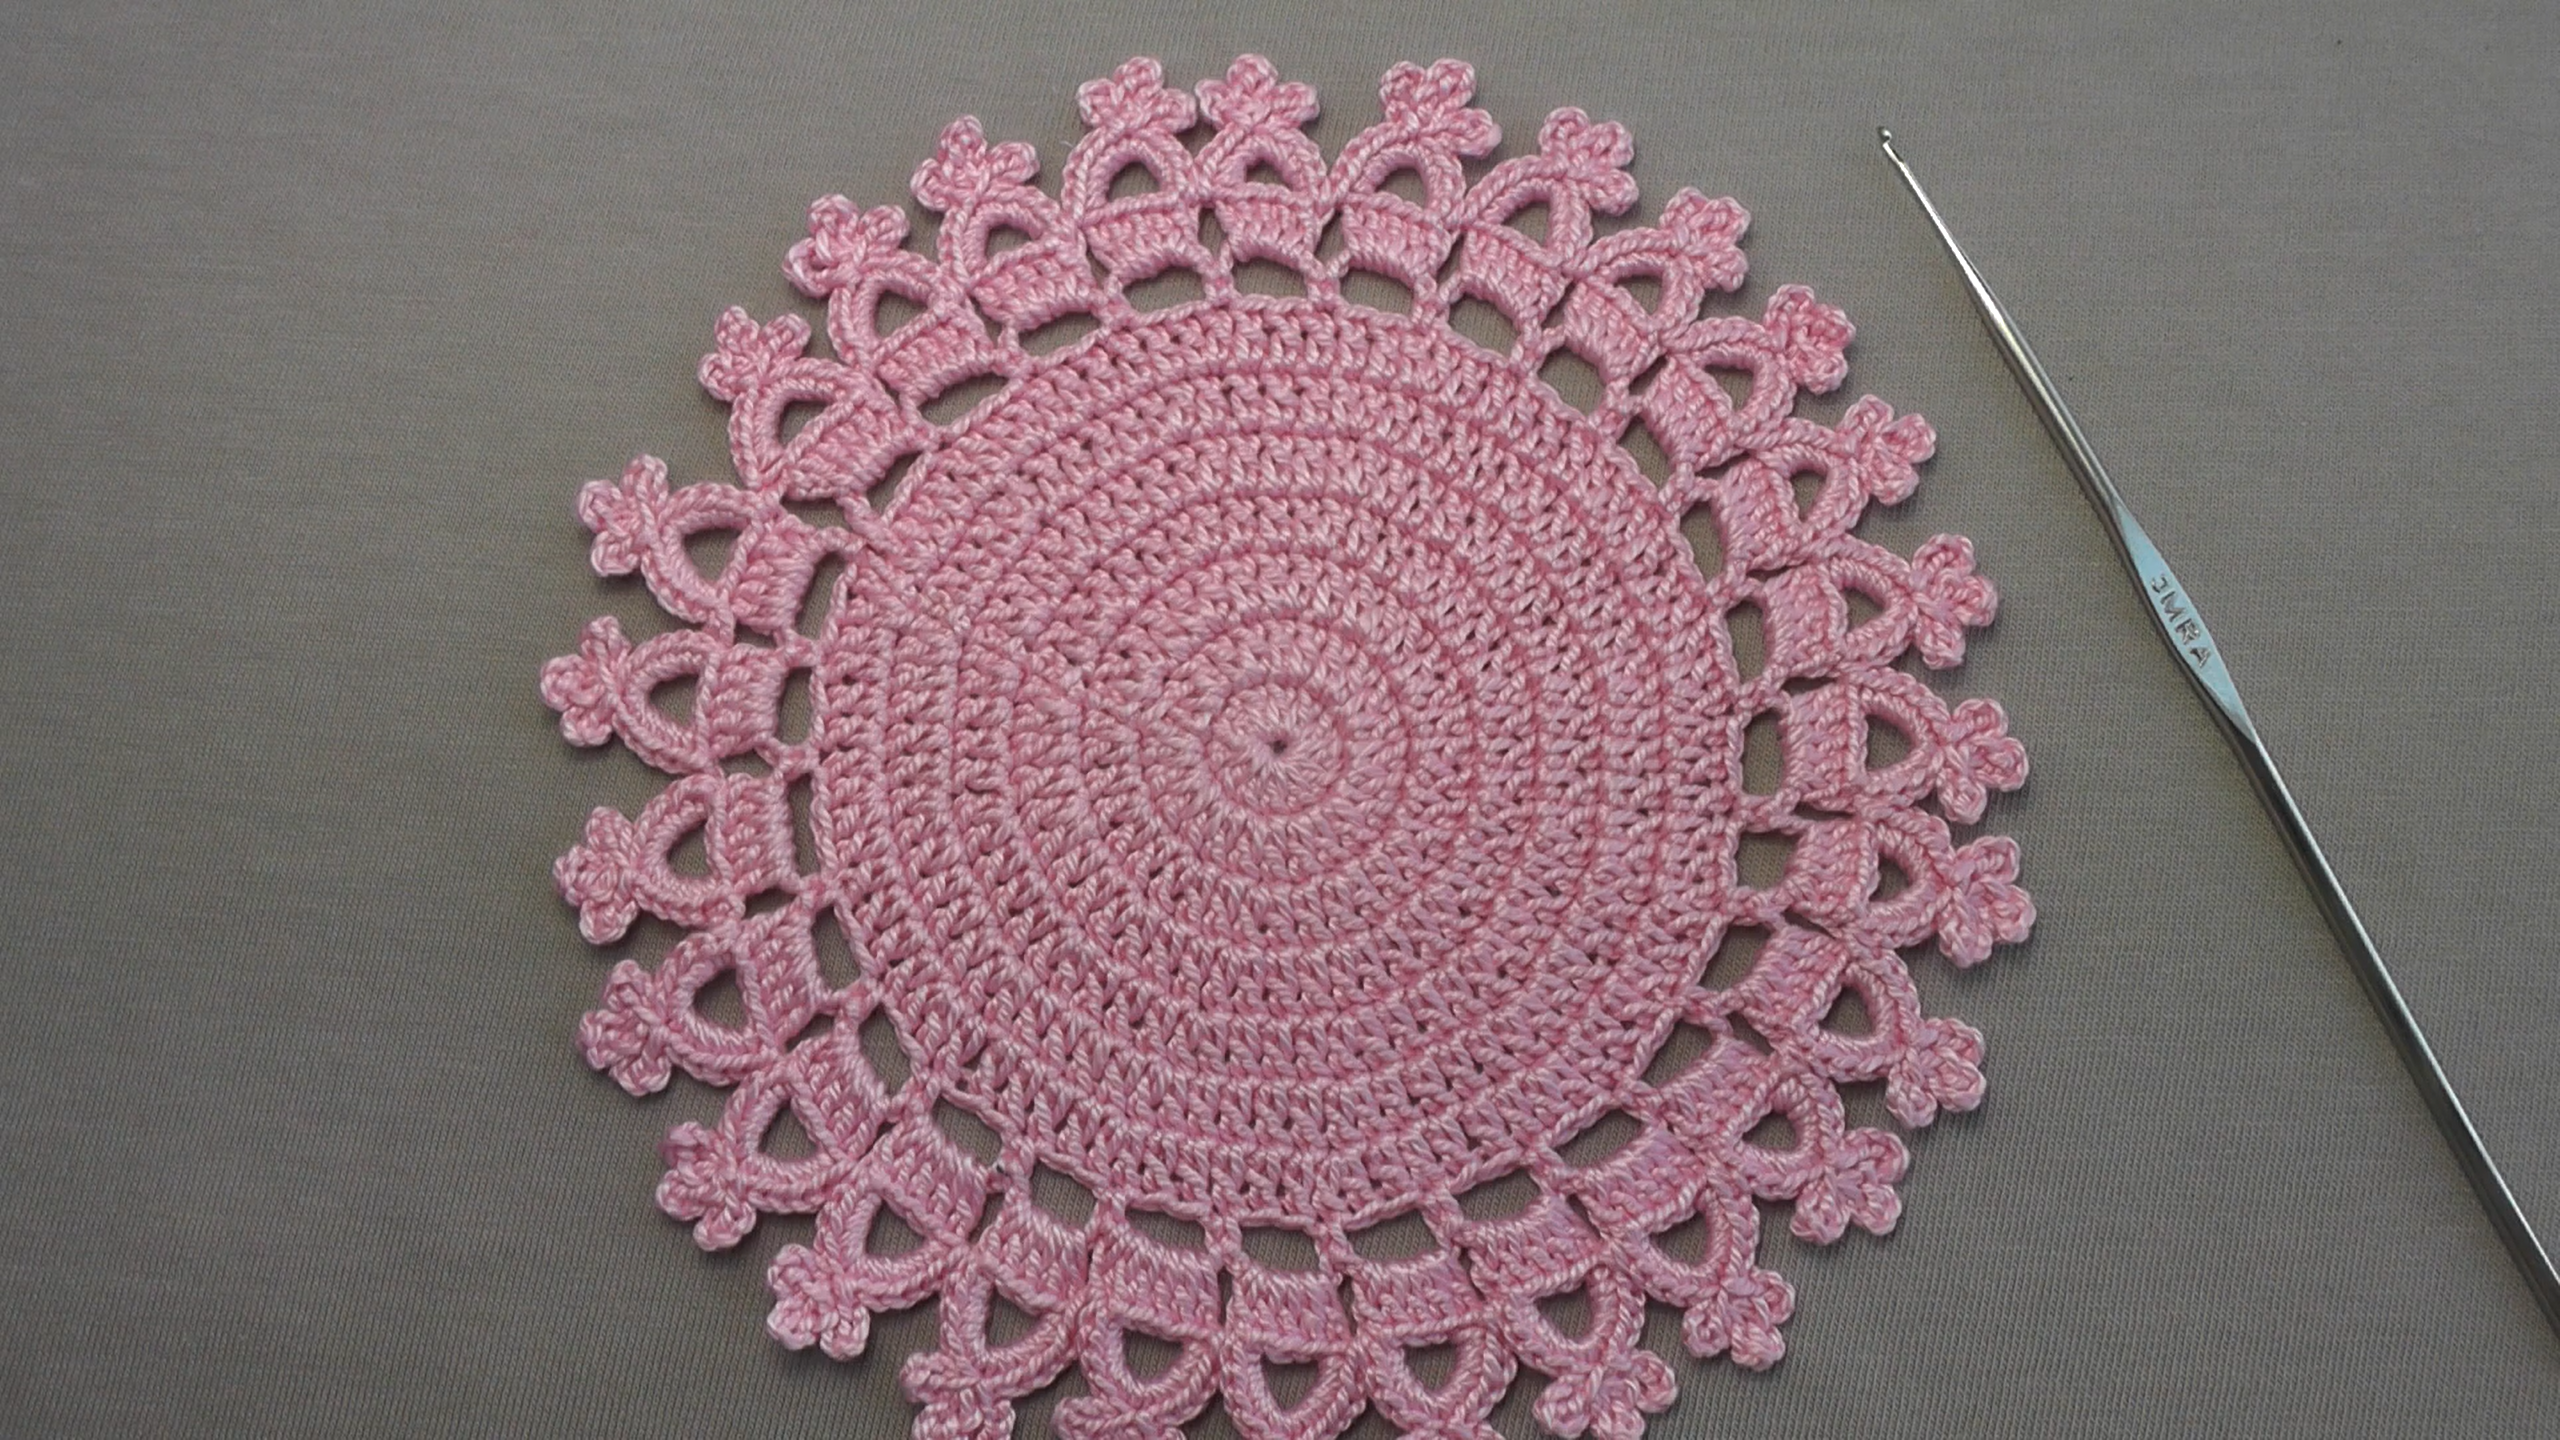
Solid Center
Round 3: Ch 3, dc in the same stitch. 2 dc in next dc. Repeat from * around. Join with a sl st to the top of initial ch 3. (24 dc)
Round 4: Ch 3, dc in next dc. 2 dc in next dc, dc in next dc. Repeat from * around, ending with 2 dc in the last stitch. Join with a sl st to the top of initial ch 3. (36 dc)
Round 5: Ch 3, dc in next 2 dc. 2 dc in next dc, dc in next 2 dc. Repeat from * around, ending with 2 dc in the last stitch. Join with a sl st to the top of initial ch 3. (48 dc)
Round 6: Ch 3, dc in next 3 dc. 2 dc in next dc, dc in next 3 dc. Repeat from * around, ending with 2 dc in the last stitch. Join with a sl st to the top of initial ch 3. (60 dc)
Round 7: Ch 3, dc in next 4 dc. 2 dc in next dc, dc in next 4 dc. Repeat from * around, ending with 2 dc in the last stitch. Join with a sl st to the top of initial ch 3. (72 dc)
Round 8: Ch 3, dc in next 5 dc. 2 dc in next dc, dc in next 5 dc. Repeat from * around, ending with 2 dc in the last stitch. Join with a sl st to the top of initial ch 3. (84 dc)
Round 9: Ch 3, dc in next 6 dc. 2 dc in next dc, dc in next 6 dc. Repeat from * around, ending with 2 dc in the last stitch. Join with a sl st to the top of initial ch 3. (96 dc)
Round 10: Ch 3, dc in next 7 dc. 2 dc in next dc, dc in next 7 dc. Repeat from * around, ending with 2 dc in the last stitch. Join with a sl st to the top of initial ch 3. (108 dc)

Round 11: Ch 3, dc in next 8 dc. 2 dc in next dc, dc in next 8 dc. Repeat from * around, ending with 2 dc in the last stitch. Join with a sl st to the top of initial ch 3. (120 dc)
(Note: If you want a larger doily, continue increasing in this manner for more rounds: Ch 3, dc in (N) stitches, 2 dc in next dc, dc in (N) stitches. Adjust N for each round. Ensure your final stitch count before starting the border is a multiple of 6 for the border pattern.)
Lace Border – First Round of Mesh
Round 12: Ch 1, sc in the first dc. Ch 3, skip 2 dc, sc in next dc. Repeat from * around. Ch 3, join with a sl st to the first sc. (40 sc, 40 ch-3 spaces, assuming 120 stitches at the end of R11). * Self-correction: 120 divided by 3 (sc + 2 skipped) = 40. This works perfectly for the border’s 6-point repeat.
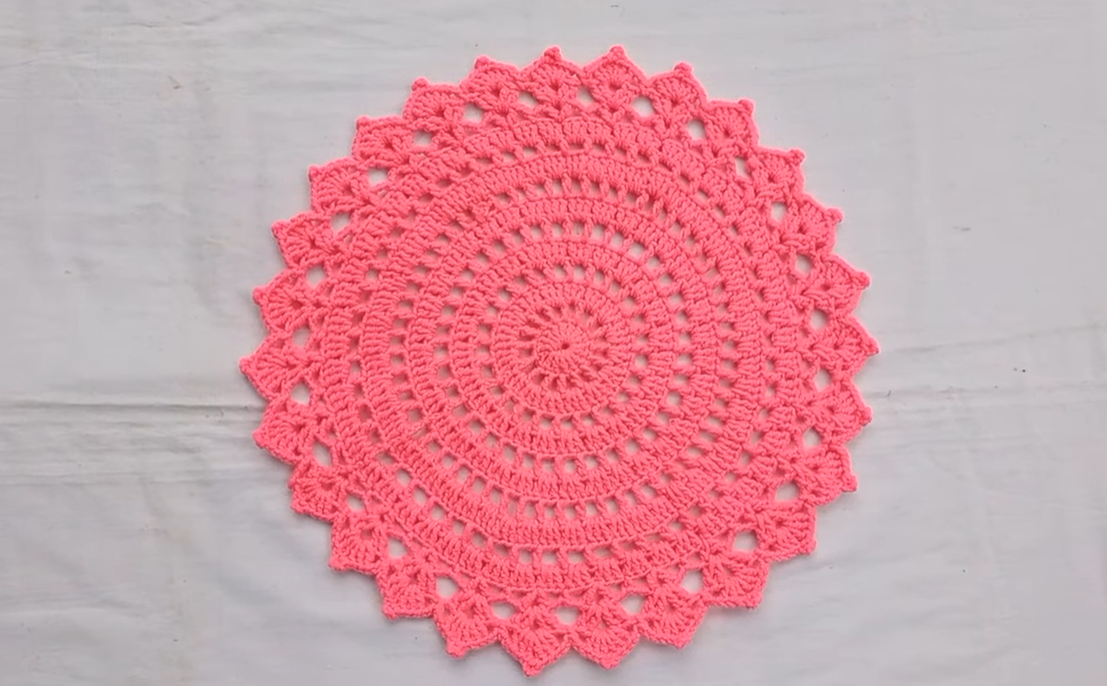
Lace Border – Points
Round 13: Sl st into the first ch-3 space. Ch 3 (counts as 1 dc), 2 dc in the same ch-3 space. Ch 2, 3 dc in the next ch-3 space. Repeat from * around. Ch 2, join with a sl st to the top of initial ch 3. (40 groups of 3 dc, 40 ch-2 spaces)
Round 14: Sl st into the next 2 dc to reach the ch-2 space. Ch 1, sc in the ch-2 space. Ch 3, sc in the ch-2 space of the next group. Repeat from * around. Ch 3, join with a sl st to the first sc. (40 sc, 40 ch-3 spaces)

Round 15: Sl st into the first ch-3 space. Ch 3 (counts as 1 dc), 4 dc in the same ch-3 space. Ch 1, 5 dc in the next ch-3 space. Repeat from * around. Ch 1, join with a sl st to the top of initial ch 3. (40 groups of 5 dc, 40 ch-1 spaces)
Round 16: Ch 1, sc in the first dc. Sc in next 4 dc. In the ch-1 space, (dc, ch 3, dc). Sc in next 5 dc. Repeat from * around. Join with a sl st to the first sc.
Round 17 (Pointed Edging): Ch 1, sc in the first sc. Sc in next 4 sc. In the ch-3 space from previous round, work (sc, ch 3, tr, ch 3, sc) to form the point. Sc in next 5 sc. Repeat from * around. Join with a sl st to the first sc.
Video tutorial
Finishing:
Fasten off and weave in all loose ends securely using your yarn needle. Blocking is highly recommended! Gently dampen your doily, lay it flat on a clean surface, and carefully stretch it to shape, emphasizing the points of the border. Pin it down if necessary and let it air dry completely. Blocking will give your doily a crisp, professional finish and open up the stitches beautifully.
Enjoy your beautiful new crochet doily! We’d love to see your finished creations – share them in the comments below or tag us on social media! Happy crocheting!