 by
by 
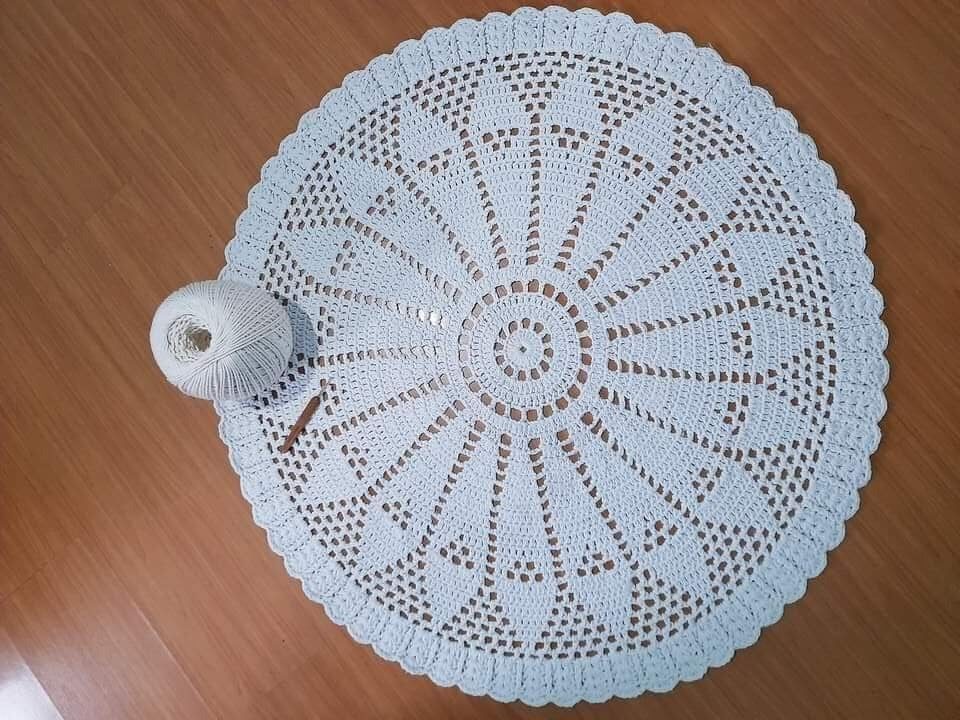
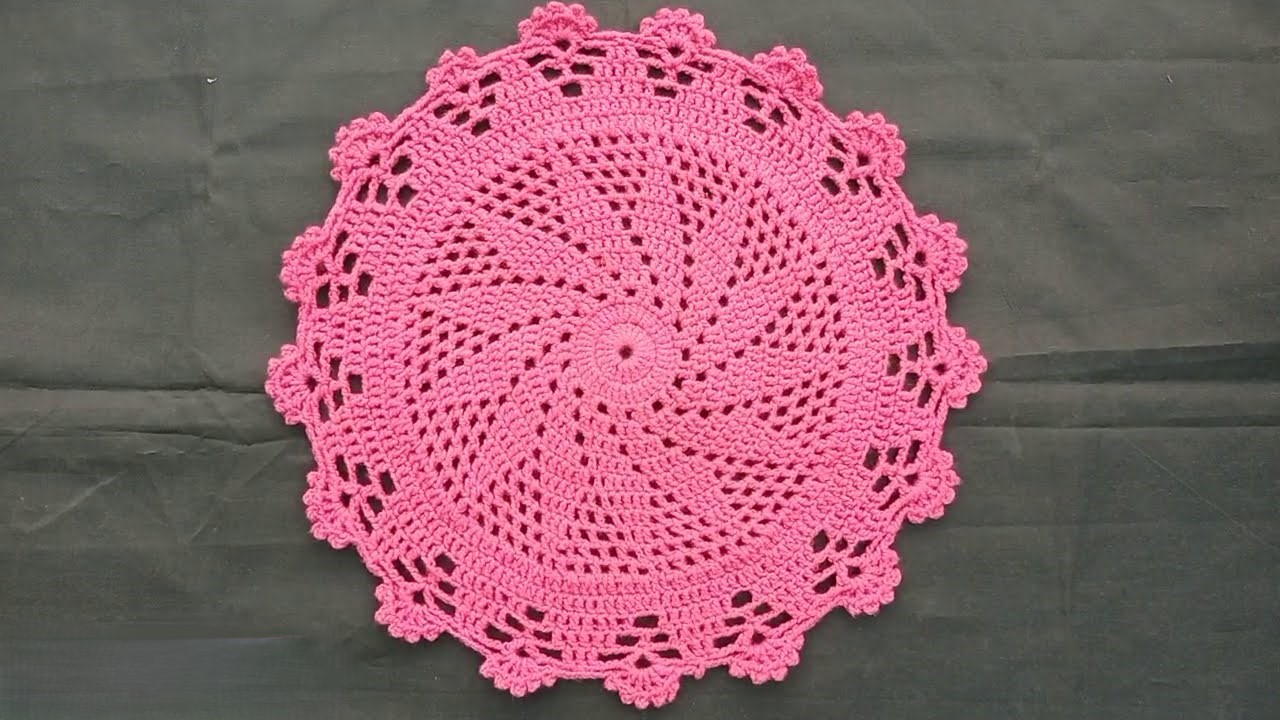
Looking for a crochet project that’s truly captivating? This unique round mat or rug features a stunning spiral design that seems to swirl right out from the center, creating a fantastic optical illusion! It’s surprisingly simple to achieve once you understand the technique, and it makes for a beautiful and eye-catching piece of home decor.
The solid pink color in your photo highlights the beautiful texture of this spiral pattern, finished with a charming scalloped edge. Whether you use it as a placemat, a decorative doily, or a small rug, it’s sure to be a conversation starter!
What You’ll Need:
- Yarn:
- For a mat/doily, use Worsted weight (Category 4) or DK weight (Category 3) yarn. Cotton or acrylic blends are good choices.
- For a small rug, use Bulky (Category 5) or Super Bulky (Category 6) yarn.
- Yardage: Varies greatly depending on size and yarn weight. For a mat, estimate 150-300 yards. For a rug, 500-1000+ yards.
- Crochet Hook:
- Appropriate size for your chosen yarn (e.g., 4.0mm (G) to 5.0mm (H) for worsted, or 9.0mm (M/N) to 15.0mm (P/Q) for bulky). Always check your yarn label for recommendations.
- Scissors
- Yarn Needle (for weaving in ends)
- Stitch Marker (highly recommended for marking the beginning of rounds in spiral patterns!)
Abbreviations (US Terms):
- ch: chain
- sl st: slip stitch
- sc: single crochet
- hdc: half double crochet
- dc: double crochet
- tr: treble crochet (yarn over 2 times)
- st(s): stitch(es)
- sp: space
- yo: yarn over
- MR: magic ring (or magic circle)
- FO: fasten off
Let’s Get Started!
Difficulty: Intermediate (requires careful counting and understanding of continuous rounds).
Notes:
- This pattern is worked in continuous rounds (a spiral), so you will NOT join with a slip stitch at the end of each round unless specified. Use your stitch marker to mark the first stitch of each round to keep track.
- The spiral effect is created by working into stitches from previous rounds without joining, allowing the fabric to “climb.”
- Maintain consistent tension to ensure your piece lies flat. If it starts to ruffle, you may be increasing too much. If it starts to cup (bowl), you may need more increases or a larger hook. The increases are built into the pattern.
Pattern for a Spiral Swirl Mat/Rug:
(Using your chosen single color yarn, e.g., Pink)
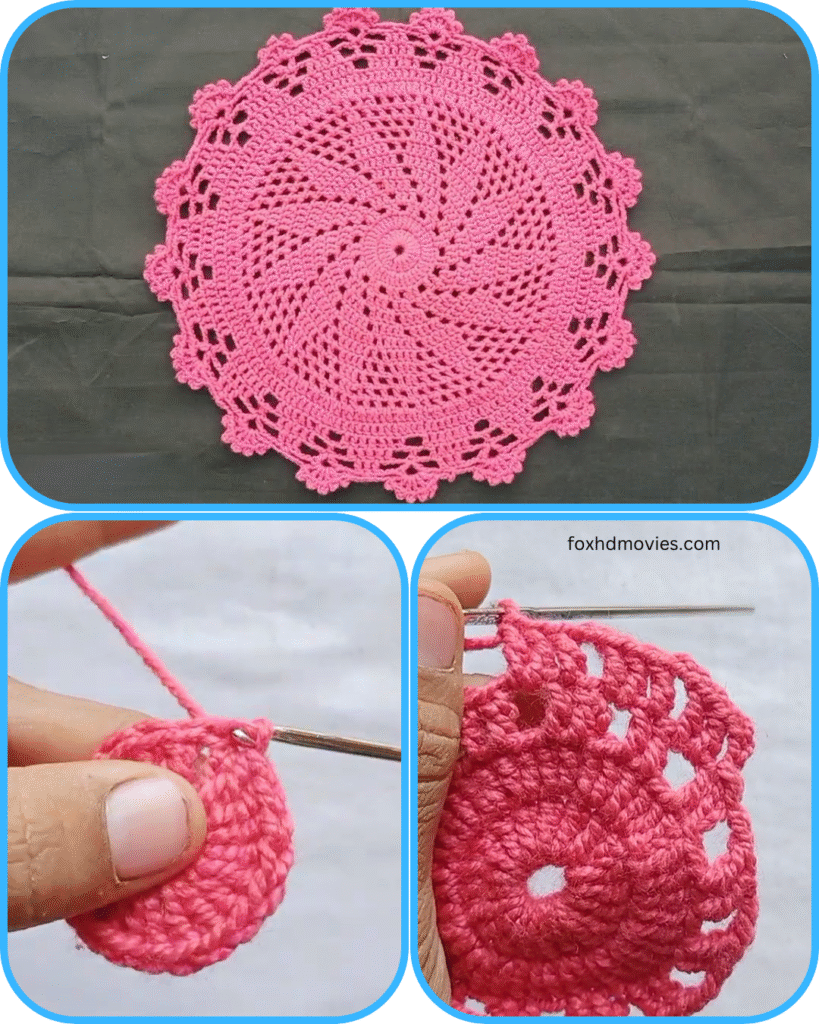
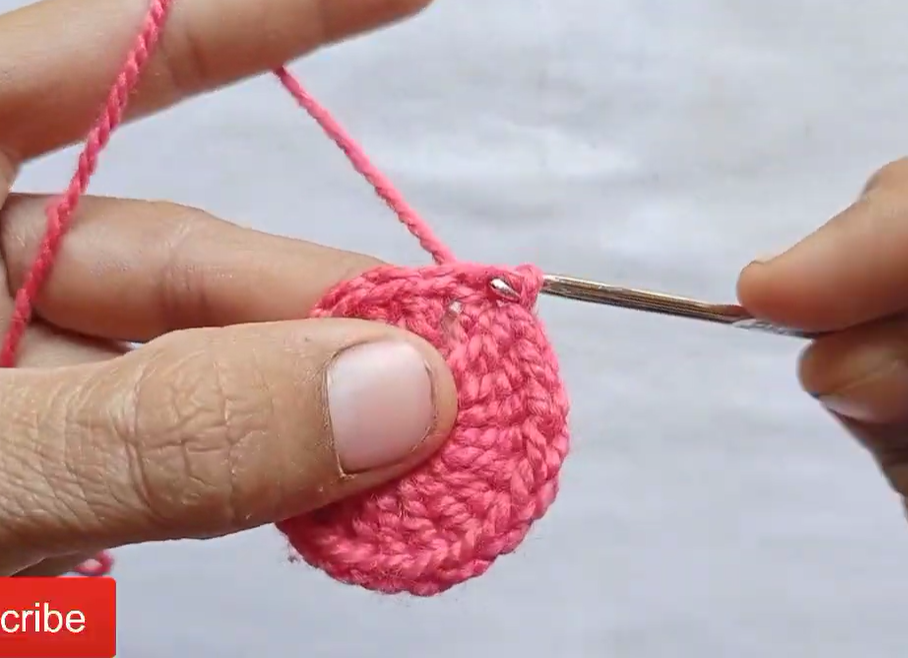
Round 1: (Center Ring)
- Start with a Magic Ring (MR).
- Ch 1 (does not count as st). Work 12 hdc into the MR.
- Pull MR tight to close. Place stitch marker in the first hdc. (12 hdc)
Round 2:
- Work 2 hdc in each st around.
- Move stitch marker to the first hdc of this round. (24 hdc)
Round 3:
- (1 hdc in next st, 2 hdc in next st) Repeat from * to * around.
- Move stitch marker to the first hdc of this round. (36 hdc)
Round 4: (Introducing the Spiral – First “Peak” of the wave)
- Work 1 hdc in each of the first 2 sts.
- (1 dc in next st, 2 dc in next st) Repeat from * to * around for the rest of the round. You’ll be working a mix of hdc and dc.
- Move stitch marker to the first hdc of this round. (48 sts – a mix of hdc and dc)
Self-correction Tip: The key to the spiral is that the type of stitch increases in height. So, you’ll be transitioning from shorter stitches (hdc) to taller stitches (dc) in a gradual progression within each segment.
Round 5:
- Work 1 dc in each of the first few sts, including the last few hdc from the previous round and the first few dc.
- (1 dc in next 2 sts, 2 dc in next st) Repeat from * to * around.
- Move stitch marker to the first dc of this round. (60 dc)
Round 6:
- Work 1 dc in each of the first few sts.
- (1 dc in next 3 sts, 2 dc in next st) Repeat from * to * around.
- Move stitch marker to the first dc of this round. (72 dc)
Round 7: (Introducing a taller stitch – Treble Crochet)
- Work 1 dc in each of the first few sts.
- (1 dc in next 4 sts, 1 tr in next st, 2 tr in next st) Repeat from * to * around. You’ll be transitioning from dc to tr to create a taller wave.
- Move stitch marker to the first dc of this round. (84 sts – mix of dc and tr)
Round 8:
- Work 1 tr in each of the first few sts.
- (1 tr in next 5 sts, 2 tr in next st) Repeat from * to * around.
- Move stitch marker to the first tr of this round. (96 tr)
General Principle for Continuing the Spiral:
To continue growing your mat/rug with the spiral effect:
- Increase by 12 stitches per round: This is the standard increase for a flat circle in DC/TR stitches.
- Gradually increase stitch height: To create the “wave” or “spiral” effect, introduce taller stitches (like tr or dtr) in a specific segment of the round, then transition back to shorter stitches if you want to create a “dip.” The image shows a very consistent upwards spiral, so you’ll primarily be growing your stitches.
- Example for subsequent rounds:
- Round [X]: (1 tr in next [Y] sts, 2 tr in next st) Repeat around. (Y will be one more than the previous round’s ‘Y’).
- Introducing DTR: After several rounds of tr, you might transition some segments to dtr for a more dramatic swirl, for example: (1 tr in next [A] sts, 1 dtr in next [B] sts, 2 dtr in next st, 1 dtr in next [C] sts, 1 tr in next [D] sts).

Self-correction: The key is maintaining the 12-stitch increase per round, while shifting the type of stitch to create the spiral. If your mat begins to ruffle, you’re adding too many stitches or your stitches are too tall for the previous base. If it bowls, you’re not adding enough or your stitches aren’t tall enough.
Continue adding rounds until your mat reaches the desired size. You’ll finish the continuous rounds when you’re about 1-2 rounds before your desired edge.
Finishing the Spiral (Flattening before the border):
When you’re ready to add the border, you need to “flatten” the spiral so the edge is even.
- Work a series of decreasing stitches over the last few stitches of your final spiral round to bring the height down evenly. For example, if you’re ending a round with tr, work a few dc, then a few hdc, then a few sc, and finally a sl st to the very first stitch of that round to even it out.
- FO if you want to start the border in a new place. Or proceed directly.
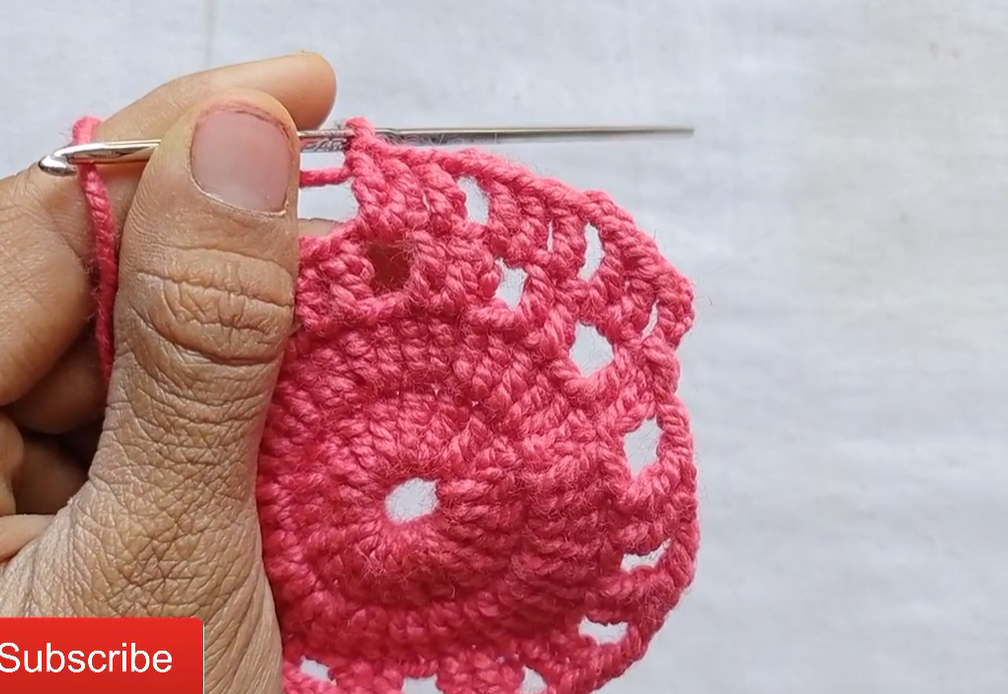
Border Round: (Scalloped Edge)
The image shows a classic scalloped edge. You’ll join your yarn if you fastened off, or just continue from the previous point.
- Attach yarn with a sl st to any stitch if you fastened off.
- Ch 1 (does not count as st). Sc in the same st.
- Sk 2 sts, work (2 dc, ch 1, 2 dc) in the next st. Sk 2 sts, sc in the next st. Repeat from * to * around.
- Sl st to the first sc to join.
- FO, leaving a short tail.
Alternative Scallop: For a larger scallop, you could work (3 dc, ch 1, 3 dc) or (5 dc) in the next st/sp, skipping more stitches between each scallop.
Video tutorial
Finishing Up!
- Weave in all ends: Use your yarn needle to neatly weave in all starting and ending tails. For a mat or rug, secure them very well for durability.
- Blocking (Highly Recommended): This is crucial for circular projects, especially those with unique textures like this spiral. Lay your finished piece flat. Gently stretch and shape it into a perfect circle, making sure the spiral pattern is well-defined and the scallops are even. Pin it down using rust-proof pins if needed. Mist it lightly with water (for cotton) or use a steam iron (hovering, not touching the yarn directly for acrylics) and let it dry completely in shape. Blocking will significantly enhance the appearance and flatness of your mat!
You now have a unique and beautiful spiral mat or rug that’s sure to be a focal point in any room! Enjoy your creative masterpiece.