by
by 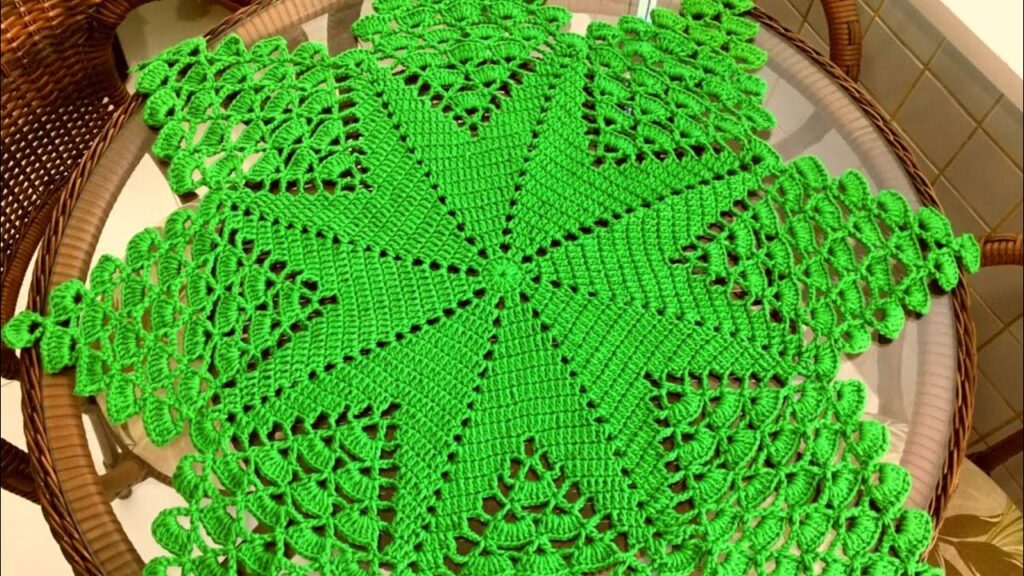
Hello, fellow crochet lovers!
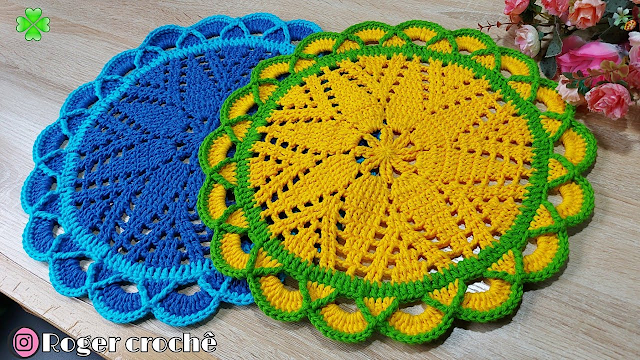
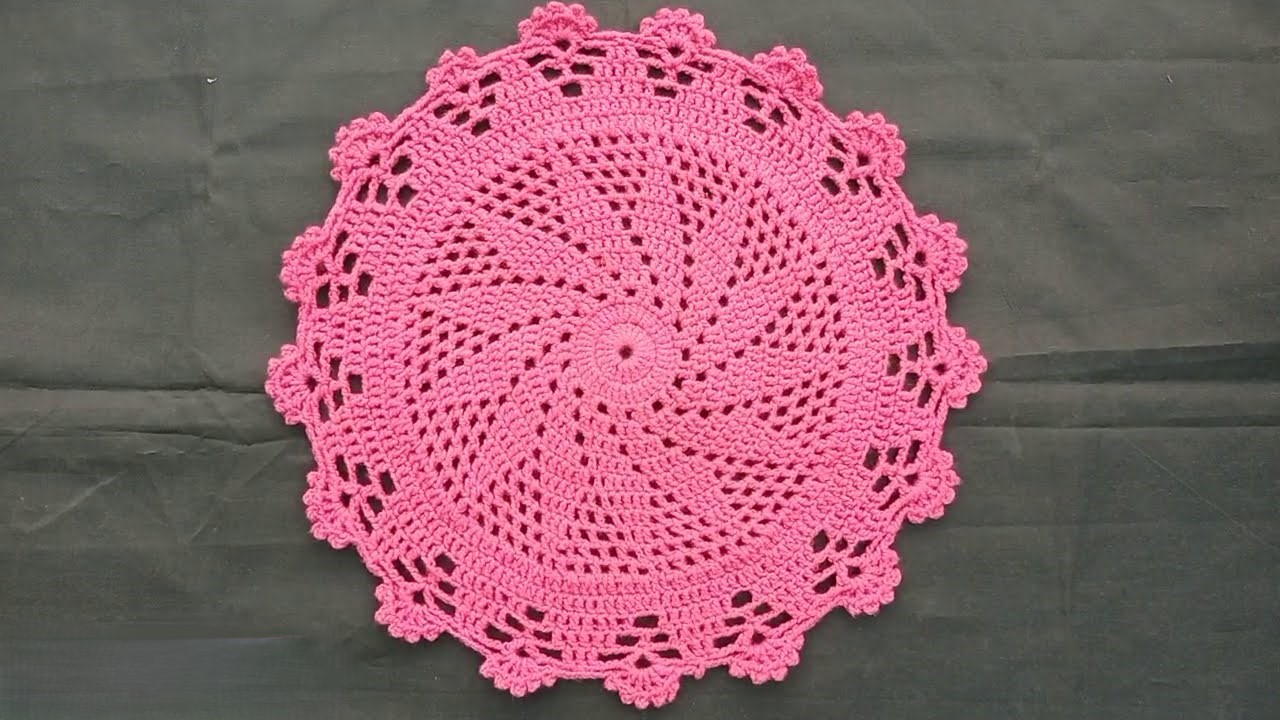
Are you ready to embark on a truly captivating crochet project? This star-shaped doily isn’t just a simple circle; it’s a piece of art that will draw admiring glances wherever it’s placed. The intricate star pattern, combined with the delicate lacy border, creates a sophisticated and eye-catching design.
The one pictured in vibrant green is absolutely striking, but imagine it in a classic cream, a soft pastel, or even a bold jewel tone! This pattern is perfect for those looking to expand their skills and create something truly unique.
This pattern is written in US crochet terms.
Skill Level: Advanced Intermediate (familiarity with various crochet stitches, working complex stitches in the round, understanding shaping, and reading patterns is essential)
Materials You’ll Need:
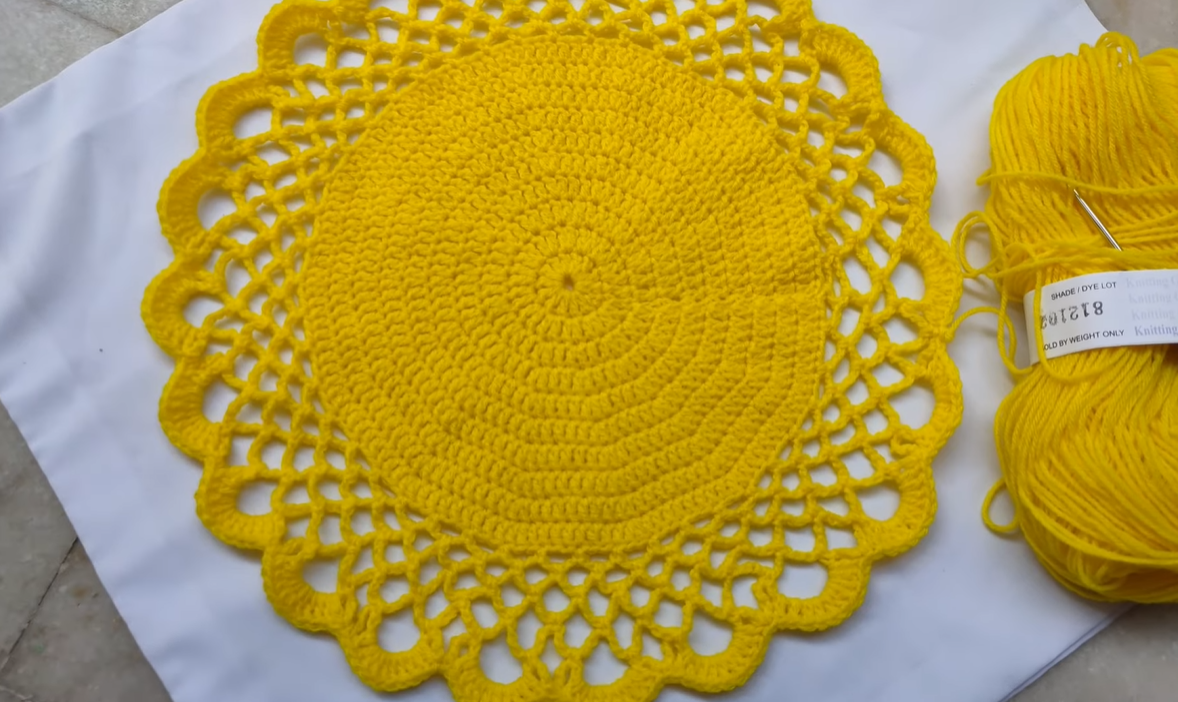
- Yarn: Dk (light worsted) or sport weight yarn. Cotton yarn is highly recommended for doilies as it provides excellent stitch definition and blocks beautifully. (The sample looks like a standard DK cotton.)
- Crochet Hook: A hook size appropriate for your chosen yarn. For DK yarn, a 3.5mm (E) or 4.0mm (G) hook is usually a good starting point. Adjust as needed to achieve your desired drape and stitch density.
- Yarn Needle: For weaving in ends.
- Scissors
- Stitch Markers (highly recommended!): To mark the beginning of rounds and the “points” of the star.
Abbreviations (US Terms):
- ch: chain
- sl st: slip stitch
- sc: single crochet
- hdc: half double crochet
- dc: double crochet
- tr: treble crochet (triple crochet)
- dtr: double treble crochet
- st(s): stitch(es)
- sp: space
- ch-sp: chain space
- rep: repeat
- sk: skip
- CL: Cluster (details provided in pattern)
- Picot: Ch 3, sl st into 3rd ch from hook.
Let’s Get Started!
This doily is worked in the round, starting from the center and radiating outwards to form the star points and the decorative lacy border. Precision with stitch counts and placements is key for shaping.
Part 1: The Star Center
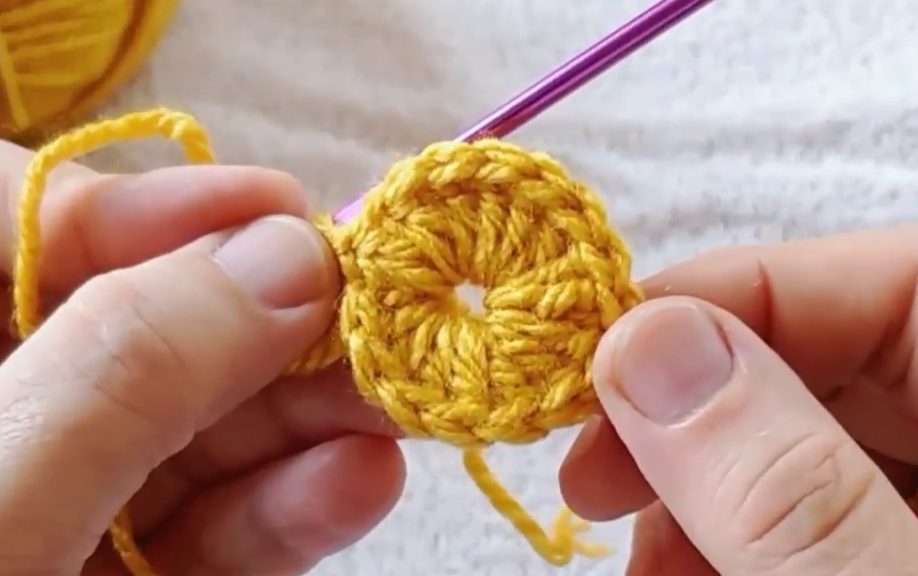
Round 1: Ch 4, sl st to first ch to form a ring. Or, make a magic ring. Ch 3 (counts as first dc), 11 dc into the ring. Join with sl st to top of beg ch-3. (12 dc)
Round 2: Ch 3 (counts as first dc), dc in same st. 2 dc in each st around. Join with sl st to top of beg ch-3. (24 dc)
Round 3: Ch 3 (counts as first dc), dc in next st, 2 dc in next st. Rep from * to * around, ending with dc in last st. Join with sl st to top of beg ch-3. (36 dc)
Round 4 (Beginning Star Points): Ch 1, sc in same st. Ch 5, sk 5 sts, sc in next st. Rep from * to * around, ending with ch 5, sl st to first sc. (6 sc, 6 ch-5 sps) – These scs mark the valleys between the points.

Round 5: Sl st into first ch-5 sp. Ch 3 (counts as first dc), (4 dc, ch 3, 5 dc) in same ch-5 sp (this forms your first star point). Sc in next sc. (5 dc, ch 3, 5 dc) in next ch-5 sp. Rep from * to * around, ending with sc in last sc. Join with sl st to top of beg ch-3. (6 star points, 6 sc between them)
Round 6: Sl st into next 4 dc to reach the first ch-3 sp of a star point. Ch 3 (counts as first dc), (2 dc, ch 3, 3 dc) in same ch-3 sp. Dc in next 5 dc. Skip sc. Dc in next 5 dc. (3 dc, ch 3, 3 dc) in next ch-3 sp. Rep from * to * around. Join with sl st to top of beg ch-3. (6 star points expanded, with 10 dc between the point clusters)
Round 7: Sl st into next 2 dc to reach the first ch-3 sp. Ch 3 (counts as first dc), (2 dc, ch 3, 3 dc) in same ch-3 sp. Dc in next 3 dc. Sk next 4 dc. (4 dtr in next dc, Ch 2, 4 dtr in same dc) – this forms a spike. Sk next 4 dc. Dc in next 3 dc. (3 dc, ch 3, 3 dc) in next ch-3 sp. Rep from * to * around. Join with sl st to top of beg ch-3. Note: The “spike” (4 dtr, ch 2, 4 dtr) should fall into the dc directly above the sc from Round 5, forming a clear separation between the star points.

Part 2: The Lacy Border
Round 8: Sl st into next 2 dc to reach the first ch-3 sp. Ch 1, (sc, ch 3, sc) in same ch-3 sp. Ch 5, sk 3 dc, sk next spike. Ch 5, sk 3 dc, (sc, ch 3, sc) in next ch-3 sp. Rep from * to * around. Join with sl st to first sc. (12 sc, 12 ch-sps – 6 ch-3 sps on points, 12 ch-5 sps between points)
Round 9: Sl st into first ch-3 sp. Ch 1, (sc, ch 3, sc) in same ch-3 sp. [Ch 5, sc in next ch-5 sp] twice. Ch 5, (sc, ch 3, sc) in next ch-3 sp. Rep from * to * around. Join with sl st to first sc.
Round 10: Sl st into first ch-3 sp. Ch 1, (sc, ch 3, sc) in same ch-3 sp. [Ch 5, sc in next ch-5 sp] three times. Ch 5, (sc, ch 3, sc) in next ch-3 sp. Rep from * to * around. Join with sl st to first sc.
Round 11: Sl st into first ch-3 sp. Ch 1, (sc, ch 3, sc) in same ch-3 sp. [Ch 5, sc in next ch-5 sp] four times. Ch 5, (sc, ch 3, sc) in next ch-3 sp. Rep from * to * around. Join with sl st to first sc.

Part 3: The Petal Edge
Round 12: Sl st into first ch-3 sp. Ch 1, 7 dc in same ch-3 sp. [Ch 1, sc in next ch-5 sp] five times. Ch 1, 7 dc in next ch-3 sp. Rep from * to * around. Join with sl st to first dc.
Round 13 (Final Petals): Sl st into next 3 dc. Ch 1, sc in same st (center of 7-dc group). [Ch 5, sc in next sc] four times. Ch 5, sc in 4th dc of next 7-dc group. Rep from * to * around, ending with Ch 5, sl st to first sc. (6 sc at top of 7-dc groups, 24 ch-5 sps total around the edge)
Round 14 (Final Edging Detail): Sl st into first ch-5 sp. Ch 1, (sc, hdc, 3 dc, hdc, sc) in same ch-5 sp. (sc, hdc, 3 dc, hdc, sc) in each ch-5 sp around. Join with sl st to first sc. This creates the beautiful, defined petal-like edge.
Video tutorial
Finishing:
- Fasten off and weave in all loose ends securely.
- Blocking is absolutely crucial for this design! To properly showcase the star points and open up the lace work, wet your doily thoroughly (you can gently wash it or spray it with water). Gently squeeze out excess water.
- Carefully pin the doily to a foam blocking mat or a clean towel, stretching out each of the 6 star points evenly, and shaping the outer “petals” so they are distinct. Ensure the doily lays flat.
- Let it dry completely.
Your beautiful star-shaped doily is now ready to adorn your table! This is truly a special piece that reflects skill and patience.
Don’t forget to share your finished creations with me in the comments or by tagging me on social media! Happy crocheting!