 by
by 
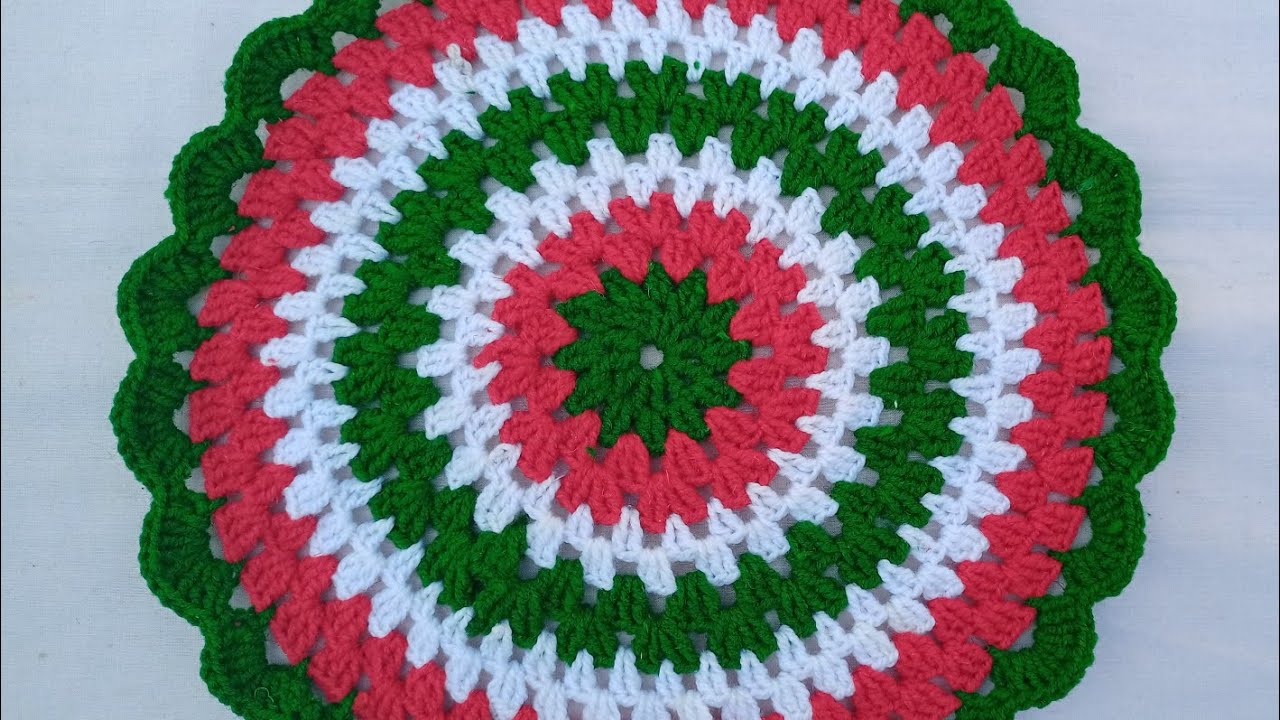
Transform your space with a stunning handmade crochet rug! These round, textured rugs, often inspired by mandala designs, add a cozy, bohemian, and incredibly unique touch to any room. They’re also fantastic stash-busters if you have a lot of bulky yarn lying around.
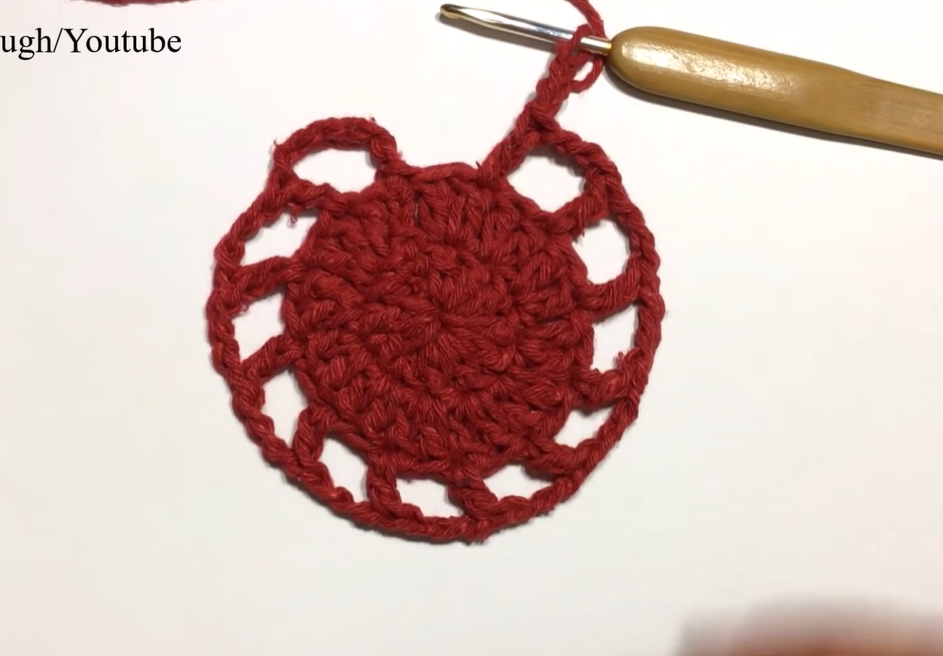
The rug in your photo has a lovely, intricate look, likely achieved through a combination of basic and more advanced stitches, creating a raised, almost layered effect. While a precise replication without seeing the full stitch definition is hard, this pattern will guide you in creating a similar substantial and visually interesting round rug.
What You’ll Need:
- Yarn:
- Bulky (Category 5) or Super Bulky (Category 6) yarn is highly recommended. This will give your rug body and make it work up faster. You can use cotton, acrylic, or even t-shirt yarn/fabric strips for a more rustic feel. Consider multiple strands of worsted weight yarn held together if you don’t have bulky yarn.
- Yardage will vary greatly depending on desired size. For a rug similar to the one pictured (likely 30-40 inches in diameter), you might need anywhere from 800-1500+ yards.
- Crochet Hook:
- Appropriate size for your yarn. For bulky yarn, a 9.0mm (M/N) to 15.0mm (P/Q) hook is common. Always check your yarn label for recommendations.
- Scissors
- Large Eye Yarn Needle (for weaving in ends)
Abbreviations (US Terms):
- ch: chain
- sl st: slip stitch
- sc: single crochet
- hdc: half double crochet
- dc: double crochet
- tr: treble crochet
- fpdc: front post double crochet
- bpdc: back post double crochet
- st(s): stitch(es)
- sp: space
- yo: yarn over
- MR: magic ring (or magic circle)
- FO: fasten off
Let’s Get Started!
Difficulty: Intermediate (requires familiarity with basic and post stitches)
Notes:
- The beginning chains usually do NOT count as a stitch unless specified.
- Join each round with a slip stitch to the first stitch of the round (not the starting chain).
- Work tightly, especially for rugs, to create a dense, durable fabric that lies flat. If your rug starts to ruffle, you may need fewer increases. If it bowls, you may need more increases or a larger hook.
Pattern for a Textured Round Rug:
Round 1: (Center)
- Start with a Magic Ring (MR).
- Ch 2 (does not count as st). Work 12 dc into the MR.
- Pull MR tight to close. Sl st to the top of the first dc to join. (12 dc)
Round 2: (Increasing for flatness)
- Ch 2. Work 2 dc in each st around.
- Sl st to the top of the first dc to join. (24 dc)
Round 3: (Introducing texture)
- Ch 2. (2 dc in next st, 1 fpdc around next st) Repeat from * to * around.
- Sl st to the top of the first dc to join. (36 sts – 24 dc, 12 fpdc)
Round 4: (Continuing increases and texture)
- Ch 2. (2 dc in next st, 1 dc in next st, 1 fpdc around next fpdc) Repeat from * to * around.
- Sl st to the top of the first dc to join. (48 sts – 32 dc, 16 fpdc)
Round 5: (Building the pattern)
- Ch 2. (2 dc in next st, 1 dc in next 2 sts, 1 fpdc around next fpdc) Repeat from * to * around.
- Sl st to the top of the first dc to join. (60 sts – 40 dc, 20 fpdc)
Round 6: (Adding more texture and definition)
- Ch 1 (does not count as st). (Sc in next 3 sts, ch 1, skip 1 st) Repeat from * to * around.
- Sl st to the first sc to join. (45 sc, 15 ch-1 spaces)
Round 7: (Creating “petals” or shell-like motifs)
- Sl st into the first ch-1 space.
- Ch 2. (5 dc in the ch-1 space, sc in the next sc) Repeat from * to * around.
- Sl st to the top of the first dc to join. (15 shells of 5 dc, 15 sc)
Round 8: (Anchoring and expanding)
- Ch 2. Work 1 dc in each of the first 2 dc of the shell.
- (2 dc in next dc, 1 dc in next 2 dc, 1 dc in sc from previous round, 1 dc in next 2 dc of shell) Repeat from * to * around, ending with 1 dc in sc.
- Sl st to the top of the first dc to join. (Total stitches will increase, ensuring flatness. You’re effectively increasing by 1 dc in the center of each shell, and working into the sc.)

Self-correction Tip: If your rug starts to ruffle, reduce the number of increases. If it bowls (cups), add more increases. The pattern may need slight adjustments based on your yarn and tension.
Round 9: (Another textured round)
- Ch 2. (1 dc in next 3 sts, 1 fpdc around the “center” dc from the previous shell section (the one where you made 2 dc in the previous round), 1 dc in next 3 sts) Repeat from * to * around.
- Sl st to the top of the first dc to join.
Continuing to Expand (General Guidelines):
From here, you’ll continue to grow your rug in rounds, always ensuring it lays flat. A common strategy for round projects is to increase stitches evenly in each round. Here’s how you can adapt:
- Maintain stitch count between textured elements: If you have segments of “plain” stitches (like dc or hdc), gradually increase the number of stitches in those segments in subsequent rounds (e.g., Round 9 might be dc in 4 sts, fpdc, dc in 4 sts; Round 10: dc in 5 sts, fpdc, dc in 5 sts).
- Alternate stitch types: Mix dc, hdc, and sc to vary the fabric density and create visual interest.
- Incorporate more post stitches (fpdc/bpdc): These create the lovely raised ridges seen in the example. Experiment with working them around the same post stitches from previous rounds or around new ones.
- Shells and clusters: Reintroduce shell stitches (like in Round 7) or cluster stitches for a “petal” or “bobble” effect.
- Experiment with chain spaces: Small chain spaces can add a lacy touch, but for a rug, keep them minimal to maintain sturdiness.

To achieve the appearance of the rug in your image, you’ll likely want to:
- Continue with rounds of dc/fpdc similar to Rounds 3-5 to build the core textured circle.
- Introduce a round of smaller stitches (like sc or hdc) to create a denser “base” before a more open or patterned round.
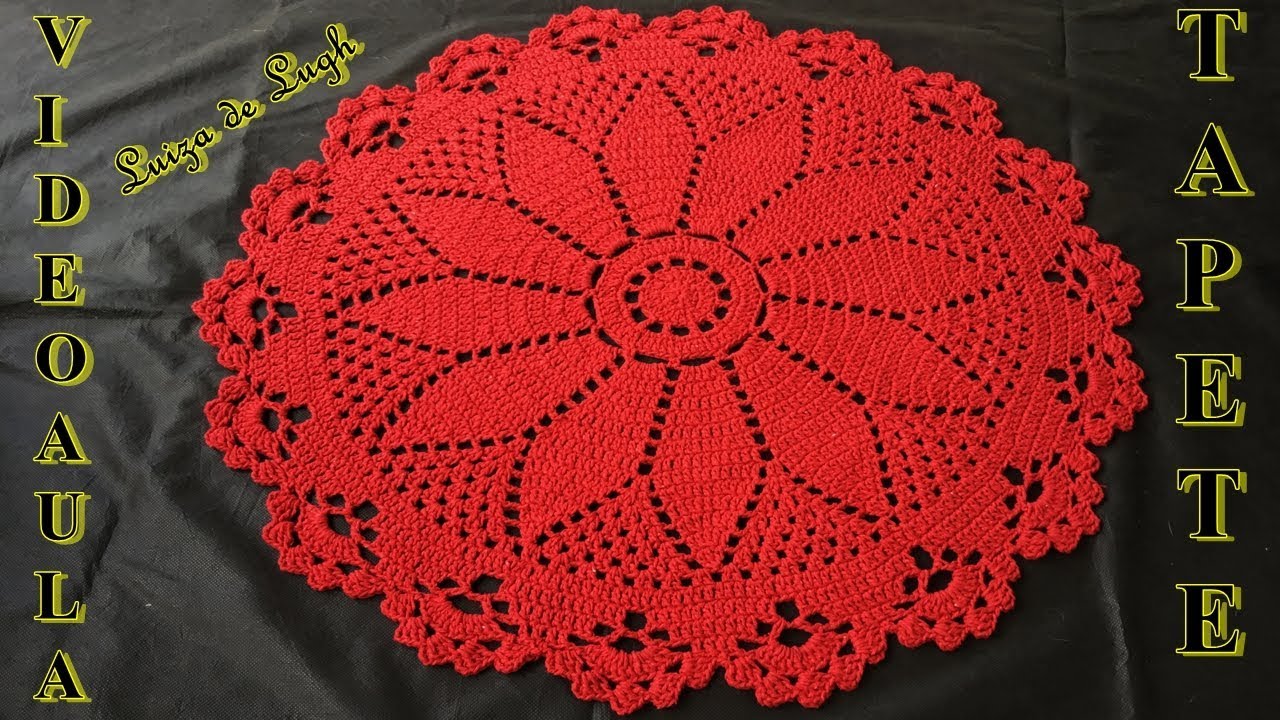
- Implement a “petal” or “fan” round (like Round 7) every few rounds to create the distinct flower-like segments.
- Use post stitches around the “stem” or “center” of these petal formations to emphasize the radial lines.
To make your rug larger, simply continue adding rounds:
- General Rule for Flat Circles: For single crochet, you typically increase by 6 stitches per round. For double crochet, it’s usually 12 stitches per round. When mixing stitches, you’ll need to eyeball it or follow a more precise pattern. For a rug, you’ll likely be adding more stitches than a typical doily due to the bulkier yarn.
- Trial and Error: Lay your rug flat after every few rounds. If it starts to ruffle, you’re increasing too much. If it bowls, you’re not increasing enough. Adjust your stitch count in the next round accordingly.
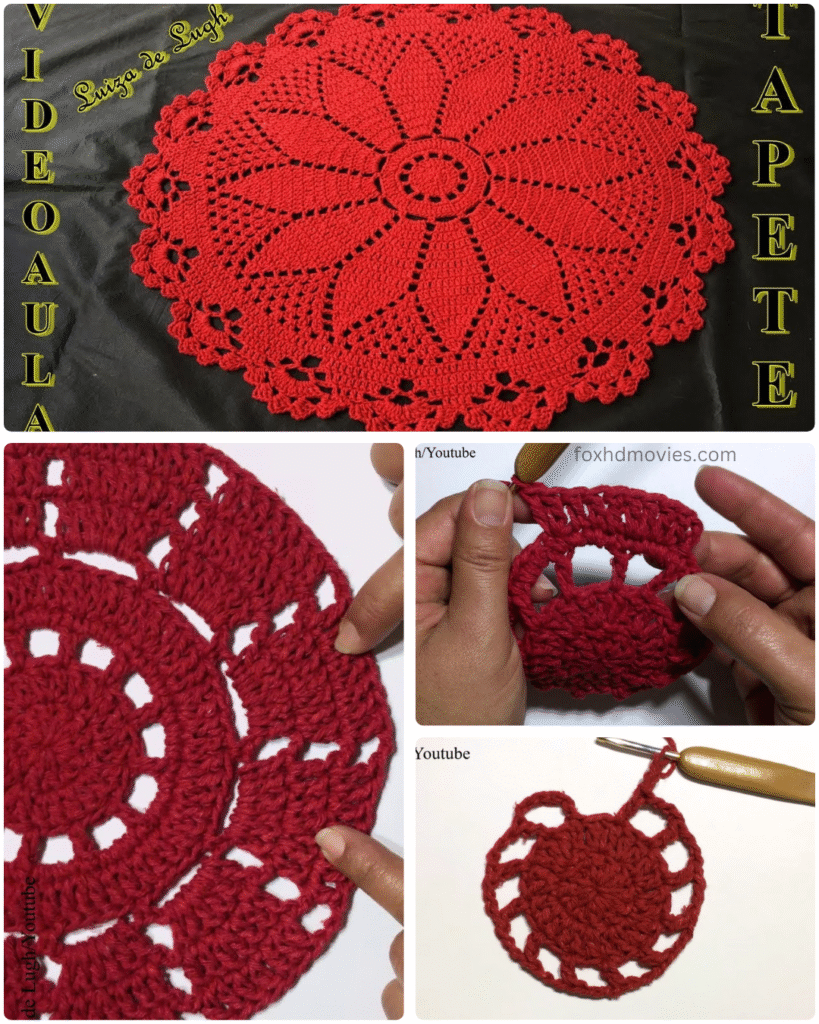
Video tutorial
Finishing Up!
- Fasten Off (FO): Once your rug reaches the desired size, cut your yarn, leaving a long tail. Yarn over and pull the tail completely through the last loop on your hook to secure.
- Weave in all ends: Use your large eye yarn needle to neatly weave in all starting and ending tails. For rugs, make sure they are very securely woven in to prevent unraveling with use.
- Blocking (Optional but Recommended): Lay your rug flat and gently stretch it into a perfect circle. You can mist it lightly with water or steam it (be careful not to scorch acrylic) and let it dry completely in shape. This will help it lie perfectly flat and define the stitches.
This pattern provides a framework. The beauty of these rugs is how you can experiment with stitch combinations and increase rates to create your own unique design. Happy hooking!