 by
by 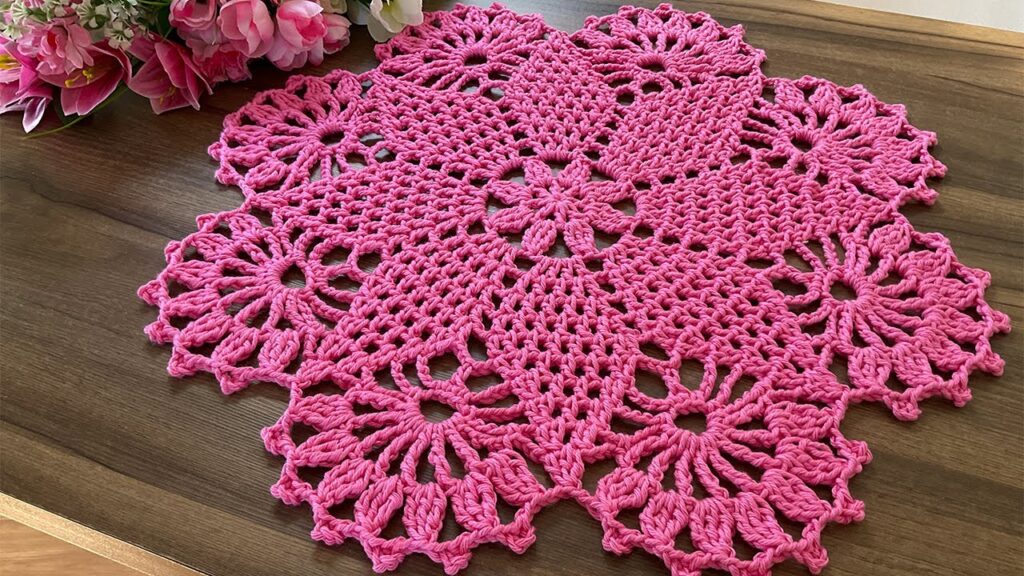
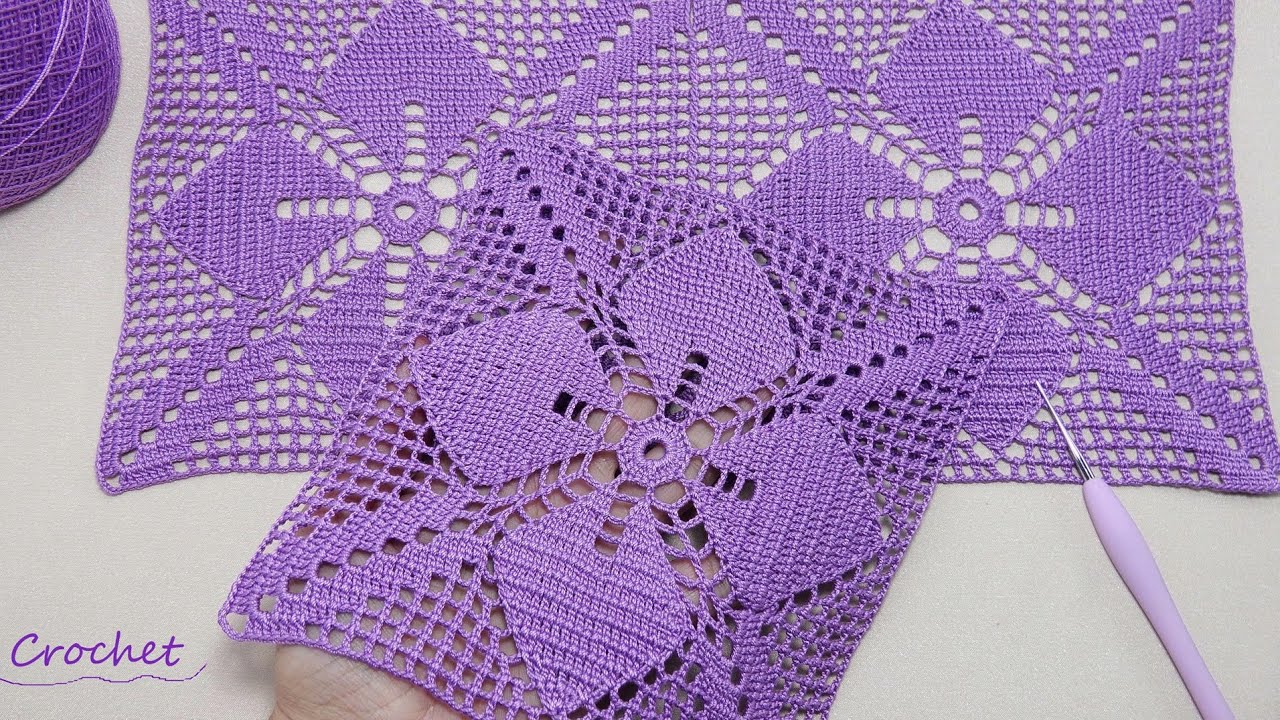
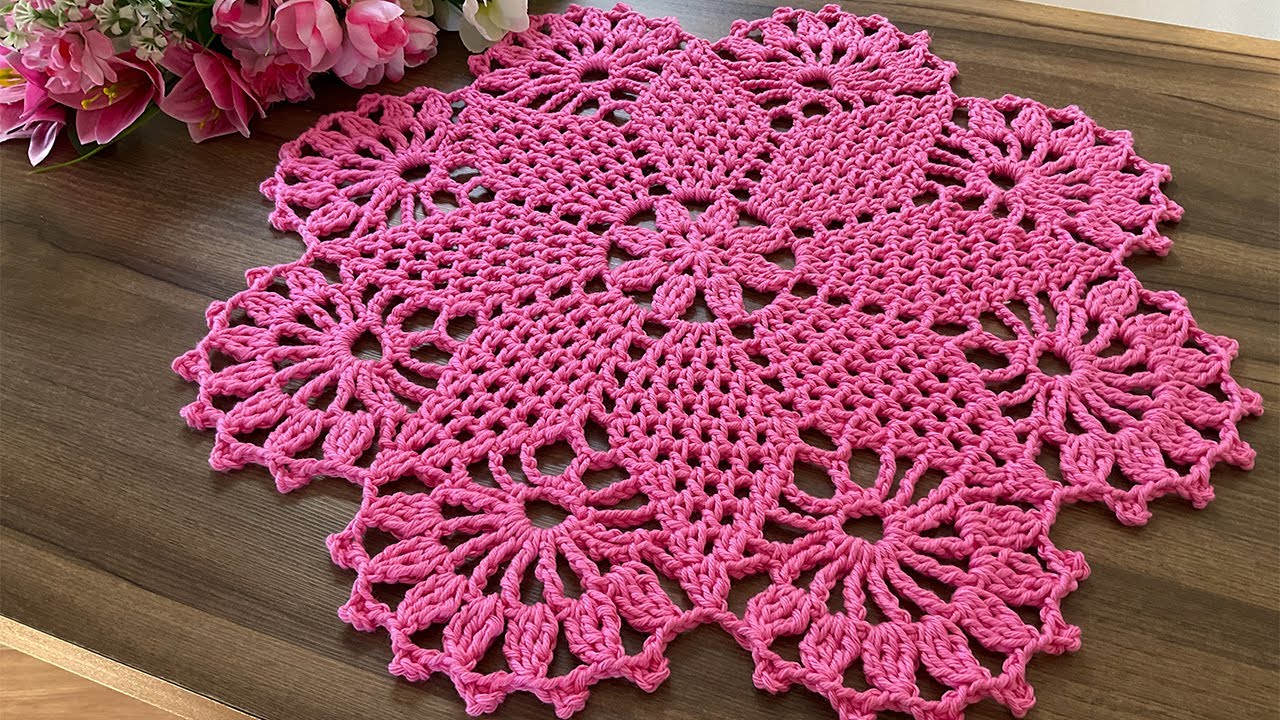
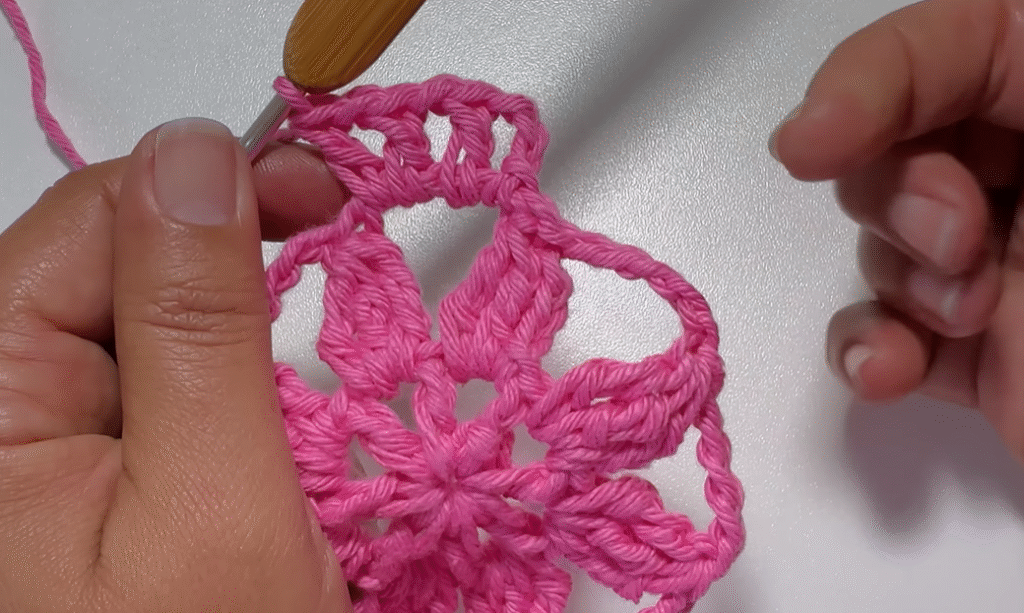
Bring a touch of springtime charm to your home with this beautiful floral motif doily! This stunning piece is made up of individual floral motifs joined together, creating a unique and intricate design that’s perfect for adding a pop of color and texture to any table. Whether you use it as a centerpiece, under a vase, or as a decorative accent, it’s sure to be admired.
The sample is shown in a lovely bright pink, but imagine this in shades of cream, pastel blues, or even a variegated yarn for a truly unique look!
Finished Size: Approximately 18-20 inches in diameter (adjust hook and yarn for different sizes).
Materials You’ll Need:
- Yarn: Worsted weight cotton yarn (or similar) in your preferred color. You’ll need about 350-450 yards.
- Hook: 4.0 mm (G/6) crochet hook (or size needed to obtain desired gauge and drape).
- Scissors
- Yarn Needle for weaving in ends and joining motifs.
Stitches Used (US Terms):
- ch: chain
- sl st: slip stitch
- sc: single crochet
- dc: double crochet
- tr: treble crochet (yarn over twice, insert hook, yarn over, pull up loop, [yarn over, pull through 2 loops] 3 times)
- ch-sp: chain space
- Picot: Ch 3, sl st in the 3rd ch from hook.
Pattern Notes:
- This doily is made by creating individual “floral” motifs and then joining them together as you go, or by sewing them together at the end.
- The ch 3 at the beginning of a round counts as a dc.
- Join each round with a sl st to the first stitch of the round (or top of beginning chain).
Pattern Instructions
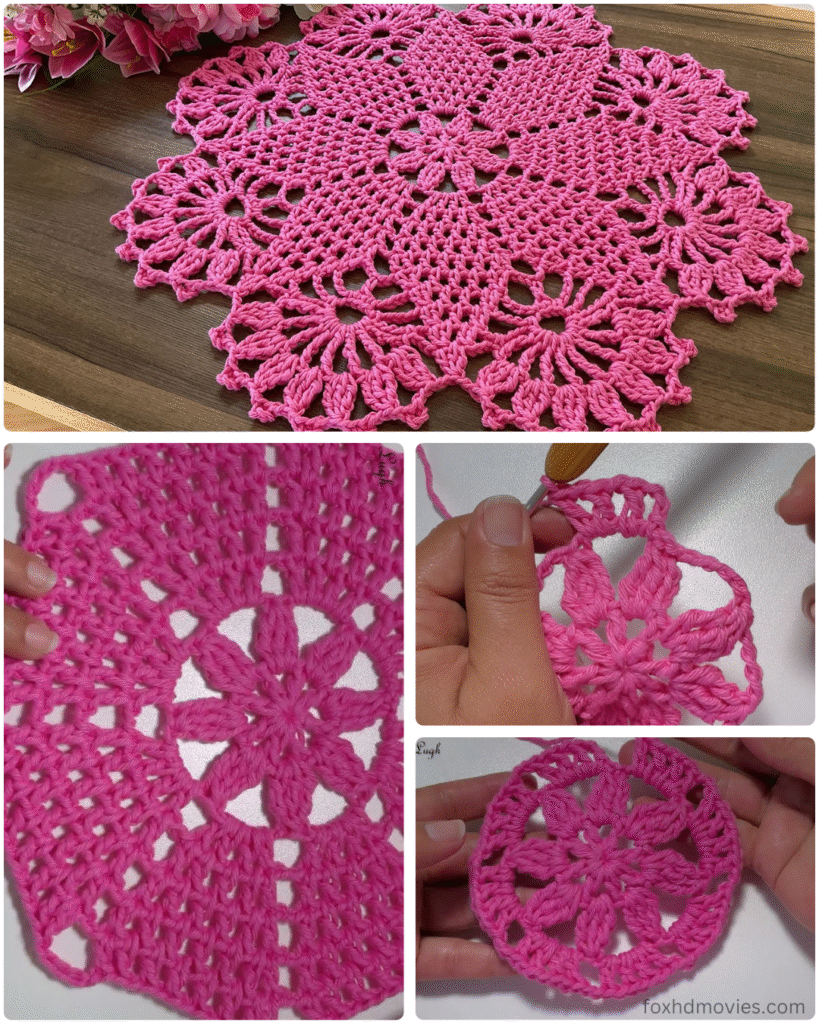
This doily consists of one central motif and six surrounding motifs.
Floral Motif (Make 7 total)
Center Ring
Round 1: Ch 4, join with a sl st to form a ring.
Round 2: Ch 3 (counts as 1 dc), 11 dc into the ring. Join with a sl st to the top of initial ch 3. (12 dc)
Petal Base
Round 3: Ch 1, sc in the first dc. Ch 3, skip next dc, sc in next dc. Repeat from * around. Join with a sl st to the first sc. (6 sc, 6 ch-3 spaces)
Petals
Round 4: Sl st into the first ch-3 space. Ch 3 (counts as 1 dc), (2 dc, ch 2, 3 dc) in the same ch-3 space (this forms your first petal). Sl st in next sc. (3 dc, ch 2, 3 dc) in next ch-3 space. Repeat from * 4 more times. Sl st in next sc. Join with a sl st to the top of initial ch 3. (6 petals)
Lacy Round Between Petals
Round 5: Ch 1, sc in the ch-2 space of the first petal. Ch 5, sc in the ch-2 space of the next petal. Repeat from * around. Ch 5, join with a sl st to the first sc. (6 sc, 6 ch-5 spaces)
Outer Petal Layer
Round 6: Sl st into the first ch-5 space. Ch 3 (counts as 1 dc), (5 dc, ch 2, 6 dc) in the same ch-5 space. In the next ch-5 space, (6 dc, ch 2, 6 dc). Repeat from * around. Join with a sl st to the top of initial ch 3. (6 large shells)
Picot Edging
Round 7: Sl st into the first 6 dc to reach the ch-2 space. Ch 1, sc in the ch-2 space. Ch 4, sc in the ch-2 space of the next shell. Repeat from * around. Join with a sl st to the first sc. (6 sc, 6 ch-4 spaces)
Round 8: Sl st into the first ch-4 space. Ch 1, sc in the same ch-4 space. [Ch 3, Picot, ch 3, Picot, ch 3, Picot, ch 3, sc] in the same ch-4 space. Then work [sc, ch 3, Picot, ch 3, Picot, ch 3, Picot, ch 3, sc] in the next ch-4 space. Repeat from * around. Join with a sl st to the first sc.
(This final round for the motifs is slightly tricky to decipher precisely. The aim is to create a series of small scallops with picots. Adjust the ch counts and sc placement to achieve a similar look).

For the first 6 motifs, fasten off and weave in ends.
For the 7th (central) motif, do not fasten off.
Joining the Motifs
You can join the motifs by sewing them together at the points where their outer picot edges meet, or you can join them as you crochet the final round of each surrounding motif. Joining as you go creates a seamless look.
To Join As You Go (Example for attaching one side):
When working Round 8 of a surrounding motif, when you reach a section where it should join to another motif, replace some of the chains with slip stitches into the corresponding picots/chains of the already completed motif.
For example, if a “ch 3, picot, ch 3” section aligns with another motif’s “ch 3, picot, ch 3”:
- Work “ch 1, sl st into corresponding picot of other motif, ch 1, Picot, ch 1, sl st into next picot of other motif, ch 1, Picot, ch 1, sl st into next picot of other motif, ch 1.” Continue your pattern. This requires careful alignment.

Alternatively, and often easier for beginners, is to sew them together:
- Complete all 7 motifs. Fasten off and weave in all ends.
- Lay out your motifs: 1 central motif, surrounded by 6 motifs.
- Using your yarn needle and matching yarn, whip stitch or slip stitch the edges of the motifs together where they touch. Aim to join just a few stitches at each point of contact to create a secure but not overly bulky seam. The picot points should align.
Final Edging (Optional, if you want to unify the outer edge)
Once all motifs are joined, you can work a final round of sc or sl st around the entire outer perimeter of the joined doily for a clean finish, working into the existing picots and chain spaces.
Video tutorial
Finishing:
Fasten off and weave in all remaining loose ends securely. Blocking is highly recommended! Gently wet your doily, lay it flat, and carefully stretch it to shape, emphasizing the floral points and opening up the lace. Pin it to a foam board or towel and let it air dry completely. Blocking will make a significant difference in the final appearance of your doily.
Enjoy your beautiful new floral motif doily! We’d love to see your finished creations – share them in the comments below or tag us on social media! Happy crocheting!