by
by 
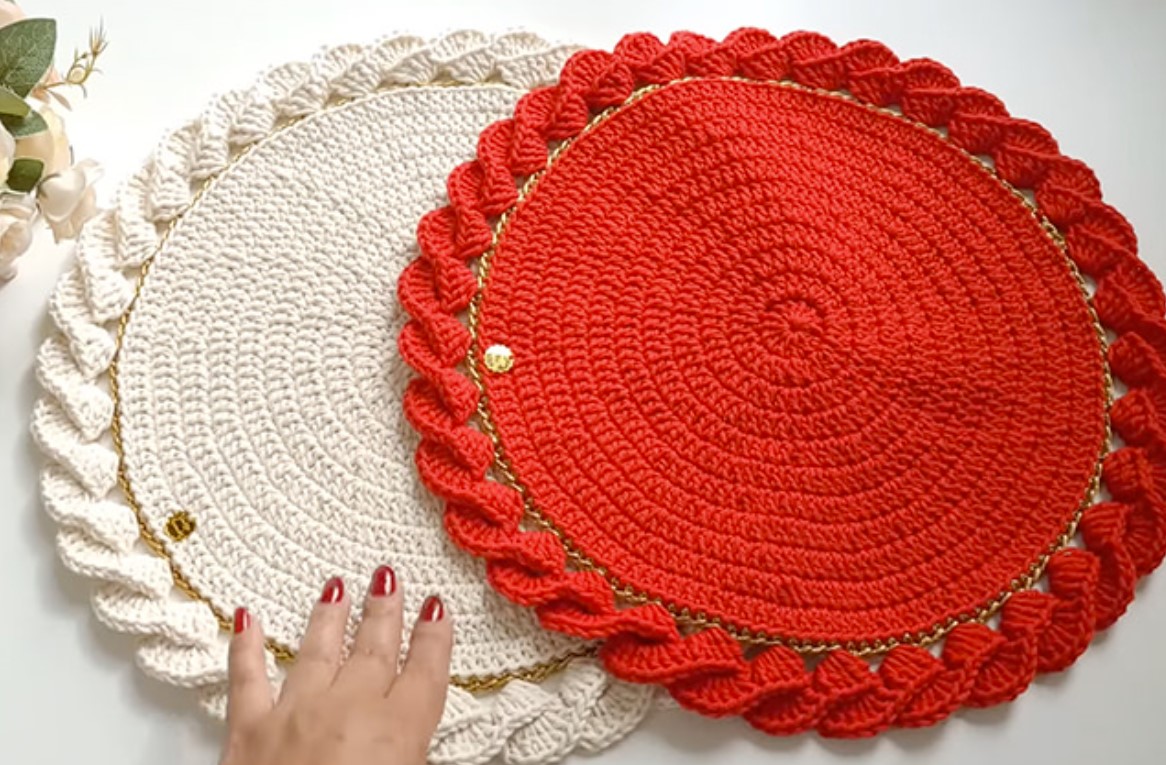
Add a burst of sunshine to your home with a stunning starburst crochet rug! This eye-catching design features radiating lines and intricate textures that draw the eye, making it a true centerpiece for any room. It’s a fantastic project to practice your stitch variations and create something truly unique.
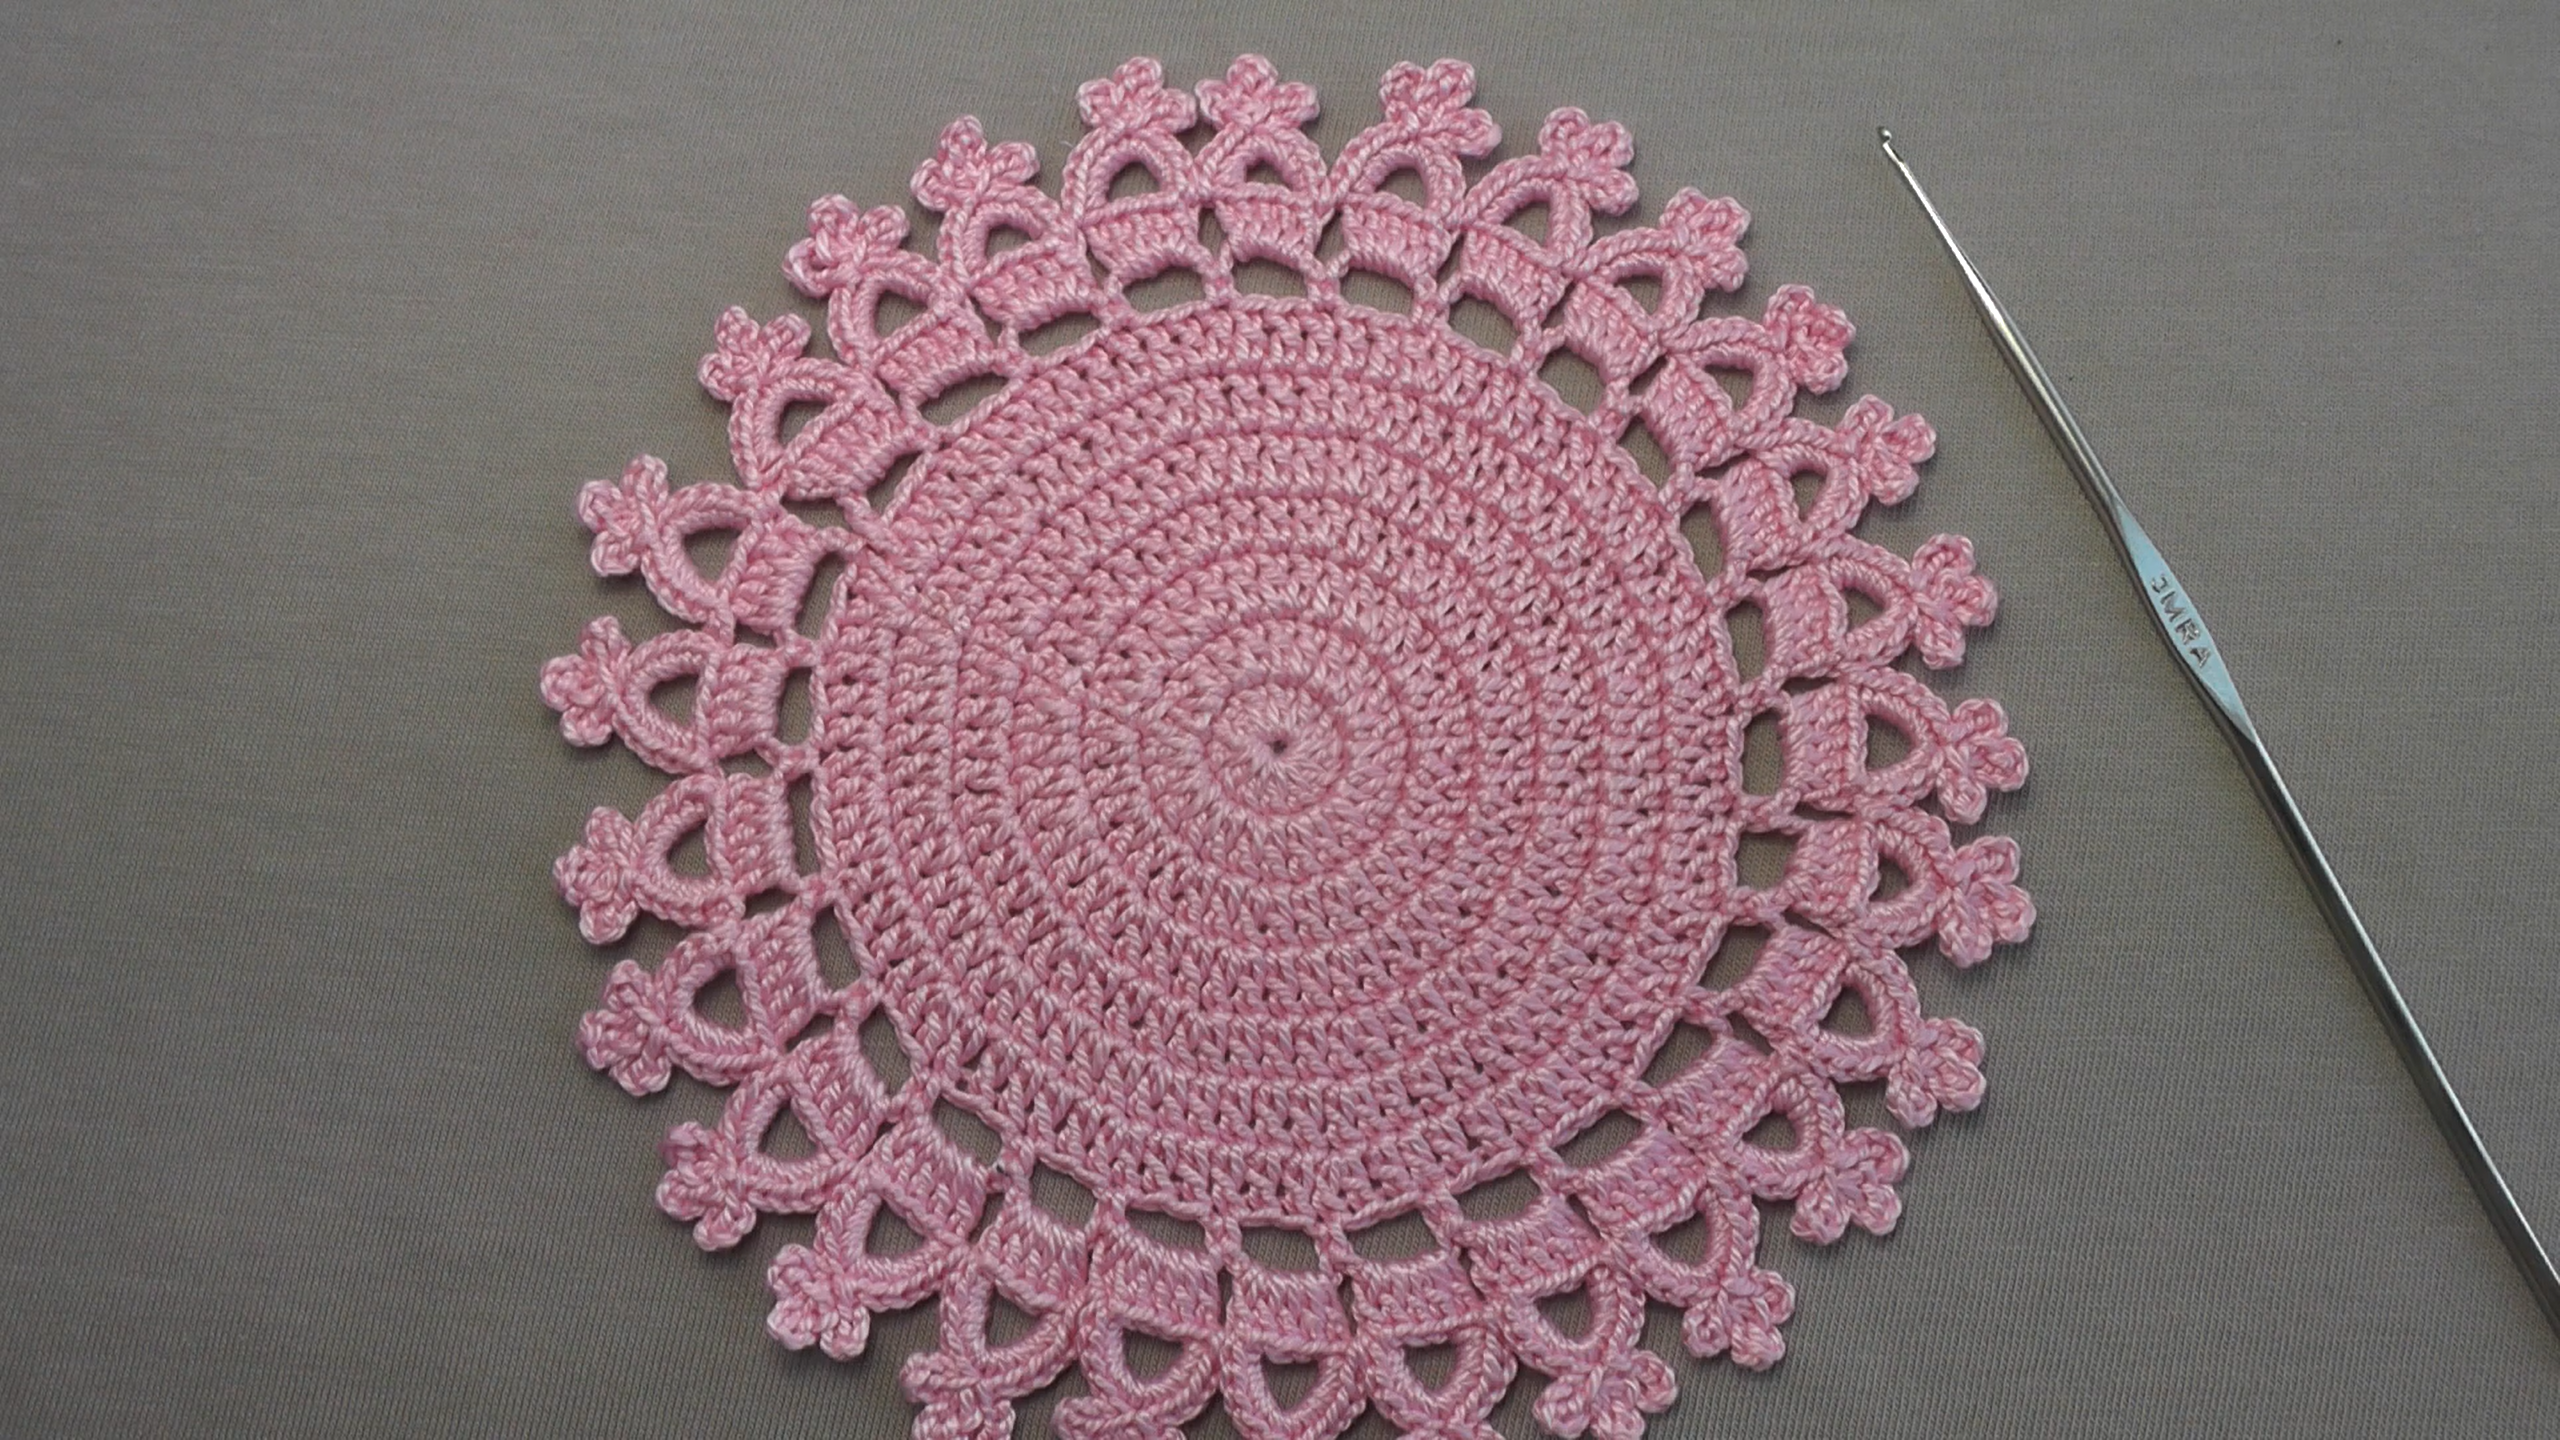
The rug in your photo perfectly illustrates the captivating effect of this pattern with its central sun-like motif spreading outwards into an intricate lace border.
What You’ll Need:
- Yarn:
- Bulky (Category 5) or Super Bulky (Category 6) yarn is highly recommended for a rug with good body and quick work-up time. Cotton or a durable acrylic blend would be ideal.
- Yardage will vary significantly depending on your desired final size. For a rug of this approximate size (likely 3-4 feet in diameter), you might need 1000-2000+ yards.
- Crochet Hook:
- Choose a hook size appropriate for your bulky yarn. A 9.0mm (M/N) to 15.0mm (P/Q) hook is typically used. Always check your yarn label for the best recommendation.
- Scissors
- Large Eye Yarn Needle (for weaving in ends)
Abbreviations (US Terms):
- ch: chain
- sl st: slip stitch
- sc: single crochet
- hdc: half double crochet
- dc: double crochet
- tr: treble crochet (yarn over 2 times)
- dtr: double treble crochet (yarn over 3 times)
- st(s): stitch(es)
- sp: space
- yo: yarn over
- MR: magic ring (or magic circle)
- FO: fasten off
- sk: skip
Let’s Get Started!
Difficulty: Intermediate (requires familiarity with basic stitches, taller stitches, and working into spaces and stitches creatively).
Notes:
- The beginning chains usually do NOT count as a stitch unless specified.
- Join each round with a slip stitch to the first stitch of the round (not the starting chain) unless directed otherwise.
- Maintain consistent tension. If your rug begins to ruffle, you may be increasing too much; if it begins to bowl (cup), you may need more increases or a larger hook. The pattern assumes a standard increase rate for a flat circle.
Pattern for a Starburst Round Rug:
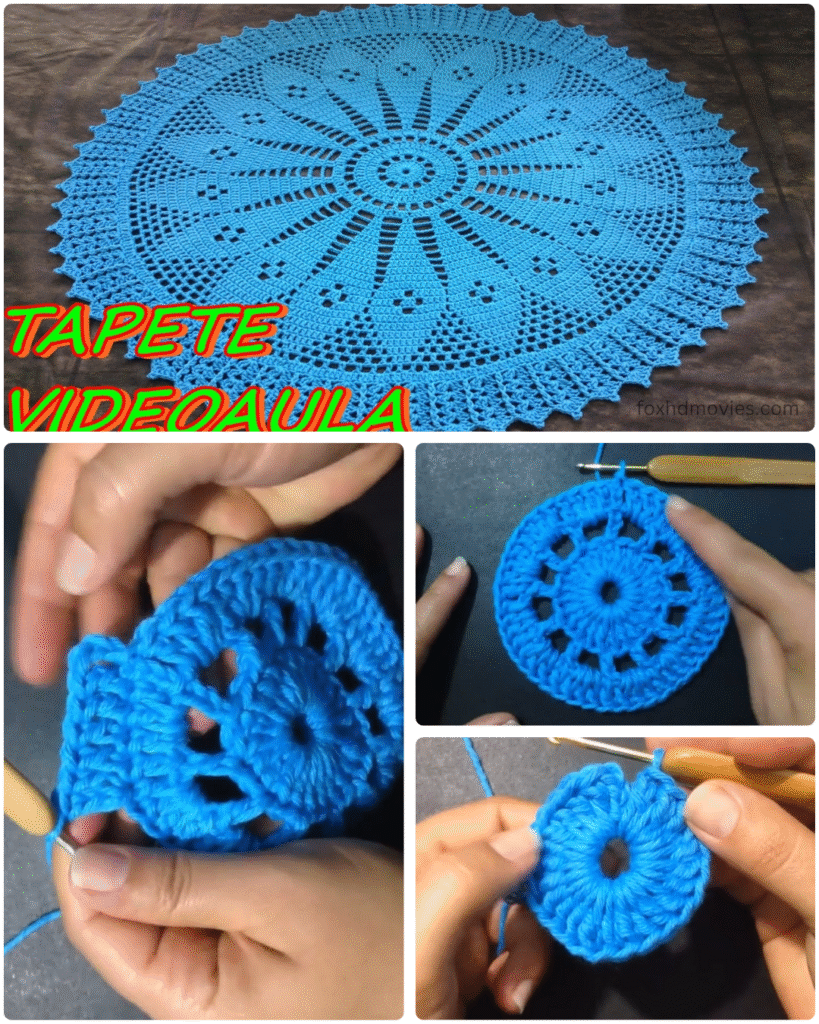
(We’ll aim for a design with 12 segments/points, as seen in the example image. This is a common number for these types of mandalas.)
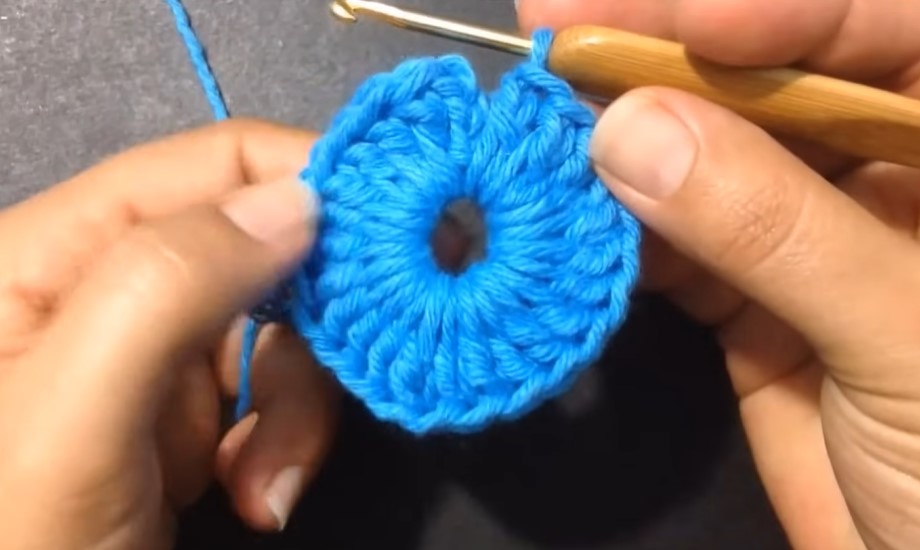
Round 1: (Center Ring)
- Start with a Magic Ring (MR).
- Ch 2 (does not count as st). Work 12 dc into the MR.
- Pull MR tight to close. Sl st to the top of the first dc to join. (12 dc)
Round 2: (First Openwork Ring)
- Ch 5 (counts as 1 dc, ch 2).
- Sk 1 st, dc in next st, ch 2. Repeat from * to * around.
- Sl st to the 3rd ch of initial Ch 5 to join. (6 dc, 6 ch-2 spaces)

Round 3: (Building the “Sun Rays”)
- Sl st into the first ch-2 space.
- Ch 2 (does not count as st). Work (2 dc, ch 2, 2 dc) in the same ch-2 space.
- Sk next dc. In the next ch-2 space, work (2 dc, ch 2, 2 dc). Repeat from * to * around.
- Sl st to the top of the first dc to join. (6 “V” sets, 6 ch-2 spaces)
Round 4: (Extending Rays & Creating Texture)
- Sl st into the next dc and into the first ch-2 space.
- Ch 2. In the same ch-2 space, work (2 dc, ch 2, 2 dc).
- Work 1 dc in each of the next 2 dc. Sk the space between the V-sets. Work 1 dc in each of the next 2 dc (of the next V-set).
- In the next ch-2 space, work (2 dc, ch 2, 2 dc).
- Repeat steps 3-4 around.
- Sl st to the top of the first dc to join.
Round 5: (Solidifying the center of the rays)
- Ch 2. Work 1 dc in each st until you reach a ch-2 space.
- In the ch-2 space, work (2 dc, ch 2, 2 dc).
- Continue working 1 dc in each st until the next ch-2 space.
- Repeat step 2-3 around.
- Sl st to the top of the first dc to join.
Round 6: (First Round of Diamond/Eyelet Pattern)
- Ch 1 (does not count as st). Sc in each of the first few stitches until you are approximately at the center of a “ray” section.
- (Sc in next 3 sts, ch 2, sk 2 sts) Repeat around, adjusting to align with the “rays”. Ensure you maintain an even number of stitches between your ch-2 spaces to create consistent “eyes.”
- Sl st to the first sc to join.
Round 7: (Building on Diamond Pattern)
- Ch 1. Sc in each sc and in each ch-2 space around. (This fills in the holes)
- Sl st to the first sc to join.
Round 8: (Second Round of Diamond/Eyelet Pattern)
- Ch 1. Sc in each of the first few sts.
- Sc in next 3 sts, ch 2, sk 2 sts. Repeat around, staggering the holes relative to the previous openwork round to create the diamond pattern.
- Sl st to the first sc to join.

Round 9: (Transition/Filler Round)
- Ch 2. Work 1 dc in each sc and in each ch-2 space around.
- Sl st to the top of the first dc to join.
Round 10: (Creating the “Points” or “Petals” of the next layer)
- Ch 4 (counts as 1 tr). Work 2 tr in the same st.
- Ch 1, sk 3 sts. In the next st, work (3 tr, ch 2, 3 tr). This forms a pointed segment.
- Ch 1, sk 3 sts. Work 3 tr in the next st.
- Repeat from * to * around, making sure your skips align to create 12 points.
- Ch 1, sl st to the top of the initial Ch 4 to join.
Continuing to Expand (General Guidelines for Large Rugs):
The starburst pattern relies on alternating rounds of:
- Solid Stitch Rounds: Often dc or hdc, which allow for even increases to keep the rug flat.
- Openwork Rounds: Using ch-spaces and taller stitches (tr, dtr) to create the “windows” or “holes.”
- Textured Rounds: Like the “diamond” eyelets from Rounds 6-8, which add visual interest.
- “Point” or “Shell” Rounds: Like Round 10, to define the radial segments.
To continue making your rug larger and replicate the look of the image, you’ll want to:
- Maintain the radial symmetry: Always work your pattern repeats in a multiple of 12 (or whatever number of rays you started with).
- Increase stitch count evenly: As you make each round, you need to add more stitches to ensure the rug lays flat. For dc rounds, this typically means adding 12 stitches per round, distributing them evenly. For openwork rounds, the increases are usually built into the chain-space/stitch group pattern.
- Vary stitch heights: The image shows a beautiful interplay of shorter (sc, dc) and taller (tr, dtr) stitches to create depth and pattern.
- Experiment with skips and chain spaces: This is how the intricate openwork is formed. Careful counting is key!
- Refer to existing patterns (if possible): For very complex designs, often finding a similar charted pattern or video tutorial can be incredibly helpful for visual guidance.

Final Border – Scalloped Edge:
The outer edge of the rug has a classic scalloped finish, often achieved with variations of shell stitches or picots.
Example of a Scalloped Edge Round:
- Ch 1. Sc in the same st.
- Sk 2 sts, work (dc, tr, dc) in the next st. Sk 2 sts, sc in the next st. Repeat from * to * around.
- Sl st to the first sc to join.
- FO.
Alternative Scallop: You could also do a (sc, ch 3, sl st in first ch (picot), sc) in each “peak” of your scallop, or just more dc/tr stitches.
Video tutorial
Finishing Up!
- Fasten Off (FO): Once your rug reaches the desired size, cut your yarn, leaving a long tail. Pull the tail completely through the last loop on your hook to secure.
- Weave in all ends: Use your large eye yarn needle to neatly weave in all starting and ending tails. For rugs, it’s crucial to secure them very well to withstand traffic and washing.
- Blocking (Highly Recommended): Lay your finished rug flat. Gently stretch and shape it into a perfect circle, making sure all the “rays” and openwork are defined. Pin it down if necessary. Mist it lightly with water or use a steam iron (hovering, not touching the yarn directly, especially with acrylics). Let it dry completely. Blocking is essential for complex patterns to make them lie perfectly flat and showcase the design.
This starburst pattern is a rewarding project that results in a truly magnificent piece for your home! Enjoy the rhythmic stitches and the beautiful design that emerges with each round. Happy crocheting!