 by
by 
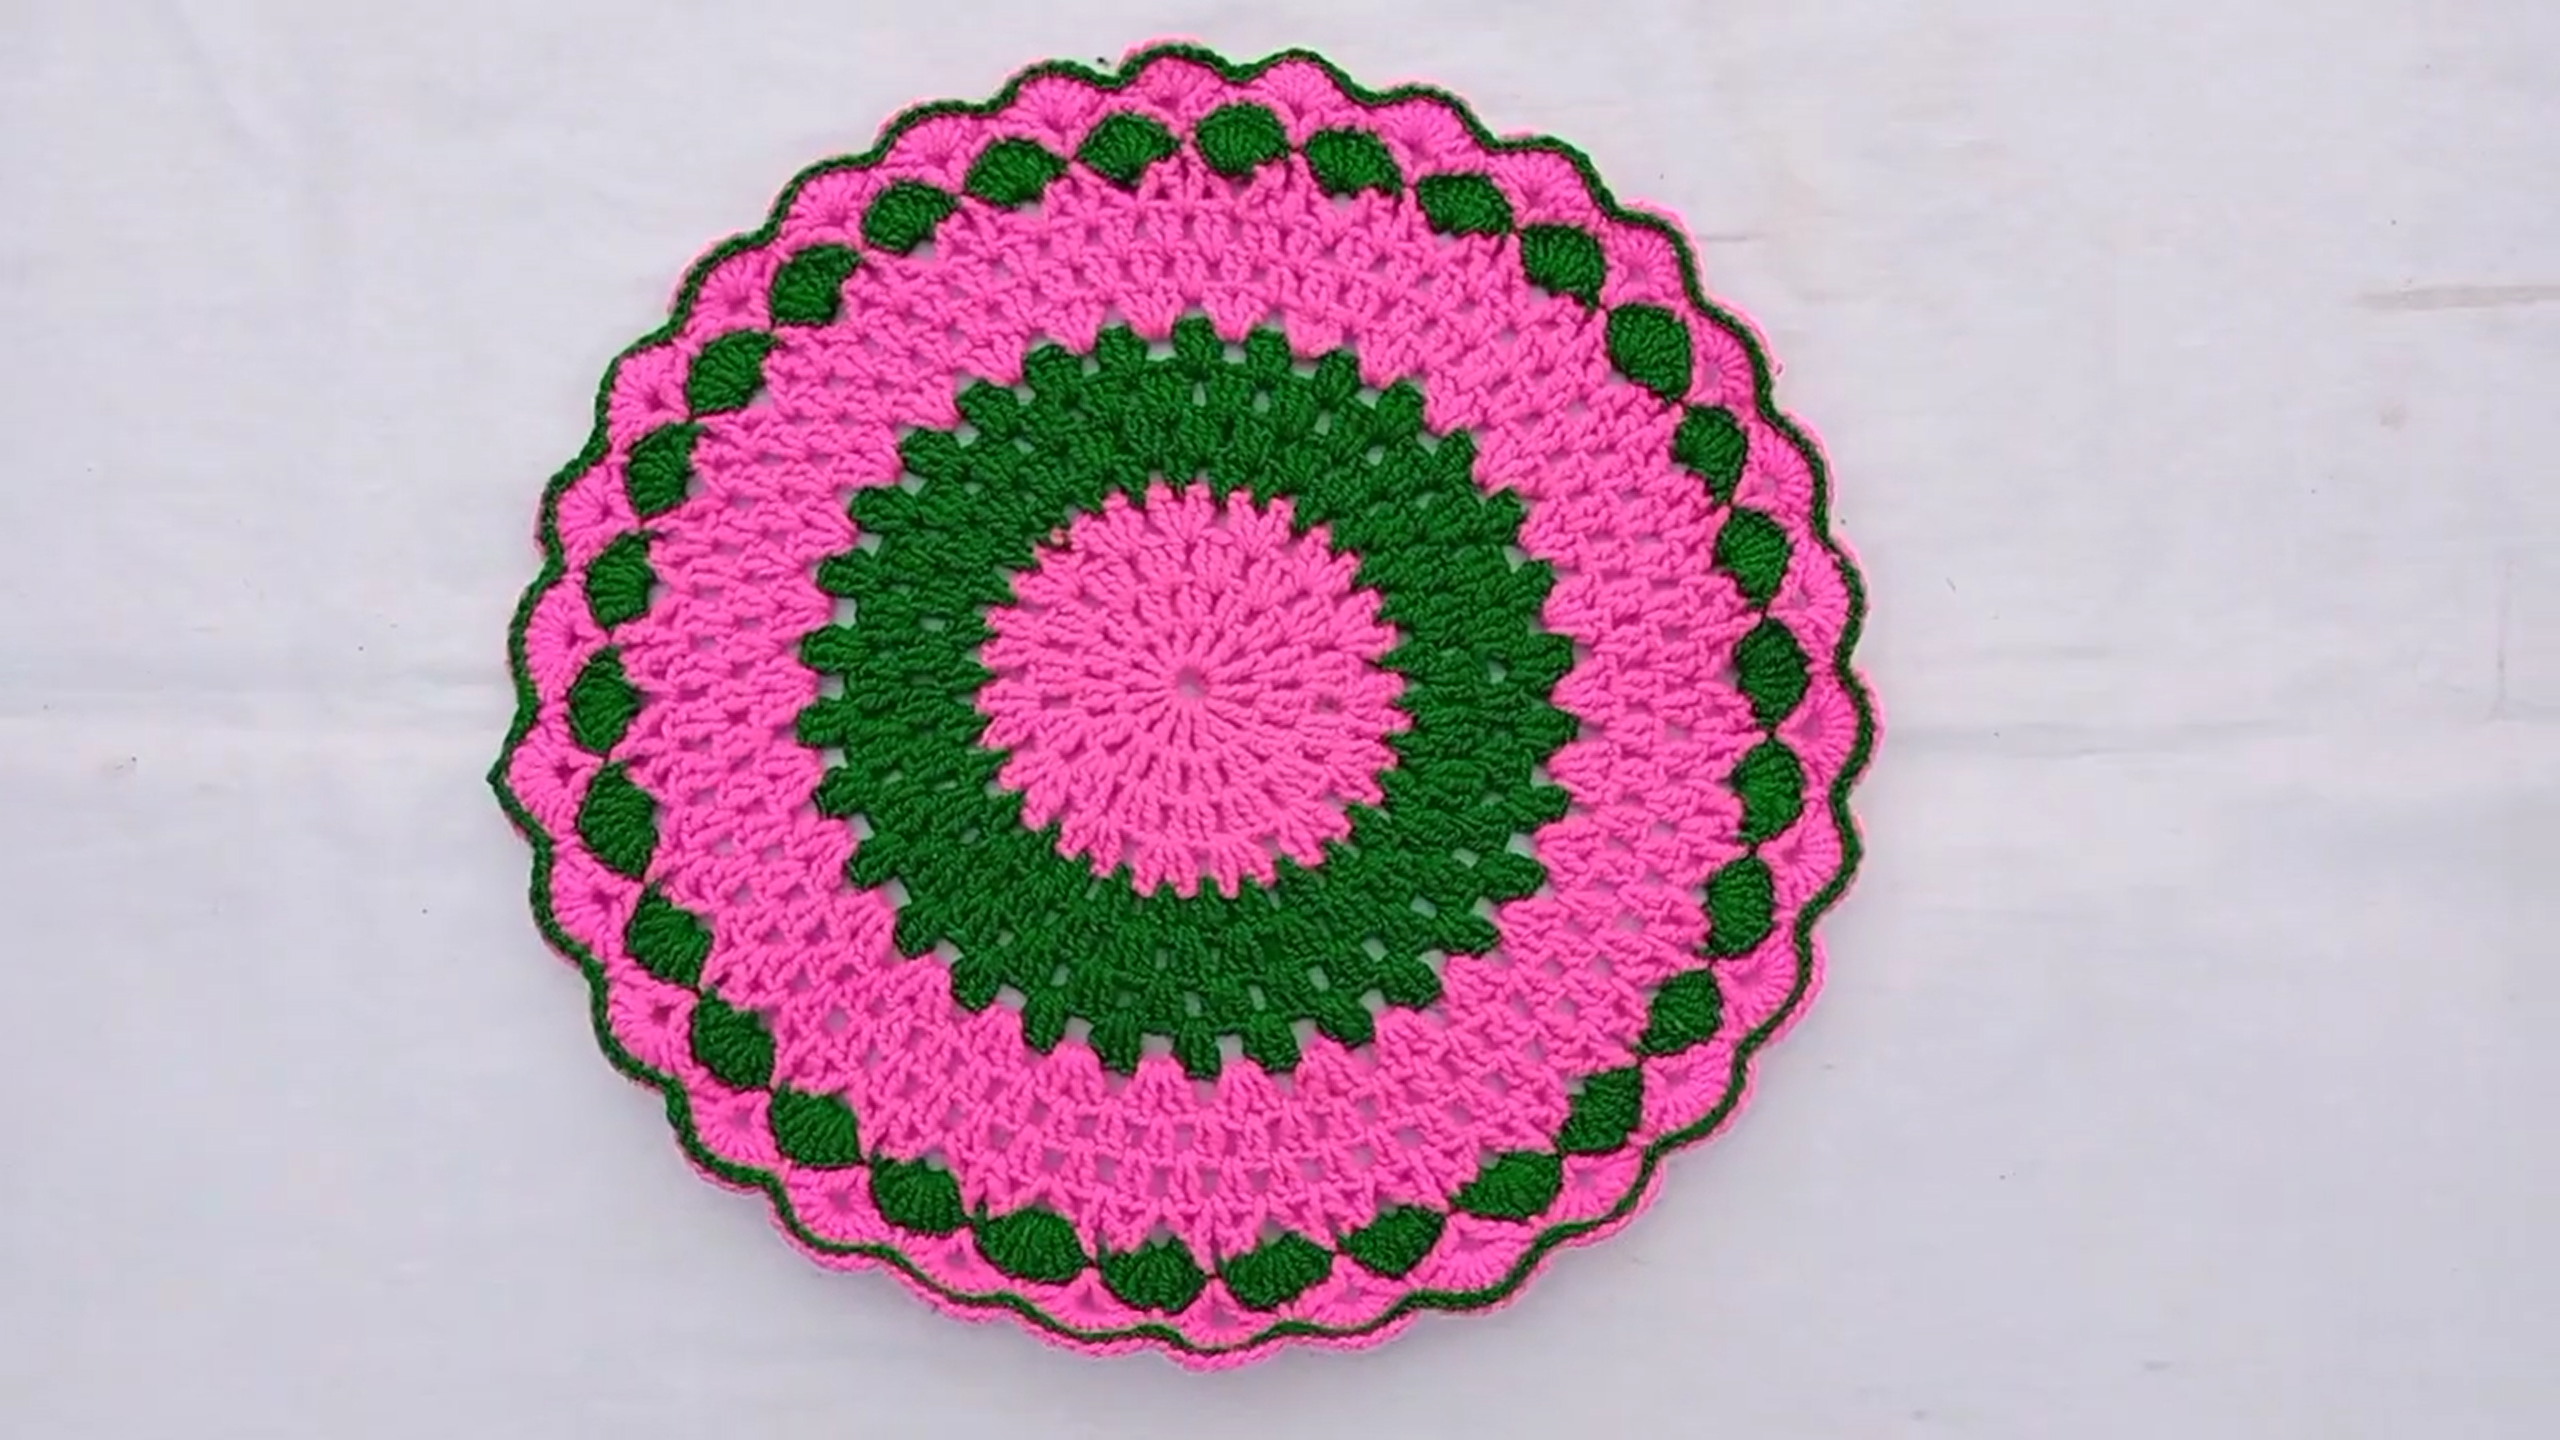
Brighten up your table or desk with a handmade touch! This adorable two-tone crochet coaster (or small mat, or “krosha rumal”) features a cheerful solid center and a delightful border of overlapping petals. It’s a quick and satisfying project perfect for using up yarn scraps and adding a pop of color to any space.
The vibrant pink and green combination in your photo is so inviting, and the petal design adds a lovely textured edge. This pattern is beginner-friendly and a great way to practice your basic stitches and seamless color changes.
What You’ll Need:
- Yarn:
- Worsted weight (Category 4) or DK weight (Category 3) yarn is ideal for coasters and small mats. Cotton yarn is recommended for coasters as it absorbs condensation well.
- Choose two contrasting colors (e.g., Green for the center, Pink for the petals).
- Yardage: Approximately 20-30 yards for the main color, 30-50 yards for the border color.
- Crochet Hook:
- Appropriate size for your yarn (e.g., 4.0mm (G) or 4.5mm (G/7) for worsted weight yarn). Check your yarn label for recommendations.
- Scissors
- Yarn Needle (for weaving in ends)
Abbreviations (US Terms):
- ch: chain
- sl st: slip stitch
- sc: single crochet
- dc: double crochet
- tr: treble crochet (yarn over 2 times)
- dtr: double treble crochet (yarn over 3 times) – used for the tall stitches in the petals
- st(s): stitch(es)
- sp: space
- yo: yarn over
- MR: magic ring (or magic circle)
- sk: skip
- FO: fasten off
Let’s Get Started!
Difficulty: Easy
Notes:
- The beginning chains usually do NOT count as a stitch unless specified.
- Join each round with a slip stitch to the first stitch of the round (not the starting chain) unless directed otherwise.
- Maintain consistent tension to ensure your piece lies flat.
- Color Change Tip: When changing colors, work the final yarn over of the slip stitch join with the new color to create a seamless transition.
Pattern for a Two-Tone Floral Coaster/Small Mat:
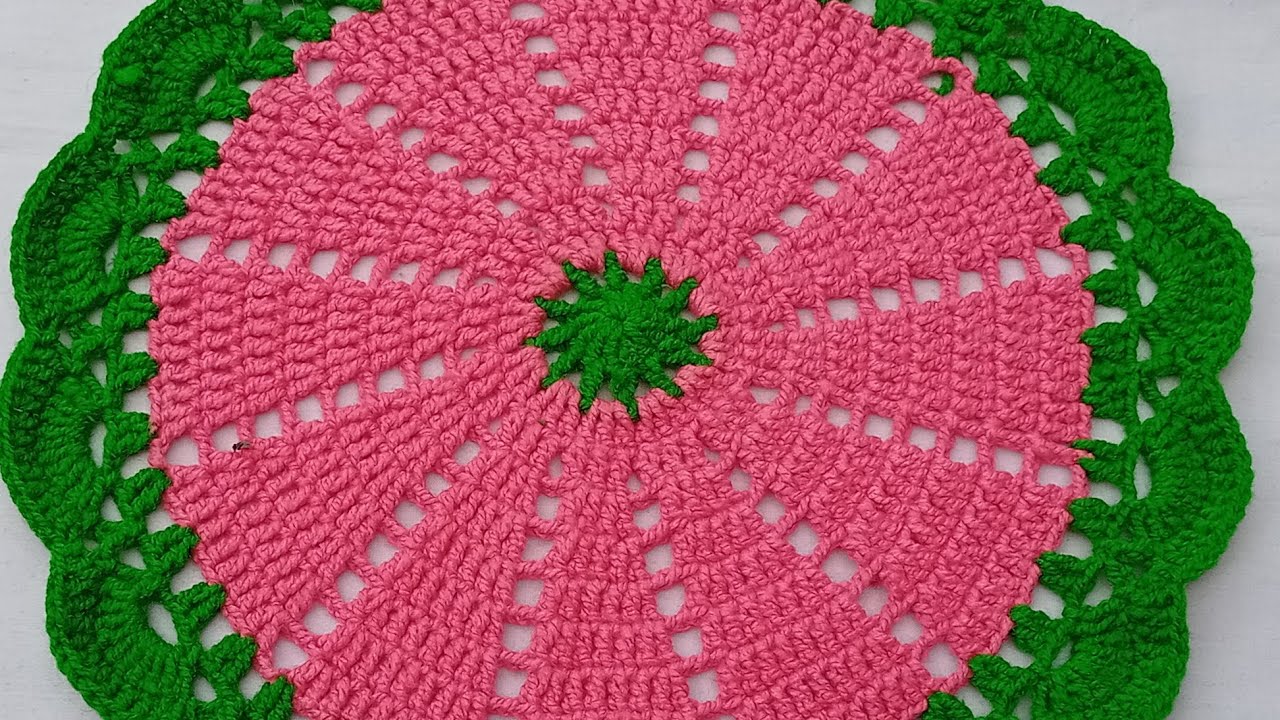
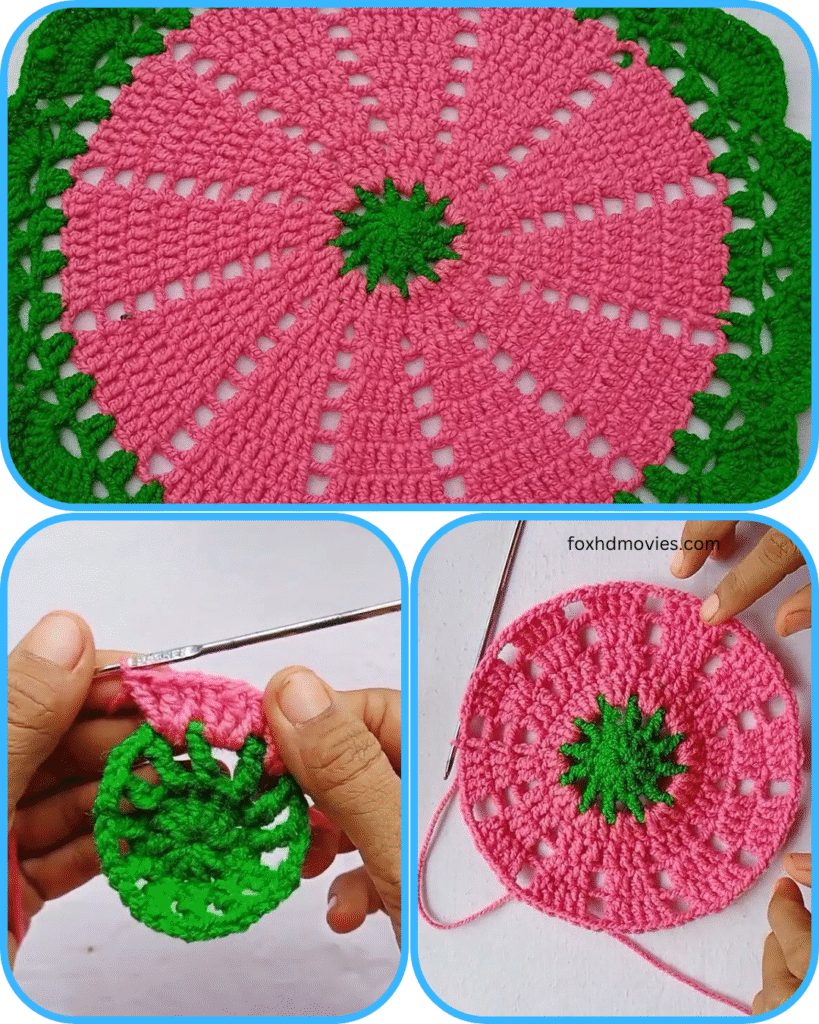
(Part 1: The Solid Center – Using your Center Color, e.g., Green)
Round 1: (Center Ring)
- Start with a Magic Ring (MR).
- Ch 2 (does not count as st). Work 12 dc into the MR.
- Pull MR tight to close. Sl st to the top of the first dc to join. (12 dc)

Round 2:
- Ch 2. Work 2 dc in each st around.
- Sl st to the top of the first dc to join. (24 dc)
Round 3:
- Ch 2. (1 dc in next st, 2 dc in next st) Repeat from * to * around.
- Sl st to the top of the first dc to join. (36 dc)
Round 4:
- Ch 2. (1 dc in next 2 sts, 2 dc in next st) Repeat from * to * around.
- Sl st to the top of the first dc to join. (48 dc)
(For a standard coaster size, 4-5 rounds for the center might be enough. If you want a slightly larger mat, continue for one or two more rounds, following the standard increase pattern: “1 dc in next [X-2] sts, 2 dc in next st”).

Round 5 (or your final center round):
- Ch 2. (1 dc in next 3 sts, 2 dc in next st) Repeat from * to * around.
- Sl st to the top of the first dc to join. (60 dc)
- FO center color, leaving a short tail to weave in.
(Part 2: The Petal Border – Using your Petal Color, e.g., Pink)
(The image shows approximately 10-12 petals. With 60 stitches in the final green round, we can easily make 10 petals (60/10=6 stitches per petal section) or 12 petals (60/12=5 stitches per petal section). Let’s aim for 10 distinct petals for a bold look.)
Round 1 (Pink – Starting Petals):
- Attach pink yarn with a sl st in any stitch of the previous (green) round.
- Ch 1, sc in the same st. (This sc will be at the bottom center of where a petal will attach).
- [Petal Sequence]: Work (dc, tr, dtr, tr, dc) all into the next stitch. This creates the base of a pointed petal.
- Sk 4 sts (from the green circle).
- Sc in the next st.
- Repeat from * to * around 9 more times (total 10 petals). The last sc should be in the stitch just before your starting ch 1.
- Sl st to the initial sc to join. (10 sc, 10 petals)

Round 2 (Pink – Defining Petals and Creating Lacey Outer Edge):
- Ch 1 (does not count as st). Sc in the first sc (from previous round).
- Work 1 sc in each of the dc and tr stitches of the petal (total 4 sc across the first half of the petal).
- At the very peak of the petal (the dtr from previous round), work (sc, ch 3, sc).
- Work 1 sc in each of the remaining tr and dc stitches of the petal (total 4 sc across the second half of the petal).
- Ch 3, sk the sc from the previous round (this creates the openwork arch between petals).
- Sc in the next sc.
- Repeat from * to * around, ensuring your last ch 3 connects back to the beginning.
- Sl st to the first sc to join.
Round 3 (Pink – Final Border Detail):
- Sl st into the first ch-3 space (at the petal peak).
- Ch 1. In the same ch-3 space, work (sc, ch 3, sc). (This makes a small decorative picot-like point).
- Work 1 sc in each of the next 4 sc stitches along the side of the petal until you reach the next ch-3 space.
- In the ch-3 space (between the petals), work (sc, ch 3, sc).
- Repeat steps 2-4 around.
- Sl st to the first sc to join.
- FO, leaving a short tail.
Video tutorial
Finishing Up!
- Weave in all ends: Use your yarn needle to neatly weave in all starting and ending tails. For multi-color projects, this ensures a very clean and professional look.
- Blocking (Highly Recommended): For a coaster or small mat, blocking makes a huge difference! Lay your finished piece flat. Gently stretch and shape it, ensuring all the petals are defined and lie nicely. Pin it down using rust-proof pins if needed. Mist it lightly with water (for cotton) or use a steam iron (hovering, not touching the yarn directly for acrylics) and let it dry completely in shape.
And there you have it! A beautiful, vibrant, floral-inspired coaster or small mat ready to add a handmade touch to your home. Enjoy your lovely creation!