by
by 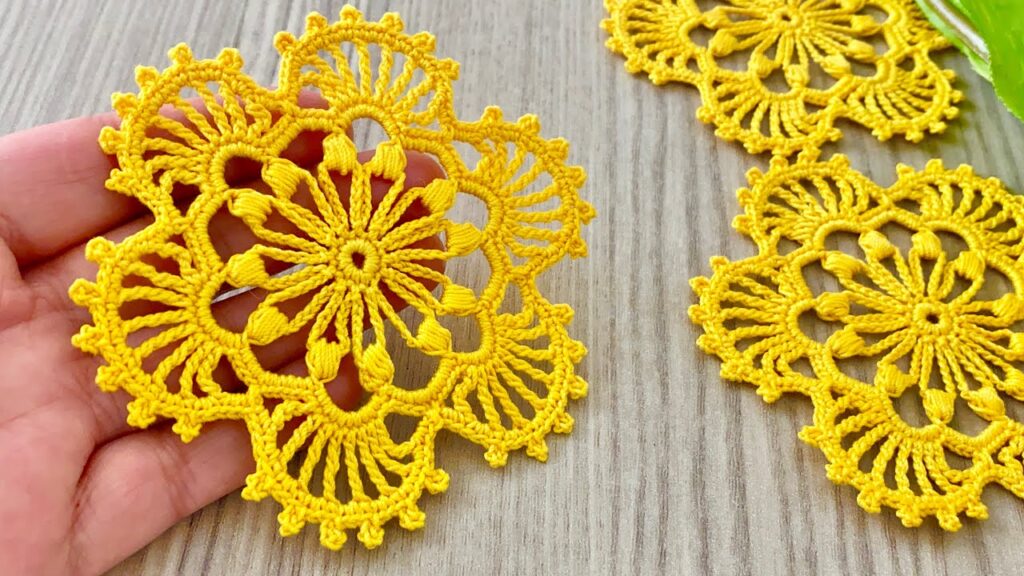
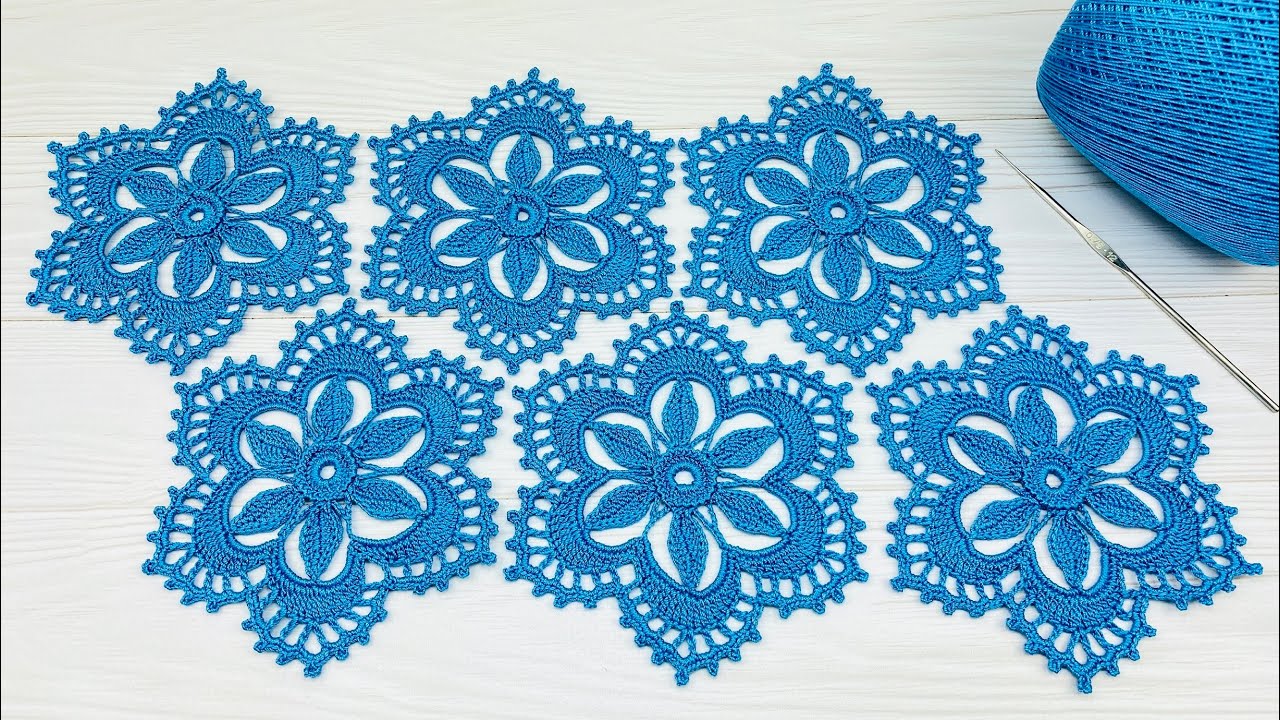
Imagine a miniature garden captured in yarn – layers of petals, delicate leaves, and perhaps a touch of vine, all coming together in one captivating crochet motif. This “Flower Garden Motif” is designed to be a delightful journey through various textures and stitches, resulting in a rich, three-dimensional piece that will elevate any project from blankets to embellishments.
Skill Level: Intermediate (requires familiarity with basic stitches, working into chain spaces, and some layering)
Materials:
- Color A: Flower Center & Base (e.g., Yellow, Cream)
- Color B: Petals (e.g., Pink, Blue, Purple)
- Color C: Leaves & Connecting Square (e.g., Green, Sage)
- Crochet hook size H/8 (5.0 mm) or size needed to obtain gauge
- Yarn needle for weaving in ends
- Scissors
- Stitch markers (optional, but helpful for corners)
Gauge:
While not critical for a single motif, if you plan to join multiple squares, consistent gauge is important. Aim for the finished square to be approximately 6×6 inches (adjust hook size if necessary).
Abbreviations (US Crochet Terms):
- ch: chain
- sl st: slip stitch
- sc: single crochet
- hdc: half double crochet
- dc: double crochet
- tr: treble crochet (or triple crochet)
- dtr: double treble crochet (YO 3 times, insert hook, YO, pull through 2 loops 4 times)
- FO: Fasten off
- MR: Magic Ring (or Ch 4, sl st to join for ring)
- sp: space
- st(s): stitch(es)
- beg: beginning
- rep: repeat
- BLO: back loop only
- FLO: front loop only
Let’s Cultivate Our Flower Garden!
Part 1: The First Flower (Color A & B)
We’ll start with the central, prominent flower of our garden.
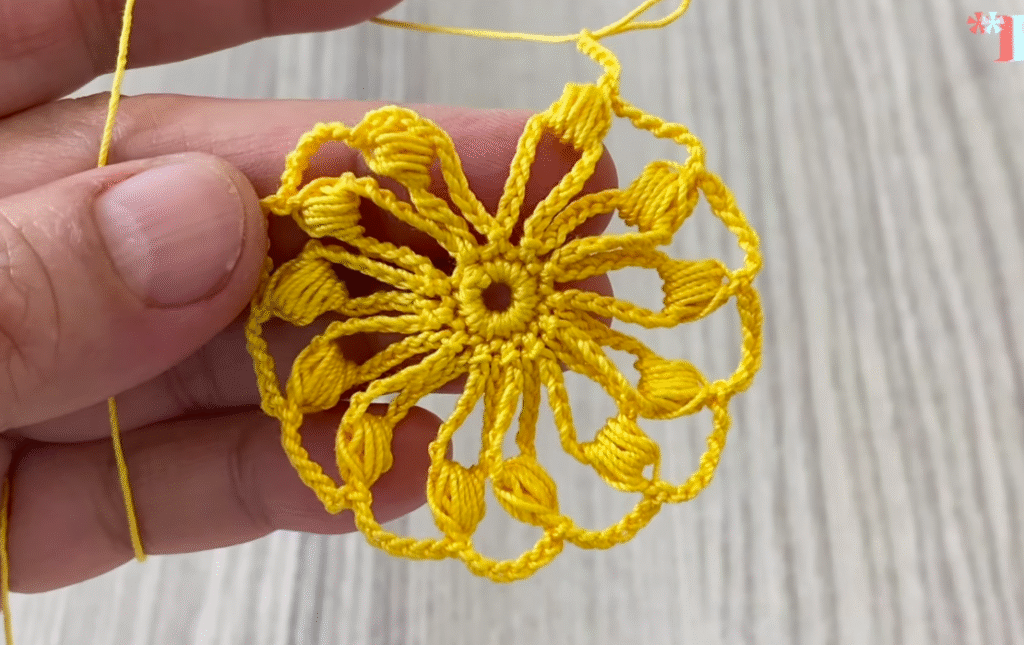
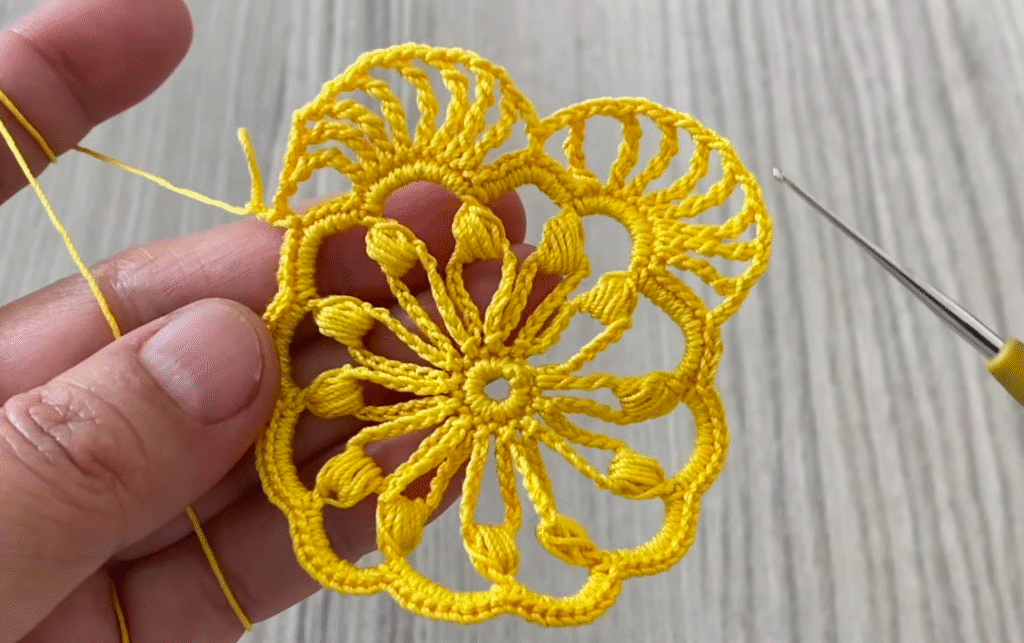
A. Flower Center (Color A)
Round 1: With Color A, start with MR. Ch 2 (does NOT count as a stitch), 12 hdc in MR. Sl st to first hdc to join. (12 hdc) FO Color A, weave in ends.
B. Petals (Color B)
Round 2: Join Color B with a sl st into any hdc from Round 1. Ch 3 (counts as first dc). In the same st, work (dc, ch 2, 2 dc). (This forms your first petal base). *Skip next st, (2 dc, ch 2, 2 dc) in next st.* Repeat from * to * 4 more times. Skip last st. Sl st to top of beg ch-3 to join. (6 petal clusters with ch-2 sps)
Round 3: Sl st into the next dc and into the first ch-2 sp. Ch 1. In the same ch-2 sp, work (sc, hdc, 2 dc, hdc, sc). (This forms your first full petal). *Sc in the space between the 2nd dc of current petal cluster and the 1st dc of the next petal cluster (this helps secure the petal). In the next ch-2 sp, work (sc, hdc, 2 dc, hdc, sc).* Repeat from * to * 4 more times. Sc in the last space between petal clusters. Sl st to first sc to join. (6 petals) FO Color B, weave in ends.
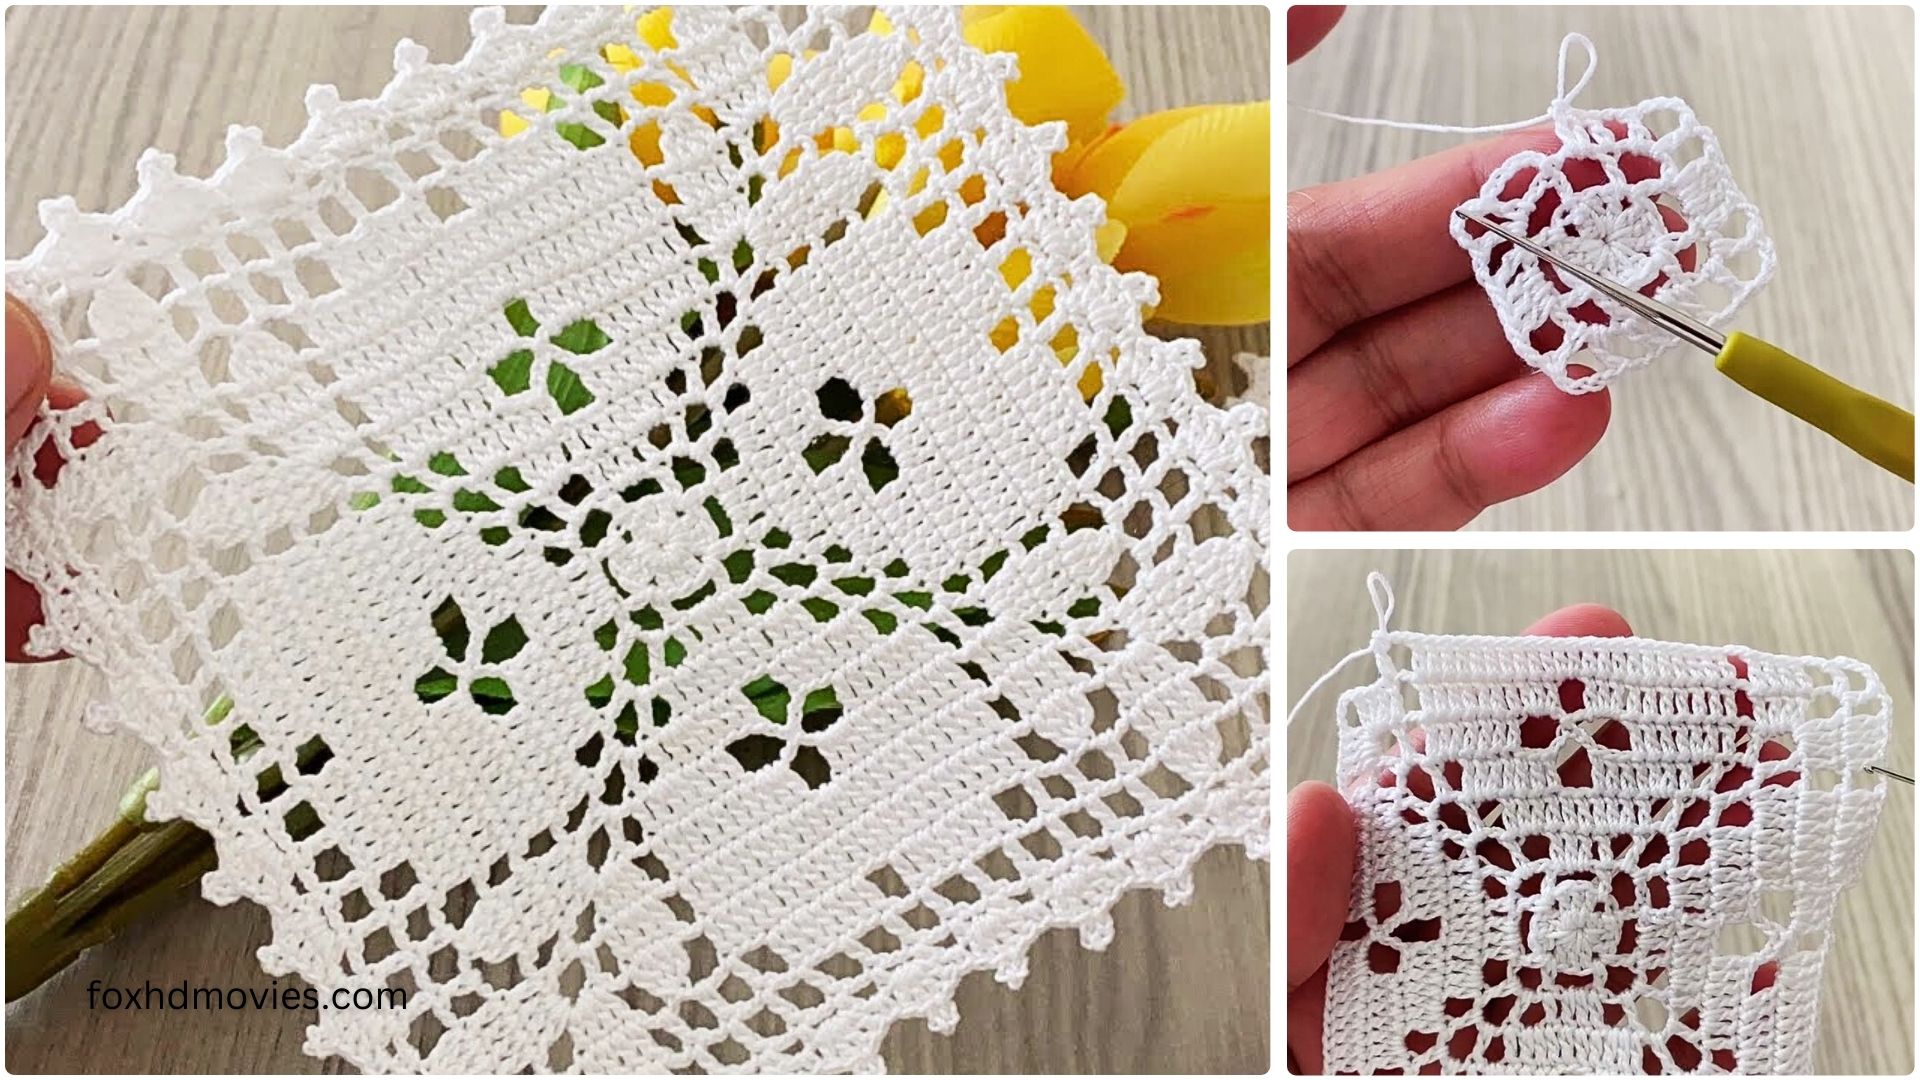
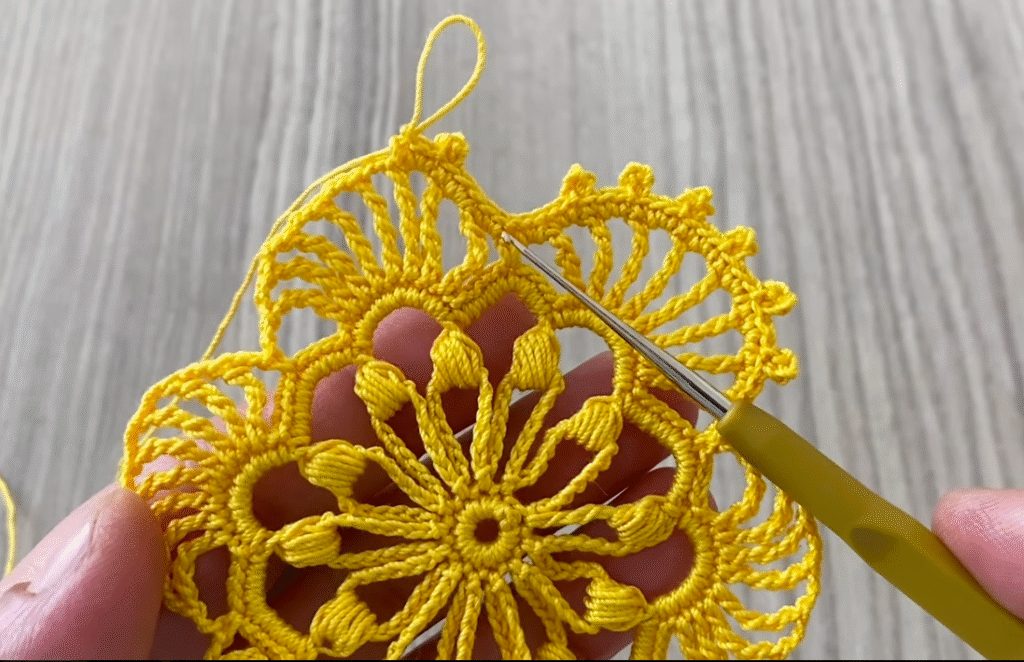
Part 2: The Greenery – Leaves & Square Base (Color C)
Now we’ll introduce the leaves and start forming the square base for our garden.
Round 4: Join Color C with a sl st into any of the sc stitches between petals from Round 3 (the ones you made between the (sc,hdc,2dc,hdc,sc) clusters). This is important for placing the leaves correctly behind the petals.
Ch 3 (counts as first dc). In the same sc, work 2 dc. (First set of 3 dc for a leaf corner). *Ch 3 (this forms the corner chain). In the next sc between petals, work 3 dc. Ch 2 (this is a side chain). In the next sc between petals, work 3 dc. Ch 3 (corner chain). In the next sc between petals, work 3 dc.* Repeat from * to * once more. Ch 2. Sl st to top of beg ch-3 to join. (4 sets of 3dc, 4 ch-3 corners, 2 ch-2 sides)
Round 5: Sl st into next 2 dc and into first ch-3 sp (corner). Ch 3 (counts as first dc). In the same ch-3 sp, work (2 dc, ch 3, 3 dc). (This forms your first corner). *Ch 1. In the next ch-2 sp (side), work 3 dc. Ch 1. In the next ch-3 sp (corner), work (3 dc, ch 3, 3 dc).* Repeat from * to * twice more. Ch 1. In the last ch-2 sp (side), work 3 dc. Ch 1. Sl st to top of beg ch-3 to join. (4 corners, 8 sets of 3dc along sides)
Part 3: Adding the Second Layer of Flowers/Buds (Optional, but adds depth!)
For a true “garden” feel, let’s add some smaller, emerging flowers or buds to the corners. You can use Color B or even a new accent color!
Round 6: Join Color B (or new accent color) with a sl st into any ch-3 corner space from Round 5.
Ch 1. Work (sc, hdc, 2 dc, hdc, sc) into the same ch-3 sp. (This creates a smaller petal cluster). *Ch 1. Sc in the ch-1 sp after the next 3dc cluster. Ch 1. Sc in the next ch-1 sp after the next 3dc cluster. Ch 1. In the next ch-3 sp (corner), work (sc, hdc, 2 dc, hdc, sc).* Repeat from * to * twice more. Ch 1. Sc in the ch-1 sp after the next 3dc cluster. Ch 1. Sc in the next ch-1 sp after the next 3dc cluster. Ch 1. Sl st to first sc to join. (4 petal clusters in corners, sc in side chains) FO Color B, weave in ends.

Part 4: Final Square Border & Detail (Color C)
We’ll finish shaping the square and bring everything together.
Round 7: Join Color C with a sl st into any sc stitch that is not part of a petal cluster (i.e., one of the scs you made in the ch-1 spaces on the sides in Round 6).
Ch 3 (counts as first dc). In the same sc, work 2 dc. *Ch 1. In the space just before the next corner petal cluster, work 3 dc. Ch 1. In the corner petal cluster, work (dc, ch 2, dc) into the 2dc of the petal. (This creates a defined square corner around the petal). Ch 1. In the space just after the corner petal cluster, work 3 dc. Ch 1. In the next sc (between the smaller petal clusters), work 3 dc. Ch 1. In the next sc (between the smaller petal clusters), work 3 dc.* Repeat from * to * twice more. Ch 1. In the space just before the next corner petal cluster, work 3 dc. Ch 1. In the corner petal cluster, work (dc, ch 2, dc) into the 2dc of the petal. Ch 1. In the space just after the corner petal cluster, work 3 dc. Ch 1. Sl st to top of beg ch-3 to join. FO Color C, weave in all remaining ends securely.
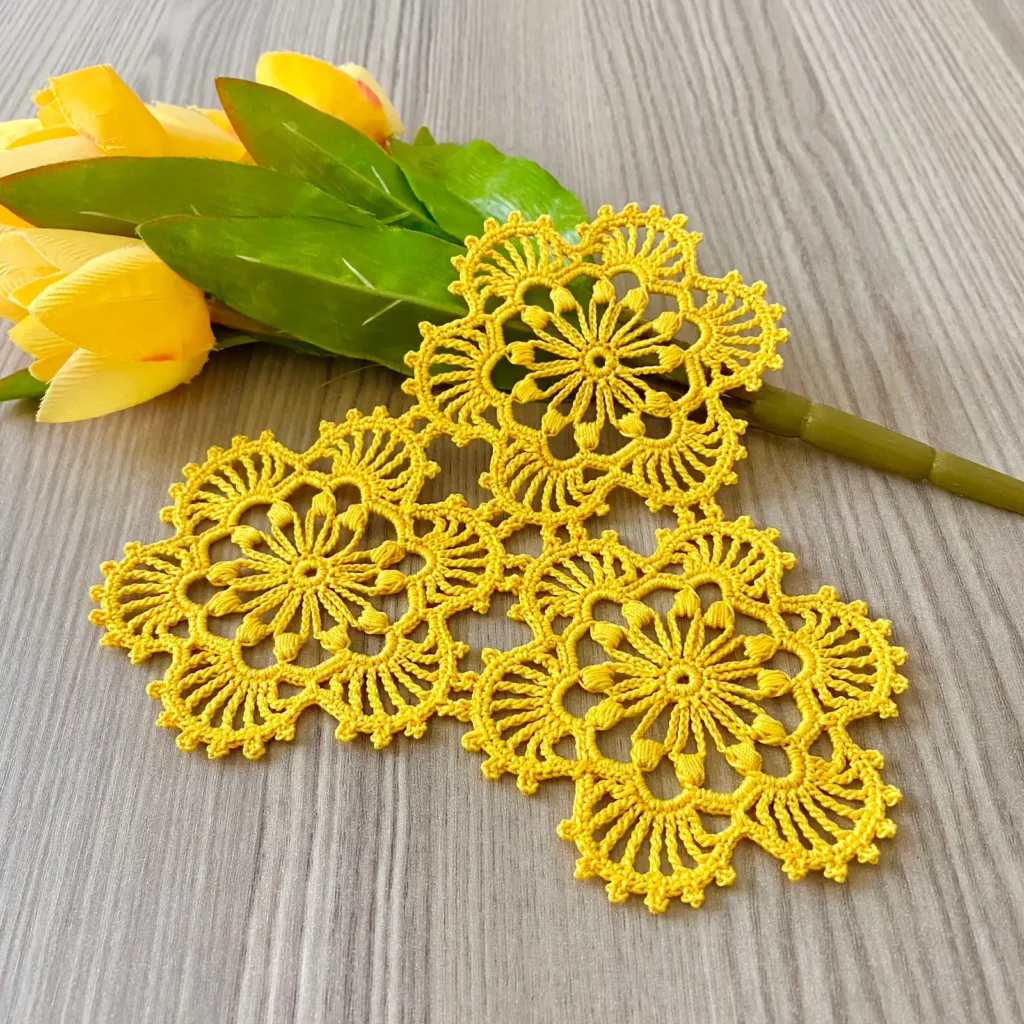
Your Beautiful Crochet Flower Garden Motif is Complete!
Video tutorial
Tips for a Lush Garden Effect:
- Color Gradation: Use lighter shades for the center flower and darker shades for the outer petals for a more realistic bloom.
- Yarn Texture: Using slightly different yarn textures for the flowers versus the leaves can add to the garden’s tactile appeal.
- Embellishments: Tiny beads sewn into the center of the first flower can add sparkle.
- Blocking: For the best results, gently block your finished motif. Wet it, reshape it to a perfect square, and pin it flat until dry. This makes joining multiple squares much easier.
- Joining Methods: For projects like blankets, consider:
- Invisible Join: Using a yarn needle to seam edges for a seamless look.
- Join-As-You-Go (JAYG): Crocheting the last round of a new motif and attaching it directly to existing motifs. This avoids much of the post-crochet seaming.
- Single Crochet Join: Creates a raised, decorative seam that defines each square.
This “Flower Garden Motif” offers a lovely opportunity to play with color and texture, bringing a little piece of nature into your crochet projects. Enjoy growing your yarn garden!