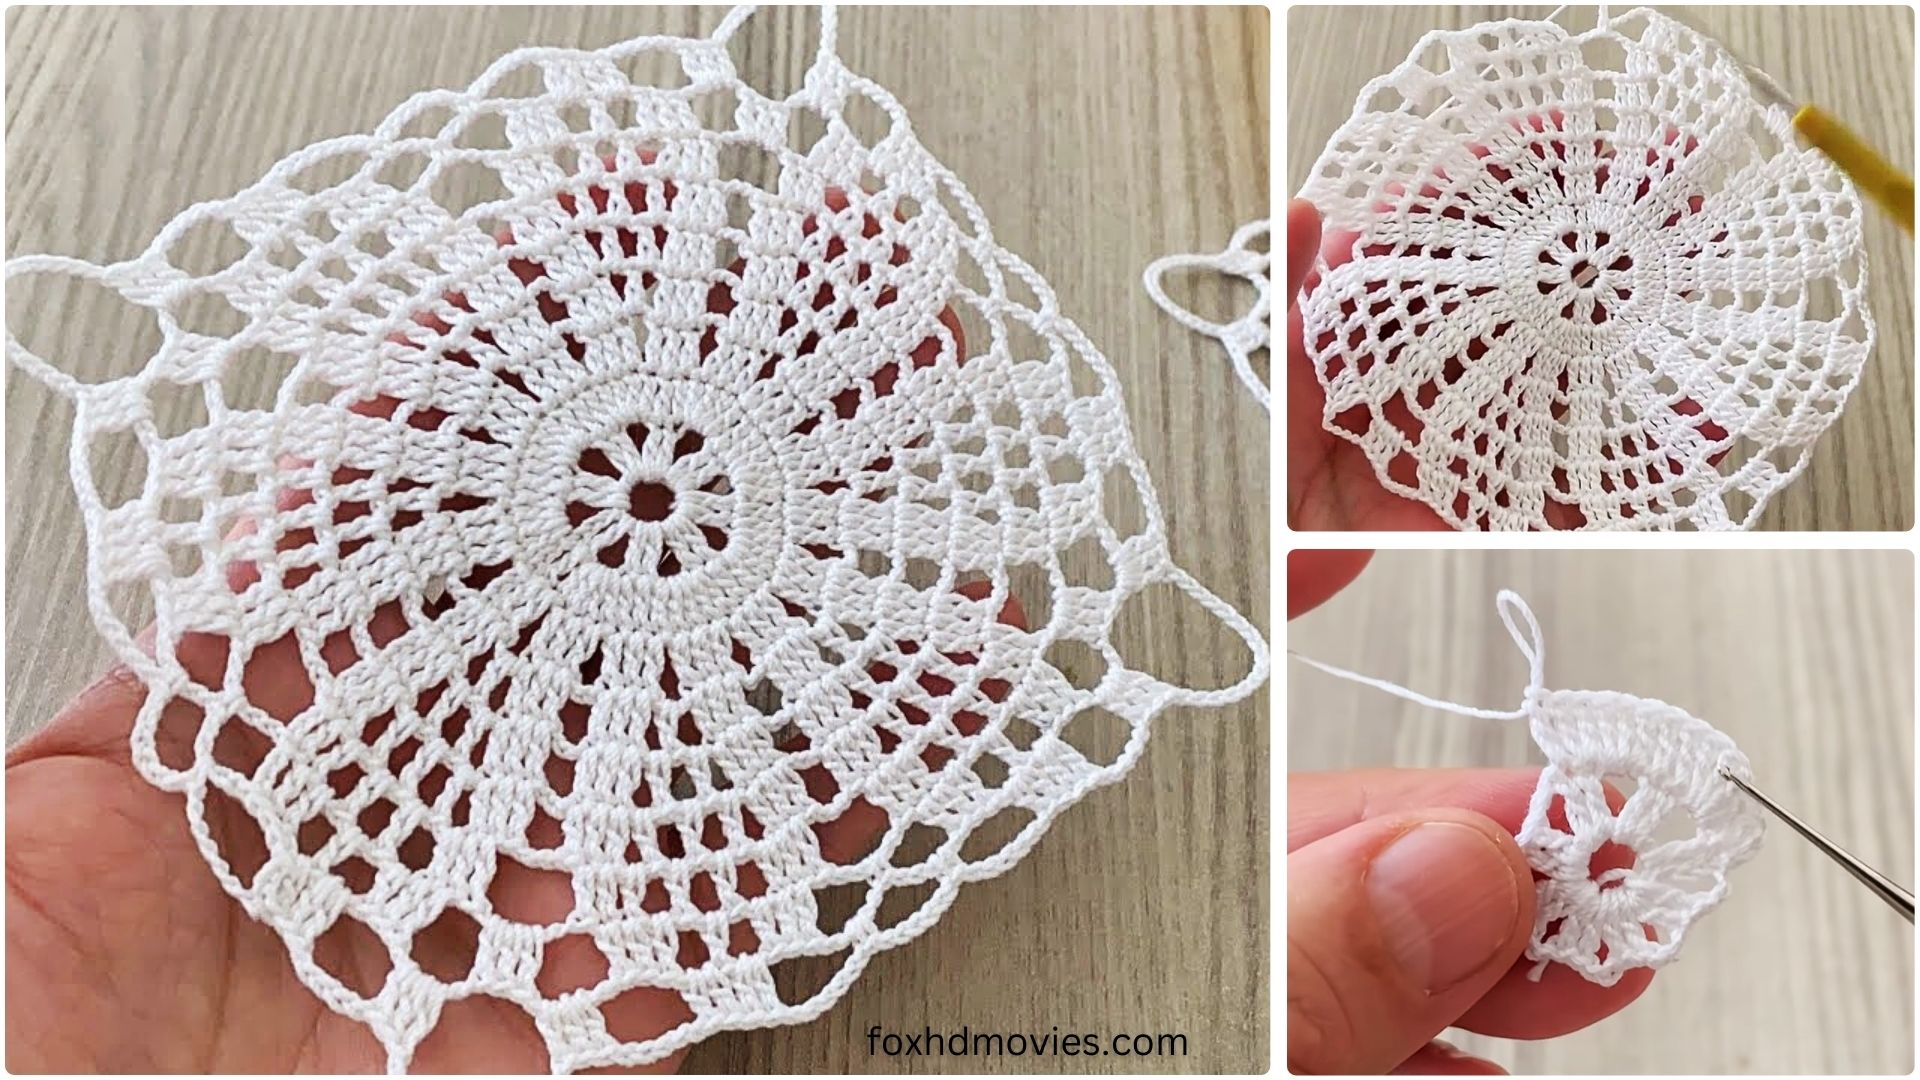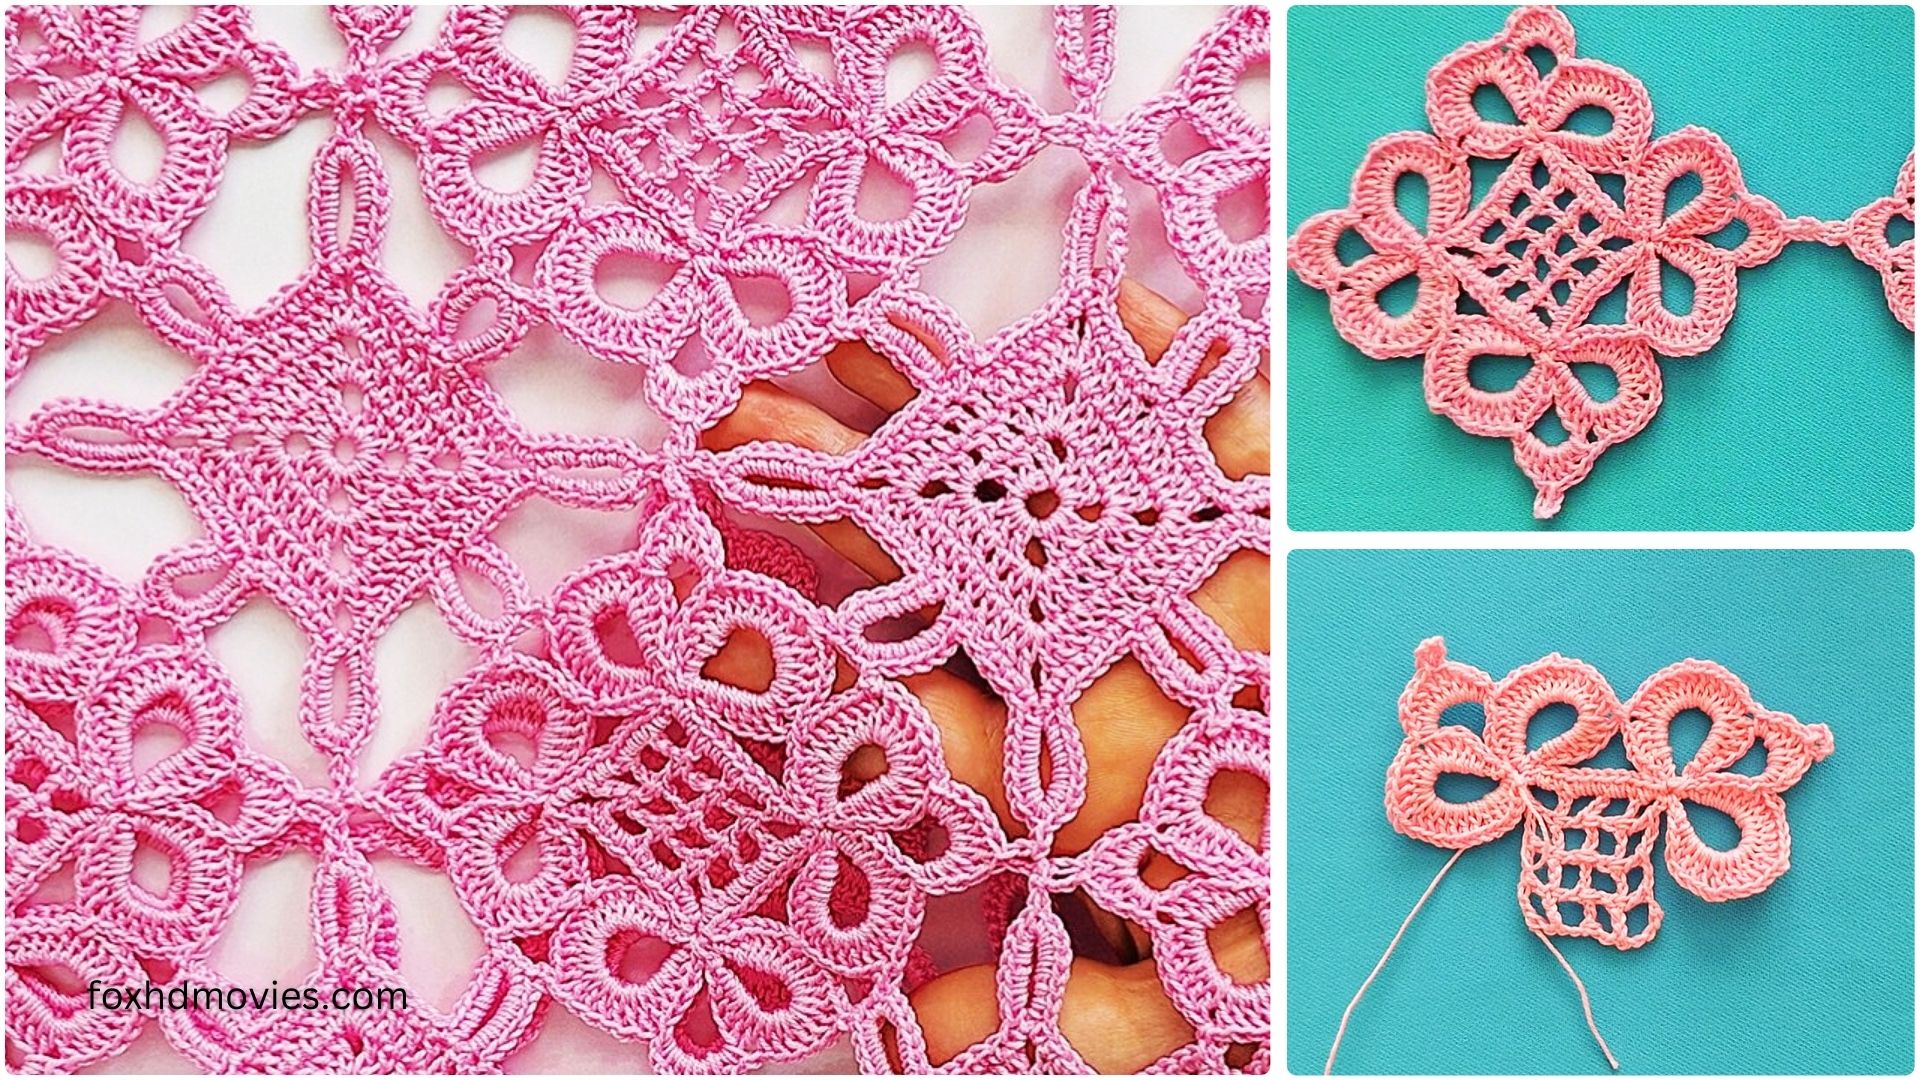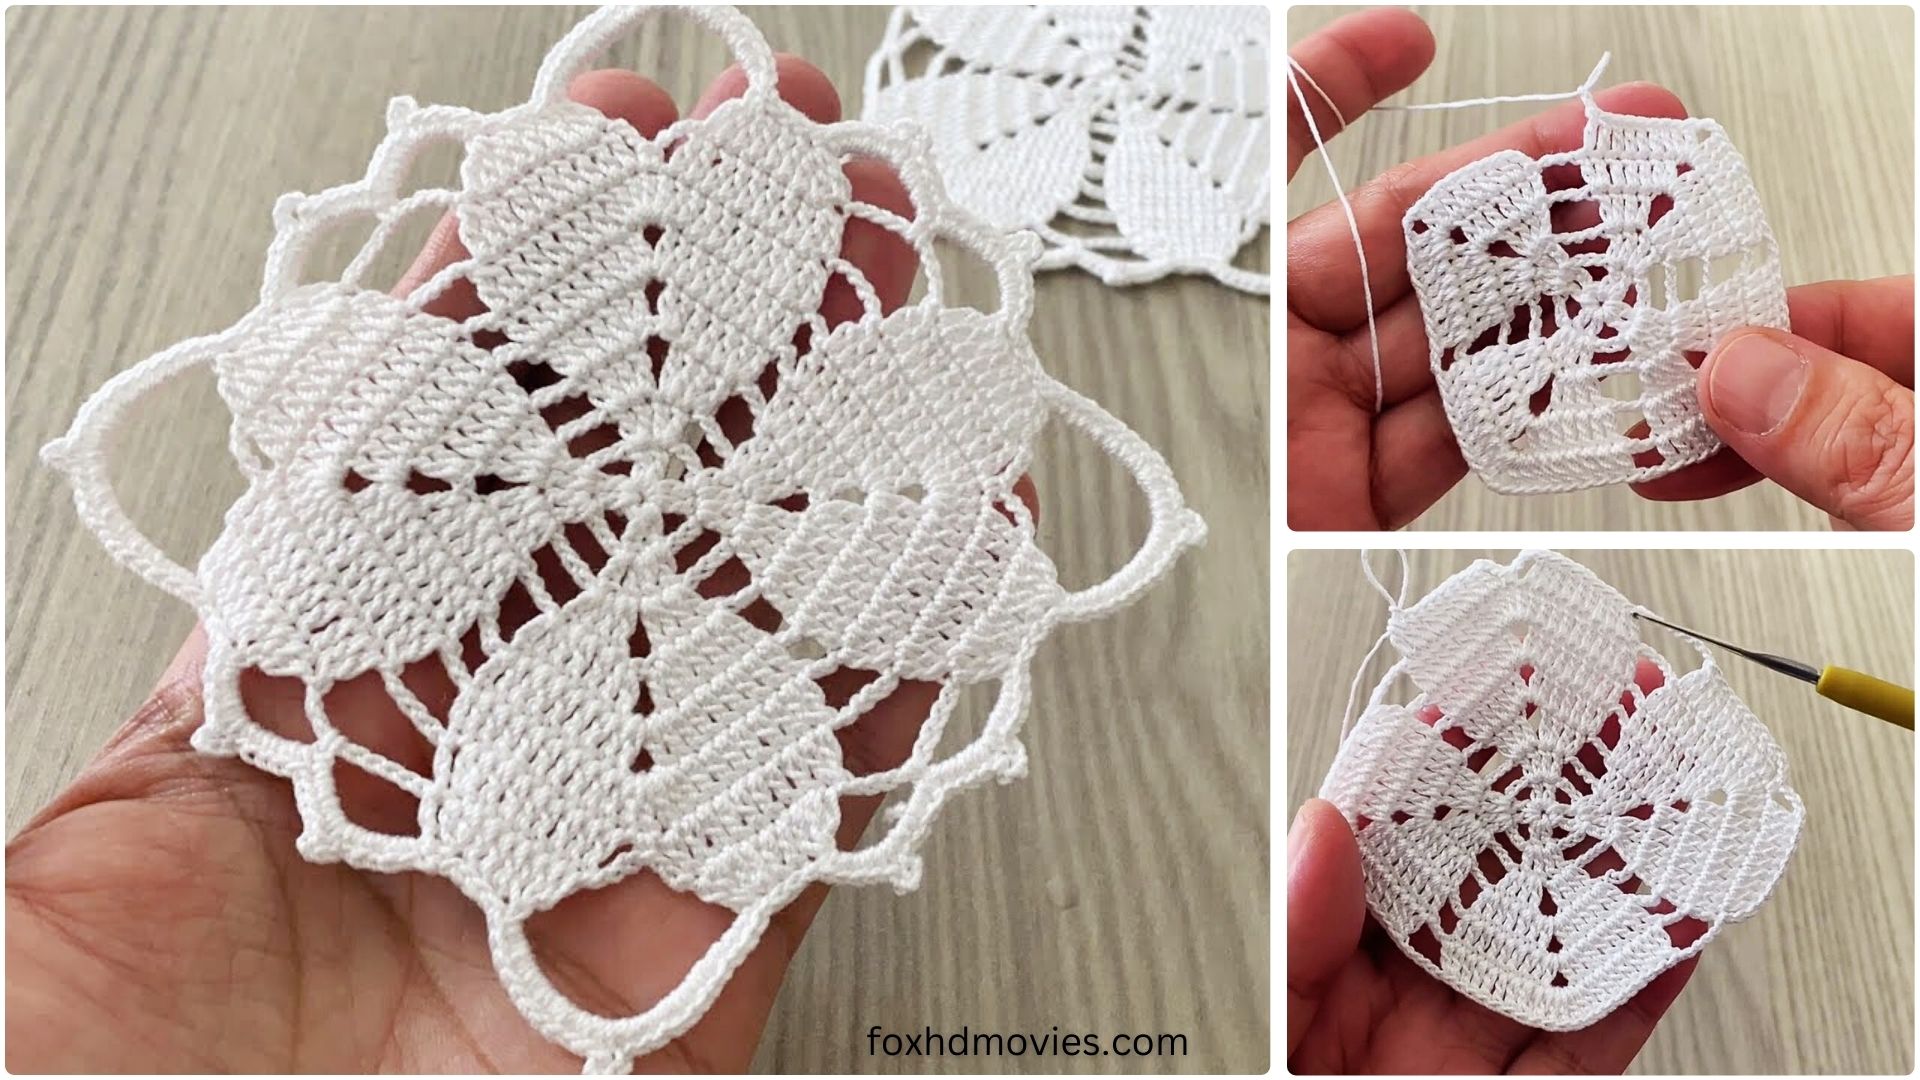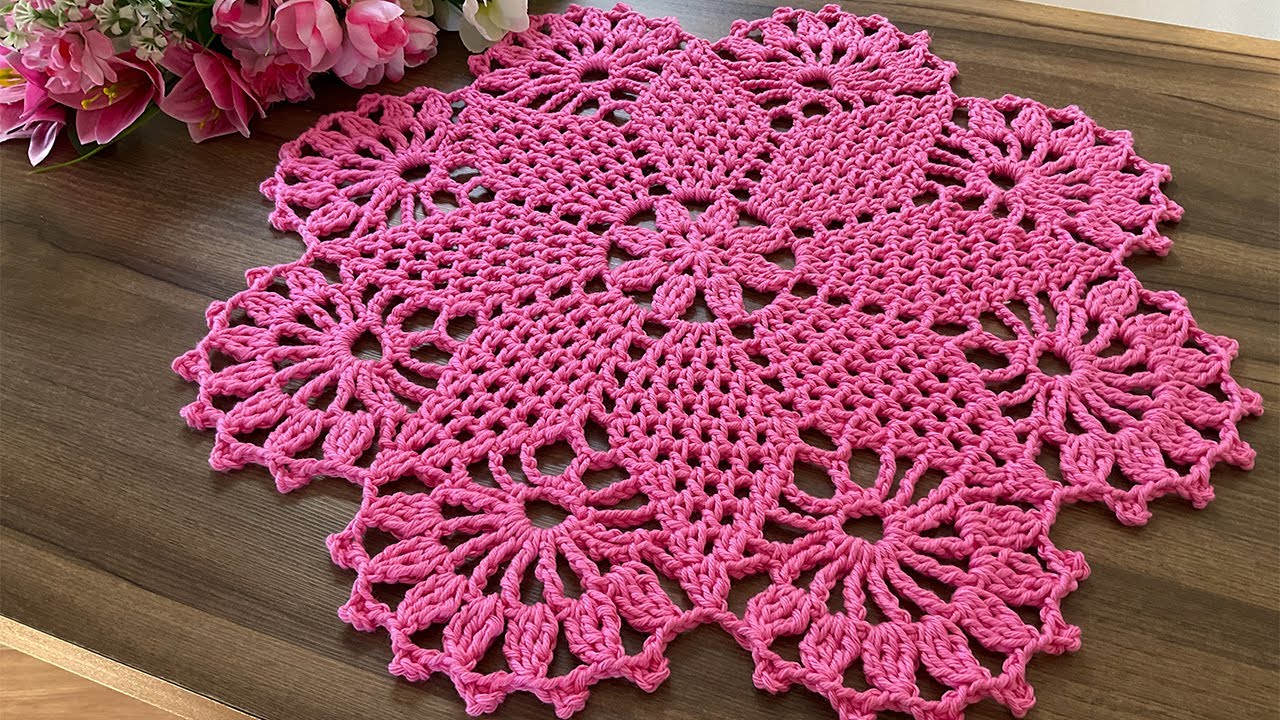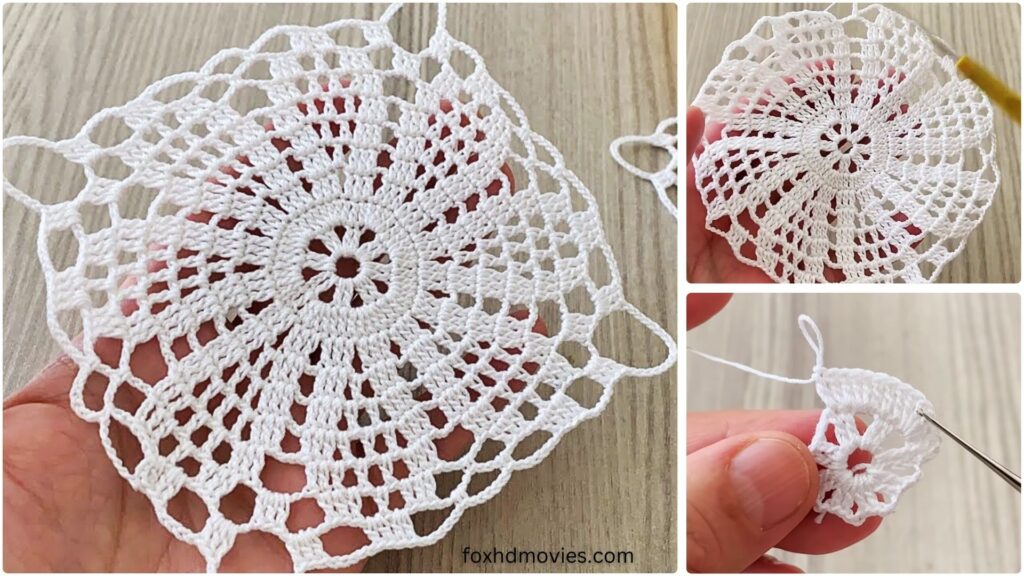
The granny square is a cornerstone of crochet, and for good reason! It’s incredibly versatile, easy to learn, and can be adapted into countless projects, from cozy blankets to stylish bags and garments. While traditional granny squares have gaps, this pattern focuses on a solid granny square, which creates a dense fabric perfect for when you want fewer holes, like for pot holders, sturdy bags, or a warmer blanket.
This pattern is designed to be clear and straightforward, perfect for beginners looking to expand their skills, or experienced crocheters who want a reliable go-to square.
Skill Level: Easy
Materials:
- Worsted weight yarn in your desired color(s) (approx. 50-70 yards for a 6-inch square)
- Crochet hook size H/8 (5.0 mm) or size needed to obtain gauge
- Yarn needle for weaving in ends
- Scissors
- Stitch markers (optional, but helpful for marking corners)
Gauge:
For a 6-inch square (after Round 5), your gauge should be approximately:
- Round 3: Approx. 3 inches across
- Adjust your hook size if needed to achieve desired size. Consistency is key if you’re making multiple squares to join.
Abbreviations (US Crochet Terms):
- ch: chain
- sl st: slip stitch
- dc: double crochet
- sp: space
- st(s): stitch(es)
- beg: beginning
- rep: repeat
- YO: yarn over
Let’s Get Started: Crocheting Your Solid Granny Square!
We’ll start from the center and work our way outwards, creating the distinct square shape with corner increases.
Starting the Square (Magic Ring Method Recommended)
For a tight center, a magic ring (also known as a magic circle or adjustable ring) is ideal.
- Magic Ring: Create a magic ring. Ch 2 (does NOT count as a stitch). Work 12 dc into the ring. Pull the tail to close the ring tightly. Sl st to the top of the first dc to join. (12 dc)
- Alternative (Ch 4 Method): Ch 4, sl st to first ch to form a ring. Ch 2 (does NOT count as a stitch). Work 12 dc into the ring. Sl st to the top of the first dc to join. (12 dc)

Round 1: Establishing the First Corners
This round starts to define the square shape.
Ch 2 (does NOT count as a stitch).
- In the same stitch you joined to, work (2 dc, ch 2, 3 dc). This creates your first corner group.
- Work 3 dc in the next 3 stitches.
- In the next stitch, work (3 dc, ch 2, 3 dc). This is your second corner.
- Work 3 dc in the next 3 stitches.
- In the next stitch, work (3 dc, ch 2, 3 dc). This is your third corner.
- Work 3 dc in the next 3 stitches.
- In the last stitch, work (3 dc, ch 2, 3 dc). This is your fourth corner.
- Sl st to the top of the first dc to join.

You should now have 4 sides of 3 dc and 4 ch-2 corner spaces.
Round 2: Building the Square
Now we’ll start working into the spaces created in the previous round, which is characteristic of granny squares.
Sl st into the next 2 dc and into the first ch-2 sp (this moves your hook to the corner). Ch 2 (does NOT count as a stitch).
- In the same ch-2 sp, work (3 dc, ch 2, 3 dc). This is your new corner.
- Work 3 dc into the space before the next corner (this is the space created by the 3 dc group from the previous round).
- In the next ch-2 sp, work (3 dc, ch 2, 3 dc). This is your next corner.
- Work 3 dc into the space before the next corner.
- In the next ch-2 sp, work (3 dc, ch 2, 3 dc). This is your next corner.
- Work 3 dc into the space before the next corner.
- In the next ch-2 sp, work (3 dc, ch 2, 3 dc). This is your last corner.
- Sl st to the top of the first dc to join.

You should now have 4 corners and 8 sets of 3 dc groups along the sides (2 groups per side).
Subsequent Rounds (Repeating the Pattern)
From here, the pattern is very repetitive and easy to remember! You will always work corners into corners, and 3 dc groups into the spaces along the sides.
For Round 3 and Beyond:
Sl st into the next 2 dc and into the first ch-2 sp (moves your hook to the corner). Ch 2 (does NOT count as a stitch).
- In the same ch-2 sp (current corner), work (3 dc, ch 2, 3 dc).
- Work 3 dc into each ch-1 sp (the spaces between the 3 dc groups) along the side until you reach the next corner.
- In the next ch-2 sp (next corner), work (3 dc, ch 2, 3 dc).
- Repeat from * around, working your corner groups and 3 dc groups into the spaces along the sides.
- Sl st to the top of the first dc to join.

Continue repeating this round until your square reaches your desired size! A typical washcloth might be 8-10 rounds, a baby blanket square could be 12-15 rounds.
Finishing: Once you’ve completed your final round, fasten off your yarn and weave in all loose ends securely with your yarn needle. For a really crisp finish, you can block your square.
Video Tutorial
Tips for Perfect Solid Granny Squares:
- Consistent Tension: This is key for squares that lie flat and are uniform in size.
- Color Changes:
- To change colors at the end of a round: Work the last sl st of the round with your new color.
- To change colors in the middle of a round (e.g., for stripes within a side): Work the last stitch of the old color up to the final YO. YO with the new color and pull through all loops to complete the stitch.
- Stitch Markers: Use stitch markers to mark your corner spaces in the first few rounds, especially when you’re starting out. This helps you keep track of where your increases go.
- Counting: If your square starts to buckle or pucker, double-check your stitch count. Make sure you’re consistently putting your corner groups in the corner spaces and 3 dc groups in the side spaces.
- Uses for Solid Granny Squares:
- Blankets: Join many squares together for a stunning afghan.
- Potholders/Trivets: Make a single thick square.
- Dishcloths/Washcloths: Use cotton yarn for a practical and pretty cloth.
- Cushion Covers: Make two larger squares and join them.
- Bags: Combine squares for the body of a tote or clutch.
The solid granny square is a fantastic foundation for countless crochet projects. Have fun experimenting with different colors and creating your own unique variations! Happy crocheting!
