 by
by 
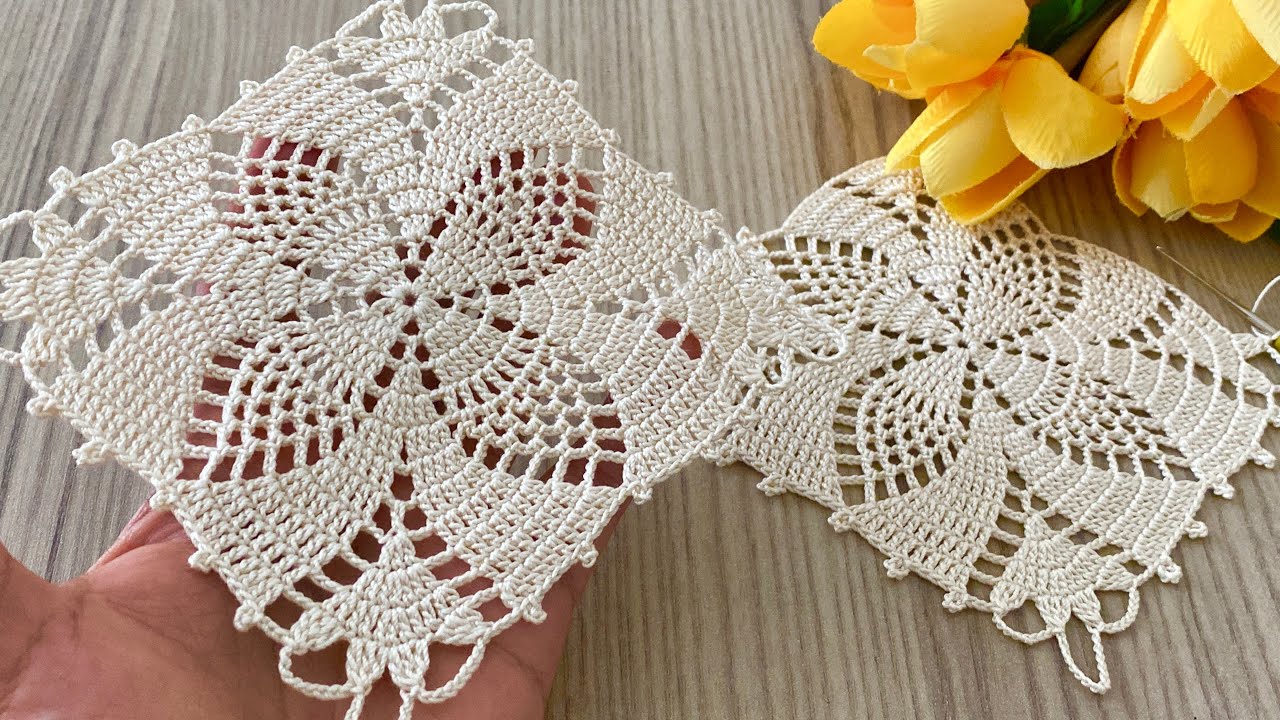
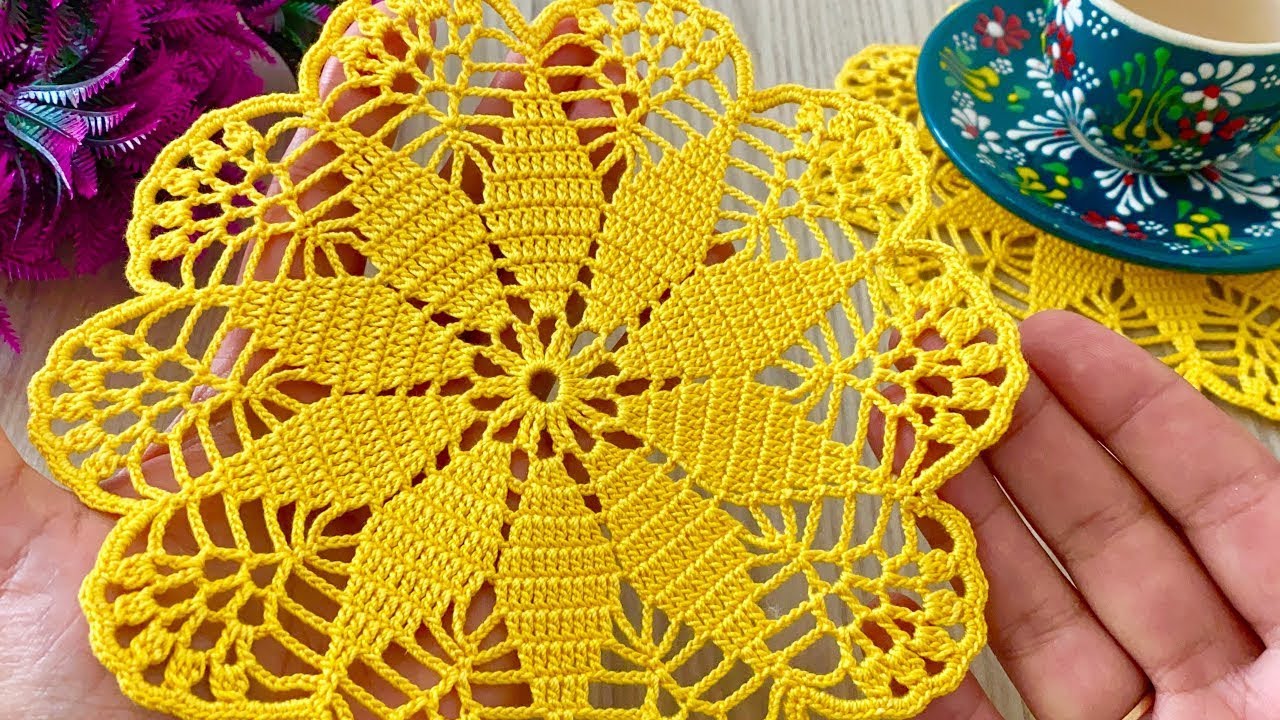
This “Radiant Star” large motif is designed to be a showstopper. Perfect as a centerpiece for a blanket, a decorative doily, or even a unique wall hanging, this pattern uses a mix of basic and slightly more advanced stitches to build a beautiful, intricate design that expands outwards from a central point.
Skill Level: Intermediate (due to stitch variety and complexity of rounds)
Materials:
- Worsted weight yarn in your desired colors (e.g., a main color and an accent color. Or one solid color for a classic look). I recommend a lighter color to show off the stitch definition.
- Crochet hook size H/8 (5.0 mm) or size needed to obtain gauge
- Yarn needle for weaving in ends
- Scissors
- Stitch markers (helpful for marking corners or beginning of rounds)
Gauge:
Gauge is quite important for larger motifs to ensure your final piece is the intended size and lies flat. After Round 6, your motif should measure approximately 6-7 inches in diameter. Adjust your hook size if needed.
Finished Size:
Approximately 12-14 inches in diameter, depending on yarn and hook size.
Abbreviations (US Crochet Terms):
- ch: chain
- sl st: slip stitch
- sc: single crochet
- hdc: half double crochet
- dc: double crochet
- tr: treble crochet (yarn over twice)
- dtr: double treble crochet (yarn over three times)
- sp: space
- st(s): stitch(es)
- beg: beginning
- rep: repeat
- YO: yarn over
- sk: skip
- FPdc: Front Post Double Crochet (YO, insert hook from front to back to front around the post of the indicated st, YO, pull up a loop, [YO, pull through 2 loops] twice)
- BPdc: Back Post Double Crochet (YO, insert hook from back to front to back around the post of the indicated st, YO, pull up a loop, [YO, pull through 2 loops] twice)
- V-st: V-stitch (dc, ch 1, dc in the same stitch/space)
- Shell: (2 dc, ch 1, 2 dc) in the same stitch/space

Let’s Begin Our Radiant Star!
Part 1: The Central Star (Color A)
We’ll start with a tightly woven center that forms the core of our star.
Round 1: Ch 4, sl st to first ch to form a ring. (Alternatively, use a magic ring). Ch 3 (counts as 1 dc), 11 dc in the ring. Sl st to top of beg ch-3. (12 dc)
Round 2: Ch 1 (does not count as st), sc in same st. FPdc around next dc. *sc in next dc, FPdc around next dc.* Rep from * to * 5 more times. Sl st to first sc. (12 sc, 12 FPdc)
Round 3: Ch 3 (counts as 1 dc), dc in next FPdc. *Ch 1, sk next sc, dc in next FPdc, dc in next sc.* Rep from * to * 4 more times. Ch 1, sk next sc. Sl st to top of beg ch-3. (12 dc, 6 ch-1 sps) Fasten off Color A.

Part 2: Expanding the Starburst (Color B – or continue with Color A)
Now we’ll introduce a new color (or keep the same) and create the points of our star.
Round 4: Join Color B with a sl st in any ch-1 sp. Ch 3 (counts as 1 dc), (dc, ch 2, 2 dc) in same ch-1 sp (this forms a corner point). *Ch 1, sk next 2 dc, (2 dc, ch 2, 2 dc) in next ch-1 sp.* Rep from * to * 4 more times. Ch 1. Sl st to top of beg ch-3. (6 corner shells, 6 ch-1 sps)
Round 5: Sl st into next dc and into first ch-2 sp. Ch 3 (counts as 1 dc), (2 dc, ch 2, 3 dc) in same ch-2 sp (corner). *Ch 1, 3 dc in next ch-1 sp. Ch 1, (3 dc, ch 2, 3 dc) in next ch-2 sp (corner).* Rep from * to * 4 more times. Ch 1, 3 dc in last ch-1 sp. Ch 1. Sl st to top of beg ch-3. (6 corners, 12 sets of 3dc, 12 ch-1 sps)
Round 6: Sl st into next 2 dc and into first ch-2 sp. Ch 3 (counts as 1 dc), (2 dc, ch 2, 3 dc) in same ch-2 sp (corner). *Ch 1, 3 dc in next ch-1 sp. Ch 1, 3 dc in next ch-1 sp. Ch 1, (3 dc, ch 2, 3 dc) in next ch-2 sp (corner).* Rep from * to * 4 more times. Ch 1, 3 dc in next ch-1 sp. Ch 1, 3 dc in last ch-1 sp. Ch 1. Sl st to top of beg ch-3. (6 corners, 18 sets of 3dc, 18 ch-1 sps) Fasten off Color B.
Part 3: The Expanding Lace (Color C – or new accent color)
Now we’ll introduce some lovely texture and expand the motif even further.
Round 7: Join Color C with a sl st in any ch-2 corner sp. Ch 1, (sc, ch 3, sc) in same ch-2 sp (corner). *Ch 3, sk (3 dc, ch 1), sc in next ch-1 sp. Ch 3, sk (3 dc, ch 1), sc in next ch-1 sp. Ch 3, sk (3 dc, ch 1), (sc, ch 3, sc) in next ch-2 sp (corner).* Rep from * to * 4 more times. Ch 3, sk (3 dc, ch 1), sc in next ch-1 sp. Ch 3, sk (3 dc, ch 1), sc in next ch-1 sp. Ch 3. Sl st to first sc. (6 corners, 18 ch-3 loops, 24 sc)
Round 8: Sl st into ch-3 sp. Ch 1, (sc, ch 3, sc) in same ch-3 sp (corner). *Ch 3, sc in next ch-3 sp. Ch 3, sc in next ch-3 sp. Ch 3, sc in next ch-3 sp. Ch 3, (sc, ch 3, sc) in next ch-3 sp (corner).* Rep from * to * 4 more times. Ch 3, sc in next ch-3 sp. Ch 3, sc in next ch-3 sp. Ch 3, sc in next ch-3 sp. Ch 3. Sl st to first sc. (6 corners, 24 ch-3 loops, 30 sc)

Part 4: Final Framing (Color A – or your main color)
For the grand finale, we’ll create a solid, elegant border that frames our star beautifully.
Round 9: Join Color A with a sl st in any ch-3 corner sp. Ch 3 (counts as 1 dc), (2 dc, ch 2, 3 dc) in same ch-3 sp (corner). *In each of the next 4 ch-3 sps across the side, work 3 dc. (3 dc, ch 2, 3 dc) in next ch-3 corner sp.* Rep from * to * 4 more times. In each of the last 4 ch-3 sps across the side, work 3 dc. Sl st to top of beg ch-3. (6 corners, 24 sets of 3dc)
Round 10: Sl st into next 2 dc and into first ch-2 sp. Ch 3 (counts as 1 dc), (2 dc, ch 2, 3 dc) in same ch-2 sp (corner). *Dc in each dc across to the next corner (there will be 18 dc). (3 dc, ch 2, 3 dc) in next ch-2 sp (corner).* Rep from * to * 4 more times. Dc in each dc across to the last corner. Sl st to top of beg ch-3. Fasten off and weave in all remaining ends securely.
Video tutorial
Congratulations! Your “Radiant Star” Large Piece Crochet Motif is Complete!
Tips for a Perfect Large Motif:
- Blocking is Key: For a large motif like this, blocking will truly make your stitches pop and ensure the motif lies perfectly flat and symmetrical. Gently wet your finished motif, lay it flat on a foam mat or towel, and pin out all the points and edges. Let it air dry completely.
- Yarn Choice: A yarn with good stitch definition (like cotton or a cotton blend) will really showcase the intricate details of this pattern.
- Color Play:
- Monochromatic: Use different shades of the same color for a subtle, elegant effect.
- Contrasting: Use bold contrasting colors for a vibrant, eye-catching piece.
- Gradient: Work through different color changes in each section or even each round for a lovely ombré effect.
- Joining (if making a larger project):
- Invisible Seam: For a seamless look, use a mattress stitch or whip stitch from the back loops.
- Crochet Join: A sc or sl st join can add a decorative ridge.
- Join-as-you-go: For very large projects with multiple motifs, consider a join-as-you-go method on the final round.
- Uses for Your Large Motif:
- Centerpiece for a Baby Blanket or Afghan: A stunning focal point.
- Doily or Table Mat: Perfect for adding a handmade touch to your home decor.
- Wall Hanging: Frame it or hang it as a standalone piece.
- Bag Flap: A unique detail for a handmade bag.
- Cushion Front: Sew it onto a fabric backing for a decorative pillow.
Enjoy the process of watching your “Radiant Star” come to life, stitch by intricate stitch! Happy crocheting!