by
by 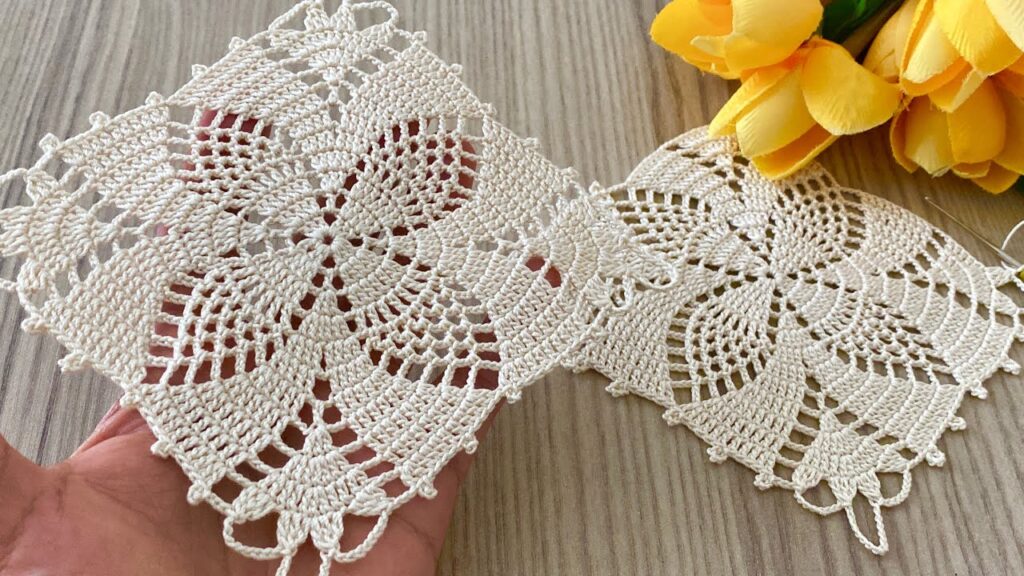
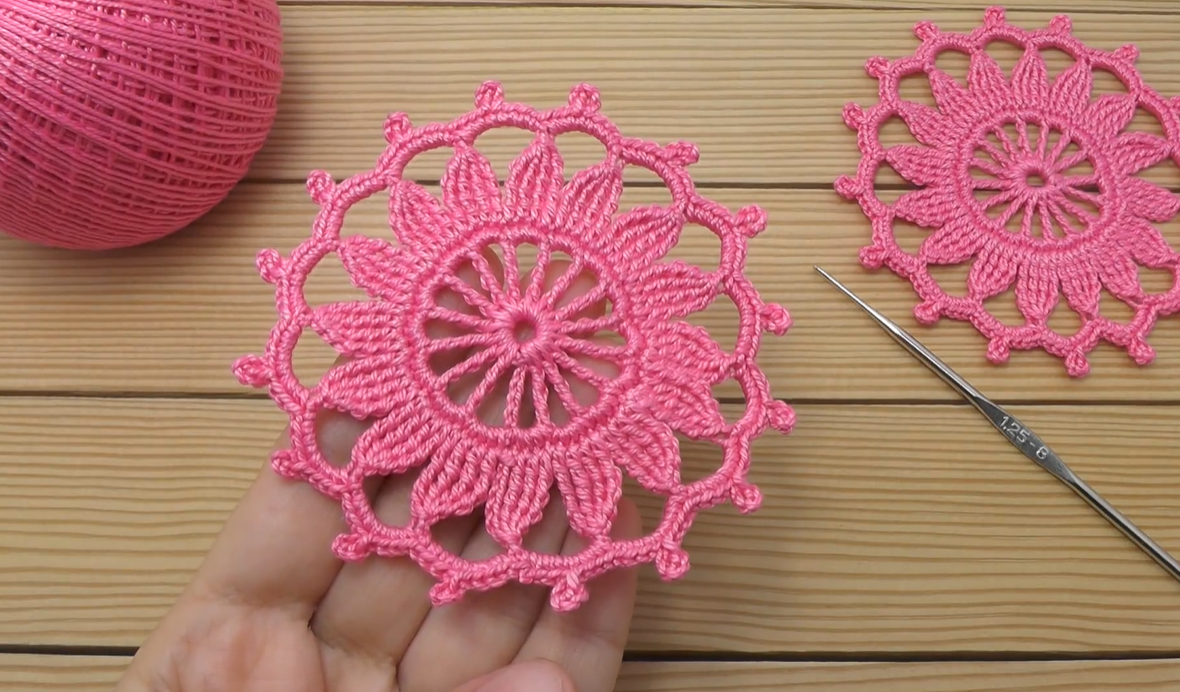
The crochet square motif, most famously known as the “Granny Square,” is a timeless classic for a reason. It’s incredibly versatile, easy to learn, and perfect for using up yarn scraps. From cozy blankets and stylish bags to trendy cardigans and home decor, mastering this motif opens up a world of creative possibilities.
This step-by-step guide will walk you through making a standard granny square, perfect for beginners and a great refresher for seasoned crocheters.
Skill Level: Beginner
Materials:
- Worsted weight yarn in your desired colors (you can use one color or multiple colors per square)
- Crochet hook size H/8 (5.0 mm) or size needed to obtain gauge
- Yarn needle for weaving in ends
- Scissors
Gauge:
While not strictly critical for a single motif, if you plan to join multiple squares, aiming for consistent gauge is important. After 4 rounds, your motif should measure approximately 4-5 inches. Adjust your hook size if needed.
Abbreviations (US Crochet Terms):
- ch: chain
- sl st: slip stitch
- dc: double crochet
- sp: space
- st(s): stitch(es)
- beg: beginning
- rep: repeat
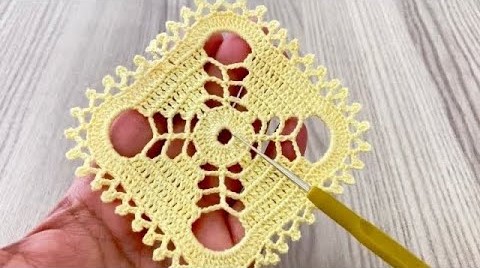
Let’s Make Your First Crochet Square!
We’ll build this square from the center out, working in rounds.
Starting the Square: The Center Ring
There are two common ways to start:
- Chain Ring Method (Beginner Friendly): Ch 4, then sl st into the 1st ch to form a ring.
- Magic Ring Method (Tighter Center): If you’re familiar with the magic ring, you can use that instead.
(For this pattern, we’ll assume you’re using the Chain Ring Method, but the rest of the steps are the same regardless of how you start your ring.)

Round 1: Creating the First Clusters and Corners
This round establishes the foundation of your square with the first “clusters” of stitches and the chain spaces that will become your corners.
- Ch 3 (counts as your first dc).
- Work 2 dc into the center ring.
- Ch 2 (this creates your first corner space).
- Work 3 dc into the center ring.
- Ch 2 (second corner space).
- Work 3 dc into the center ring.
- Ch 2 (third corner space).
- Work 3 dc into the center ring.
- Ch 2 (fourth corner space).
- Sl st to the top of the beginning Ch 3 to join the round.
You should now have 4 groups of 3 dc, separated by 4 Ch 2 spaces.
Round 2: Expanding the Square
Now we’ll start building out the square shape by working into the chain spaces. You’ll work into both the corner spaces and the new side spaces.
- Sl st into the next 2 dc, then sl st into the first Ch 2 corner space. This positions your hook correctly for the start of the round.
- If you want to change colors, fasten off your previous color, attach your new color with a sl st in the same Ch 2 corner space, then Ch 3 to begin the round.
- Ch 3 (counts as first dc).
- In the same corner space, work (2 dc, Ch 2, 3 dc). This forms your first new corner.
- Ch 1 (this creates a side space).
- In the next Ch 2 corner space, work (3 dc, Ch 2, 3 dc). This forms your second new corner.
- Ch 1 (side space).
- In the next Ch 2 corner space, work (3 dc, Ch 2, 3 dc). (Third new corner).
- Ch 1 (side space).
- In the last Ch 2 corner space, work (3 dc, Ch 2, 3 dc). (Fourth new corner).
- Ch 1 (side space).
- Sl st to the top of the beginning Ch 3 to join the round.

You should now have 8 groups of 3 dc (4 corners, 4 sides), 4 Ch 2 corner spaces, and 4 Ch 1 side spaces.
Round 3: Continuing the Growth
The pattern is now established! You’ll continue to work corners in the Ch 2 spaces and side clusters in the Ch 1 spaces.
- Sl st into the next 2 dc, then sl st into the first Ch 2 corner space.
- If you want to change colors, fasten off your previous color, attach your new color with a sl st in the same Ch 2 corner space, then Ch 3 to begin the round.
- Ch 3 (counts as first dc).
- In the same corner space, work (2 dc, Ch 2, 3 dc).
- Ch 1.
- In the next Ch 1 side space, work 3 dc.
- Ch 1.
- In the next Ch 2 corner space, work (3 dc, Ch 2, 3 dc).
- Ch 1.
- In the next Ch 1 side space, work 3 dc.
- Ch 1.
- In the next Ch 2 corner space, work (3 dc, Ch 2, 3 dc).
- Ch 1.
- In the next Ch 1 side space, work 3 dc.
- Ch 1.
- In the last Ch 2 corner space, work (3 dc, Ch 2, 3 dc).
- Ch 1.
- In the next Ch 1 side space, work 3 dc.
- Ch 1.
- Sl st to the top of the beginning Ch 3 to join the round.

You should now have 4 corners and 8 side clusters (2 on each side), separated by Ch 1 spaces.
Subsequent Rounds: Repeat the Pattern!
To make your square larger, simply repeat the pattern of Round 3.
- Always start a new round by slip stitching to the nearest corner space.
- In every Ch 2 corner space, always work (3 dc, Ch 2, 3 dc).
- In every Ch 1 side space, always work 3 dc.
- Always Ch 1 between every 3 dc cluster (whether it’s a side cluster or part of a corner).
Continue these rounds until your square reaches your desired size.
Finishing Your Square:
- Once you’ve completed your last round, fasten off your yarn.
- Use your yarn needle to weave in all loose ends securely. This is crucial for a neat and long-lasting finished product!
Video tutorial
Tips for Granny Square Perfection:
- Tension: Try to maintain consistent tension throughout your work for a uniform look.
- Color Changes: Changing colors at the beginning of a round by sl stitching into a corner space and then attaching the new yarn creates a clean look.
- Weaving Ends: Weave in ends as you go, or after each color change, to avoid a daunting task at the end.
- Blocking (Optional): For a really crisp, flat square, you can “block” your finished motif. Gently wet the square, pin it to your desired shape on a foam board, and let it dry completely.
What Can You Make with Granny Squares?
The possibilities are truly endless!
- Blankets/Throws: The most popular use! Join many squares together.
- Pillows/Cushions: Sew two squares together and stuff.
- Bags/Totes: Combine squares for the body of a unique bag.
- Scarves/Shawls: Join squares in a long row.
- Coasters: Make small, 2-3 round squares.
- Garments: Cardigans, vests, skirts, and tops can all be constructed from granny squares.
- Hot Pads/Trivets: Use cotton yarn and make them thick.
Now you have all the tools to create beautiful crochet square motifs! Experiment with colors, sizes, and joining techniques to unlock your creativity. Happy crocheting!