 by
by 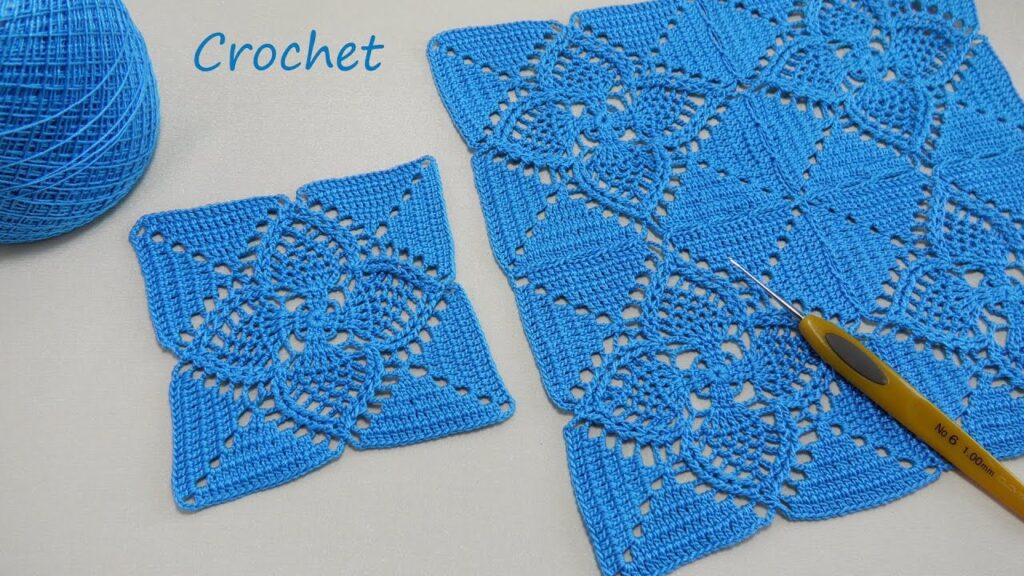
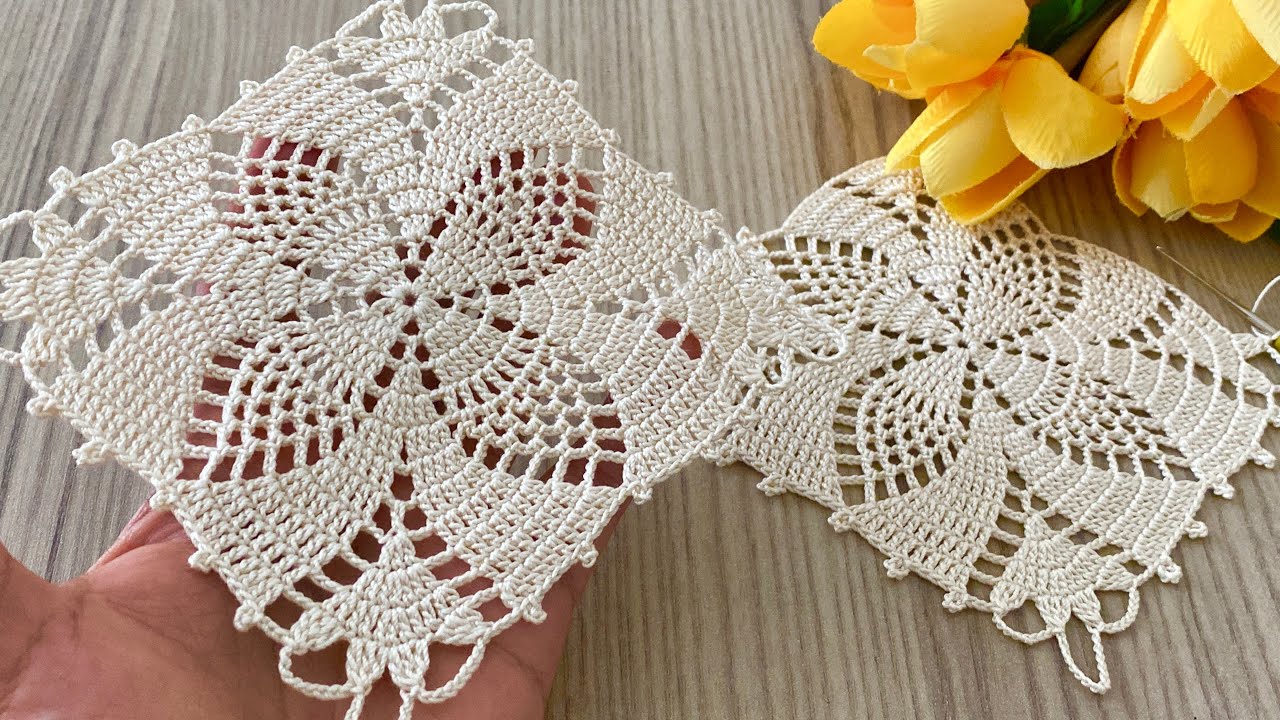
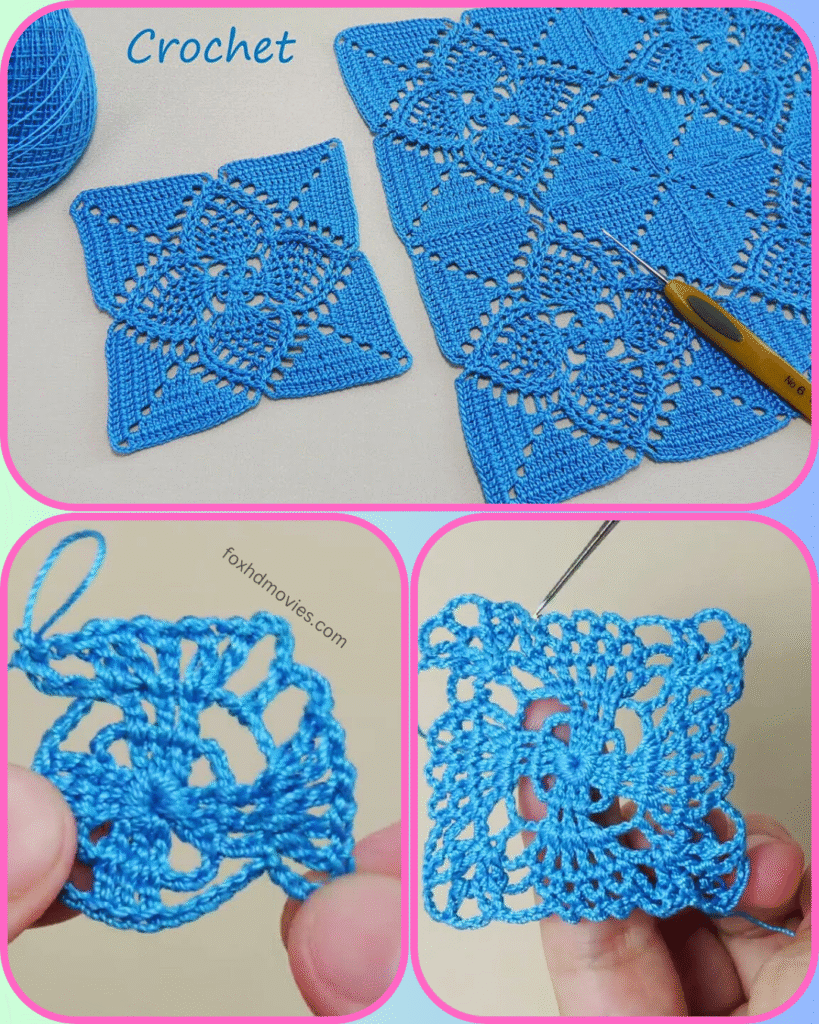
Hello fellow yarn lovers! Today, we’re diving into a project that’s as satisfying as it is stunning: crocheting these gorgeous lace squares. Perfect for adding a touch of elegance to any project, these motifs can be joined to create blankets, throws, or even delicate garments.
The squares feature a lovely swirling, almost floral design within their boundaries, giving them a unique charm. Grab your hook and your favorite yarn, and let’s get started!
Skill Level: Intermediate
Materials You’ll Need:
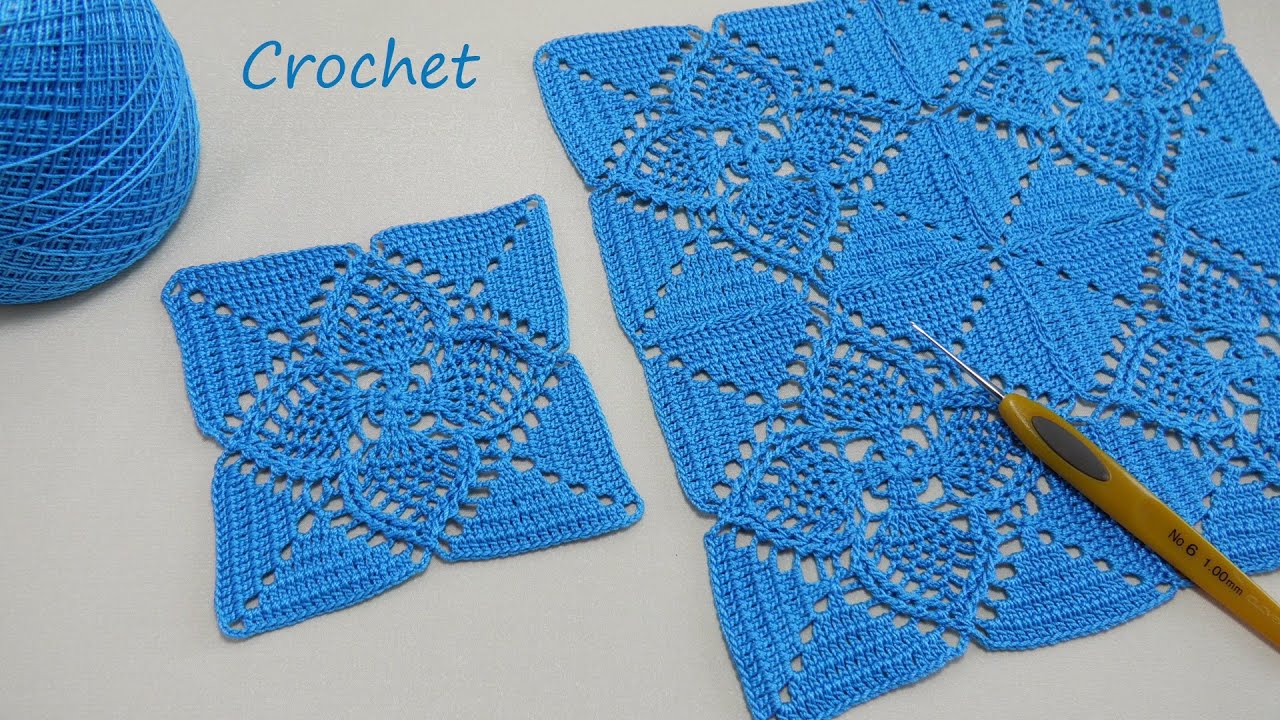
- Yarn: DK (light worsted) or sport weight yarn in your desired color. The sample uses a beautiful bright blue. (Approx. 50g per square, depending on size and yarn weight).
- Crochet Hook: A hook appropriate for your yarn. For DK yarn, a 3.5mm – 4.0mm (E-G) hook is usually a good choice. The hook in the image appears to be a 3.00mm.
- Yarn Needle: For weaving in ends.
- Scissors
Abbreviations (US Terms):
- ch: chain
- sl st: slip stitch
- sc: single crochet
- hdc: half double crochet
- dc: double crochet
- tr: treble crochet (or triple crochet)
- sk: skip
- sp: space
- st(s): stitch(es)
- rep: repeat
- foll: following
- yo: yarn over
- beg: beginning
- ch-sp: chain space
The Pattern: Elegant Lace Square Motif
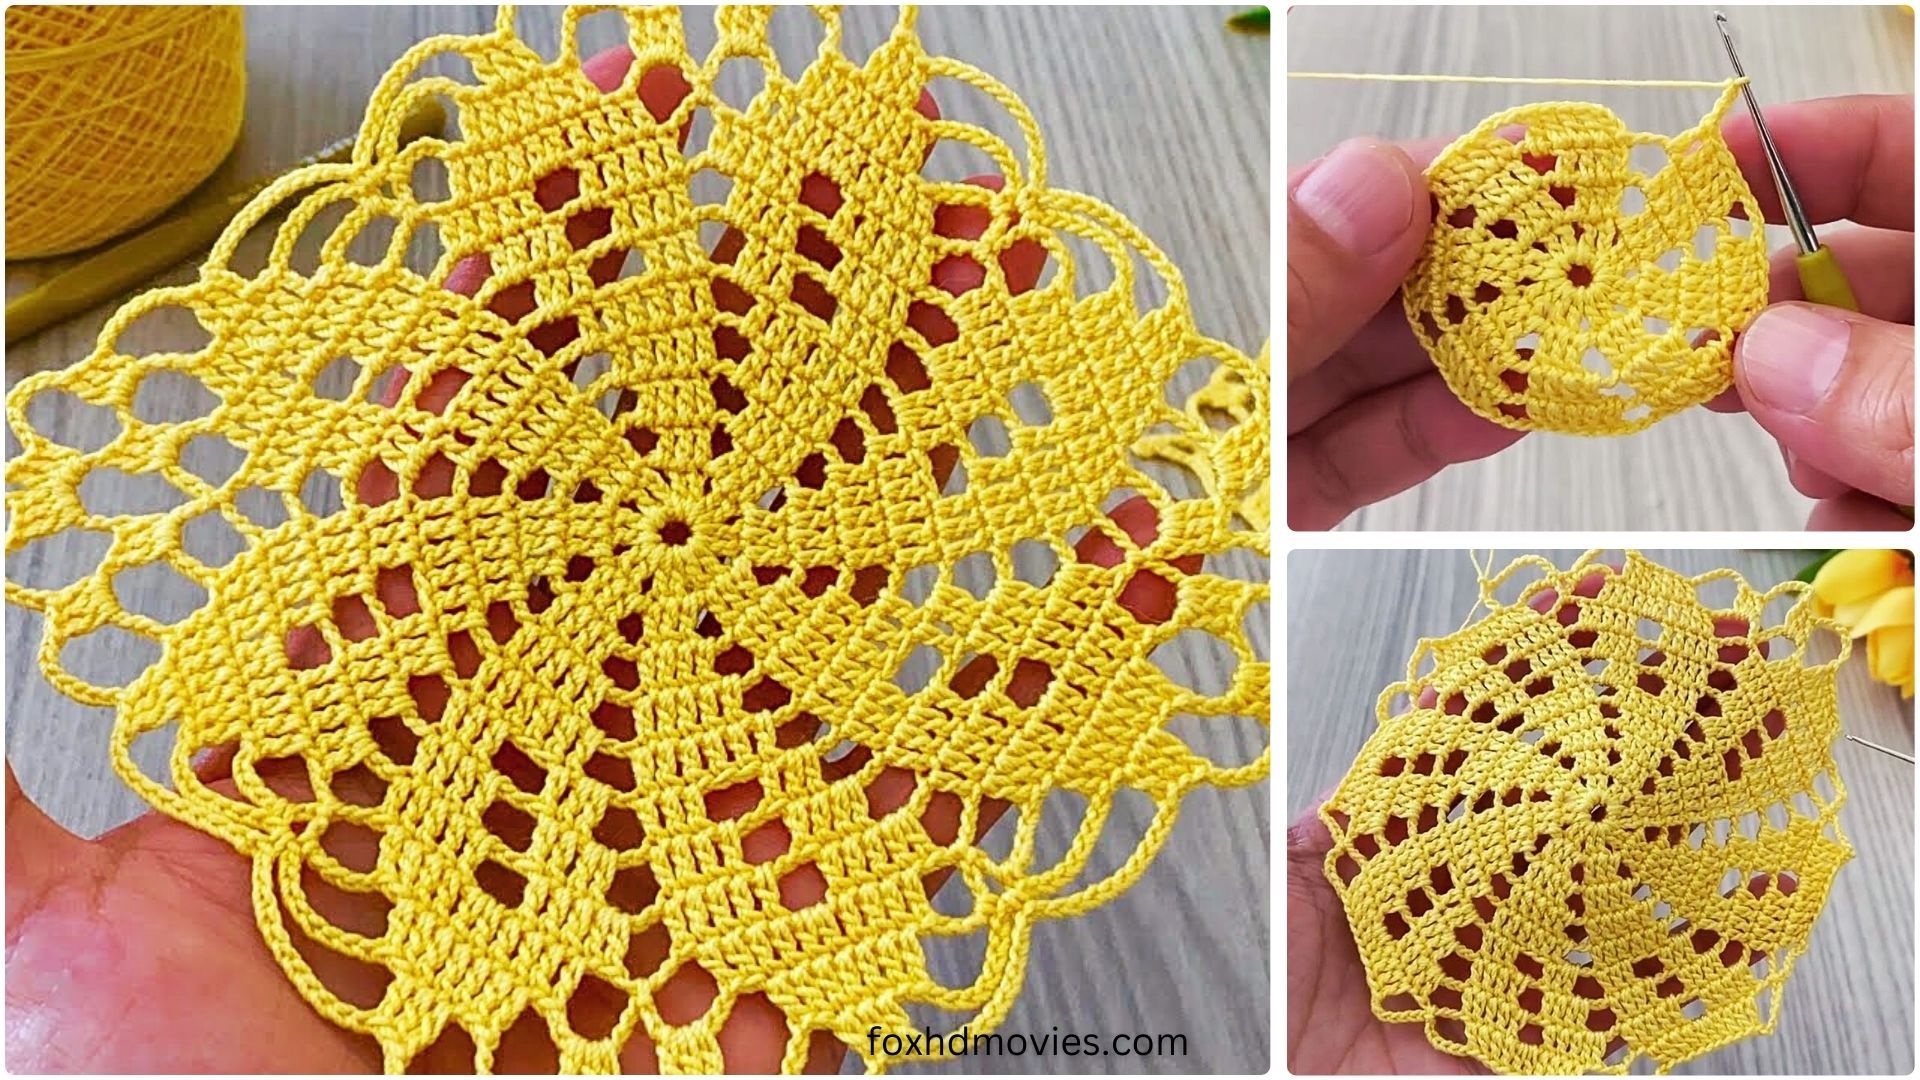
This square is worked in rounds from the center out.
Foundation: Create a magic ring (adjustable ring) OR ch 4, join with sl st to first ch to form a ring.

Round 1: Ch 3 (counts as 1 dc), 11 dc into ring. Join with sl st to top of beg ch 3. (12 dc)
Round 2: Ch 3 (counts as 1 dc), dc in same st. 2 dc in next st. Rep from * around. Join with sl st to top of beg ch 3. (24 dc)
Round 3: Ch 1, sc in same st. Ch 3, sk 2 sts, sc in next st. Rep from * around, ending with ch 3, sk 2 sts. Join with sl st to first sc. (8 sc, 8 ch-3 sps)
Round 4: Sl st into first ch-3 sp. Ch 3 (counts as 1 dc), (2 dc, ch 3, 3 dc) in same ch-3 sp (this forms your first corner). Ch 1, sk next sc, (3 dc, ch 3, 3 dc) in next ch-3 sp. Rep from * around. Join with sl st to top of beg ch 3. (4 corners made)
Round 5: Sl st into the first corner ch-3 sp. Ch 3 (counts as 1 dc), (2 dc, ch 3, 3 dc) in same ch-3 sp. Dc in each of the next 3 dc, dc in ch-1 sp, dc in each of the next 3 dc, (3 dc, ch 3, 3 dc) in next corner ch-3 sp. Rep from * around. After the last corner, dc in each of the next 3 dc, dc in ch-1 sp, dc in each of the last 3 dc. Join with sl st to top of beg ch 3.
Round 6 (Creating the Swirl/Lace): This round introduces the openwork and the shaping that creates the distinctive swirling design. Sl st into corner ch-3 sp. Ch 3 (counts as 1 dc), (2 dc, ch 3, 3 dc) in same ch-3 sp. Ch 3, sk 3 sts. [Dc in next st, ch 1, sk 1 st] twice. Dc in next st. Ch 3, sk 3 sts. (3 dc, ch 3, 3 dc) in next corner ch-3 sp. Rep from * around. After the last corner, Ch 3, sk 3 sts. [Dc in next st, ch 1, sk 1 st] twice. Dc in next st. Ch 3, sk 3 sts. Join with sl st to top of beg ch 3.

Round 7 (Solidifying the Shape): Sl st into corner ch-3 sp. Ch 3 (counts as 1 dc), (2 dc, ch 3, 3 dc) in same ch-3 sp. Dc in each st and ch-sp across to next corner (this means 3 dc in the ch-3 sp, 1 dc in each dc, and 1 dc in each ch-1 sp), then (3 dc, ch 3, 3 dc) in next corner ch-3 sp. Rep from * around. Join with sl st to top of beg ch 3.
Round 8 (Optional Edging for Joining): For a cleaner edge, especially for joining squares, you might want a final round of single crochet or a similar stitch. Ch 1, sc in same st. 3 sc in corner ch-3 sp. Sc in each st across to next corner. Rep from * around. Join with sl st to first sc. Fasten off and weave in ends.

Joining Your Squares:
Once you have several squares, you can join them together using various methods:
- Slip Stitch Join: Place two squares with wrong sides together and sl st through both loops of corresponding stitches.
- Single Crochet Join: Similar to slip stitch, but using sc for a slightly more defined seam.
- Whipstitch: Use your yarn needle to sew the squares together.
- Join-as-you-go: This is a fantastic method where you join the squares in the final round of crocheting the second (and subsequent) squares. Look up “crochet join as you go square” tutorials for detailed instructions on this method.
Video tutorial
Tips for Success:
- Gauge: If you’re planning a large project, check your gauge. A small difference in tension can lead to a big difference in final size.
- Blocking: Blocking your finished squares will help them lie flat, even out your stitches, and really show off the lace pattern.
- Experiment with Colors: While blue is beautiful, imagine these squares in variegated yarn, or a combination of contrasting colors!
I hope you enjoy making these beautiful crochet lace squares! Don’t forget to share your creations with us. Happy crocheting!