by
by 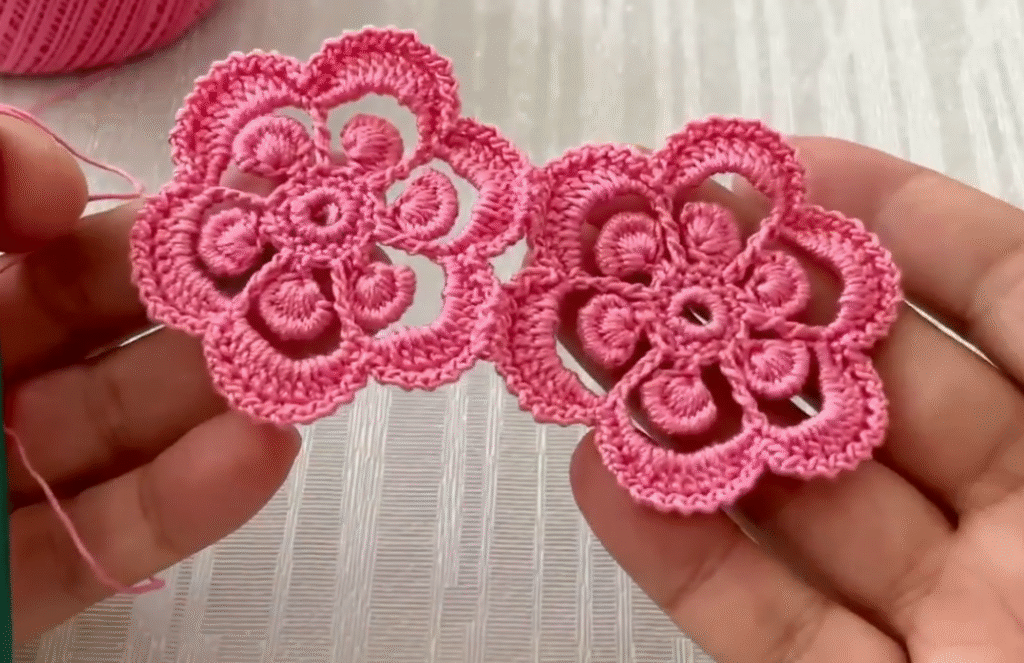
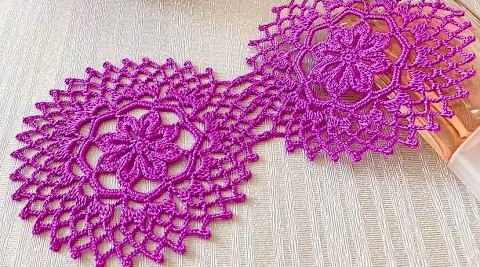
Imagine a single crochet motif that effortlessly transforms into a delicate table runner, a charming napkin, or even a flowing, ethereal shawl. Our “Elegant Petal Mandala” motif is designed with this versatility in mind. It’s a slightly more intricate pattern than a basic granny square, offering beautiful texture and a timeless appeal, yet it remains accessible for intermediate crocheters (and adventurous beginners!).
This motif features layered petals and openwork, creating a beautiful focal point that works wonderfully on its own or joined in multiples.
Skill Level: Intermediate
Materials:
- For Home Decor (Table Runner/Napkin):
- Cotton yarn (DK or Worsted weight for a sturdier feel; Lace weight for a very delicate look)
- Crochet hook appropriate for your yarn choice (e.g., 3.0 mm for DK, 1.75 mm for Lace)
- Yarn needle for weaving in ends
- Scissors
- Stitch markers (optional, but helpful for corners)
- For Wearables (Shawl):
- Soft, drapey yarn (e.g., Merino wool, silk blend, alpaca, soft acrylic) in Lace or Fingering weight for an airy feel
- Crochet hook appropriate for your yarn choice (e.g., 2.5 mm for Fingering, 1.5 mm for Lace)
- Yarn needle for weaving in ends
- Scissors
Gauge: Gauge will vary greatly depending on your yarn and hook choice. For a single motif, aim for a diameter of roughly 4-6 inches (10-15 cm) for table items, or 3-5 inches (7.5-12.5 cm) for a more delicate shawl. The most important thing is consistency if you plan to join multiple motifs.
Finished Motif Size (Approximate):
- With DK cotton: 5-6 inches diameter
- With Lace yarn: 3-4 inches diameter
Abbreviations (US Crochet Terms):
- ch: chain
- sl st: slip stitch
- sc: single crochet
- hdc: half double crochet
- dc: double crochet
- tr: treble crochet (yarn over twice)
- dtr: double treble crochet (yarn over three times)
- sp: space
- st(s): stitch(es)
- beg: beginning
- rep: repeat
- sk: skip
- FO: Fasten off
- ( ): work instructions within parentheses into the same stitch or space
- [ ]: work instructions within brackets indicated number of times
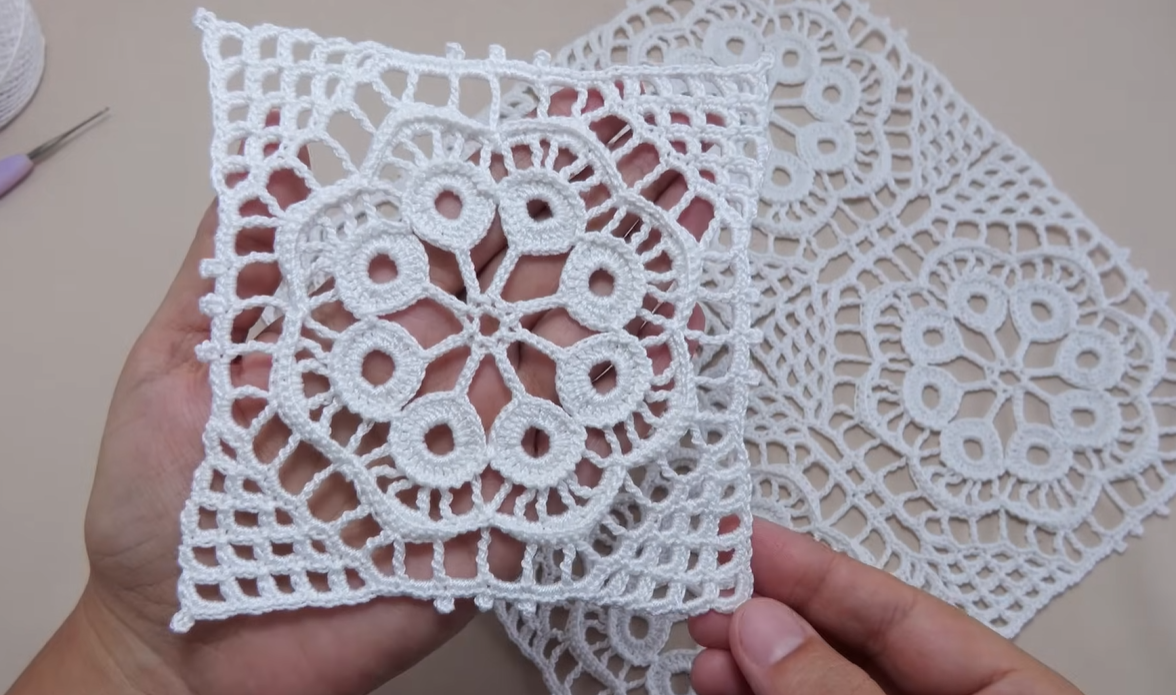
The “Elegant Petal Mandala” Motif Pattern
We’ll start with a small circle and expand outwards, building layers of petals and forming points to facilitate joining.
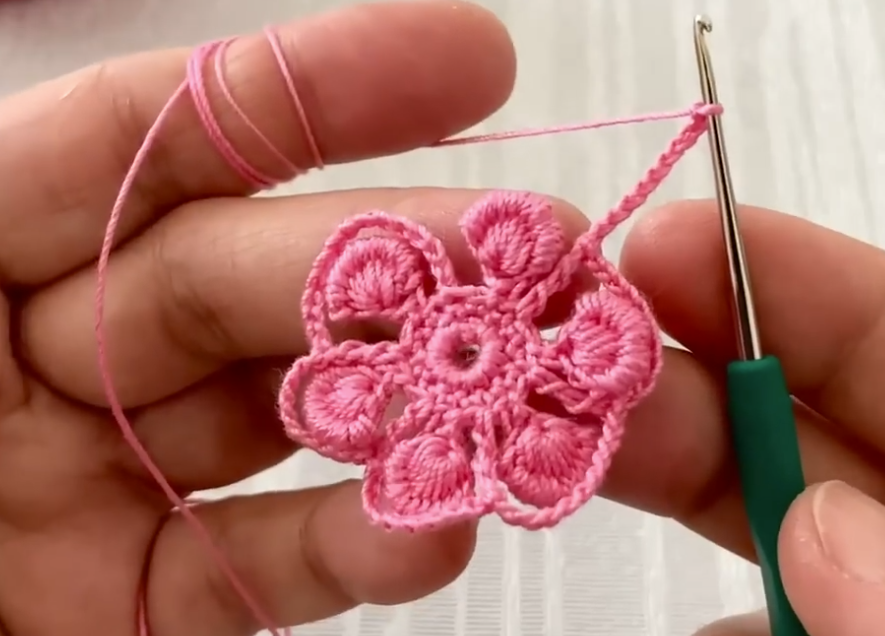
Round 1: Foundation Ring (Color A – or main color) Ch 4, sl st to first ch to form a ring. (Alternatively, use a magic ring). Ch 1 (does not count as st), 8 sc in ring. Sl st to first sc to join. (8 sc)
Round 2: First Petal Layer Base Ch 1, sc in same st. [Ch 3, sk 1 sc, sc in next sc] 3 times. Ch 3, sk 1 sc. Sl st to first sc to join. (4 sc, 4 ch-3 sps)
Round 3: Layered Petals (Color B – contrasting color for petals, or continue with Color A) Sl st into first ch-3 sp. Ch 3 (counts as 1 dc). In same ch-3 sp, work (2 dc, ch 2, 3 dc). This creates your first petal group. [Ch 1, (3 dc, ch 2, 3 dc) in next ch-3 sp] 3 times. Ch 1. Sl st to top of beg ch-3 to join. You should have 4 petal groups, each with a ch-2 sp at its peak, separated by ch-1 sps. FO Color B. Weave in ends.
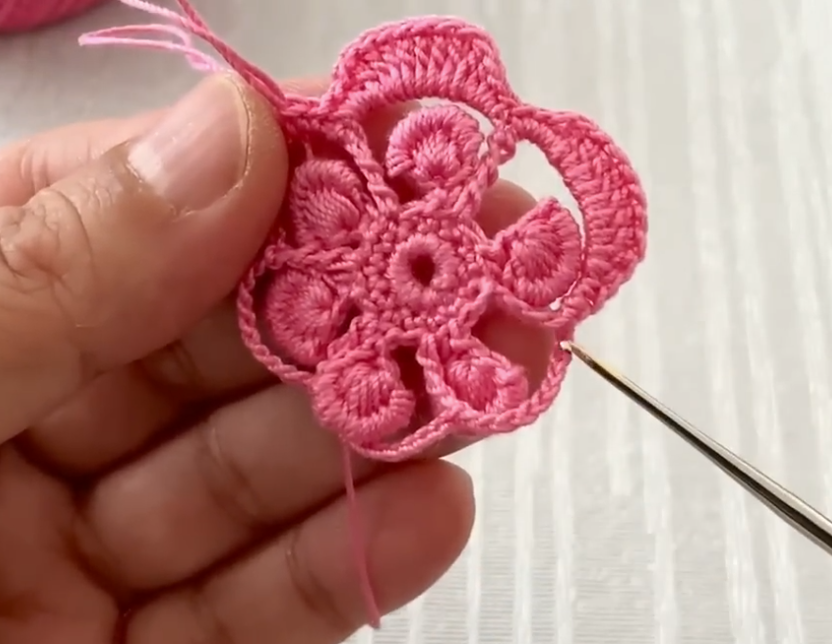
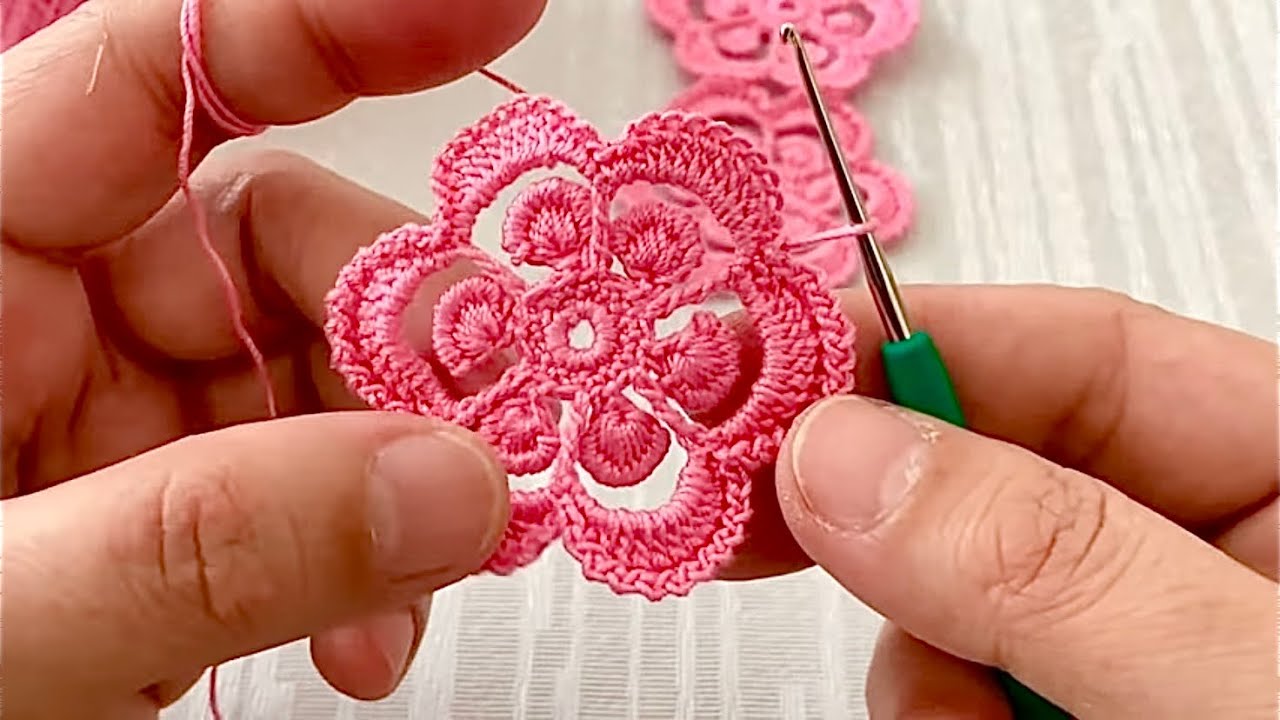
Round 4: Shaping the Square Base (Color A – or main color) Join Color A with a sl st in any ch-2 sp (top of a petal). Ch 3 (counts as 1 dc). In same ch-2 sp, work (2 dc, ch 2, 3 dc). This is your first corner. [Ch 1, 3 dc in next ch-1 sp (between petal groups). Ch 1, (3 dc, ch 2, 3 dc) in next ch-2 sp] 3 times. Ch 1, 3 dc in next ch-1 sp. Ch 1. Sl st to top of beg ch-3 to join. You now have a square base with 4 corners and 4 side segments of 3 dc clusters.
Round 5: Openwork Details & Square Refinement Ch 1, sc in same st. Sc in next 2 dc. In ch-2 sp (corner): (sc, ch 3, sc). [Sc in next 3 dc. Ch 2, sk ch-1 sp, sc in next 3 dc. In ch-2 sp (corner): (sc, ch 3, sc)] 3 times. Sc in next 3 dc. Ch 2, sk ch-1 sp. Sl st to first sc to join. This round creates open spaces and defines your corners, making it ideal for joining.
Round 6: Final Petal Points / Joining Round (Optional) Ch 1, sc in same st. Sc in next 2 sc. In ch-3 sp (corner): (sc, ch 3, sc). [Sc in next 3 sc. Ch 2, sk ch-2 sp, sc in next 3 sc. In ch-3 sp (corner): (sc, ch 3, sc)] 3 times. Sc in next 3 sc. Ch 2, sk ch-2 sp. Sl st to first sc to join. FO and weave in all ends.
Adapting Your Motif for Different Projects:
This versatile motif can be used in several ways:
1. Elegant Napkins (Single Motifs)
- Instructions: Simply make one motif per napkin. Block them lightly to ensure they lay flat.
- Yarn Choice: Cotton yarn (DK or Sport weight) is ideal for absorbency and durability.
- Finishing: A simple single crochet border around the edge of Round 6 can add a neat finish, or leave it as is for a lacy edge.
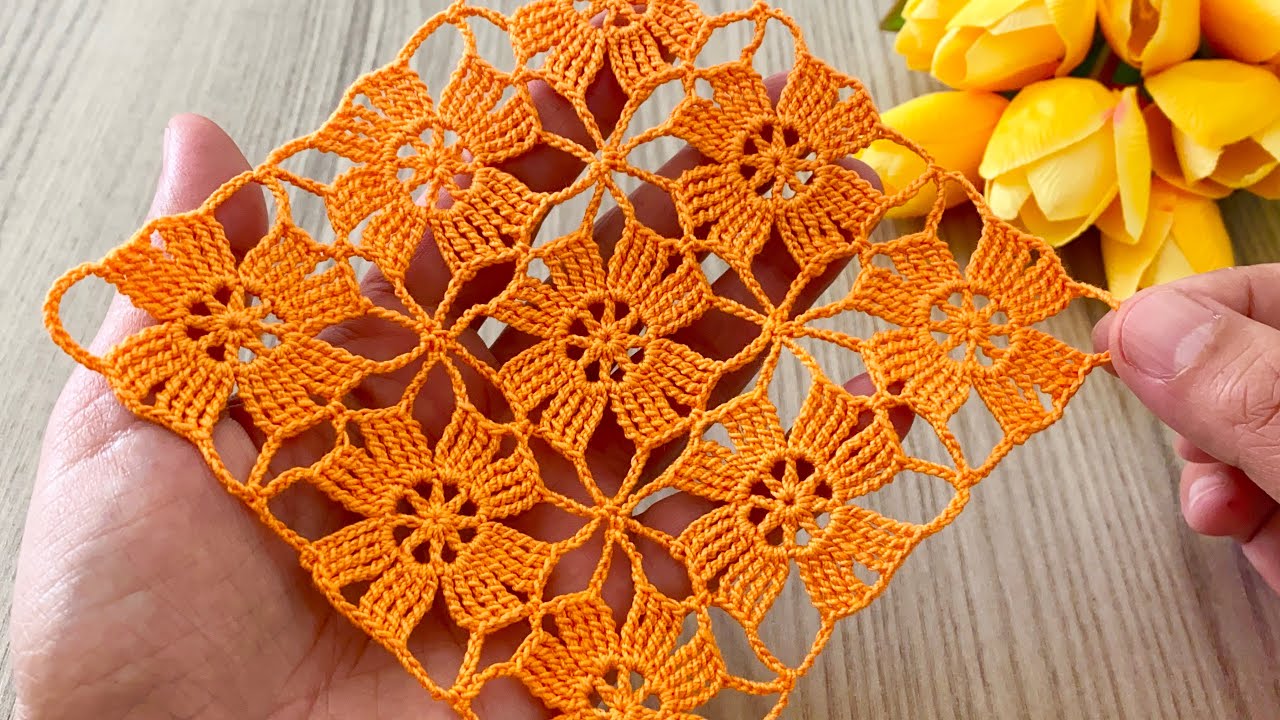
2. Charming Table Runner (Joined Motifs)
- Instructions:
- Decide on the desired length of your runner.
- Make enough motifs to cover that length.
- Joining Method: You can join motifs using a slip stitch join, single crochet join, or even a “join-as-you-go” (JAYG) method on the last round (Round 6).
- For JAYG: When you reach a corner ch-3 space or a side ch-2 space where you want to connect to an adjacent motif, you’ll replace one or more chains with a sl st into the corresponding space of the already completed motif.
- Example for JAYG corner: Instead of (sc, ch 3, sc) in the corner, you’d do (sc, ch 1, sl st into corner ch-3 sp of adjacent motif, ch 1, sc).
- Example for JAYG side: Instead of ch 2, you’d do (ch 1, sl st into side ch-2 sp of adjacent motif, ch 1).
- For JAYG: When you reach a corner ch-3 space or a side ch-2 space where you want to connect to an adjacent motif, you’ll replace one or more chains with a sl st into the corresponding space of the already completed motif.
- Join them in a straight line for a classic runner, or experiment with staggering them for a unique look.
- Yarn Choice: Cotton yarn is best for a practical and washable table runner.
- Finishing: After joining, you can add a continuous border around the entire runner using single crochet, shell stitch, or picots for a refined edge. Blocking is essential for a professional finish.

3. Lacy Shawl (Joined Motifs)
- Instructions:
- This is where the magic happens! Decide on the shape of your shawl (rectangular, triangular, or a crescent).
- Make numerous motifs. The exact number will depend on your desired shawl size and the yarn weight.
- Joining Method: The JAYG method is highly recommended for shawls as it creates a seamless flow and avoids bulky seams. Pay close attention to how the motif’s corners and side ch-2 spaces align for joining.
- Arrange and join motifs to form your desired shawl shape. For a rectangular shawl, join them in rows and columns. For a triangular shawl, you’d arrange them in increasing rows.
- Yarn Choice: Soft, lightweight yarns like Merino wool, alpaca, silk blends, or a soft acrylic are perfect for drape and comfort. Lace or Fingering weight yarn will give you that delicate, ethereal look.
- Finishing: After joining all motifs, consider adding a simple, elegant border around the entire shawl. A picot edge, a shell stitch border, or just a few rounds of sc/dc can beautifully frame your work. Blocking is CRUCIAL for shawls to open up the lace and allow the motifs to lay flat and evenly.
Video tutorial
Tips for Crocheting & Customizing:
- Color Play: Experiment with contrasting colors for the center, petals, and outer rounds. A solid color also looks very elegant.
- Hook Size & Yarn: Always swatch to ensure your chosen hook works well with your yarn. If your motif is too tight or too loose, adjust your hook size.
- Blocking: For any project involving joined motifs, blocking is a game-changer. It evens out stitches, opens up lacework, and helps your finished piece lay beautifully.
- Embellishments: Small beads can be sewn into the center of the motif for extra sparkle, especially for a shawl.
- Creativity: Don’t be afraid to modify the pattern slightly once you understand the basic construction. You could add more chains in the ch-2 or ch-3 spaces for a lacier look, or try different stitches for the clusters.
This “Elegant Petal Mandala” motif is a fantastic building block for a variety of beautiful handmade items. Whether you’re adorning your table or your shoulders, these delicate blooms will add a touch of timeless elegance. Happy crocheting!