by
by 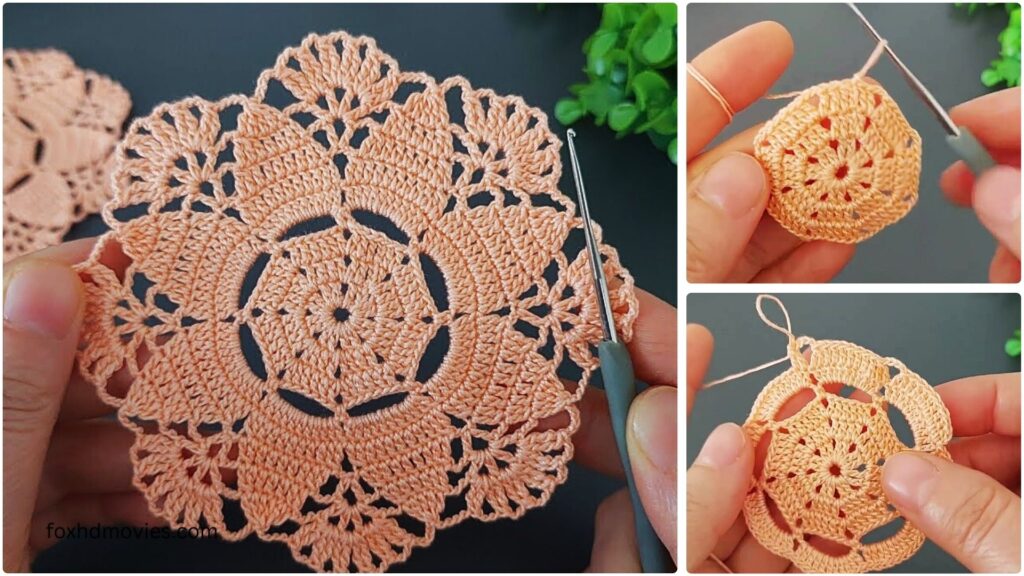
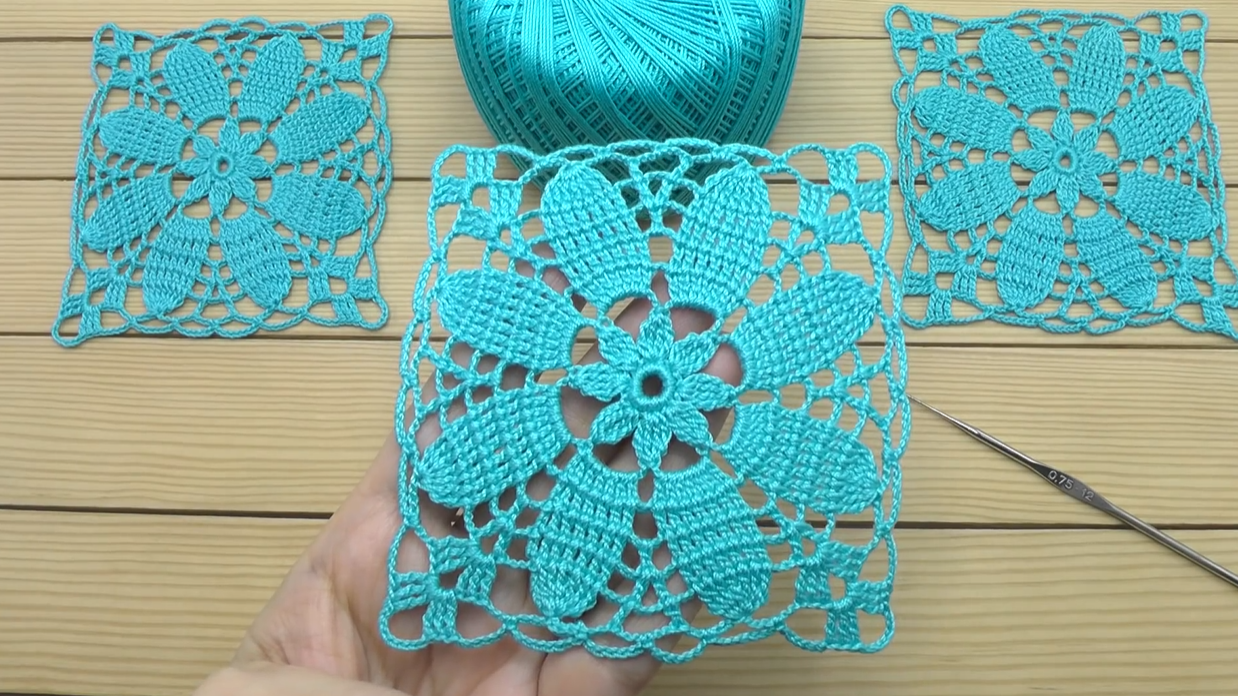
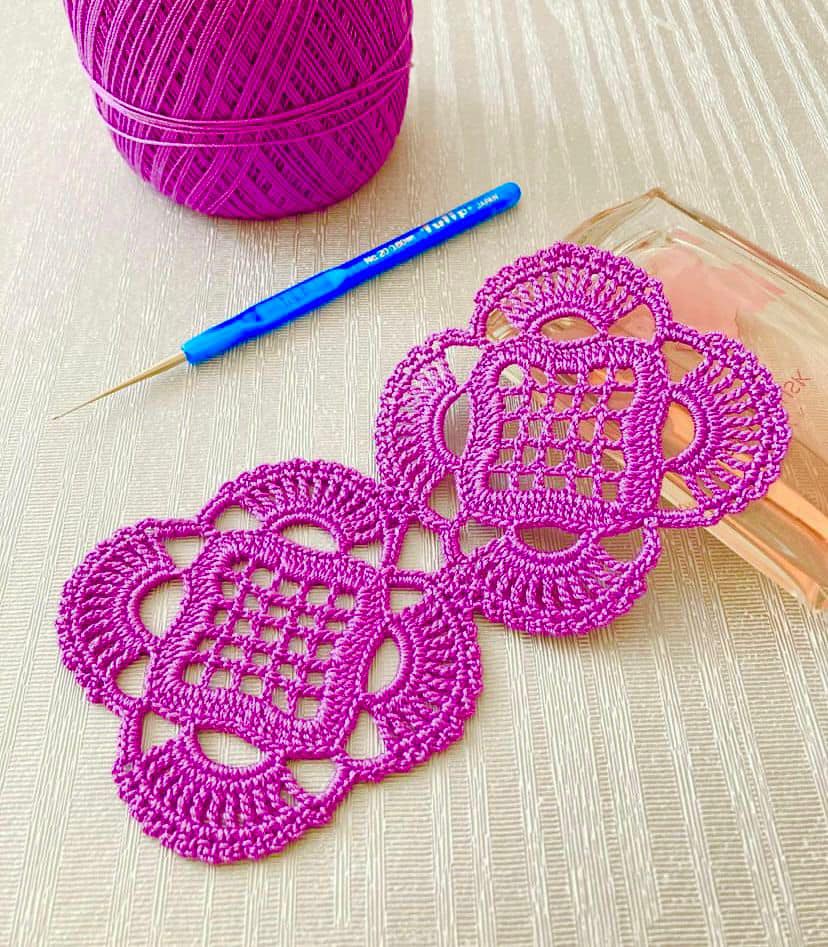
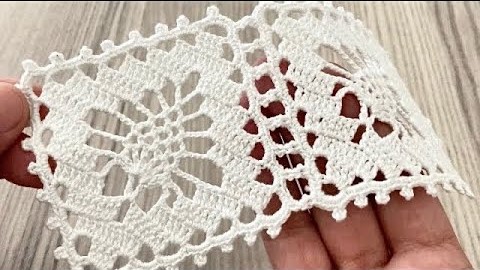
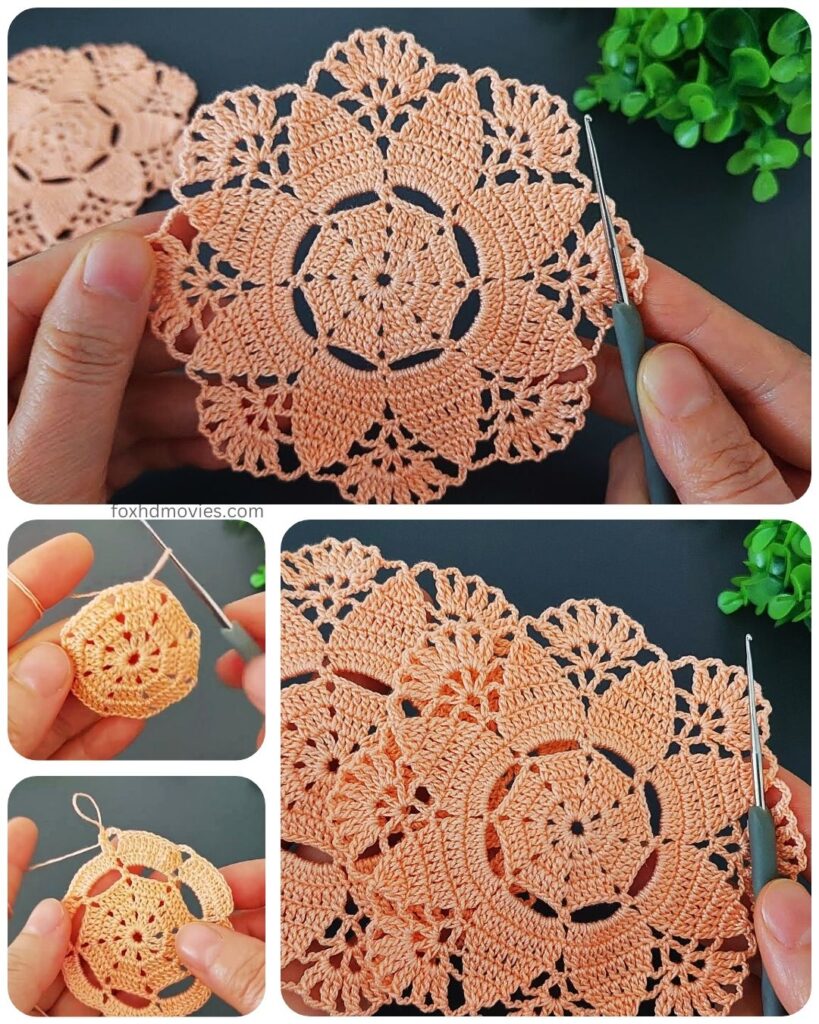
There’s something uniquely charming about a handcrafted coaster, and when it’s delicate lace, it elevates everyday moments into something special. This pattern is designed to be easy to follow, even for those new to lace crochet, and results in a stunning piece that protects your surfaces with style. Perfect for gifts, market stalls, or simply adding a touch of sophisticated flair to your own home!
Skill Level: Easy
Materials:
- Yarn: Light Worsted (DK) or Sport weight cotton yarn is ideal. Cotton provides good absorbency and holds its shape well. A mercerized cotton will give a lovely sheen. You’ll only need a small amount, perhaps 20-30 yards per coaster.
- Why cotton? Acrylic can melt with hot mugs, so natural fibers are generally preferred for coasters.
- Hook: Crochet hook size D/3 (3.25 mm) or E/4 (3.5 mm), or size needed to obtain gauge. A smaller hook will give a denser, more defined lace, while a larger one will create a more open, airy look.
- Yarn Needle: For weaving in ends.
- Scissors
- Blocking Supplies (Optional but Recommended): Blocking board, rust-proof pins, spray bottle with water. Blocking really opens up lace patterns and makes them look professional.
Gauge:
Gauge isn’t strictly critical for a single coaster, as long as you’re happy with the size and density. However, for reference, after Round 5, your coaster should measure approximately 3.5 – 4 inches in diameter.
Finished Size: Approximately 4.5 – 5 inches in diameter (after blocking).
Abbreviations (US Crochet Terms):
- ch: chain
- sl st: slip stitch
- sc: single crochet
- hdc: half double crochet
- dc: double crochet
- tr: treble crochet (yarn over twice)
- sp: space
- st(s): stitch(es)
- beg: beginning
- rep: repeat
- YO: yarn over
- ch-sp: chain space
Let’s Begin the Lace!
We’ll start in the round, working from the center outwards.
Round 1: The Center
- Ch 4, sl st into the first ch to form a ring. (Alternatively, you can use a magic ring for a tighter center: Ch 1, 8 sc in ring, sl st to first sc.)
- If using ch 4 ring: Ch 1, 8 sc into the ring. Sl st to the first sc to join. (8 sc)
Round 2: Building the Foundation
- Ch 3 (counts as first dc here and throughout), dc in the same st.
- (Ch 1, 2 dc in the next sc) around.
- Ch 1, sl st to the top of the beg ch-3 to join. (16 dc, 8 ch-1 sps)
Round 3: Creating Petals
- Sl st into the next dc, then sl st into the first ch-1 sp.
- Ch 3, (dc, ch 2, 2 dc) in the same ch-1 sp. This forms your first “petal” group.
- *Ch 1, (2 dc, ch 2, 2 dc) in the next ch-1 sp.* Repeat from * to * 6 more times.
- Ch 1, sl st to the top of the beg ch-3 to join. (32 dc, 8 ch-2 sps, 8 ch-1 sps)

Round 4: Expanding the Lace
- Sl st into the next dc, then sl st into the first ch-2 sp.
- Ch 4 (counts as first tr here and throughout), tr in the same ch-2 sp.
- (Ch 2, 2 tr in the same ch-2 sp). This creates a corner-like cluster.
- *Ch 1, sc in the next ch-1 sp.
- Ch 1, (2 tr, ch 2, 2 tr) in the next ch-2 sp.* Repeat from * to * 6 more times.
- Ch 1, sc in the next ch-1 sp.
- Ch 1, sl st to the top of the beg ch-4 to join. (32 tr, 8 sc, 8 ch-2 sps, 16 ch-1 sps)

Round 5: The Decorative Edge
- Sl st into the next tr, then sl st into the first ch-2 sp.
- Ch 1, (sc, ch 3, sc) in the same ch-2 sp. This forms a small picot-like loop.
- *Ch 3, skip next ch-1 sp, (sc, ch 3, sc) in the next ch-1 sp (over the sc from the previous round).
- Ch 3, skip next ch-1 sp, (sc, ch 3, sc) in the next ch-2 sp.* Repeat from * to * 6 more times.
- Ch 3, skip next ch-1 sp, (sc, ch 3, sc) in the last ch-1 sp.
- Ch 3, sl st to the first sc to join. (24 (sc, ch 3, sc) clusters, 24 ch-3 sps)

Fasten off and weave in all ends securely.
Blocking Your Lace Coaster (Highly Recommended!)
Blocking is what truly transforms crocheted lace. It opens up the stitches, makes the pattern much more defined, and ensures your coaster lays perfectly flat.
- Dampen: Gently wet your coaster. You can submerge it in cool water, spray it thoroughly with water, or use a steamer.
- Shape: Place your wet coaster on a blocking board (a cork board, foam mat, or even an ironing board covered with a towel works). Gently stretch and shape it into a perfect circle, making sure all the points and loops are even and open.
- Pin: Use rust-proof pins to secure the edges of your coaster to the blocking board. Pin out all the points and chain spaces evenly to really open up the lace.
- Dry: Allow the coaster to dry completely. This can take several hours or even overnight, depending on humidity. Do not rush this step!
- Unpin: Once completely dry, carefully remove the pins. Your coaster will now hold its beautiful, crisp shape!
Video tutorial
Tips for Perfect Lace Coasters:
- Yarn Choice Matters: As mentioned, cotton is best. Finer yarns will give you a daintier coaster, while slightly thicker yarns will create a more substantial one.
- Stitch Definition: Pay attention to your tension. Consistent tension will make your lace pattern more even and beautiful.
- Counting is Key: Especially with lace, miscounting can easily throw off your pattern. Use stitch markers if needed, and count your stitches and chain spaces at the end of each round.
- Read Ahead: Before you start a round, read through the entire instruction for that round. This helps you understand where the stitches and spaces should fall.
- Practice Makes Perfect: If your first coaster isn’t exactly as you envisioned, don’t worry! Each one you make will improve your technique.
Enjoy creating your elegant crocheted lace coasters! They’re small projects that bring a big impact of handmade charm. Happy crocheting!