 by
by 
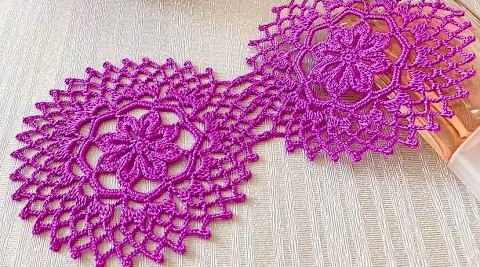
Add a touch of love to your crochet projects with this unique heart-detailed square motif! This pattern isn’t just another granny square; it features a charming heart design subtly worked into the fabric, making it perfect for blankets, throws, dishcloths, or even decorative accents. It’s surprisingly easy to achieve this beautiful effect with some basic stitches and a little bit of color work.
Skill Level: Easy-Intermediate (due to color changes)

Materials:
- Worsted weight yarn in two contrasting colors (Color A for the main square, Color B for the heart detail). Small amounts are perfect for this!
- Crochet hook size H/8 (5.0 mm) or size needed to obtain gauge
- Yarn needle for weaving in ends
- Scissors
- Stitch markers (optional, but helpful for corners)
Gauge:
After Round 5 (the first full square round), your motif should measure approximately 5 inches. Adjust your hook size if needed. Consistent gauge is important if you plan to join multiple squares.
Abbreviations (US Crochet Terms):
- ch: chain
- sl st: slip stitch
- sc: single crochet
- hdc: half double crochet
- dc: double crochet
- tr: treble crochet (or triple crochet)
- BLO: back loop only
- FLO: front loop only
- sp: space
- st(s): stitch(es)
- beg: beginning
- rep: repeat
- YO: yarn over
- Color Change: When changing colors, work the last stitch of the old color until you have two loops on your hook. YO with the new color and pull through both loops to complete the stitch.
Let’s Stitch Some Love!
We’ll start with a classic center and then build the heart as we expand into a square.
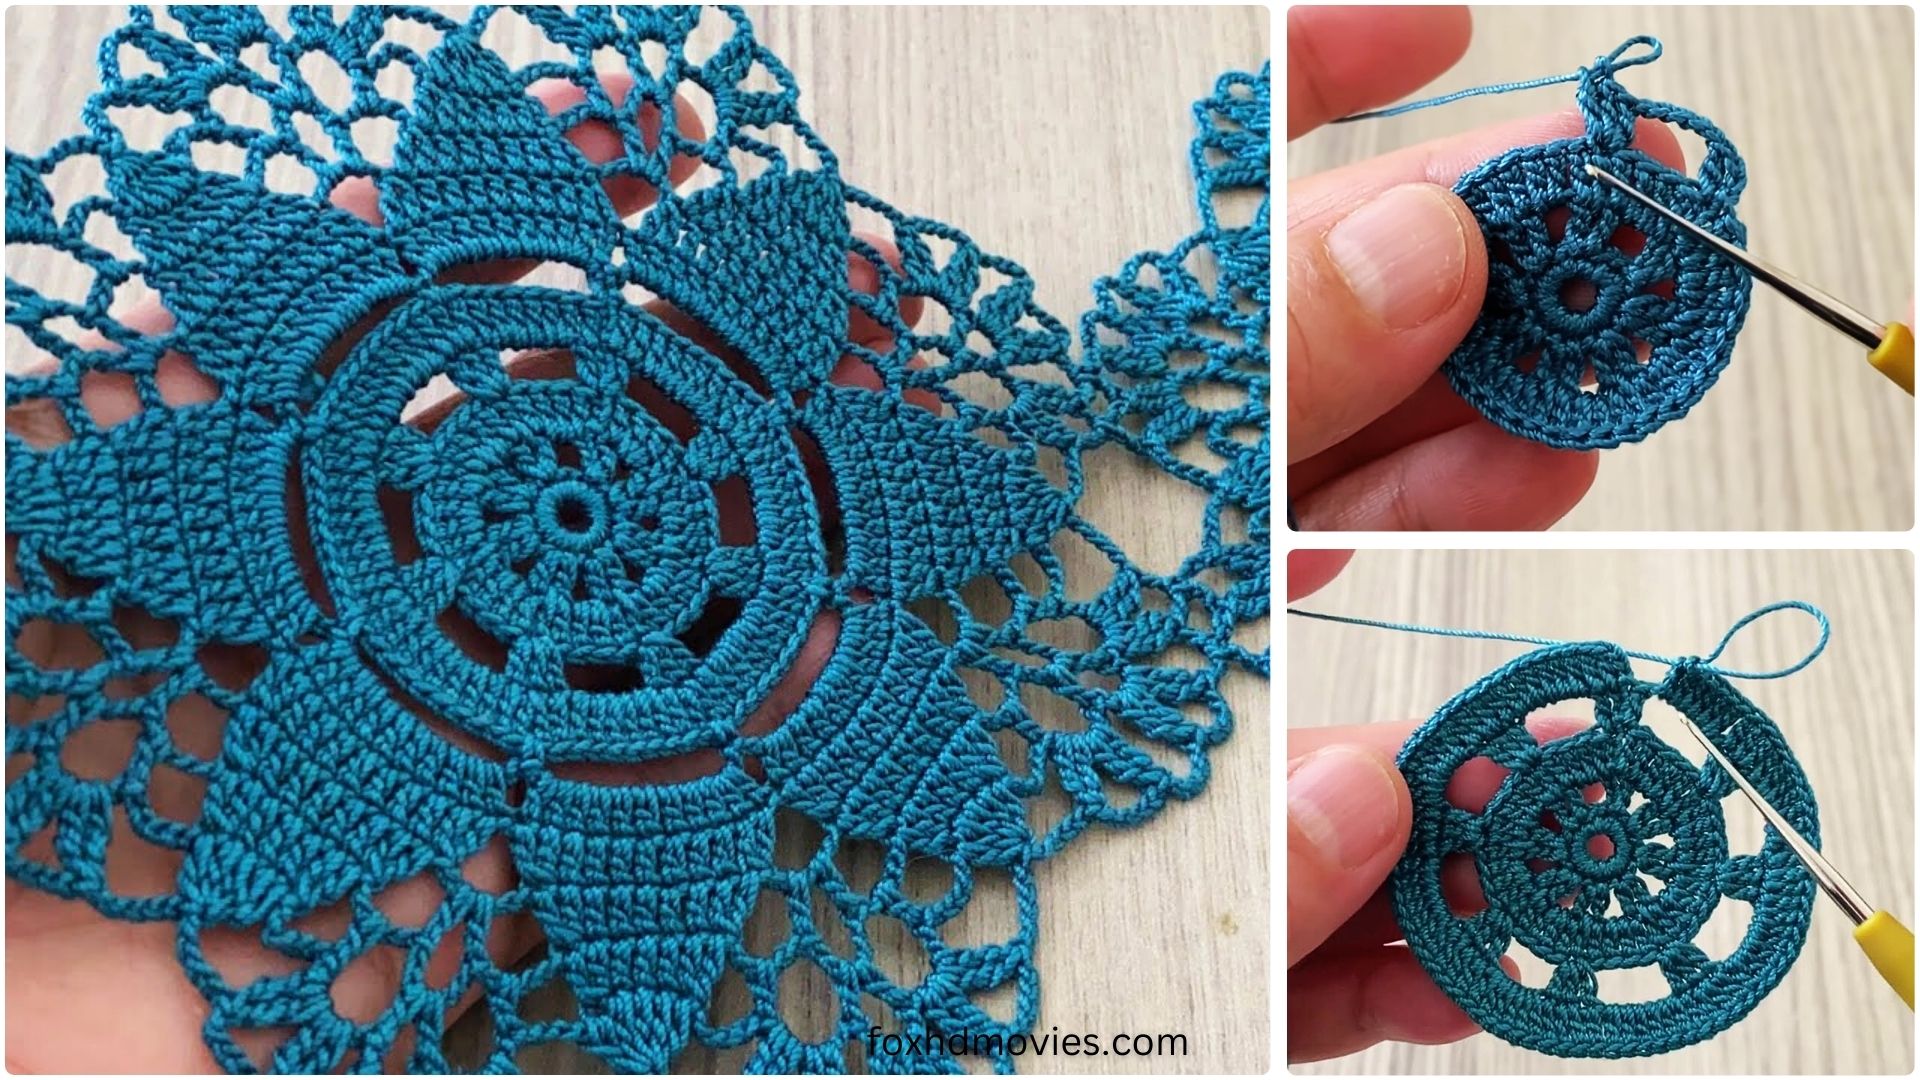
Part 1: The Center (Color A)
Round 1: With Color A, ch 4, sl st to join into a ring. (Alternatively, you can use a magic ring for a tighter center.) Ch 3 (counts as first dc), 11 dc in the ring. Sl st to the top of the beg ch-3 to join. You should have 12 dc stitches.
Round 2: Ch 3 (counts as first dc), dc in the same st (increase). 2 dc in each st around. Sl st to the top of the beg ch-3 to join. You should have 24 dc stitches.

Part 2: Forming the Heart (Color A & Color B)
This is where the magic happens! We’ll use a combination of stitches and careful color changes to create the heart shape. For visual clarity, follow the stitch counts carefully. Remember to carry your unused yarn loosely on the wrong side of your work.
Round 3: Ch 3 (counts as first dc).
- Work 4 dc in Color A. (First “side” of the square)
- Change to Color B. Work 2 dc in Color B. (Start of heart curve)
- Change to Color A. Work 4 dc in Color A. (Between heart sections)
- Change to Color B. Work 2 dc in Color B. (Second heart curve)
- Change to Color A. Work 4 dc in Color A. (Second “side” of the square)
- Change to Color B. Work 2 dc in Color B. (Third heart curve)
- Change to Color A. Work 4 dc in Color A. (Third “side” of the square)
- Change to Color B. Work 2 dc in Color B. (Fourth heart curve)
- Change to Color A. Work 2 dc in Color A. (Last stitches before join) Sl st to the top of the beg ch-3 to join. You should have 24 dc stitches, with 8 in Color B and 16 in Color A, perfectly spaced.
Round 4: Ch 3 (counts as first dc).
- Work 5 dc in Color A. (Expanding side)
- Change to Color B. Work 1 dc in Color B, ch 1, 1 dc in Color B. (Top point of heart)
- Change to Color A. Work 6 dc in Color A. (Between heart sections)
- Change to Color B. Work 1 dc in Color B, ch 1, 1 dc in Color B. (Top point of heart)
- Change to Color A. Work 6 dc in Color A. (Expanding side)
- Change to Color B. Work 1 dc in Color B, ch 1, 1 dc in Color B. (Top point of heart)
- Change to Color A. Work 6 dc in Color A. (Expanding side)
- Change to Color B. Work 1 dc in Color B, ch 1, 1 dc in Color B. (Top point of heart)
- Change to Color A. Work 1 dc in Color A. (Last stitch before join) Sl st to the top of the beg ch-3 to join. You should have 28 dc stitches and 4 ch-1 spaces.

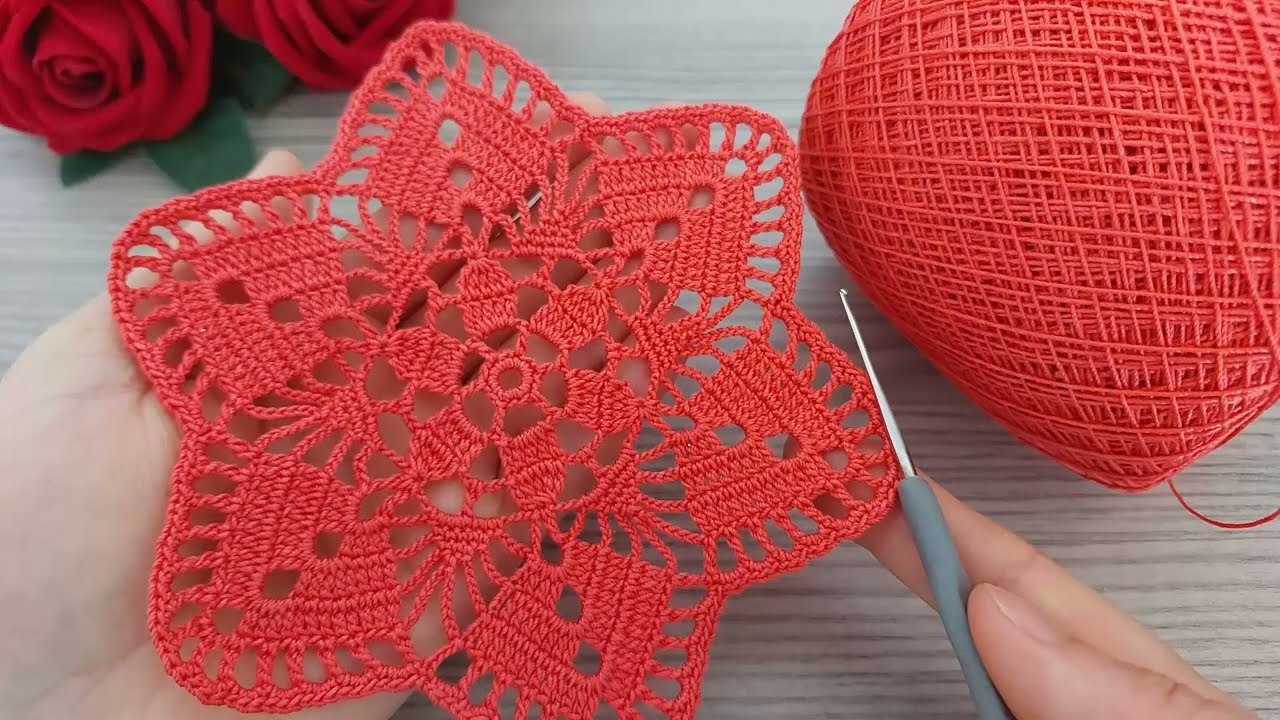
Part 3: Squaring the Heart (Color A)
Now we’ll transition the heart design into a square shape using standard granny square corner techniques. You can fasten off Color B here if you wish, or carry it up if you plan to use it for a future border. For this pattern, we’ll continue with Color A only.
Round 5: Join Color A with a sl st in any of the ch-1 spaces created in Round 4 (these will be your corners). Ch 3 (counts as first dc), (2 dc, ch 2, 3 dc) in the same ch-1 sp. (First corner made) *Ch 1. Work 3 dc in the next space between the groups of Color A dc stitches (from Round 4). Ch 1. Work 3 dc in the next space between the groups of Color A dc stitches. Ch 1. In the next ch-1 sp (corner), work (3 dc, ch 2, 3 dc).* Repeat from * to * twice more. Ch 1. Work 3 dc in the next space between the groups of Color A dc stitches. Ch 1. Work 3 dc in the next space between the groups of Color A dc stitches. Ch 1. Sl st to the top of the beg ch-3 to join. You should now have a distinct square shape with 4 corners and 8 sets of 3dc along the sides.

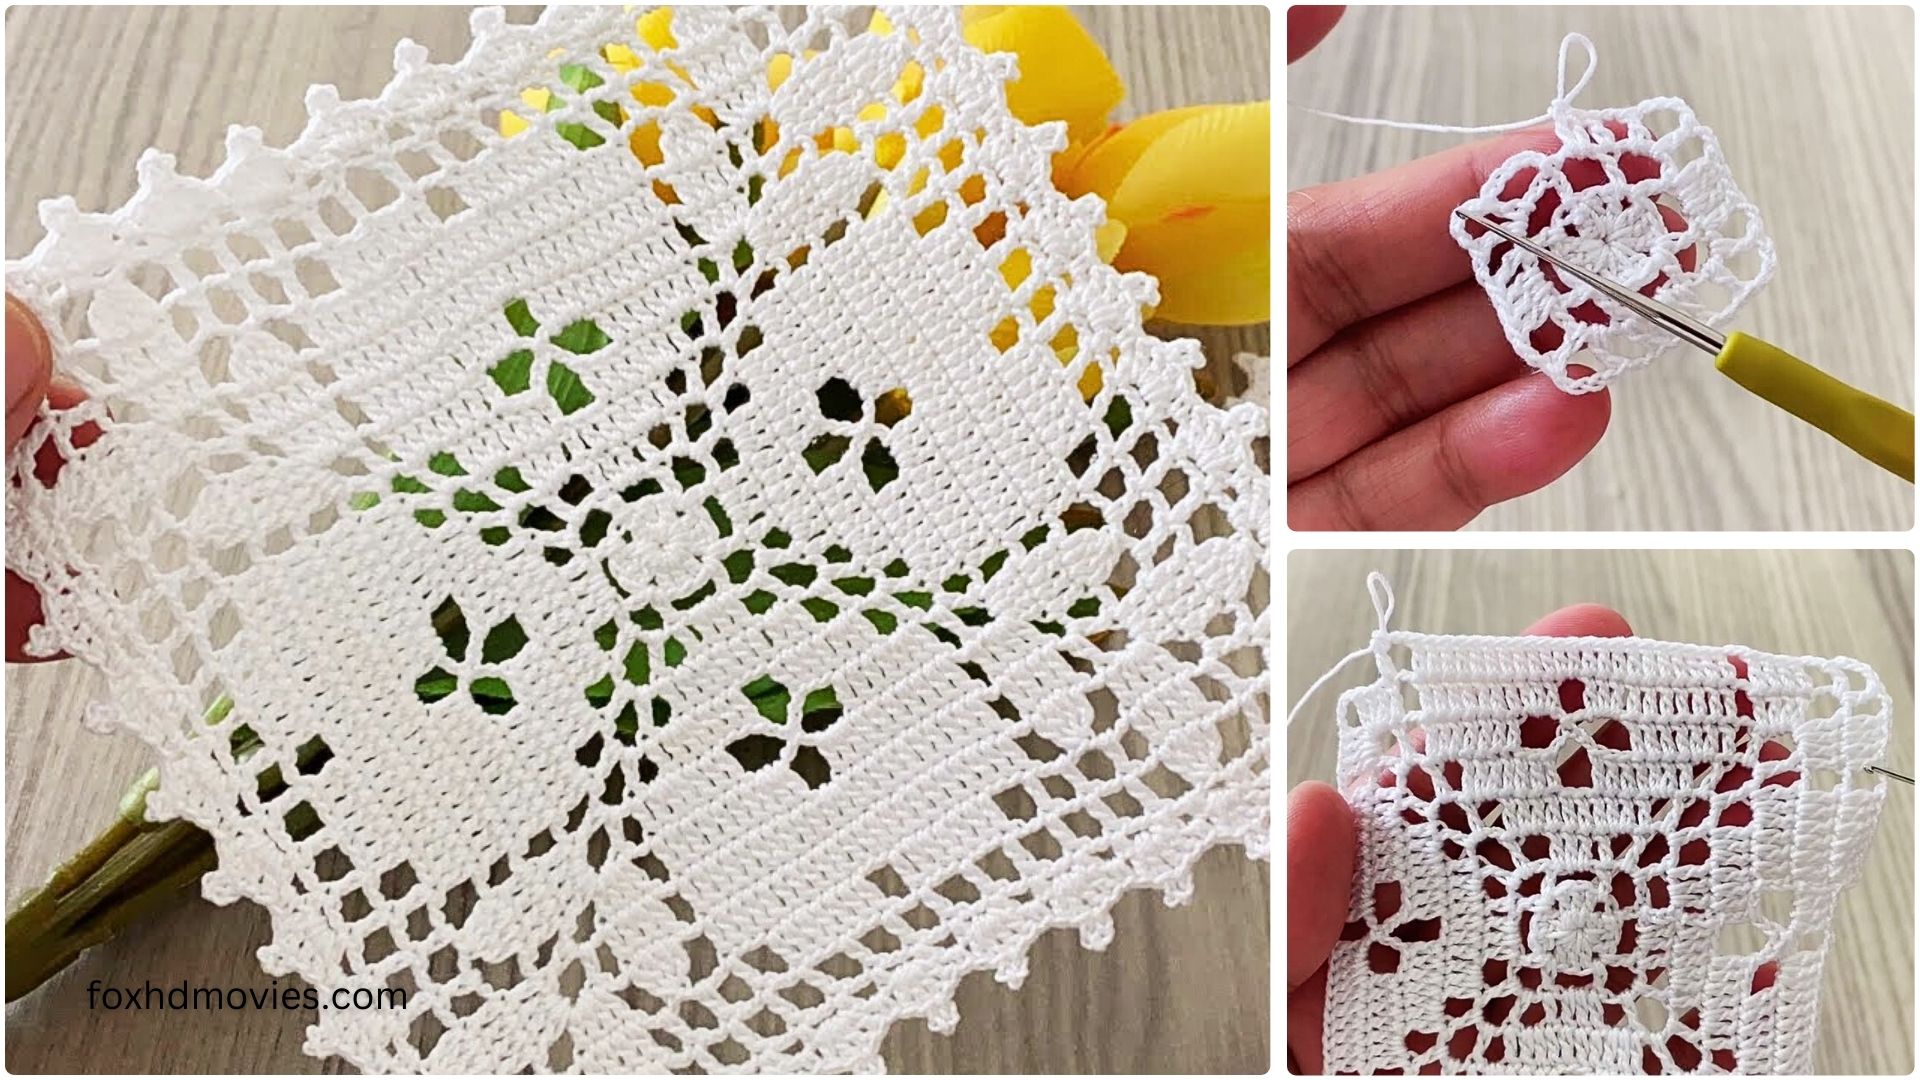
Round 6 (Optional Border/Expansion): Sl st into the next 2 dc and into the first ch-2 sp (corner). Ch 3 (counts as first dc). In the same ch-2 sp, work (2 dc, ch 2, 3 dc). (New corner) *Ch 1. Work 3 dc in each ch-1 sp across to the next corner. Ch 1. In the next ch-2 sp (corner), work (3 dc, ch 2, 3 dc).* Repeat from * to * twice more. Ch 1. Work 3 dc in each ch-1 sp across to the last corner. Ch 1. Sl st to the top of the beg ch-3 to join. Fasten off and weave in all remaining ends securely.
Your Beautiful Heart Detailed Design Square Motif is complete!
Video tutorial
Tips for a Perfect Heart Square:
- Tension is Key: Maintain consistent tension, especially during color changes, to keep your edges neat and avoid puckering or gaping.
- Carrying Yarn: When changing colors, carry the unused yarn loosely across the back of your work. Don’t pull it too tight, or your square will pucker. Don’t leave it too loose, or it will show through.
- Blocking: For a professional, flat finish, gently block your finished squares. This helps them lie flat and makes joining easier.
- Color Play: Experiment with different color combinations! A dark heart on a light background, or a variegated yarn for the heart against a solid background, can create stunning effects.
- Joining Methods:
- Whip Stitch: A classic, sturdy join.
- Slip Stitch Join: Creates a flat, almost invisible seam.
- Single Crochet Join: Creates a slightly raised, decorative seam.
- Join-as-You-Go (JAYG): A fantastic method for larger projects that eliminates a lot of seaming at the end. Look up tutorials for “granny square join as you go” for this technique.
Uses for Your Heart Squares:
- Lovey Blanket: Join several squares for a cherished baby blanket.
- Cushion Cover: Create two squares and join them for a sweet accent pillow.
- Wall Hanging: Frame a single square or join a few for a decorative piece.
- Tote Bag: Combine squares for a charming accessory.
- Table Runner/Placemats: Perfect for adding a touch of handmade love to your dining area.
This heart-detailed square is a truly beautiful motif that adds a special touch to any project. Happy crocheting and happy creating!