 by
by 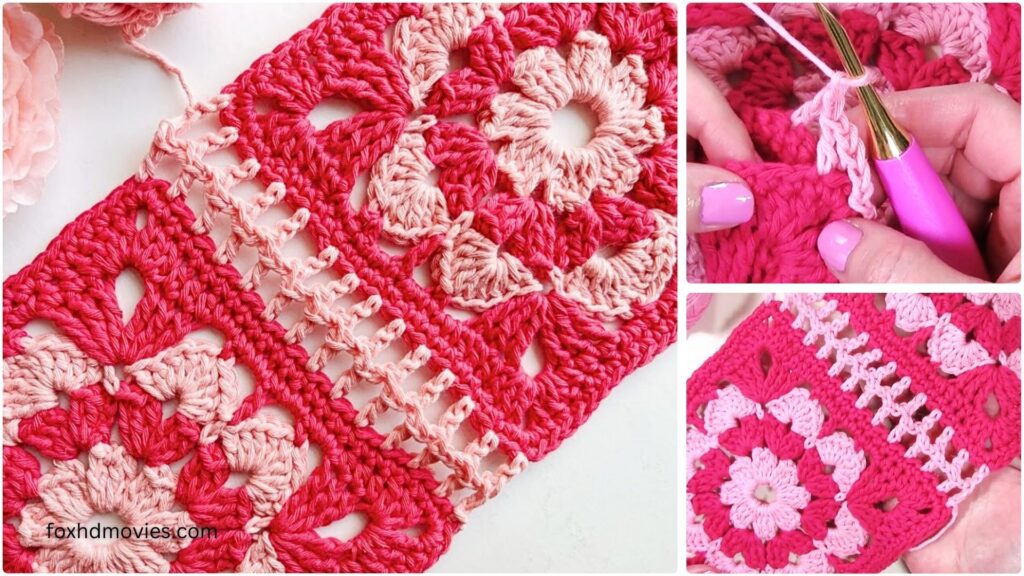
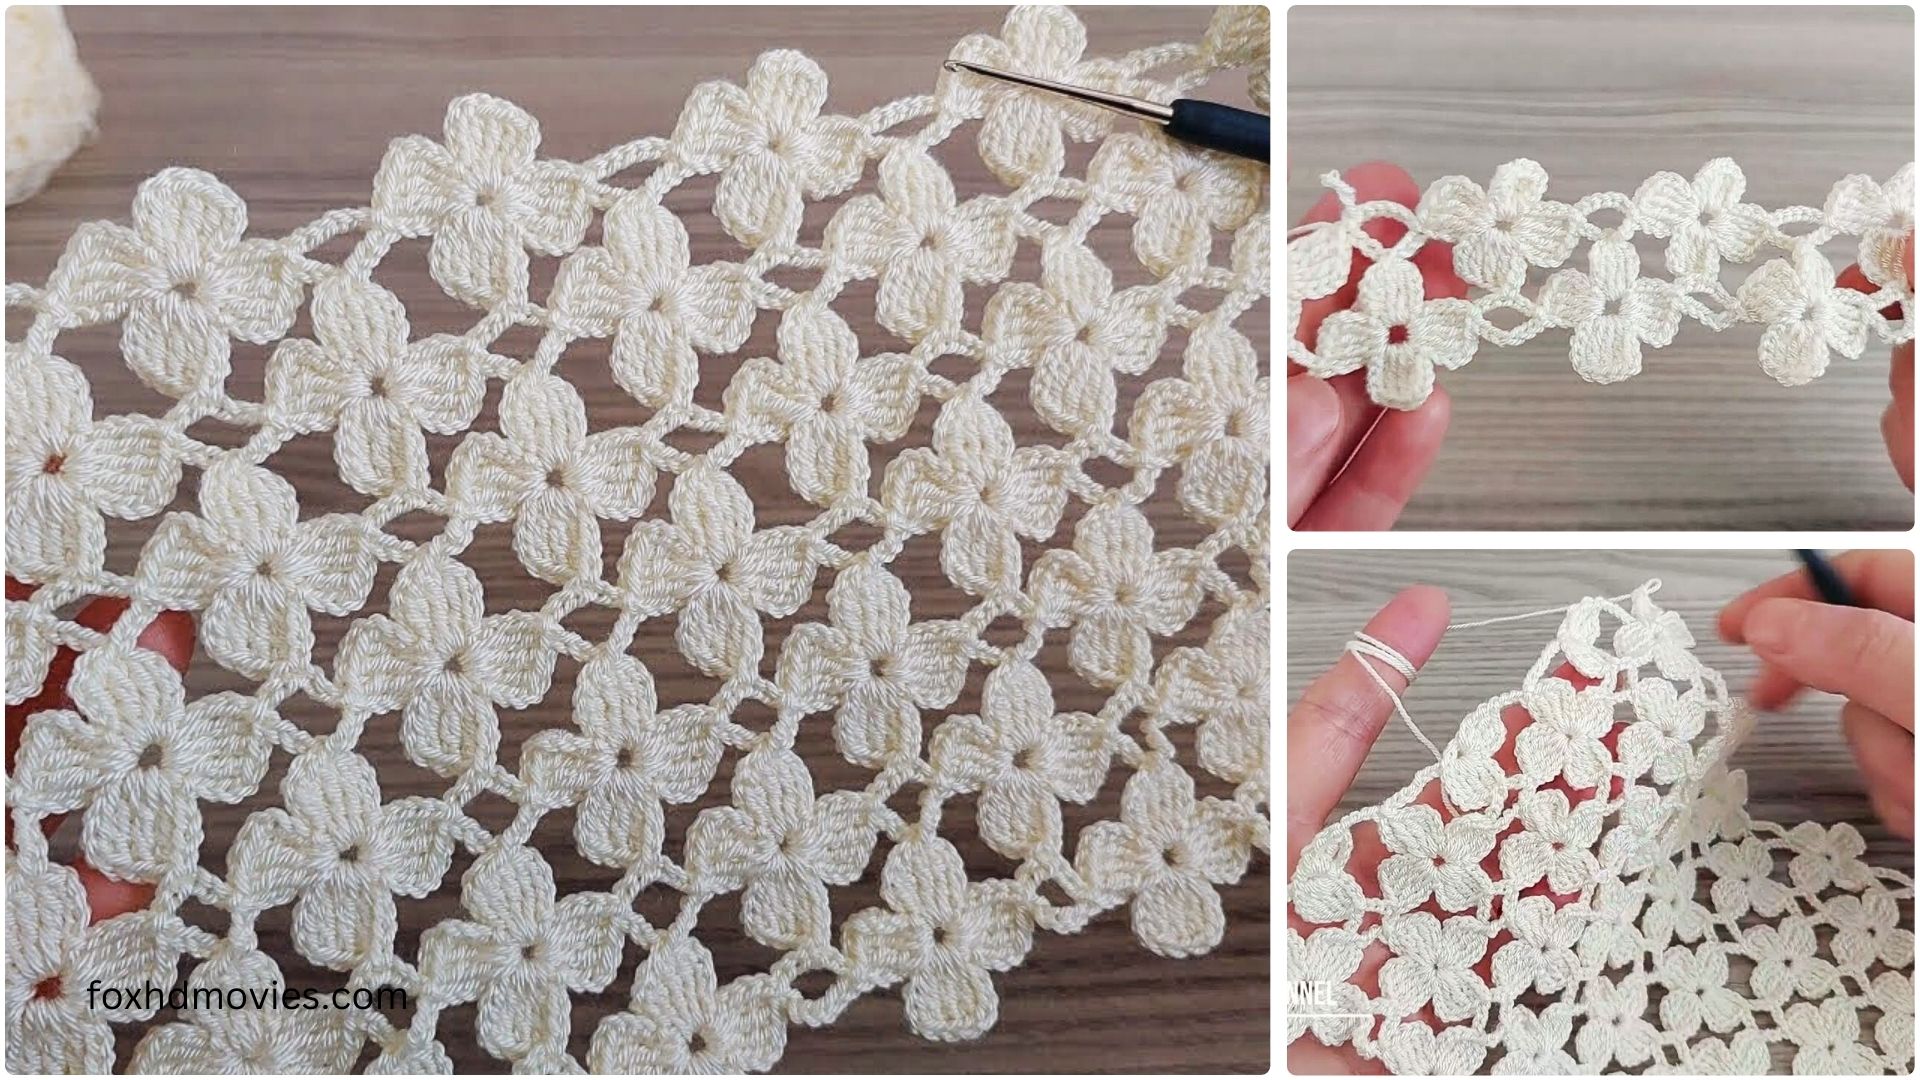
You’ve spent hours meticulously crafting your crochet squares and motifs – whether they’re classic granny squares, intricate mandalas, or delicate floral designs. Now comes the exciting part: joining them together to form a larger, cohesive piece. While traditional slip stitch or single crochet joins are perfectly functional, sometimes you want something more. Something that adds a touch of ethereal beauty and intricate detail. Enter the Crochet Lace Join Method.
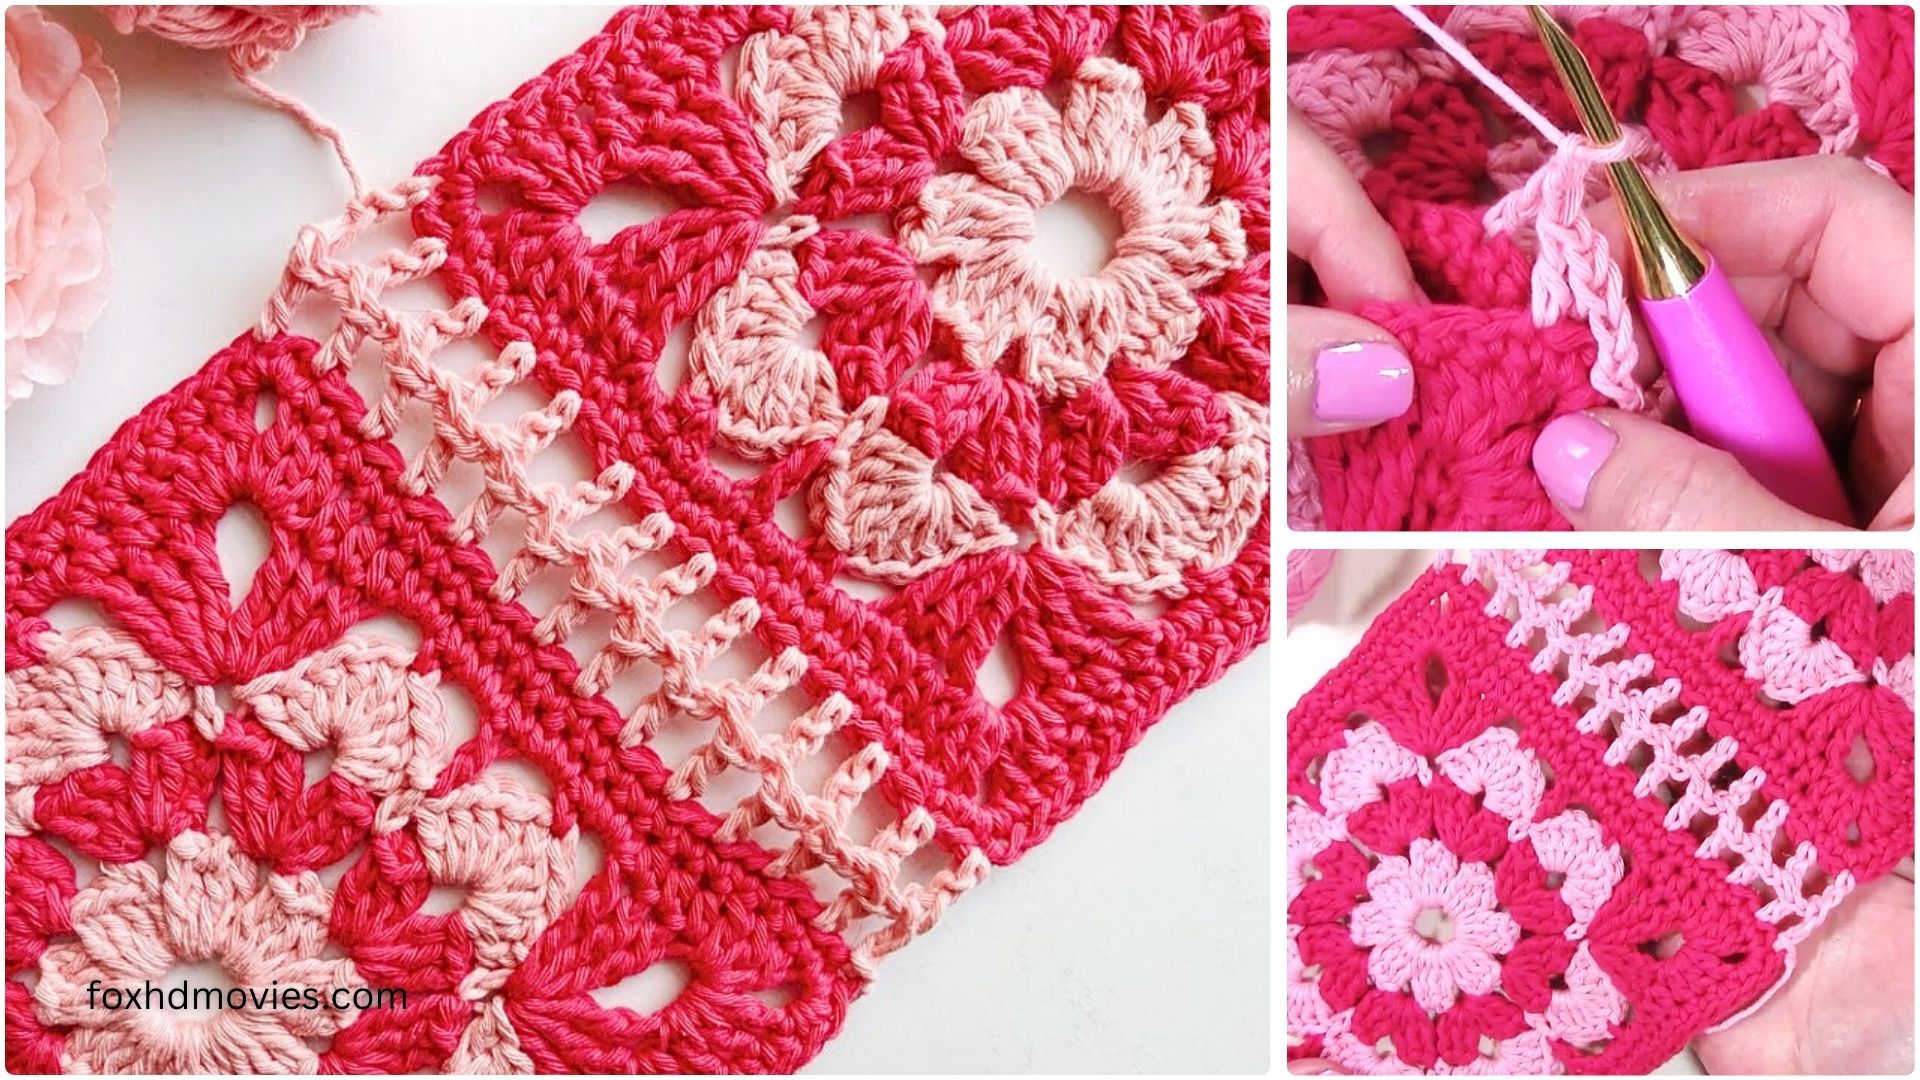
This method creates a beautiful, openwork seam that not only connects your pieces but also becomes a decorative element in itself. It’s perfect for blankets, garments, tablecloths, or anything where you want a visually appealing and lightweight join.
Why Choose a Lace Join?
- Aesthetic Appeal: Creates an elegant, open, and delicate look.
- Flexibility: Allows the fabric to drape beautifully, unlike a rigid join.
- Ventilation: The openwork design can be beneficial for blankets or garments in warmer climates.
- Enhances Design: The join itself becomes part of the overall design.
Skill Level: Intermediate (familiarity with basic crochet stitches and working into chain spaces is helpful)
Materials:
- Your finished crochet squares/motifs (blocked for best results!)
- Crochet hook (the same size or one size smaller than what you used for your motifs, depending on desired looseness)
- Yarn (matching your motifs or a contrasting color for a highlight)
- Yarn needle
- Scissors
Abbreviations (US Crochet Terms):
- ch: chain
- sl st: slip stitch
- sc: single crochet
- dc: double crochet
- tr: treble crochet
- sp: space
- st(s): stitch(es)
- V-st: V-stitch (dc, ch 1, dc in same stitch/space)
Preparation is Key: Blocking Your Motifs
Before you even think about joining, block your squares/motifs! This crucial step ensures they are all the same size and shape, making the joining process much smoother and resulting in a much neater finished project. Don’t skip this!
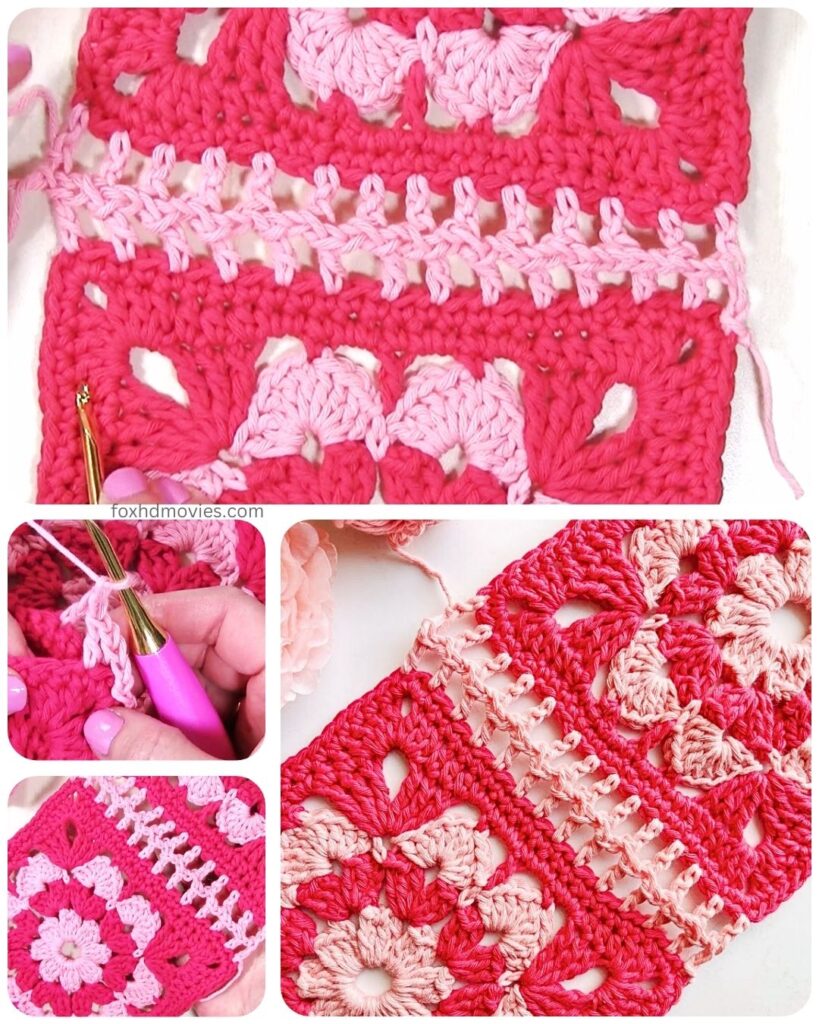
The Basic Lace Join Method: V-Stitch & Chain Arches
This is a versatile and popular lace join that creates beautiful V-stitch motifs between your squares.
Assumption: Your squares have a finished edge, preferably with chain spaces in the corners. For example, if your granny squares end with (dc, ch 2, dc) in the corner, you’ll work into those chain spaces. If your squares have a solid edge, you’ll need to adjust by picking suitable stitches to work into for the join.
Step 1: Preparing Your Squares (Optional Edge Round)
If your squares don’t have suitable corner chain spaces or a consistent edge, you might want to add a simple border round to each square first.
Example Border Round: Attach yarn to a corner sp. Ch 1, (sc, ch 2, sc) in the corner sp. sc evenly along the side to the next corner sp, (sc, ch 2, sc) in the corner sp. Repeat from * around. Sl st to first sc. Fasten off.
This ensures all squares have identical corner chain spaces to work into for the join.
Step 2: The Joining Process (Working One Strip at a Time)
It’s usually easiest to join squares in strips first, then join the strips together. Let’s assume you’re joining two squares side-by-side.
A. Joining the First Two Squares:
- Take two squares. Place them side-by-side with right sides facing up.
- Attach your yarn to the corner chain space of the first square (Square A).
- Ch 1. Work (sc, ch 3, sc) in the same corner ch-sp of Square A.
- Connecting to the Next Square: Ch 3. Now, work (sc, ch 3, sc) in the corner chain space of the second square (Square B). This creates your first connecting arch. (Think of it as working into the corner of Square A, making a chain bridge, then working into the corner of Square B).
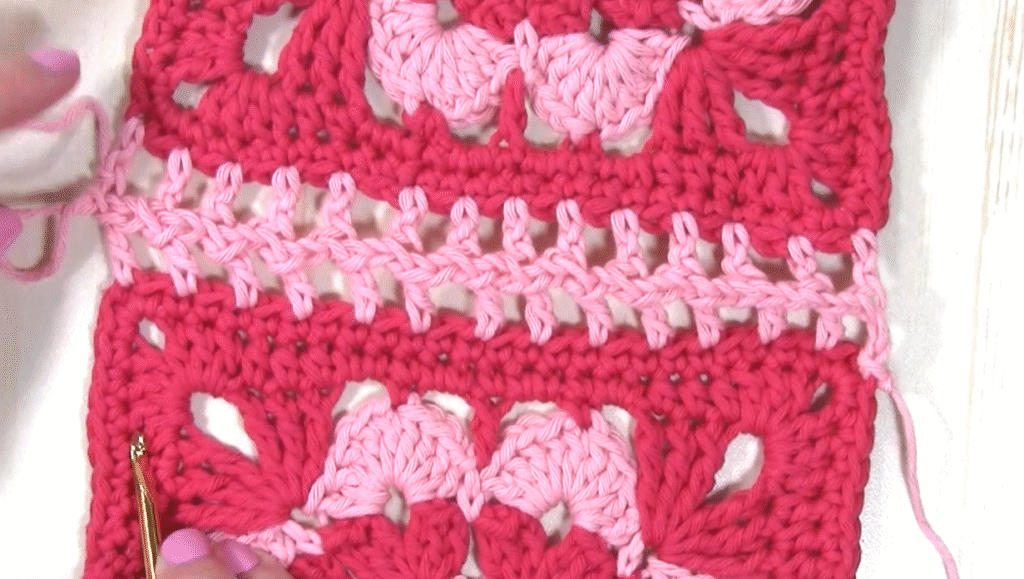
- Working Along the Edge (Square B): Ch 3. Skip 3 stitches/cluster, dc in the next stitch/space. Ch 1, dc in the same stitch/space (this forms a V-stitch). Ch 3. Skip 3 stitches/cluster.
- Connecting Back to Square A: Now, without chaining, work an sc in the corresponding stitch/space on Square A. Ch 3.
- Working Along the Edge (Square A): Skip 3 stitches/cluster, dc in the next stitch/space. Ch 1, dc in the same stitch/space (V-stitch). Ch 3. Skip 3 stitches/cluster.
- Repeat Steps 6 and 7 across the entire joining edge, alternating between working into Square A and Square B, creating a series of V-stitches and chain arches.
- The “sc in corresponding stitch/space on Square A” part connects the two halves of your lace.
- The “V-stitch, ch 3, skip 3” part builds the openwork on each square’s edge.
- When you reach the last corner, work an sc in the corner ch-sp of Square A, ch 3, then work (sc, ch 3, sc) in the corner ch-sp of Square B.
- Fasten off.
B. Joining Subsequent Squares in a Strip:
To add a third square (Square C) to your strip, you’ll essentially repeat the process, joining Square B to Square C.
- Attach yarn to the corner ch-sp of Square B.
- Ch 1. Work (sc, ch 3, sc) in the same corner ch-sp of Square B.
- Ch 3. Work (sc, ch 3, sc) in the corner ch-sp of Square C.
- Continue across the edge, following the alternating V-stitch and chain arch pattern as described above, connecting Square B and Square C.
Step 3: Joining Strips Together
Once you have your long strips of joined squares, you’ll join them in the same way, but now you’ll be working into the existing lace joins.
- Place two strips side-by-side, right sides facing up.
- Attach your yarn to the corner ch-sp of the first square on Strip 1.
- Ch 1. Work (sc, ch 3, sc) in the same corner ch-sp of Strip 1.
- Ch 3. Work (sc, ch 3, sc) in the corner ch-sp of the first square on Strip 2.
- Now, as you work along the edge:
- Instead of skipping stitches, you’ll be working into the chain spaces of the existing lace join.
- Work V-stitches (dc, ch 1, dc) into the center of the existing chain arches on each strip.
- Connect the two strips by working an sc into the center of the corresponding V-stitch or chain space on the opposite strip.
- Continue across the entire length of the strip, ensuring your V-stitches align with the V-stitches from the perpendicular join, and your connecting single crochets secure the new lace in place.

Key Considerations for a Perfect Lace Join:
- Consistency: Maintain even tension throughout the join. This is crucial for a clean, uniform look.
- Stitch Placement: Pay close attention to where you insert your hook. Working into chain spaces or specific stitches within a cluster will give the best results.
- Counting: While tempting to eyeball, counting your chains and stitches for each repeat will ensure symmetry and prevent puckering or gaping.
- Practice: Like any new technique, the lace join takes a little practice. Start with a couple of scrap squares to get the hang of it.
- Yarn Choice: Using the same yarn weight and fiber as your motifs will ensure a consistent drape. A slightly thinner yarn or a contrasting color can highlight the join.
- Corners: Pay special attention to how you work into the corners where four squares meet. You’ll typically work a V-stitch or a simple chain-based connection in the corner ch-sp of each square, ensuring a neat intersection.
Variations and Other Lace Join Ideas:
The beauty of lace joins is their adaptability. Once you understand the concept of using chains and open stitches, you can create your own variations:
- Picot Join: Replace some chain stitches with picot stitches (ch 3, sl st in 1st ch) for a bobble-like texture.
- Shell Stitch Join: Use small shell stitches (e.g., 3 dc in one space) instead of V-stitches for a denser but still open join.
- Trellis Join: A very simple join using alternating chain loops and slip stitches.
- “Join-as-you-go” (JAYG): While this pattern describes joining finished squares, many lace joins can be adapted to JAYG, where you crochet the last round of a new square and join it to an existing square simultaneously. This is advanced but eliminates much seaming!
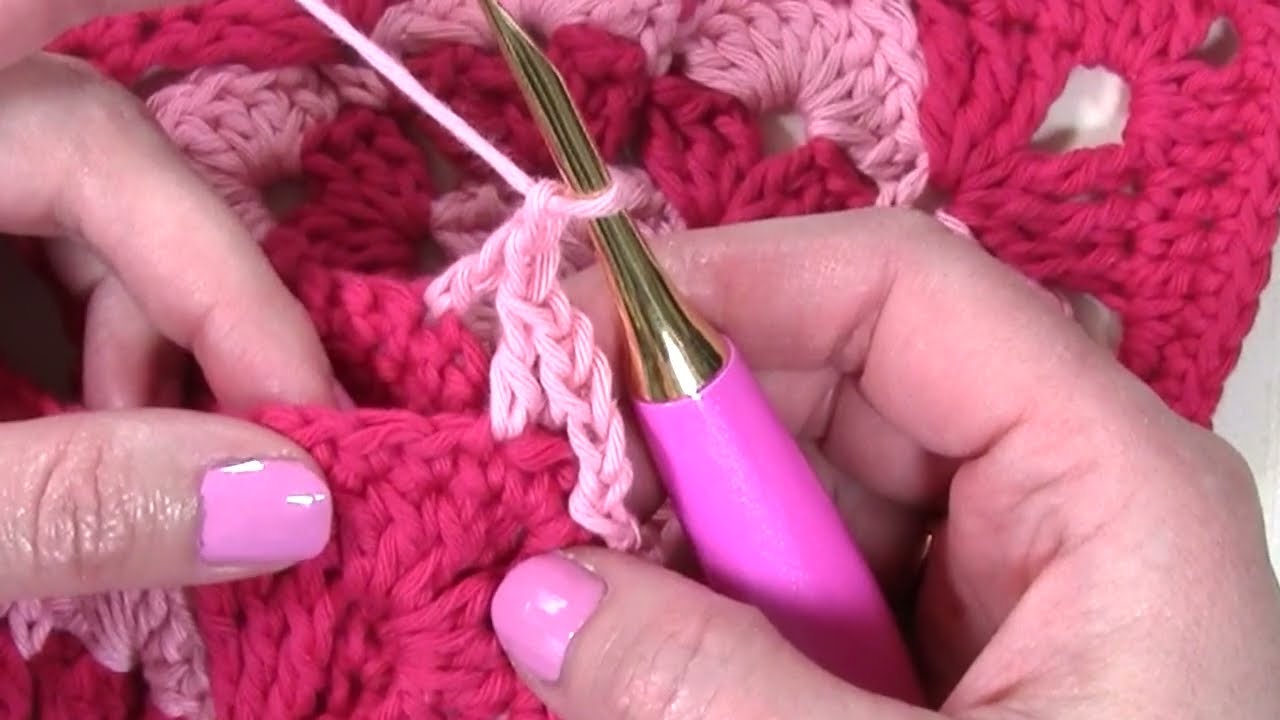
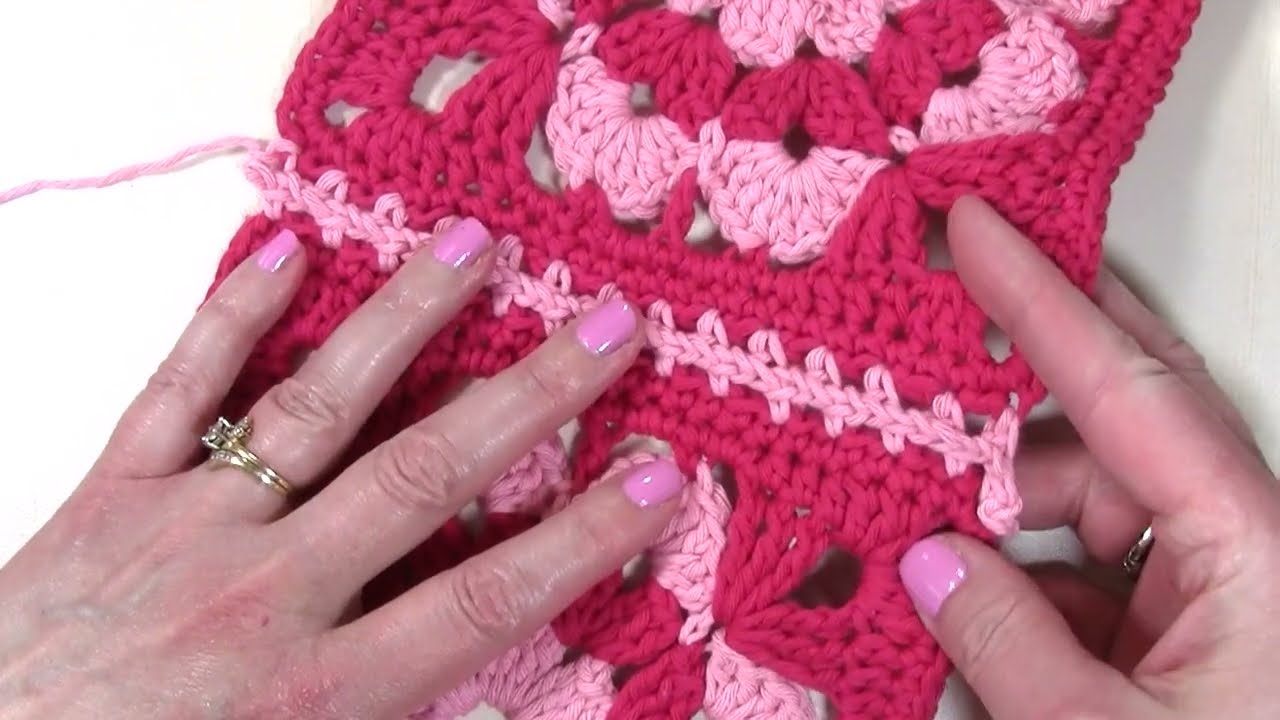
Video tutorial
Troubleshooting Tips:
- Puckering: Your join is too tight, or you’re skipping too many stitches/not chaining enough. Try a larger hook for the join or add more chains.
- Gapping: Your join is too loose, or you’re not skipping enough stitches/chaining too much. Try a smaller hook or fewer chains.
- Uneven Edges: Ensure your initial squares are perfectly blocked and that your stitch count along the edges you’re joining is consistent.
The Crochet Lace Join Method is a beautiful way to add elegance and intricacy to your crochet projects. It takes a little patience and practice, but the stunning results are well worth the effort. So, grab your hook, block those beautiful motifs, and get ready to connect them with a touch of lace! Happy hooking!