 by
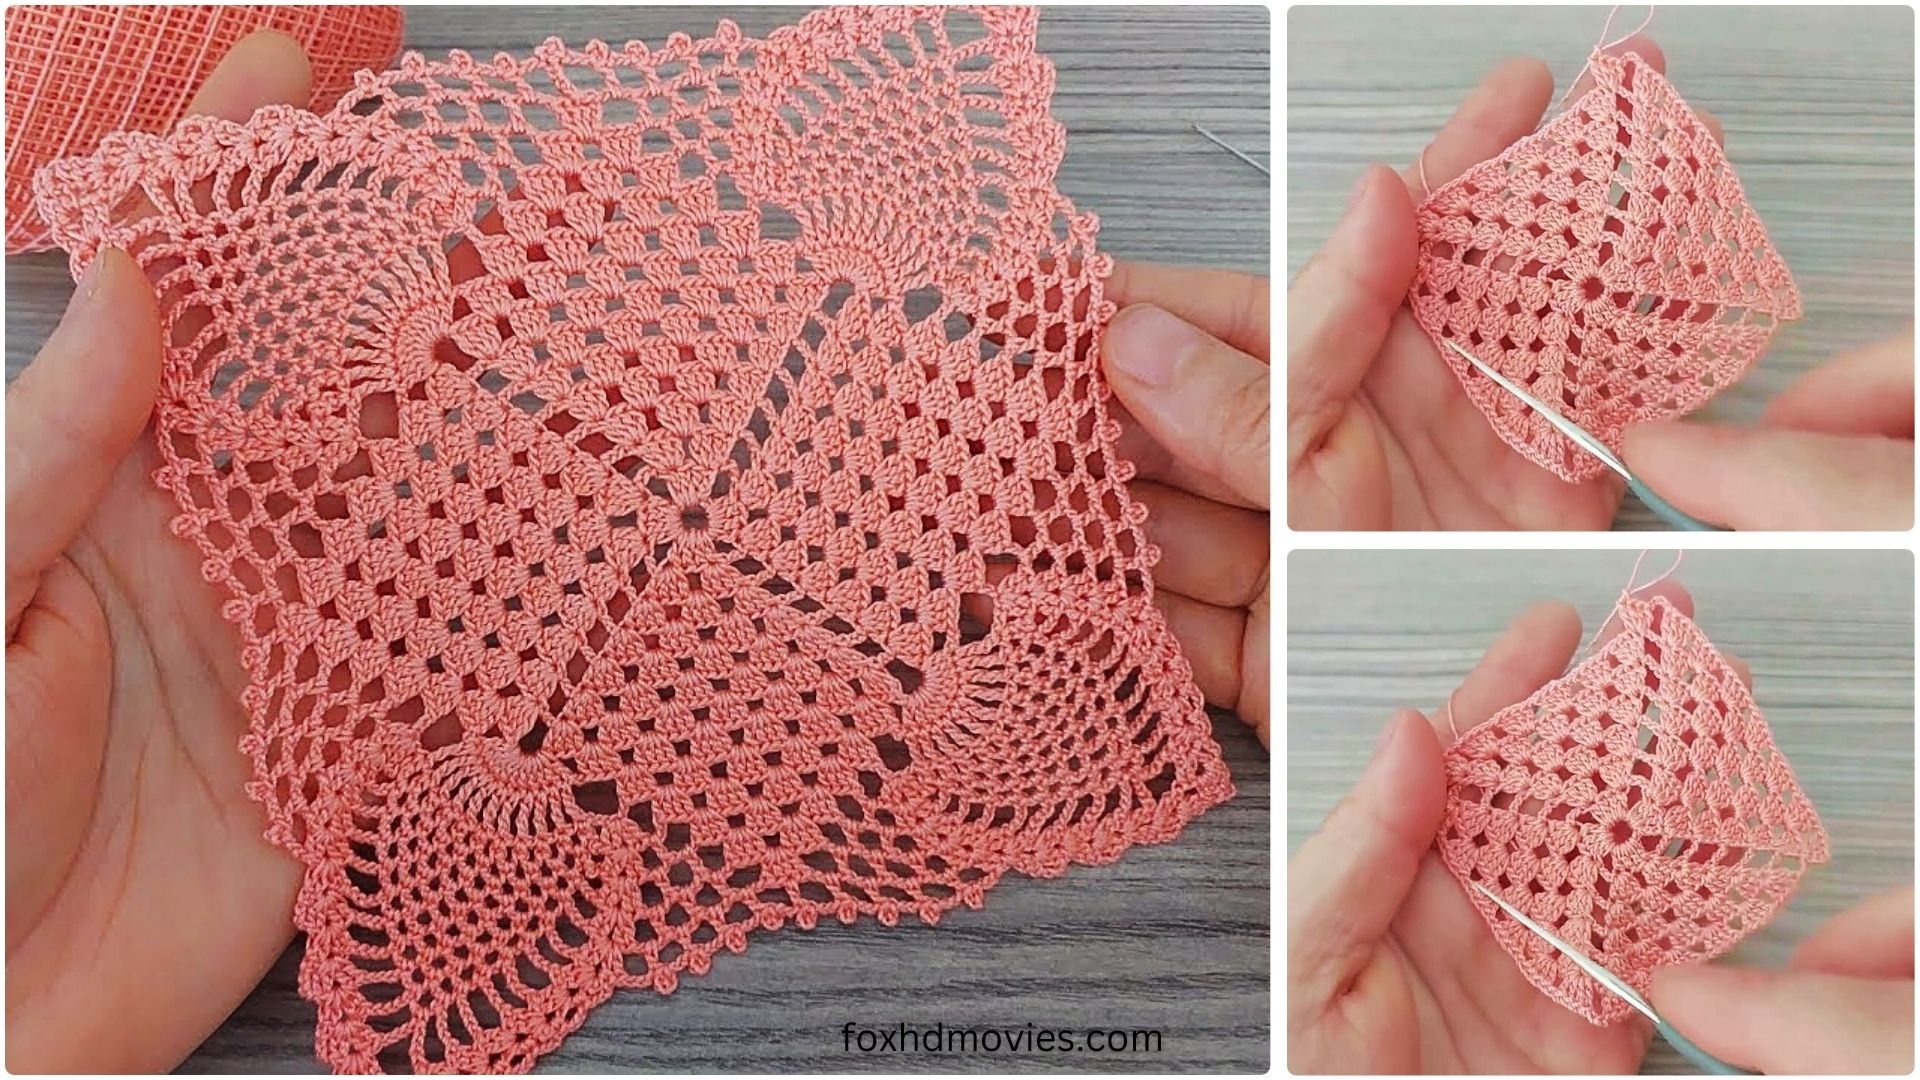
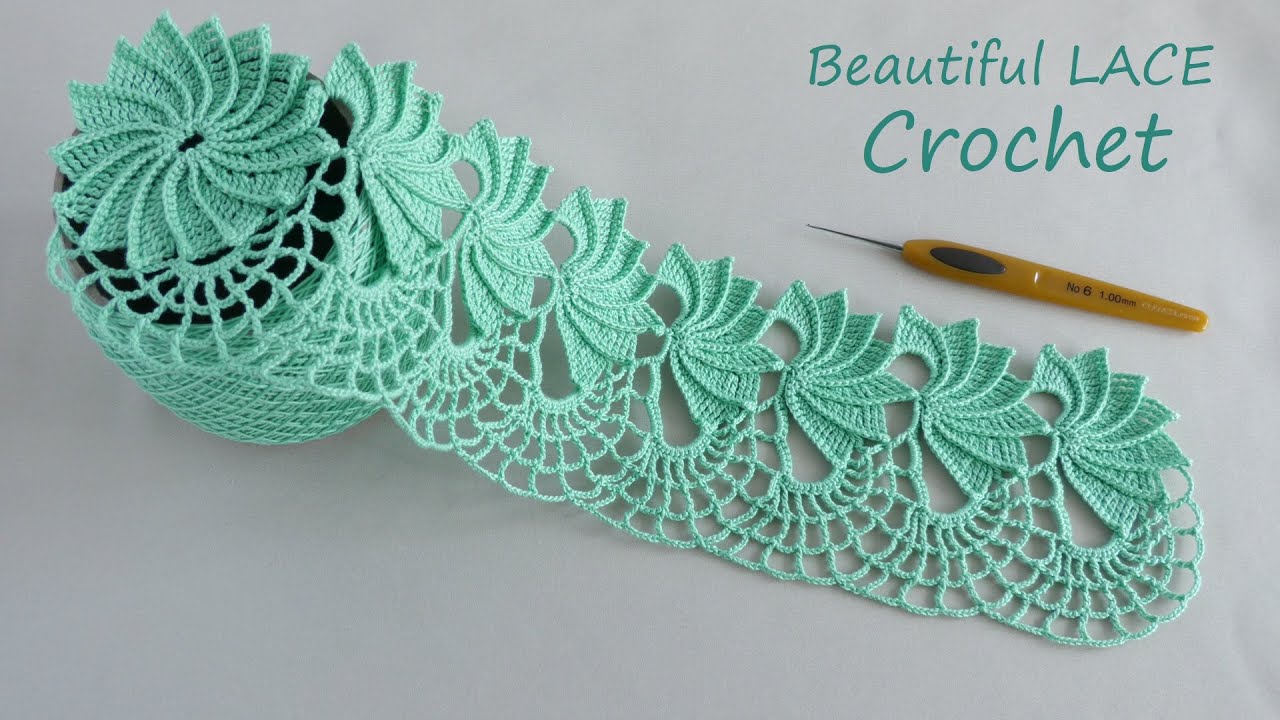
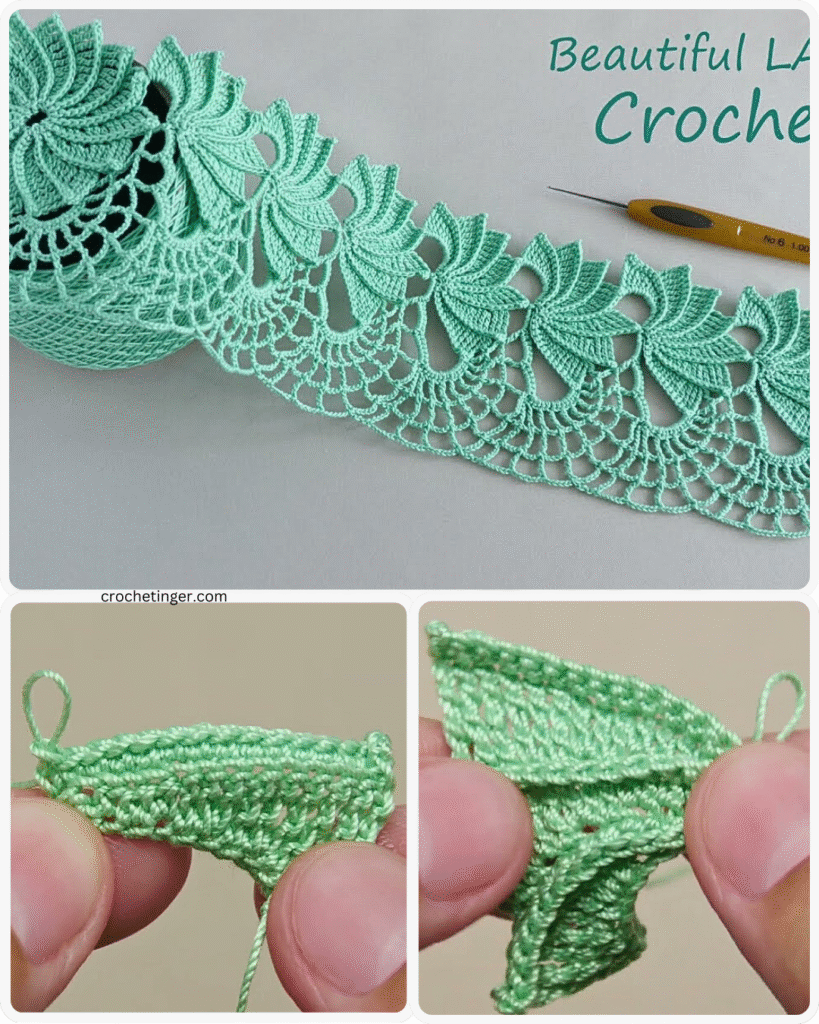
by This pattern will guide you through creating a beautiful and versatile crochet flower ribbon. You can use this ribbon for various projects, such as headbands, trim on garments, embellishments on bags, or even as a decorative garland.
This pattern is suitable for adventurous beginners or intermediate crocheters.
Materials:
- Yarn: Any weight yarn will work, but a DK or worsted weight cotton or acrylic is recommended for good stitch definition. Choose your desired color(s) for the flowers and the ribbon base.
- Crochet Hook: Size appropriate for your chosen yarn (check the yarn label for recommendations). A common size for DK yarn is 3.5mm or 4mm.
- Scissors
- Tapestry needle for weaving in ends
Abbreviations:
- ch: chain
- st(s): stitch(es)
- sl st: slip stitch
- sc: single crochet
- hdc: half double crochet
- dc: double crochet
- tr: treble crochet (or triple crochet)
- sk: skip
- sp: space
- rep: repeat
- * to *: repeat the instructions between the asterisks

Pattern Notes:
- The pattern is written in US crochet terms.
- The ribbon is made by creating individual flower motifs and then joining them together as you go, or by creating a base chain and attaching the flowers afterwards. This pattern will describe creating the flowers and then attaching them to a base chain.
- The size of your flower ribbon will depend on your yarn weight, hook size, and tension.
Instructions:
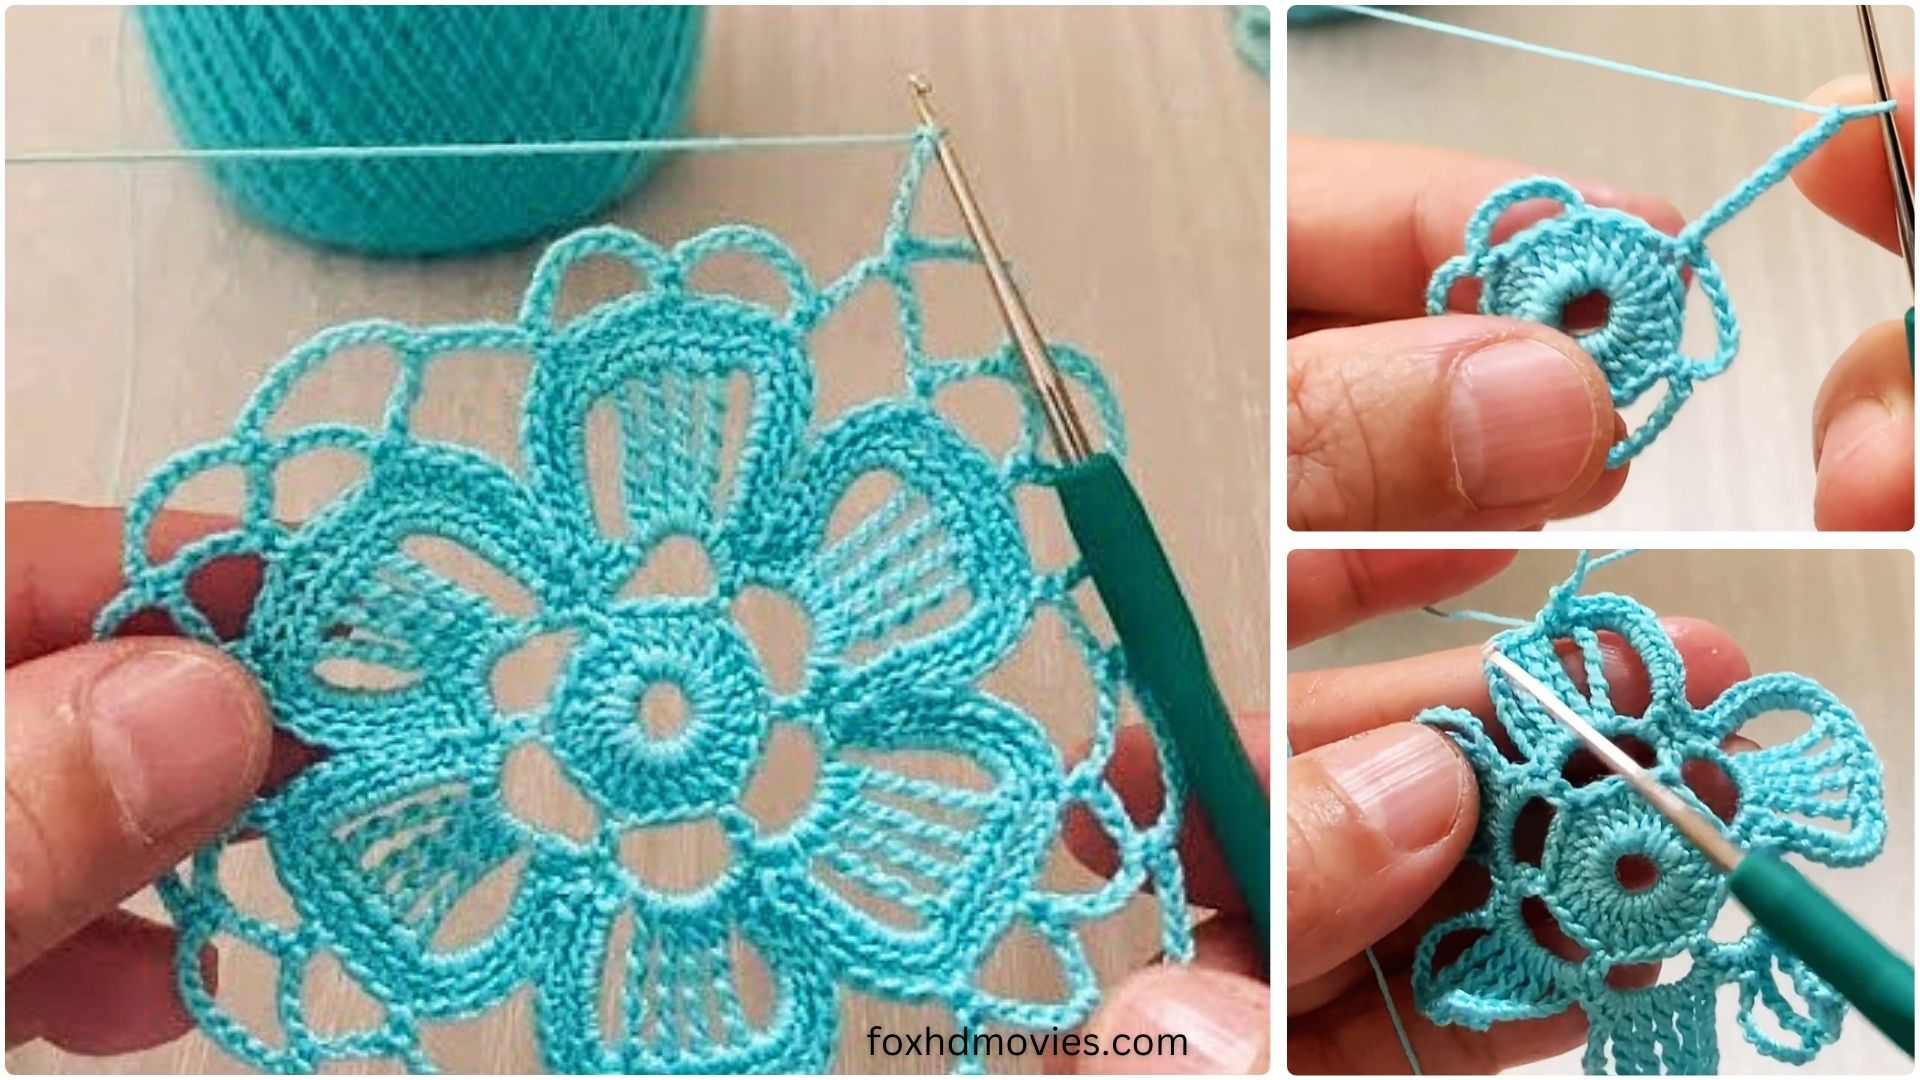
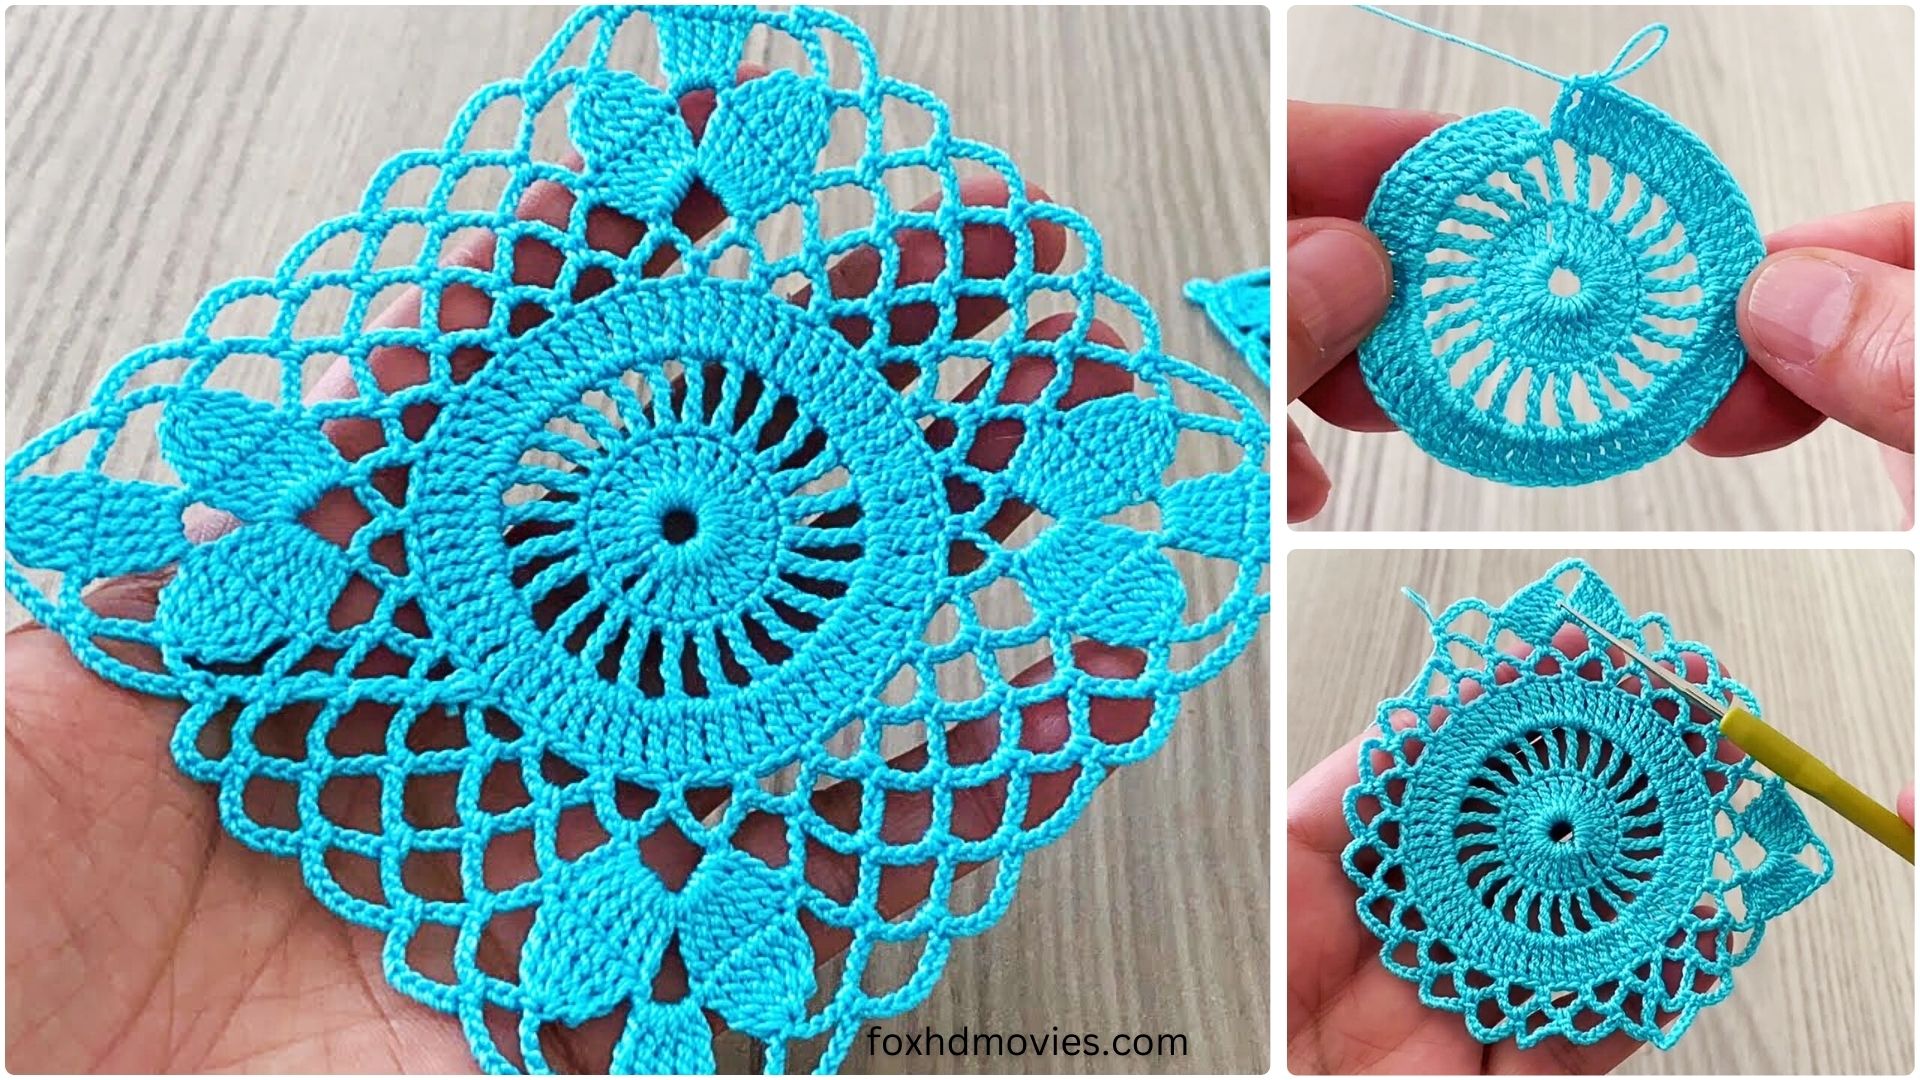
Part 1: The Flower Motif (Make as many as needed for your desired ribbon length)
Start with the color for your flower petals.
Round 1: Create a magic ring (or ch 4 and join with a sl st to the first ch to form a ring). Ch 2 (does not count as a st), work 12 dc into the ring. Join with a sl st to the top of the first dc. (12 dc)
Round 2: Ch 1 (does not count as a st). *Sc in the same st, ch 3, sk next st, sc in the next st*. Rep from * to * around. You will have 6 ch-3 spaces. Join with a sl st to the first sc. (6 sc, 6 ch-3 sps)
Round 3: Sl st into the first ch-3 space. Ch 2 (does not count as a st). In the same ch-3 space work (2 hdc, 2 dc, ch 1, 2 dc, 2 hdc). *In the next ch-3 space work (2 hdc, 2 dc, ch 1, 2 dc, 2 hdc)*. Rep from * to * around for each ch-3 space. Join with a sl st to the first sl st of the round. (6 petals created)
Fasten off and weave in ends.

Part 2: The Ribbon Base
Now, using the color for your ribbon base, we will create a foundation chain and attach the flowers.
- Determine the desired length of your ribbon. You will need a foundation chain slightly longer than the total length of the flowers you plan to attach, plus extra for ties or finishing. A good estimate is to chain approximately 5-10 stitches per flower you plan to attach, plus an extra 20-30 stitches on each end for ties.
- Create a foundation chain of your desired length.

Part 3: Attaching the Flowers to the Ribbon Base
We will now attach the flowers to the foundation chain using slip stitches or single crochets on the back of the flower.
- Lay your foundation chain flat.
- Take your first flower motif. Decide where you want the first flower to be placed on the chain (e.g., a few inches from the end for a tie).
- With your ribbon base yarn still attached to your hook, insert your hook through a stitch on the back of the flower (somewhere near the center or base of a petal) and then through a loop on your foundation chain.
- Work a sl st, pulling the loop through both the flower and the chain.
- Move to another point on the back of the same flower and a nearby loop on the foundation chain. Work another sl st or sc, connecting the flower more securely. You may need 2-3 attachment points per flower depending on its size.
- Continue along the foundation chain, attaching the next flower a short distance away from the first one. You can leave a small gap between flowers or have them slightly overlapping.
- Repeat steps 3-6 until all your flower motifs are attached to the foundation chain.
Video tutorial
Finishing:
- Weave in all remaining ends securely.
- You can leave the ends of the foundation chain as ties, or you can finish them with a few rows of sc or hdc for a more substantial end.
- For a more finished look, you can add a row of sc or sl st along the top and bottom edges of the ribbon base after attaching the flowers.