 by
by 
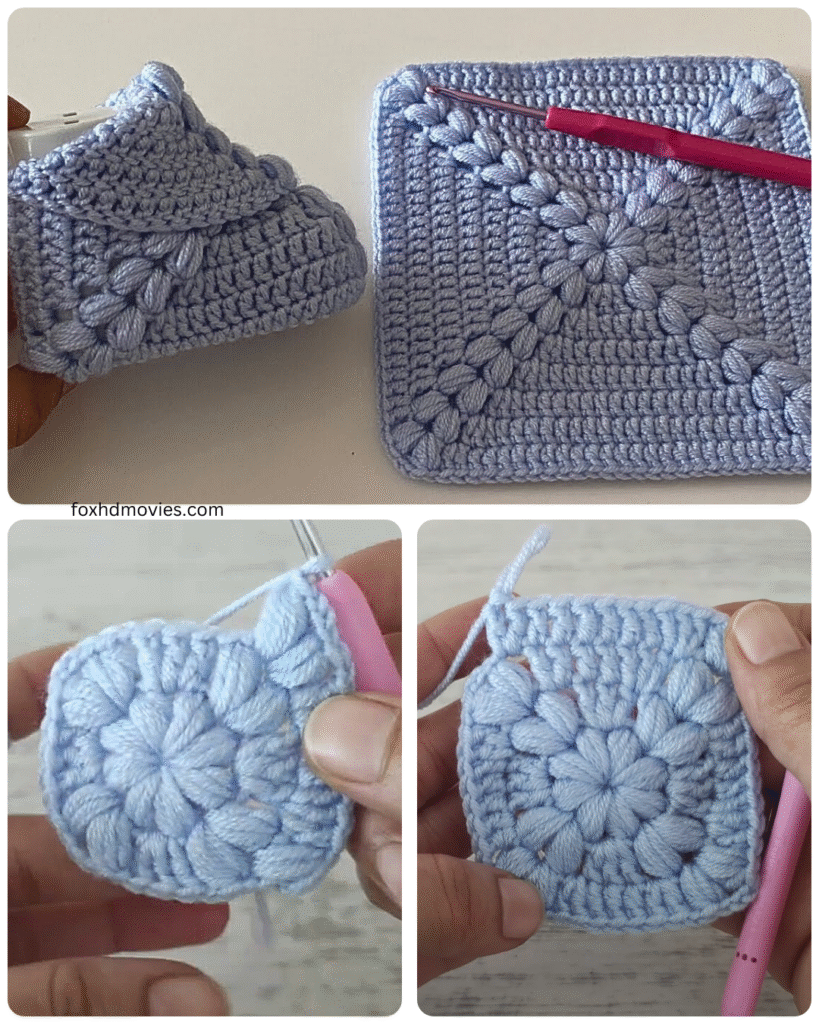
Hey fellow yarn enthusiasts! Are you on the hunt for a project that’s both cute and quick? Look no further! Today, we’re diving into the wonderful world of granny squares to create the most adorable and surprisingly simple baby booties. Seriously, if you can crochet a granny square, you can make these little foot warmers!
These booties are perfect for beginners, use minimal yarn, and can be customized with your favorite colors. Imagine a rainbow of tiny booties for a new baby or a sweet, classic pair in soft pastels. The possibilities are endless!
So, grab your hook and some cuddly yarn, and let’s get started on this super easy granny square baby booties pattern!
What You’ll Need:
- Yarn: Worsted weight yarn in your desired color(s). A soft, baby-friendly yarn is always a great choice. You won’t need much – scraps work perfectly!
- Crochet Hook: A size H/8 (5.0 mm) crochet hook, or the size recommended for your yarn.
- Scissors
- Tapestry Needle: For weaving in those pesky ends.
- Optional: Buttons, small appliques, or ribbon for embellishments.
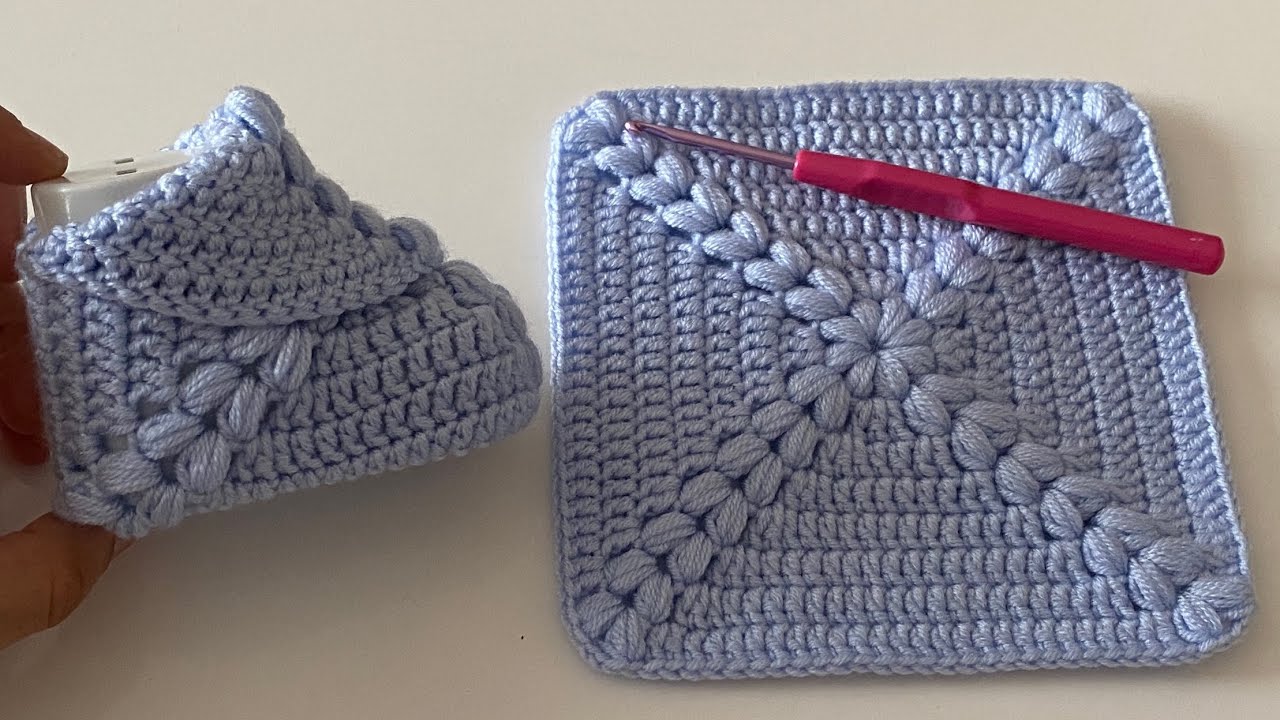
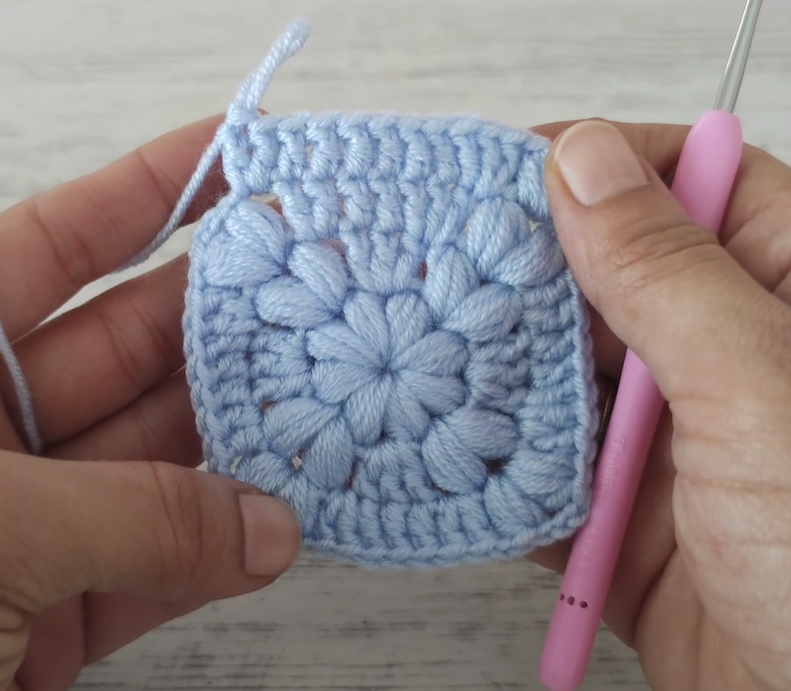
The Magic of the Granny Square: Making Two Identical Squares
We’ll start by making two identical granny squares. Don’t worry if you’re new to granny squares – it’s just a few simple stitches repeated!
Abbreviations (US Crochet Terms):
- ch = chain
- sl st = slip stitch
- dc = double crochet
- sp = space
Video tutorial
Instructions for One Granny Square:
- Start: Ch 4, join with a sl st to form a ring.
- Round 1: Ch 3 (counts as first dc), 2 dc in the ring, ch 2, (3 dc in the ring, ch 2) three times more. Join with a sl st to the top of the beginning ch-3. You should now have four clusters of 3 dc separated by ch-2 spaces.
- Round 2: Sl st into the next 2 dc and into the ch-2 sp. Ch 3 (counts as first dc), 2 dc in the same ch-2 sp, ch 1, (3 dc, ch 2, 3 dc) in the next ch-2 sp (corner), ch 1, (3 dc in the next ch-2 sp, ch 1) twice. Join with a sl st to the top of the beginning ch-3.
- Round 3 (and beyond, if desired for a larger bootie): Sl st into the next 2 dc and into the ch-1 sp. Ch 3 (counts as first dc), 2 dc in the same ch-1 sp, ch 1, [(3 dc, ch 2, 3 dc) in the next ch-2 sp (corner), ch 1, (3 dc in the next ch-1 sp, ch 1) twice]. Repeat from [ to ] around. Join with a sl st to the top of the beginning ch-3.
For baby booties, two rounds of the granny square are usually sufficient for a newborn size. If you need a slightly larger size, you can add a third round. Just remember to make two identical squares.

Pro Tip: For a neat finish, when you join each round with a slip stitch, make sure you’re joining to the top of the starting chain-3, not just anywhere in the chain.
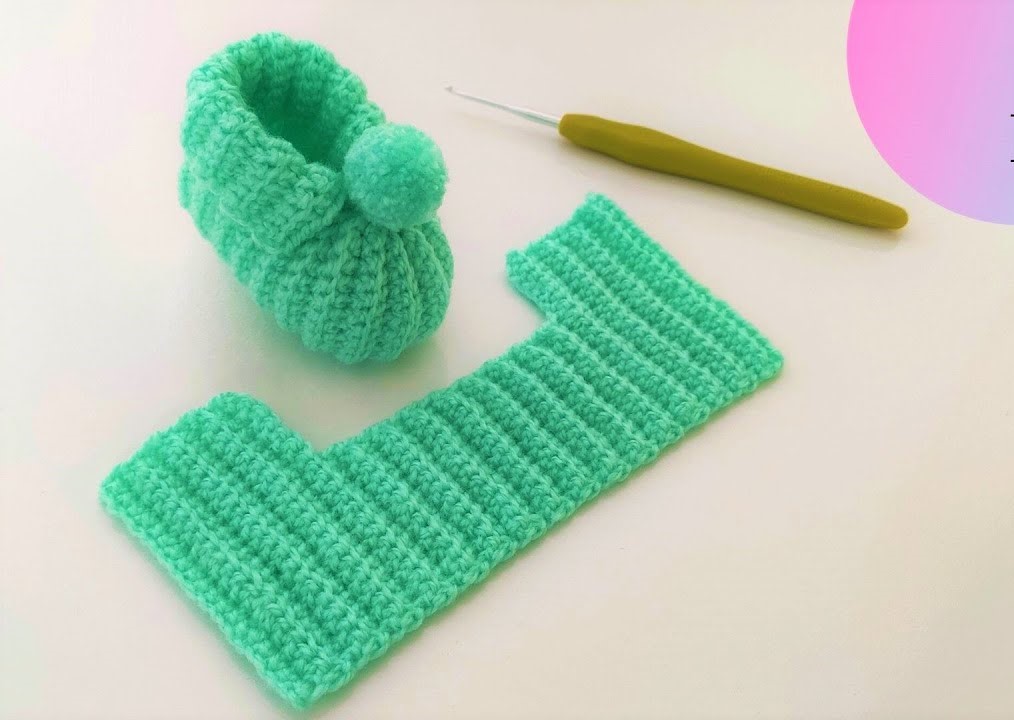
Shaping the Bootie: From Square to Snug
Now comes the fun part – transforming our flat granny squares into adorable little booties!
- Folding and Joining: Take one of your granny squares and fold it in half diagonally, so two opposite corners meet.
- Creating the Heel: With your yarn and hook, join at one of the folded edges. Single crochet (sc) along this folded edge, joining the two layers together to create the heel of the bootie. You’ll be working through both thicknesses of the square. Secure the end and weave it in.
- Opening for the Foot: Now, lay the joined piece flat with the heel you just created at the back. You’ll see an opening at the front.
- Forming the Toe: With your yarn and hook, join at one of the open corners. We’re going to round off the toe area. Work approximately 5-7 single crochet stitches along the edge towards the center, then work a few slip stitches to create a smoother curve, and then continue with 5-7 single crochet stitches along the other edge to the opposite corner. Secure the end and weave it in.
Visualizing It: Think of the folded square as the main body of the bootie. The single crochet seam creates the back of the heel, and the shaping with single and slip stitches at the open edge forms the rounded toe.
Adding the Ankle Cuff: A Cozy Finish
To keep those little booties securely on tiny feet, let’s add a simple ankle cuff.
- Attaching the Cuff: With your yarn and hook, join at the top edge of the bootie opening.
- Round 1: Single crochet evenly around the entire opening. Join with a sl st to the first sc.
- Round 2 (Optional): You can either sl st around for a simple edge or work another round of single crochet for a slightly taller cuff. Join with a sl st and fasten off. Weave in the ends.
Repeat the shaping and cuff steps for your second granny square to create the matching bootie.
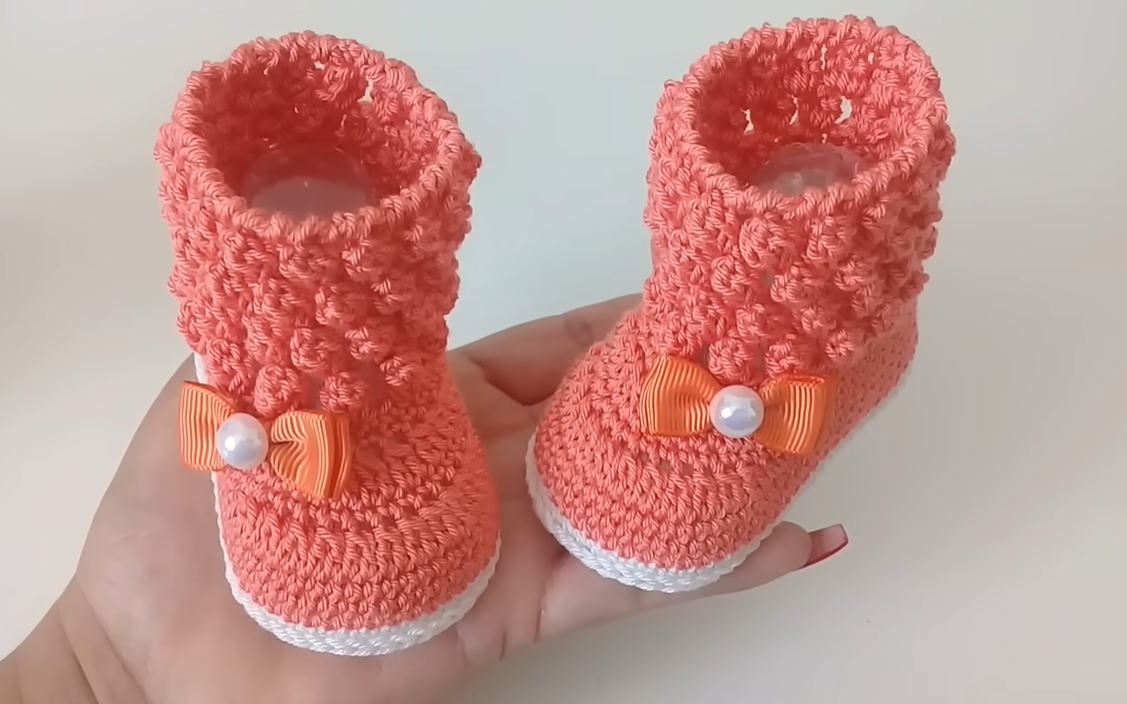
Embellishments (Optional, but Oh-So-Cute!):
This is where you can really let your creativity shine! Consider adding:
- Buttons: Sew a small button onto the cuff for a decorative touch. You can even add a simple crocheted loop on the other side for fastening.
- Appliques: Crochet small flowers, stars, or other shapes and sew them onto the booties.
- Ribbon: Weave a thin ribbon through the stitches of the cuff and tie it in a bow.

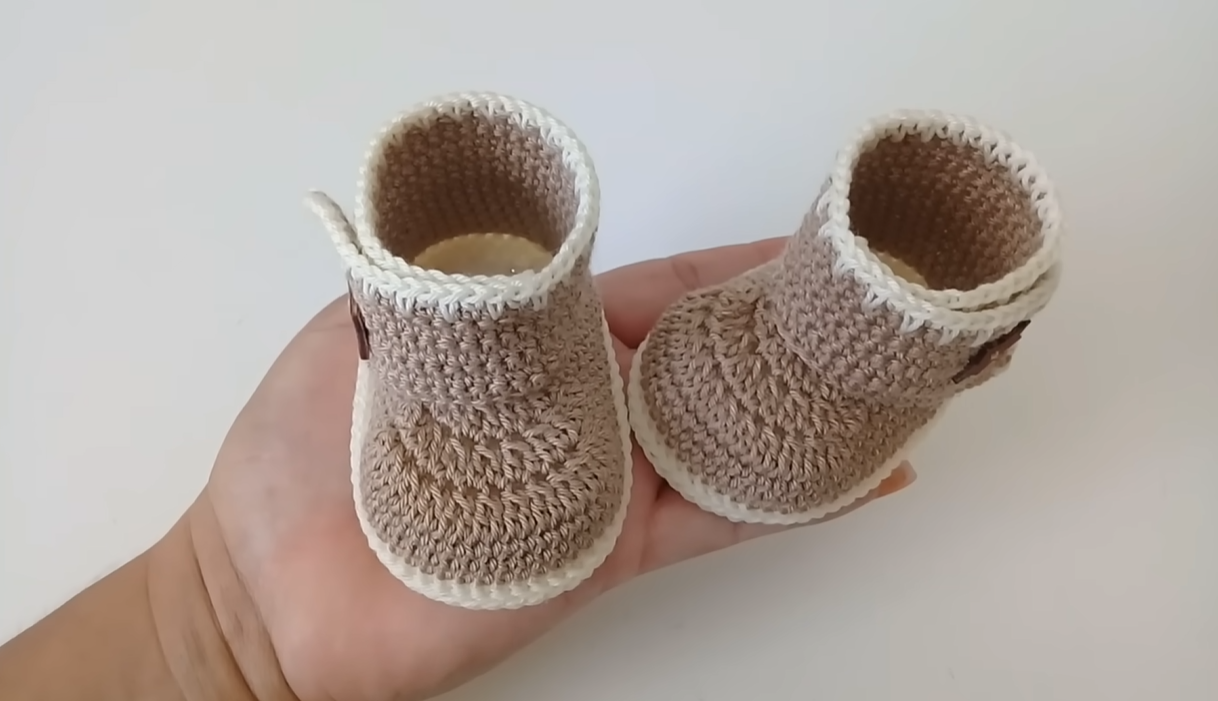
Congratulations!
You’ve just created a pair of adorable and super easy granny square baby booties! Aren’t they sweet? These little gems make a thoughtful and handmade gift for baby showers, newborns, or just because.
Tips for Success:
- Gauge isn’t critical for this project, but try to keep your tension consistent for both granny squares to ensure the booties are the same size.
- Don’t be afraid to experiment with colors! Stripes, color blocking, or using variegated yarn can create unique and eye-catching booties.
- Double-check your weaving in of ends to ensure they don’t come undone with wear and washing.
We hope you enjoyed making these super easy granny square baby booties! If you create a pair (or a dozen!), we’d love to see them. Share your creations on social media using #EasyGrannyBooties – we can’t wait to see your adorable makes!