 by
by 
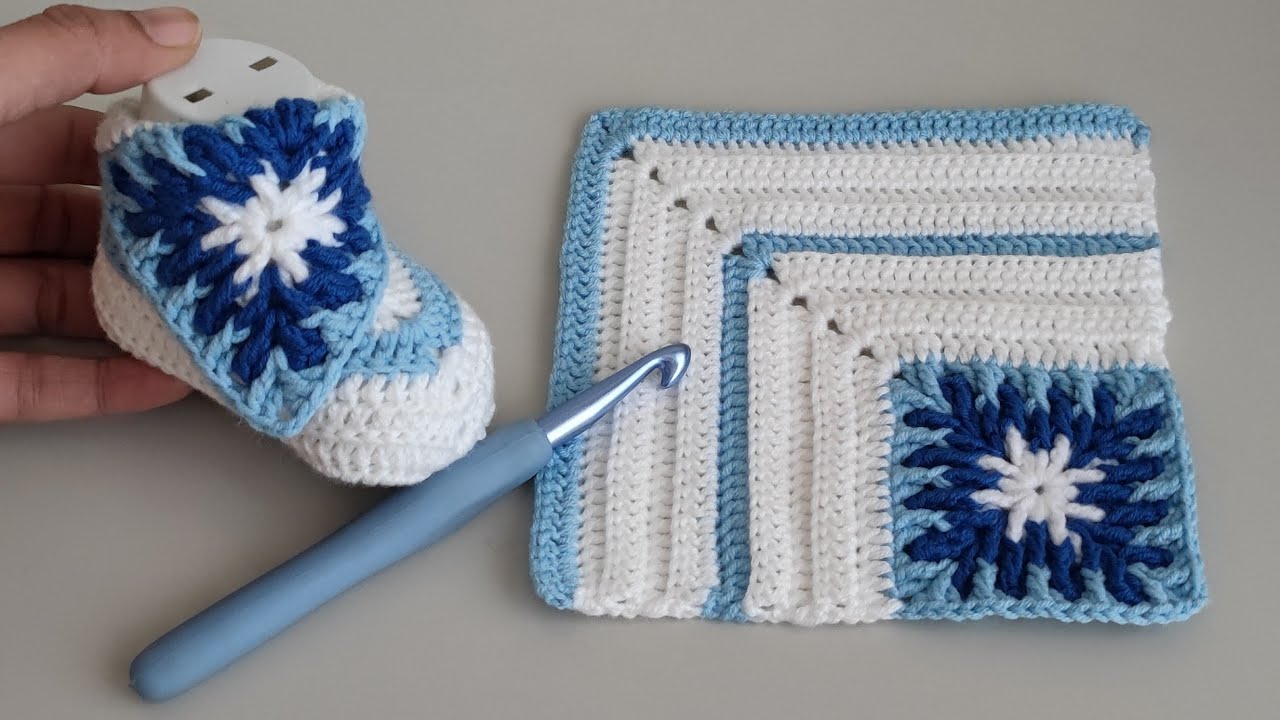
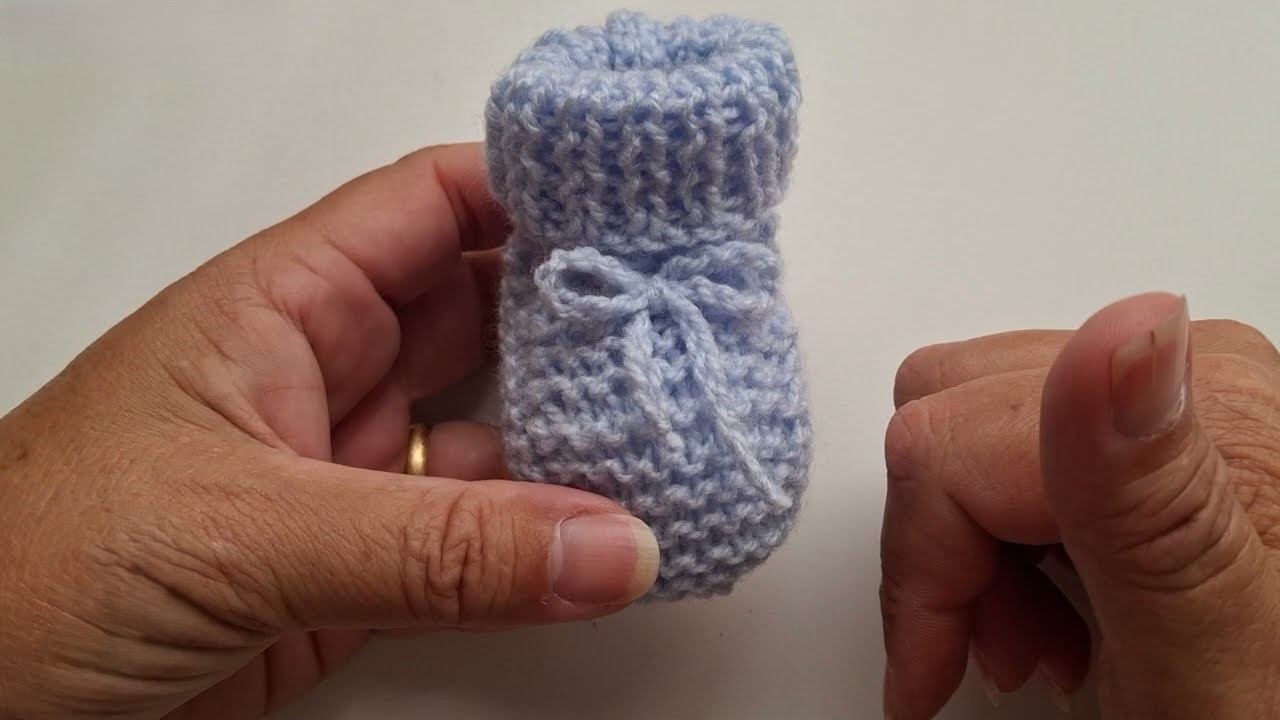
Hey there, crafty friends! Are you on the hunt for a quick, adorable, and beginner-friendly crochet project? Look no further! Today, we’re diving into the wonderful world of tiny toes with this super easy crochet baby shoe pattern. These little booties are perfect for gifting, baby showers, or just adding a touch of handmade charm to your little one’s wardrobe.
What makes these booties so easy? We’re sticking to basic crochet stitches and a simple construction that even a complete beginner can master. Trust me, if you can chain and single crochet, you can make these!
So, grab your yarn and hook, and let’s get started on these snuggly little creations!
Materials You’ll Need:
- Yarn: Worsted weight yarn in your favorite baby-friendly color (approximately 50-75 yards). Soft acrylic or cotton blends work wonderfully.
- Crochet Hook: Size H/8 (5.0 mm) or the size recommended on your yarn label.
- Scissors: For snipping yarn.
- Yarn Needle: For weaving in ends.
- Stitch Markers (optional but helpful): To mark the beginning of rounds or specific stitches.
Abbreviations (US Crochet Terms):
- ch = chain
- sc = single crochet
- sl st = slip stitch
- st(s) = stitch(es)
- rep = repeat
Gauge:
While gauge isn’t critical for this small project, aim for approximately 4 single crochet stitches per inch. Adjust your hook size if needed.
Finished Size:
This pattern is written for approximately a 0-3 month old baby (sole length of about 3.5 inches). You can adjust the size slightly by going up or down a hook size or adding/subtracting chains in the initial sole.
Video tutorial
Let’s Get Crocheting!
Part 1: The Sole
We’ll start by creating the oval-shaped sole of the bootie.
Round 1: Ch 11. Sc in the 2nd ch from the hook and in the next 8 chs. 3 sc in the last ch. Working on the other side of the chain, sc in the next 8 chs. 2 sc in the last ch. Sl st to the first sc to join the round. (22 sts)
- Tip for beginners: Make sure your initial chain isn’t too tight, as this will form the foundation of your sole.
Round 2: Ch 1. 2 sc in the first st. Sc in the next 8 sts. 2 sc in the next 3 sts. Sc in the next 8 sts. 2 sc in the last 2 sts. Sl st to the first sc to join the round. (28 sts)
Round 3: Ch 1. Sc in the first st. 2 sc in the next st. Sc in the next 9 sts. (2 sc in the next st) rep 3 times. Sc in the next 9 sts. (2 sc in the next st) rep 2 times. Sl st to the first sc to join the round. (34 sts)
- Note: You should now have a nice oval shape for the sole of the bootie.

Part 2: The Sides
Now we’ll work in the back loops only to create the sides of the bootie.
Round 4: Ch 1. Sc in the back loop only of each st around. Sl st to the first sc to join the round. (34 sts)
- Why back loops only? This creates a nice ridge that defines the sole and helps the sides stand up.
Round 5-8: Ch 1. Sc in each st around. Sl st to the first sc to join the round. (34 sts in each round)
- Keep going! These rounds will build the height of the bootie.
Part 3: Shaping the Toe
Now we’ll shape the front of the bootie to create the toe.
Round 9: Ch 1. Sc in the next 10 sts. (Sc2tog – single crochet two stitches together) rep 7 times. Sc in the last 10 sts. Sl st to the first sc to join the round. (27 sts)
- Sc2tog explained: Insert your hook into the first stitch, yarn over, and pull up a loop. Insert your hook into the next stitch, yarn over, and pull up a loop. You should have three loops on your hook. Yarn over and pull through all three loops. This decreases your stitch count.
Round 10: Ch 1. Sc in the next 8 sts. (Sc2tog) rep 5 times. Sc in the last 9 sts. Sl st to the first sc to join the round. (22 sts)

Part 4: Creating the Ankle Strap (Optional)
This step adds a cute little strap to help keep the booties on. Feel free to skip this if you prefer a simple slip-on bootie.
Round 11: Ch 1. Sc in the next 10 sts. Ch 10 (this forms the strap). Skip the next 2 sts. Sc in the last 10 sts. Sl st to the first sc to join the round. (20 sc, 1 ch-10 loop)
Round 12: Ch 1. Sc in the next 10 sts. Sc in each of the 10 chs of the strap. Sc in the last 10 sts. Sl st to the first sc to join the round. (30 sts)
Finishing:
- Fasten off your yarn, leaving a long tail.
- Use your yarn needle to weave in all loose ends securely.
Making the Second Bootie:
Simply repeat the entire pattern to create the second little shoe!

Tips and Variations:
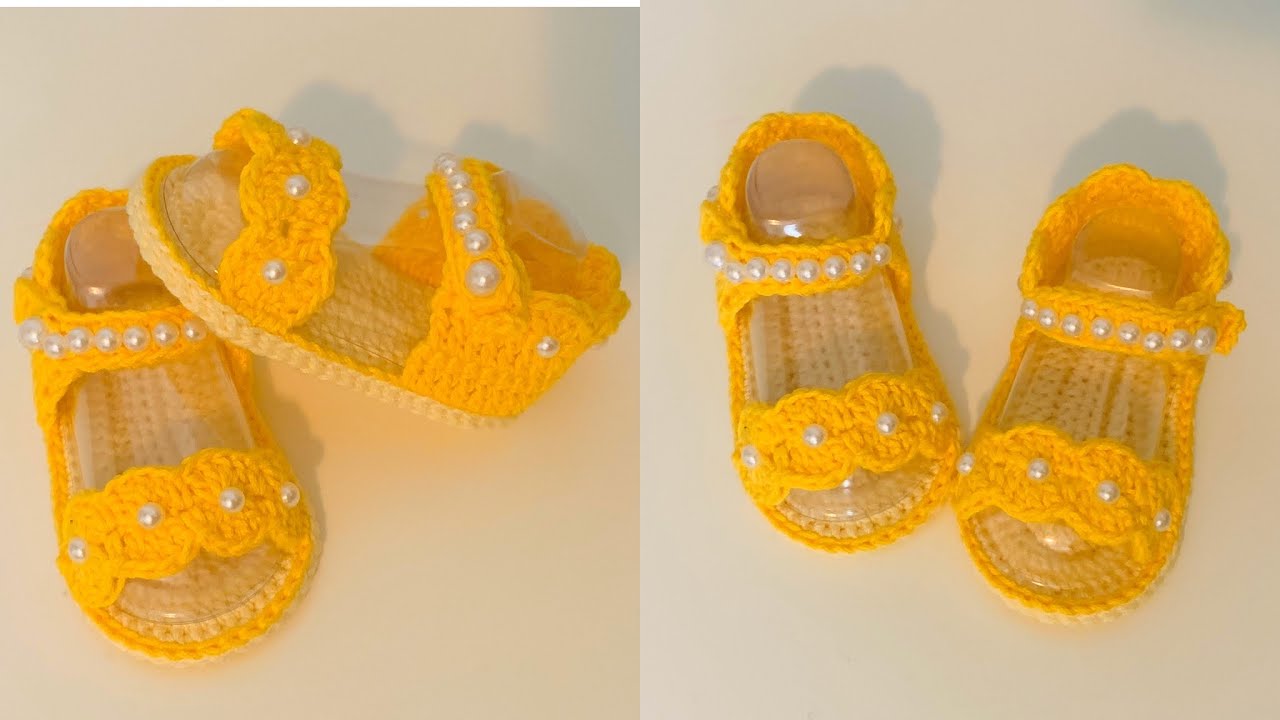
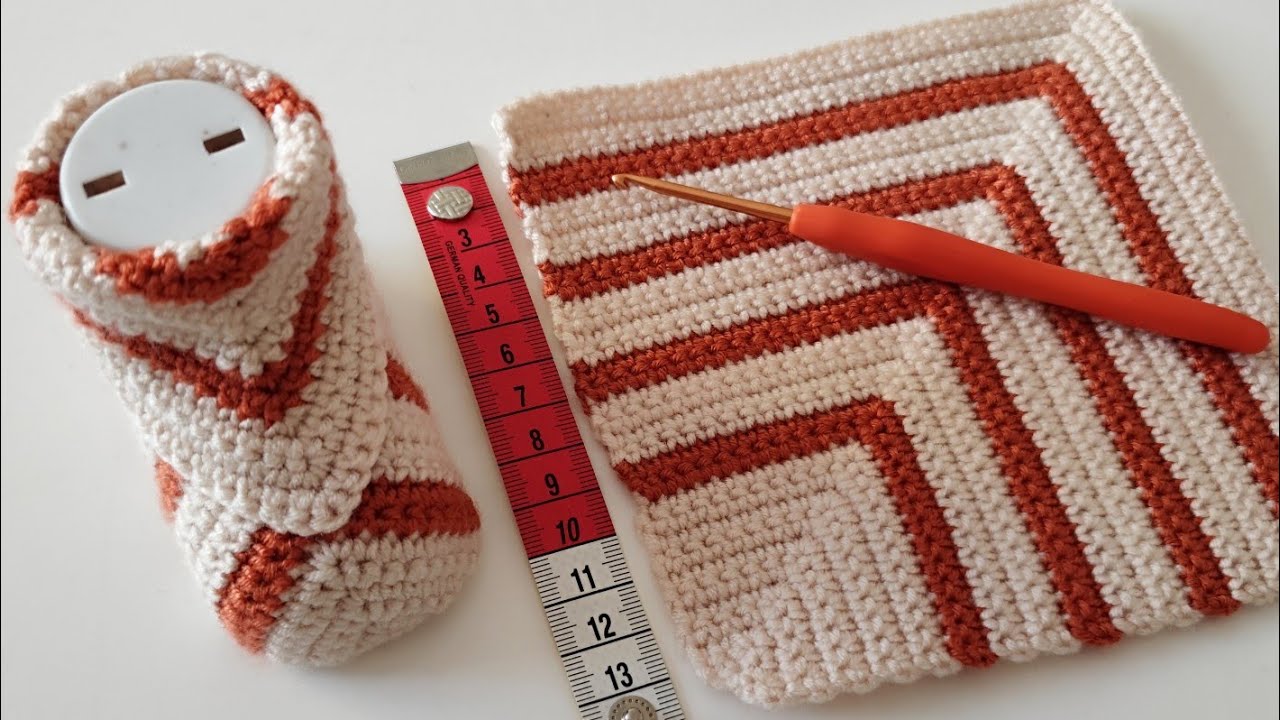
- Color Play: Get creative with colors! You can make each bootie a different color, add stripes, or create a two-toned look.
- Embellishments: Once your booties are complete, you can add small crocheted flowers, buttons (securely sewn on!), or embroidered details for extra cuteness.
- Sizing: To make a slightly larger or smaller size, adjust the number of chains in the initial sole or go up/down a hook size. You might also need to adjust the number of decrease rounds in the toe.
- Cuff: For a little extra warmth or style, you can add a few more rounds of single crochet at the ankle before or after the strap.
Congratulations! You’ve just crocheted a super adorable and easy pair of baby shoes! These little snuggle bug booties are sure to keep tiny feet warm and stylish.
I hope you enjoyed this pattern! If you make a pair, I’d love to see them. Feel free to share your creations in the comments below or tag me on social media! Happy crocheting!