 by
by 
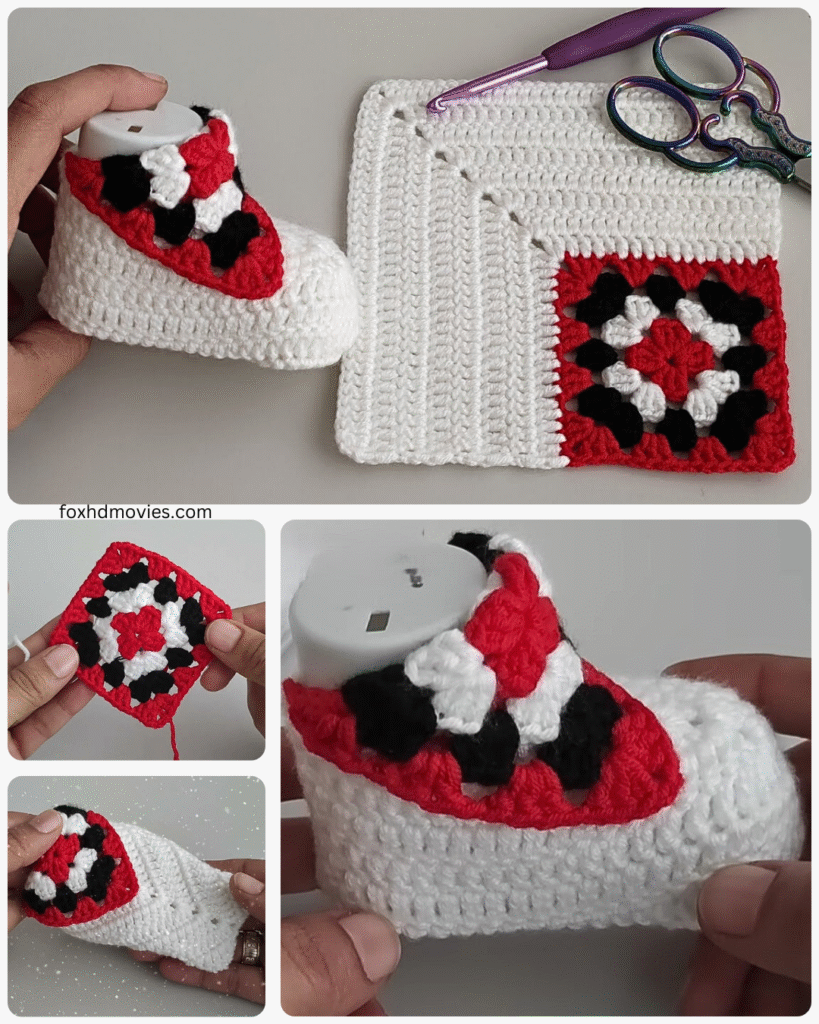
Hello fellow yarn enthusiasts! Are you ready to embark on a crochet journey that results in the most precious little footwear? Today, we’re diving into a pattern for creating charming granny square baby shoes. These shoes are not only incredibly cute but also a wonderful way to use up small amounts of yarn and practice your granny square skills. Get your hooks ready, and let’s make some tiny treasures!
Why Granny Squares for Baby Shoes?
You might be wondering, “Granny squares for shoes?” Absolutely! The classic granny square offers a fantastic base for these little booties. Its versatility allows us to shape the shoe beautifully, and the openwork design provides breathability for tiny feet. Plus, the colorful nature of granny squares means you can create unique and vibrant shoes for that special little someone.
Skill Level: Intermediate Beginner (familiarity with basic crochet stitches and granny square construction is helpful)
Materials You’ll Need:
- Yarn: DK or worsted weight yarn in your desired colors. You’ll need small amounts of yarn for each shoe. Consider soft, baby-friendly yarns like cotton or acrylic blends.
- Crochet Hook: Corresponding to your yarn weight (e.g., a 3.5mm or 4mm hook).
- Scissors: For snipping yarn.
- Tapestry Needle: For weaving in ends.
- Stitch Markers: Helpful for marking rounds and shaping.
- Buttons or Small Appliqués (Optional): For decoration.
Gauge: While gauge isn’t critical for this project, maintaining consistent tension will ensure both shoes are the same size.
Finished Size: This pattern is written for approximately 0-3 month old babies (sole length around 3.5 inches). Instructions for slightly adjusting the size will be provided.
Abbreviations (US Crochet Terms):
- ch: chain
- sl st: slip stitch
- sc: single crochet
- hdc: half double crochet
- dc: double crochet
- tr: treble crochet
- sp: space
- st(s): stitch(es)
- rep: repeat
- beg: beginning
Video pattern
Let’s Get Started!
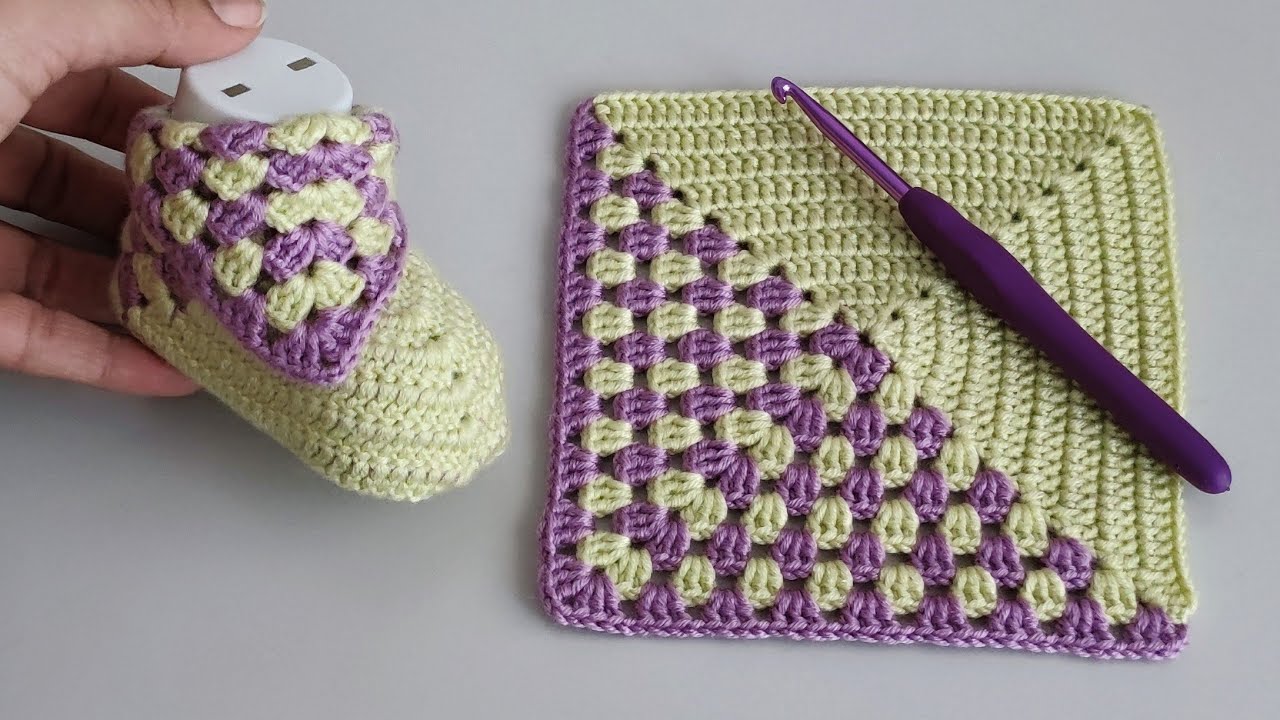
Part 1: Making the Granny Squares (Make 4)
We’ll start by creating four small granny squares for each pair of shoes.
- Foundation: Ch 4, join with a sl st to form a ring.
- Round 1: Ch 3 (counts as first dc), 2 dc in the ring, ch 2, (3 dc in the ring, ch 2) 3 times. Join with a sl st to the top of the beginning ch-3. (4 clusters of 3 dc, 4 ch-2 corner spaces)
- Round 2: Sl st into the next 2 dc and into the first ch-2 sp. Ch 3 (counts as first dc), 2 dc in the same sp, ch 1, (3 dc in the next ch-2 sp, ch 2, 3 dc in the same sp, ch 1) 3 times, 3 dc in the beginning ch-2 sp, ch 2. Join with a sl st to the top of the beginning ch-3. (8 clusters of 3 dc, 4 ch-2 corner spaces, 4 ch-1 side spaces)
- Optional Color Change: If you desire, fasten off the current color and join a new color before starting Round 3.
- Round 3: Sl st into the next 2 dc and into the first ch-2 sp. Ch 3 (counts as first dc), 2 dc in the same sp, ch 1, (3 dc in the next ch-1 sp, ch 1) twice, (3 dc in the next ch-2 sp, ch 2, 3 dc in the same sp, ch 1), rep from * once, (3 dc in the next ch-1 sp, ch 1) twice, 3 dc in the beginning ch-2 sp, ch 2. Join with a sl st to the top of the beginning ch-3. (12 clusters of 3 dc, 4 ch-2 corner spaces, 8 ch-1 side spaces)
- Fasten off and weave in all ends for each of the four squares.

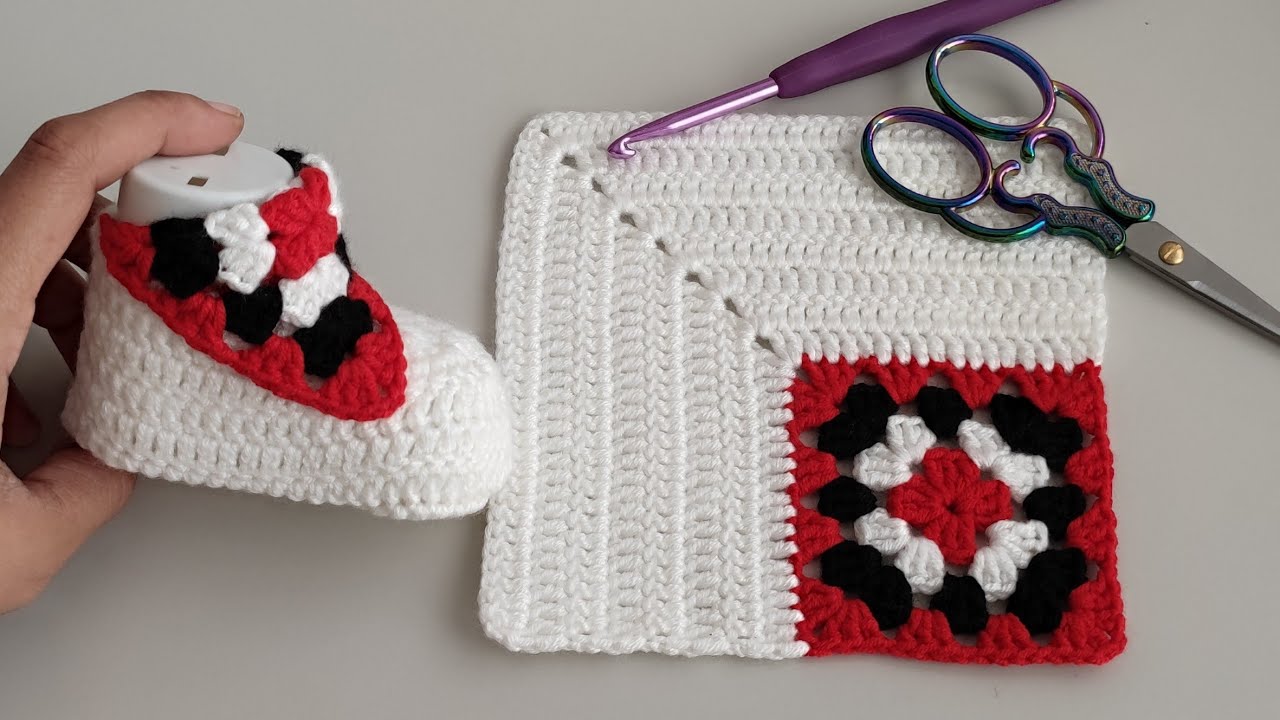
Part 2: Assembling the Shoe Upper
Now, we’ll arrange and join three of the granny squares to form the upper part of the shoe.
- Arrangement: Lay out three of your granny squares. One square will form the toe, and the other two will form the sides. Arrange them so that the corners of the side squares align with the sides of the toe square.
- Joining: Using your chosen yarn and the slip stitch or single crochet method (whichever you prefer for a neat seam), join the side squares to the toe square along one side each. Ensure the right sides of the squares are facing each other as you join.
- Tip: For a seamless look, try joining through the back loops only.
Part 3: Creating the Heel
The remaining granny square will form the heel of the shoe.
- Attaching the Heel: Align one edge of the remaining granny square with the back edge of the assembled upper (the edge opposite the toe). Join it using your preferred method (sl st or sc).
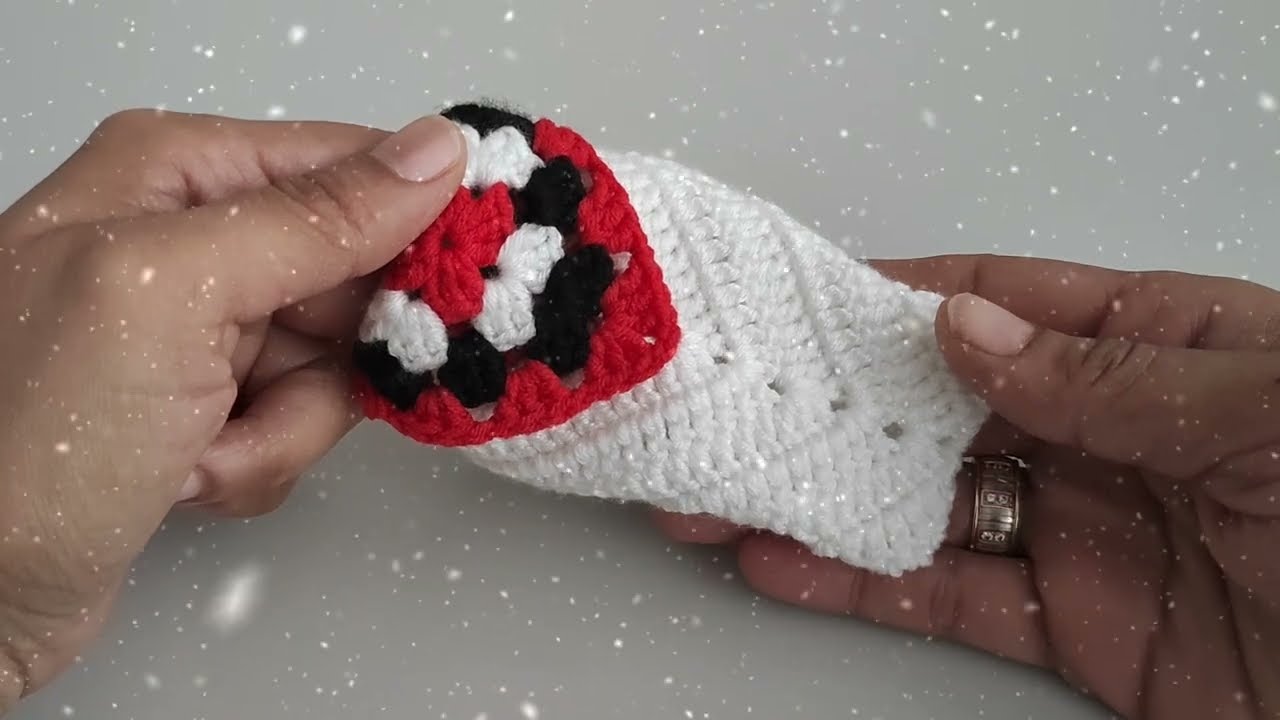
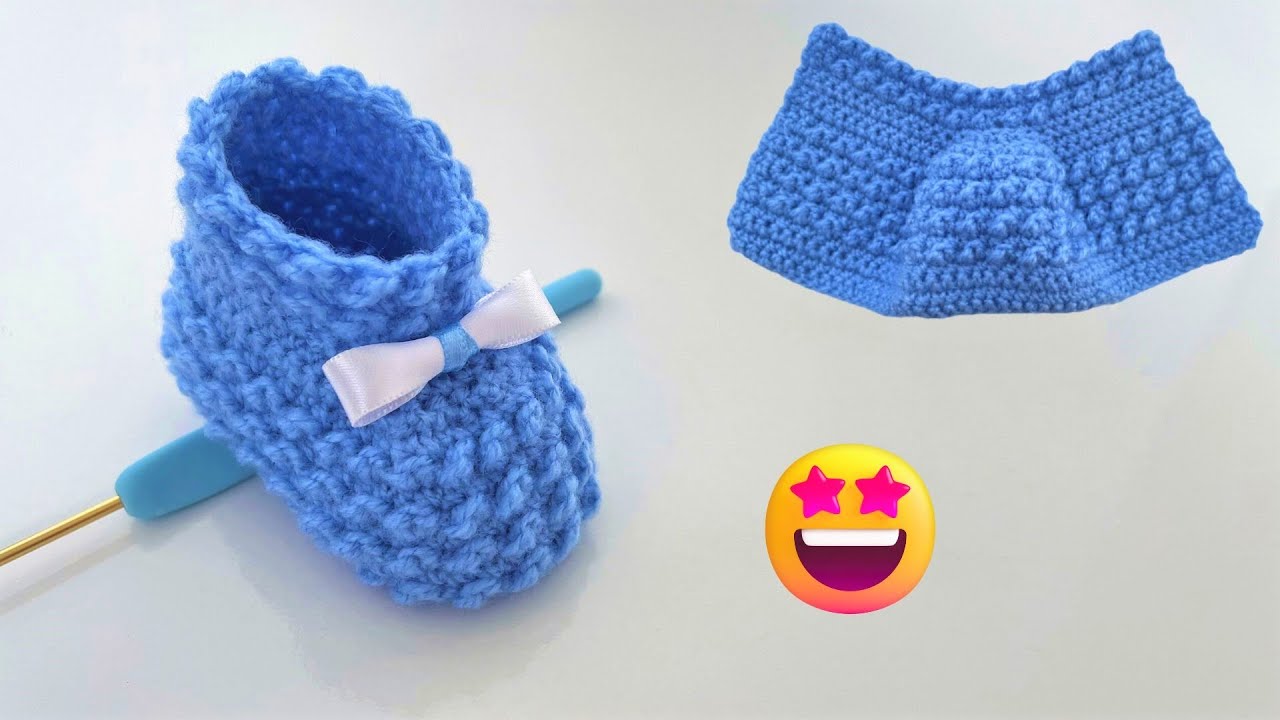
Part 4: Shaping the Shoe and Adding the Sole
Now, we’ll work around the edges to shape the shoe and create the sole.
- Round 1 (Sole Shaping): Join your yarn at any point along the bottom edge of the assembled upper. Work a round of single crochet evenly around the entire bottom opening of the shoe. You may need to increase or decrease stitches slightly to ensure a flat sole. Pay attention to the corners and curves, working extra stitches in the curves to prevent puckering and decreasing slightly if the edge seems too wavy.
- Round 2 (Sole): Continue working in single crochet around. You can work in the back loops only for a slightly textured sole.
- Rounds 3-X (Sole Depth): Continue working single crochet rounds until the sole reaches your desired depth (approximately 0.5-0.75 inches for a newborn). You can adjust the number of rounds to slightly alter the size of the shoe.
- For a slightly larger size: Add 1-2 more rounds of single crochet for the sole.
- For a slightly smaller size: Reduce the number of single crochet rounds for the sole.
- Shaping the Ankle Opening: To create a better fit around the ankle, you can work a round of slip stitches or a round of single crochet with fewer stitches across the back of the heel. This will gently curve the opening.

Part 5: Creating the Ankle Strap (Optional)
An ankle strap helps to keep the little shoes securely on tiny feet.
- Attaching the Strap: Join your yarn at the side of the shoe opening.
- Creating the Strap: Chain a length that will comfortably go around the baby’s ankle and allow for a button closure (approximately 8-12 chains, adjust as needed).
- Finishing the Strap: You can either work a row of slip stitches or single crochet back along the chain for a sturdier strap.
- Attaching the Button: Sew a small button to the opposite side of the shoe opening, aligning it with the end of the ankle strap.
- Alternative Closure: You can also create a tie closure by chaining a longer length and attaching it to both sides of the shoe opening.

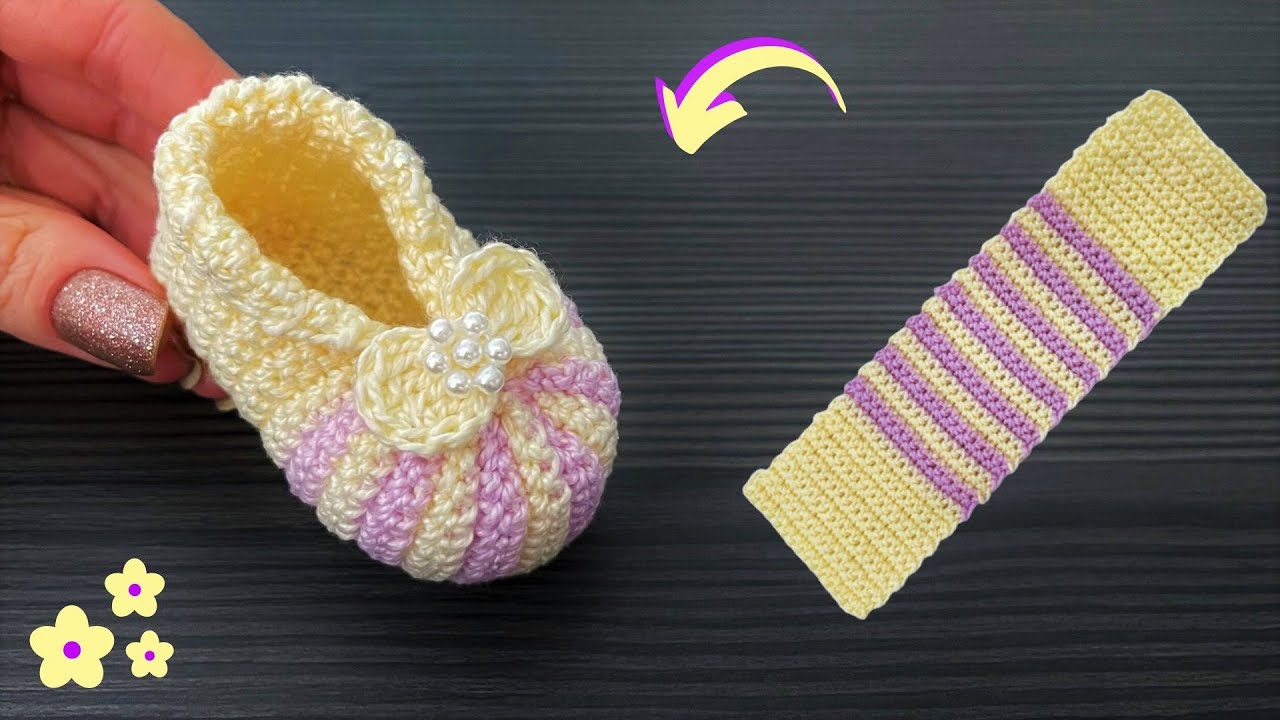
Part 6: Finishing Touches
- Weave in all remaining yarn ends securely.
- Add embellishments (optional): You can add small crocheted flowers, buttons, or appliqués to personalize your baby shoes.
Making the Second Shoe:
Repeat all the steps above to create the second shoe, ensuring it mirrors the first one.
Care Instructions:
Gently hand wash in cool water with mild soap and lay flat to dry.
Congratulations!
You’ve now crocheted a beautiful pair of granny square baby shoes! These little booties are perfect for keeping tiny toes warm and make a thoughtful handmade gift for baby showers or new arrivals. Don’t be afraid to experiment with different yarn colors and embellishments to create unique and adorable pairs.
Happy crocheting, and may your tiny treasures bring joy to little feet!