by
by 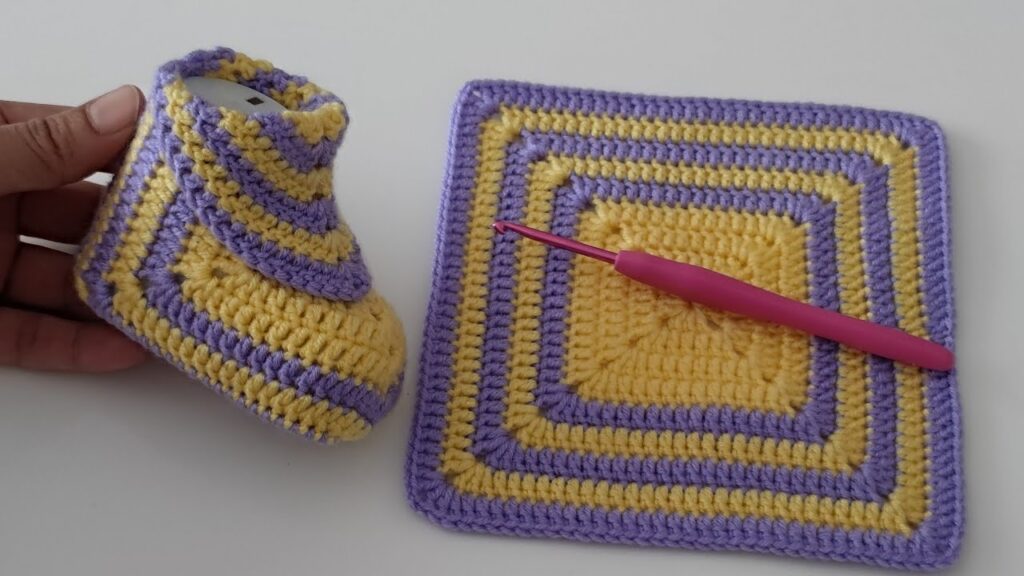
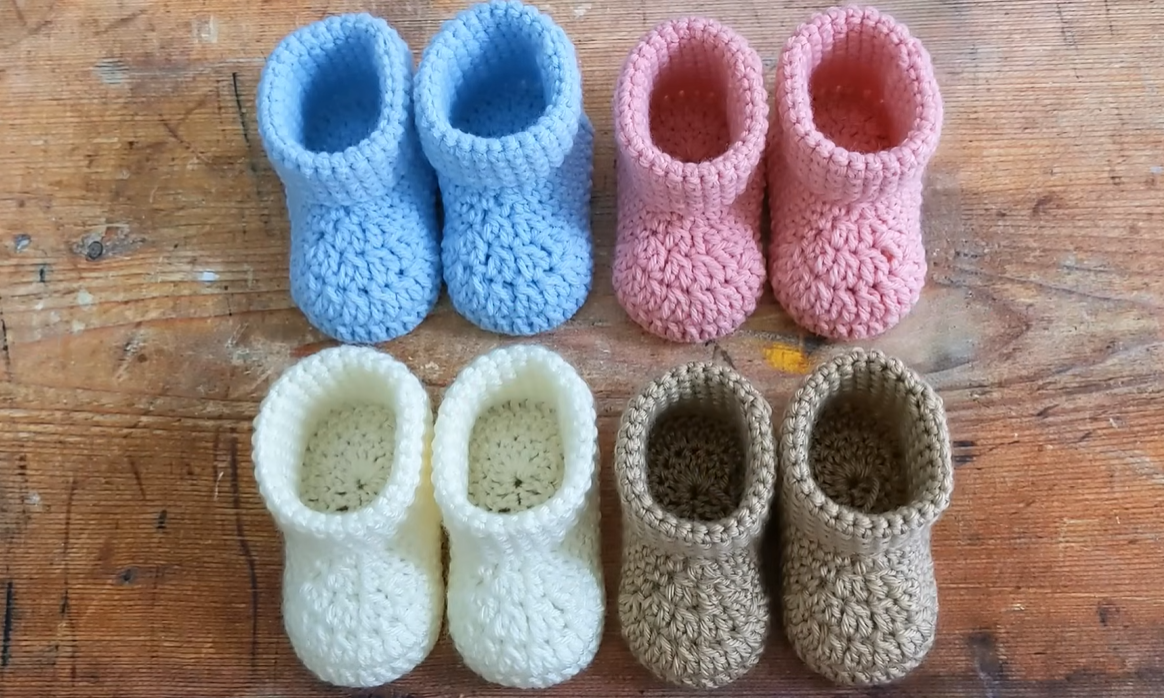
Hello fellow yarn enthusiasts! Are you ready for a project that’s as sweet as it is satisfying? Today, we’re diving into the wonderful world of granny squares and transforming them into the cutest little baby shoes you ever did see. These make for heartfelt handmade gifts for newborns, charming additions to baby shower presents, or simply a delightful way to use up those colorful yarn scraps.
This pattern is designed for a beginner-to-intermediate crocheter and uses basic crochet stitches. So, grab your favorite yarn, hook, and let’s get started on these tiny treasures!
What You’ll Need:
- Yarn: Worsted weight yarn in your desired colors. You’ll need small amounts of at least two colors – one for the main part of the shoe and another for the trim or embellishments. Cotton or a soft acrylic blend is ideal for baby items.
- Crochet Hook: A size H/8 (5.0 mm) crochet hook, or the size recommended for your yarn.
- Scissors: For snipping yarn ends.
- Yarn Needle: For weaving in ends.
- Measuring Tape or Ruler: To ensure proper sizing.
- Stitch Markers (Optional): Helpful for marking rounds.
- Buttons or Small Appliqués (Optional): For decoration and fastening.
Gauge:
While exact gauge isn’t critical for this small project, aim for approximately 4 double crochet stitches per inch. This will help ensure the finished shoes are a suitable size for a newborn (around 0-3 months).
Finished Size: Approximately 3.5 inches in length. Adjust hook size or yarn weight for different sizes.
Abbreviations (US Crochet Terms):
- ch: chain
- sl st: slip stitch
- sc: single crochet
- hdc: half double crochet
- dc: double crochet
- tr: treble crochet
- sp: space
- st(s): stitch(es)
- rep: repeat
- beg: beginning
Video pattern
Let’s Get Crocheting!
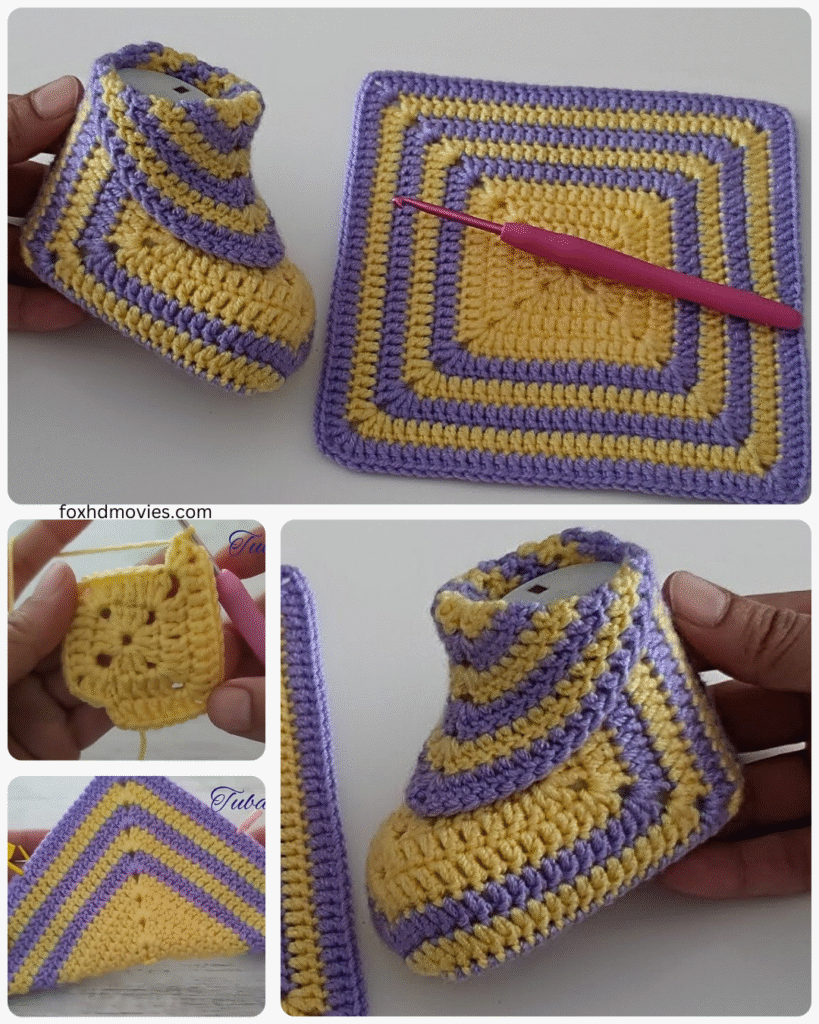
Part 1: Making the Granny Squares (Make 2)
We’ll start by creating two classic granny squares. You can choose to make them in solid colors or incorporate stripes for a fun look.
Round 1: Ch 4, sl st to join into a ring. Round 2: Ch 3 (counts as first dc), 2 dc in the ring, ch 2, (3 dc in the ring, ch 2) three times. Sl st to the top of the beginning ch-3. (12 dc, 4 ch-2 spaces) Round 3: Sl st into the next 2 dc and into the first ch-2 sp. Ch 3 (counts as first dc), (2 dc, ch 2, 3 dc) in the same ch-2 sp (corner made). Ch 1, *(3 dc, ch 2, 3 dc) in the next ch-2 sp (corner made), ch 1; rep from * two more times. Sl st to the top of the beginning ch-3. (24 dc, 8 ch-1 spaces, 4 ch-2 spaces) Round 4 (Optional – for a slightly larger square): Sl st into the next 2 dc and into the first ch-2 sp. Ch 3 (counts as first dc), (2 dc, ch 2, 3 dc) in the same ch-2 sp. Ch 1, 3 dc in the next ch-1 sp, ch 1, *(3 dc, ch 2, 3 dc) in the next ch-2 sp, ch 1, 3 dc in the next ch-1 sp, ch 1; rep from * two more times. Sl st to the top of the beginning ch-3. (36 dc, 12 ch-1 spaces, 4 ch-2 spaces)

Fasten off and weave in the ends of both granny squares.
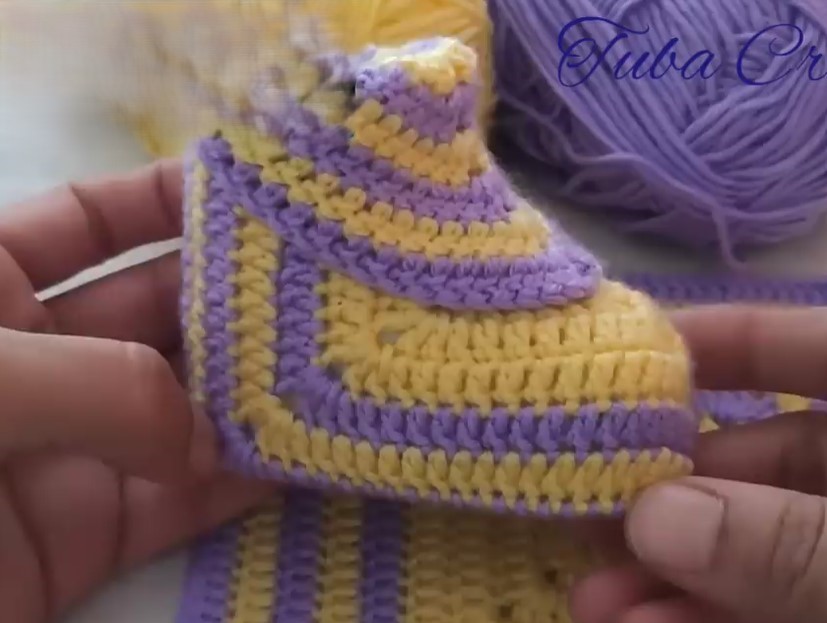
Part 2: Shaping the Shoe Upper
Now comes the magic of transforming our flat squares into a three-dimensional shoe! We’ll be folding and seaming the squares to create the upper part of the baby shoe.
- Folding: Lay one granny square flat with a corner pointing towards you. Fold the two side corners inwards so they slightly overlap in the center. This will create the rounded toe shape.
- Securing the Toe: Using your yarn needle and the same yarn you used for the square, whip stitch or mattress stitch the overlapped edges together securely. This seam will form the front of the shoe.
- Repeating: Repeat steps 1 and 2 with the second granny square.
You should now have two little “hooded” shapes that will form the uppers of your baby shoes.

Part 3: Creating the Sole and Attaching the Upper
For the sole, we’ll crochet a simple oval shape that will be attached to the bottom edge of our granny square upper.
Sole Pattern:
Using your chosen sole color:
Round 1: Ch 11. Sc in the 2nd ch from the hook and in the next 8 ch. 3 sc in the last ch. Working on the other side of the chain, sc in the next 8 ch. 2 sc in the last ch. Sl st to the first sc. (22 sc) Round 2: Ch 1, 2 sc in the first sc, sc in the next 8 sc, 2 sc in each of the next 3 sc, sc in the next 8 sc, 2 sc in each of the last 2 sc. Sl st to the first sc. (28 sc) Round 3: Ch 1, sc in the first sc, 2 sc in the next sc, sc in the next 9 sc, (sc, 2 sc) three times, sc in the next 9 sc, (sc, 2 sc) twice. Sl st to the first sc. (34 sc)
Fasten off and weave in the end. Make one sole for each shoe.
Attaching the Upper to the Sole:
- Positioning: With the right side of the shoe upper facing you, align the bottom edge of the upper with the edge of the sole. You’ll want the seamed toe part to be at the front of the sole.
- Attaching: Using your yarn needle and the yarn color of your choice (or the same color as the sole), whip stitch or single crochet the upper to the sole. Work your stitches evenly around, making sure to securely attach all edges. Take your time here to ensure a neat and durable seam.

Repeat this process for the second shoe.
Part 4: Adding the Ankle Strap (Optional)
An ankle strap helps to keep the little shoes securely on tiny feet.
- Starting Point: Choose a point on the side of the shoe opening. Attach your yarn with a slip stitch.
- Creating the Strap: Ch 15 (or your desired length).
- Attaching the Other Side: Sl st to the opposite side of the shoe opening, ensuring the strap isn’t too tight or too loose.
- Finishing: Fasten off and weave in the ends.
- Button Loop (Alternative): Instead of attaching the strap directly, you can create a loop on one side (a shorter chain, sl st back to the base) and sew a small button onto the other side of the shoe for fastening.
Part 5: Embellishments (Optional)
This is where you can let your creativity shine! Consider adding:
- Crocheted Flowers or Bows: Attach these to the front or side of the shoes.
- Small Buttons or Appliqués: Sew these onto the straps or the main body of the shoe.
- Contrasting Edging: Add a round of single crochet in a different color around the opening of the shoe.
Care Instructions:
Gently hand wash in cool water with mild soap. Reshape and air dry.
Congratulations!
You’ve now crocheted a beautiful pair of granny square baby shoes! These little booties are sure to be treasured. Feel free to experiment with different color combinations and embellishments to create unique and adorable footwear for the little one in your life.