by
by 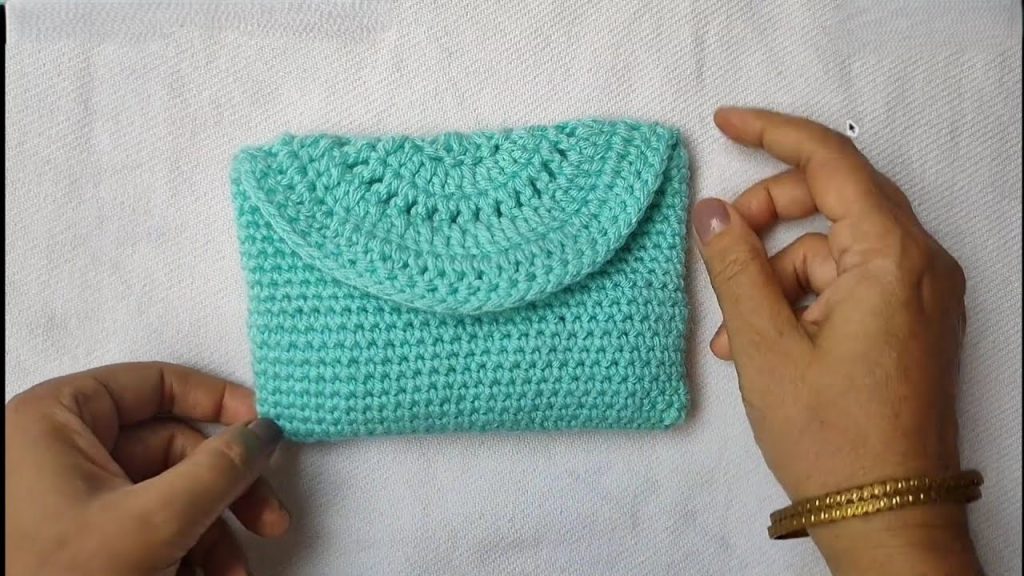
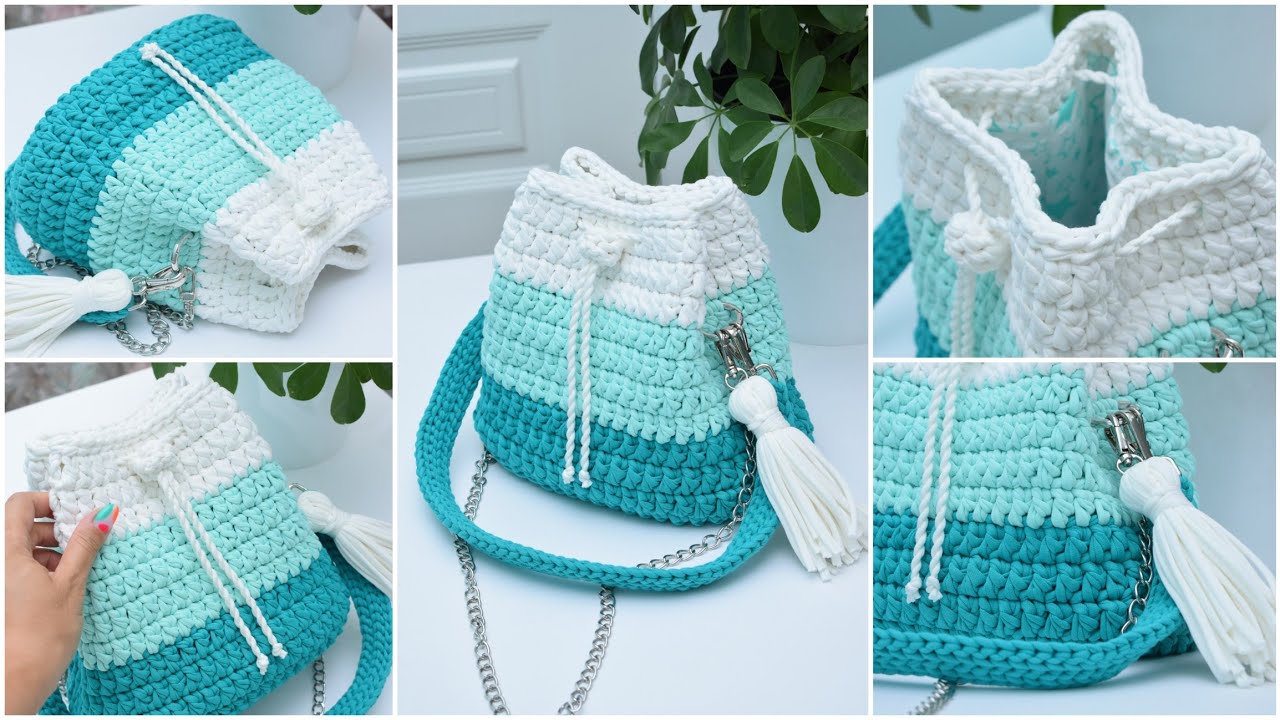
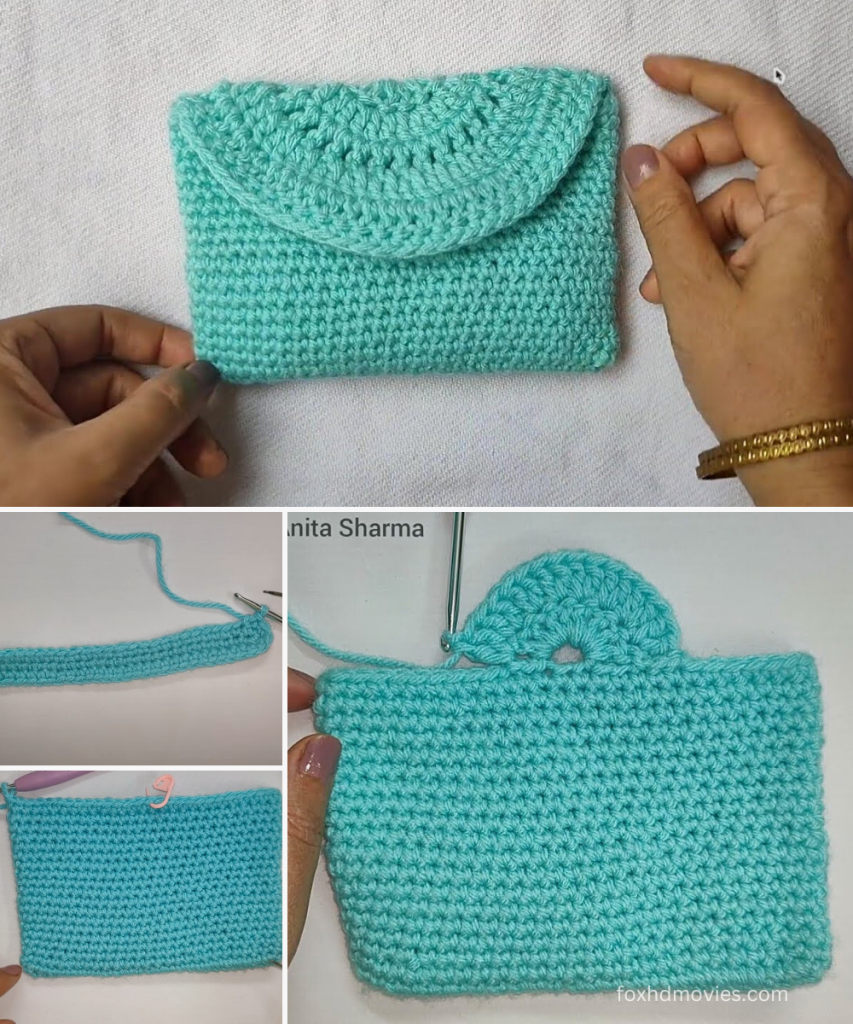
This pattern creates a charming and practical pouch with a secure half-circle flap closure, perfect for coins, small essentials, or as a gift bag.
Approximate Finished Size:
- Width: 5.5-6 inches (14-15 cm)
- Height (closed): 4-4.5 inches (10-11.5 cm)
Materials:
- Yarn: Worsted Weight (Category 4) cotton or acrylic yarn in a solid color (e.g., Mint Green as in the image).
- Approx. 70-90 yards (64-82 meters)
- Crochet Hook: 4.0mm (G/6) hook (or hook size to achieve a dense fabric for the pouch body and a slightly looser fabric for the flap).
- Button (Optional): One (1) small button (approx. 0.5 inch / 1.25 cm diameter) for closure, if not using a hidden snap.
- Hidden Snap (Optional): One (1) sew-on snap for closure.
- Yarn Needle: For weaving in ends and sewing.
- Scissors
- Stitch Markers (optional but recommended)
Gauge: Working in sc, 18 stitches x 20 rows = 4 inches (10 cm).
- Gauge is important for the final size. Adjust your hook size if necessary.
Abbreviations (US Terms):
- ch: chain
- sl st: slip stitch
- sc: single crochet
- hdc: half double crochet
- dc: double crochet
- sk: skip
- st(s): stitch(es)
- F.O.: Fasten Off
- Shell Stitch: (3
dcin the same stitch/space)
Pattern Instructions: The Pouch Body
The pouch body is worked in joined rounds from the base up.
Part 1: Base of the Pouch (Oval)
Start with your main color yarn.
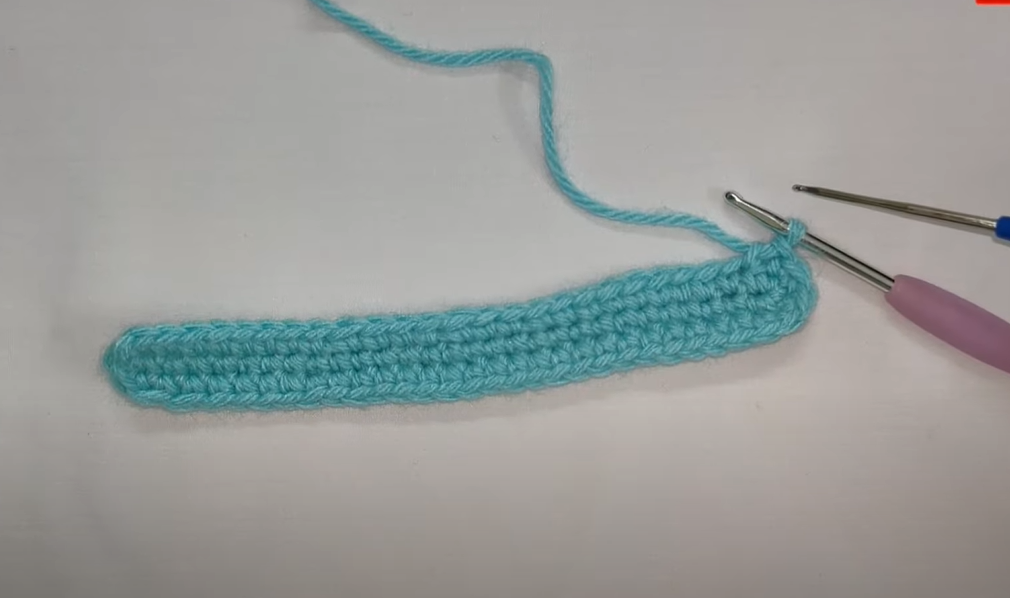
Foundation Chain: Ch 21.
Round 1: Sc in the 2nd ch from the hook. Sc in the next 18 chs. Work 3 sc in the last ch. (This turns the corner). Now working on the other side of the foundation chain, sc in the next 18 chs. Work 2 sc in the last ch (same ch as first sc). Sl st to the first sc to join. (42 sc total).
Round 2: Ch 1 (does not count as a stitch). Sc in the first sc. Sc in the next 18 sts. Inc in the next 3 sts. Sc in the next 18 sts. Inc in the next 2 sts. Sl st to the first sc. (48 sc total).
Round 3: Ch 1. Sc in BLO of each st around. Sl st to the first sc. (48 sc total).
- This round creates a defined edge for the base of the pouch to stand up.
Part 2: Sides of the Pouch (Solid Fabric)
We’ll continue working in sc for a dense fabric.
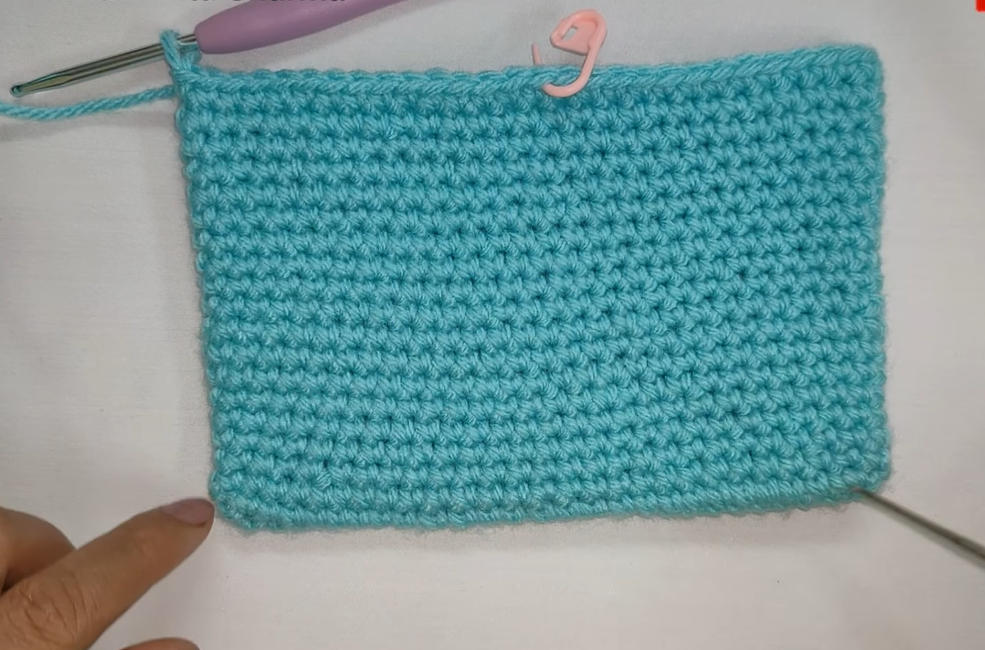
Round 4-15 (or until desired height): Ch 1. Sc in each st around. Sl st to the first sc. (48 sc).
- Continue for approximately 12 rounds or until the pouch reaches about 4 inches (10 cm) in height from the base. The image shows a relatively tall pouch body.
F.O. Weave in all loose ends.
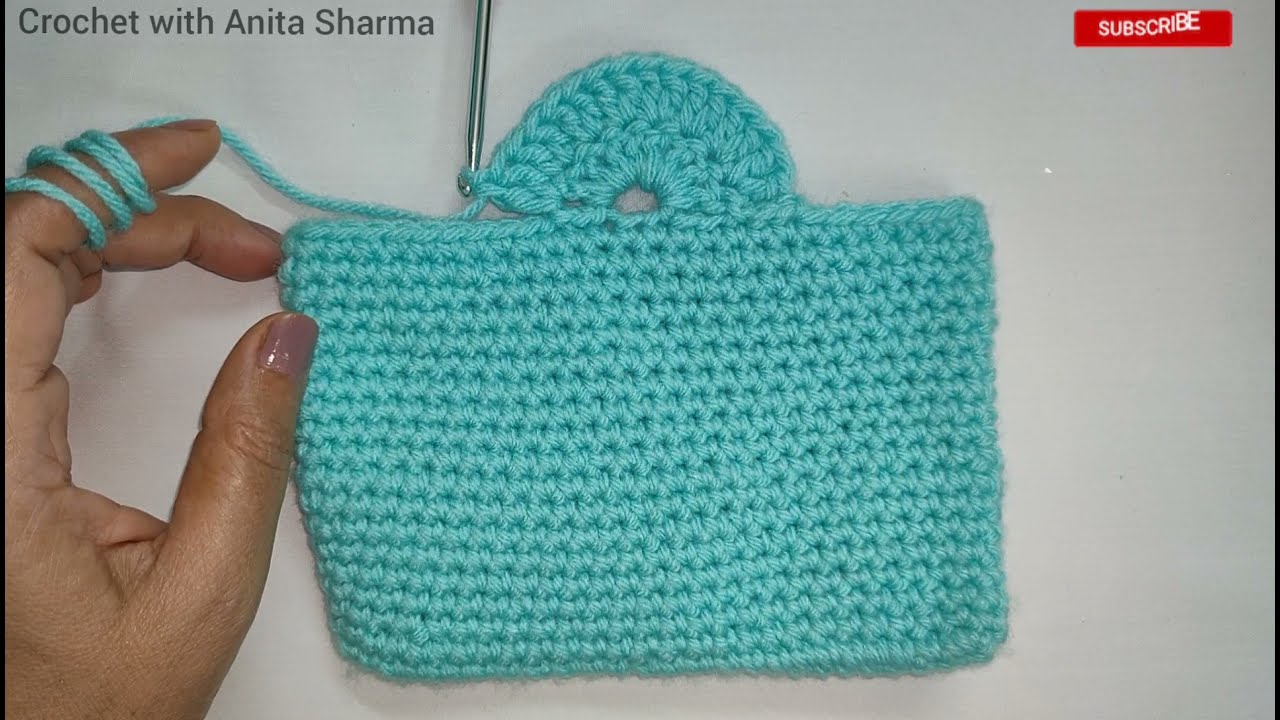
Part 3: The Flap
The flap is worked in rows directly from the top back edge of the pouch.
- Identify Flap Placement: Lay your pouch flat. The flap will start from the top edge, roughly centered on one of the longer sides (what will become the back of the pouch). Count 20 stitches from one side seam for your starting point. You will work across 28 stitches for the flap.
- Attach Yarn: Join yarn with a
sl stto the 20thscstitch from the seam on the back edge of the pouch. - Row 1:
Ch 1(does not count as st).Scin the samestand in the next 27sts. (28sc).Ch 1. Turn.
Row 2 (Shell Stitch Row): Sc in the first sc. Sk 2 sts. Work a Shell Stitch (3 dc) in the next sc. Sk 2 sts. Sc in the next sc. Repeat from * to * across the row. The last stitch should be an sc. (You should have 5 Shell Stitches and 6 sc stitches). * Ch 1. Turn.
Row 3 (Working into Shells): Sc in the first sc. Work sc in the top of each dc of the first Shell Stitch. Sc in the next sc (between shells). Work sc in the top of each dc of the next Shell Stitch. Sc in the next sc. Repeat from * to * across the row. Sc in the last sc. (Approx. 28-30 sc stitches, depending on how tightly you work into the shell tops). * Ch 2 (counts as first hdc). Turn. * This row fills in the gaps and sets up for the next shell row.
Row 4 (Shell Stitch Row – Decreased to create curve): Hdc in the next st. Sk 1 st. Work a Shell Stitch in the next sc. Sk 2 sts. Sc in the next sc. Repeat from * to * until you have about 6-8 stitches remaining. Work a Shell Stitch in the last cluster of stitches/space. End with hdc in the last st. * This round will naturally create a curve by having fewer shells and hdc/sc stitches at the ends. You should have approx. 4 Shell Stitches in this row. * Ch 1. Turn.
Row 5 (Edging/Final Curve): Sl st in the first few stitches of the row to round the corner. Sc across the tops of the shells and intervening stitches, working sc stitches to shape the curve. Sl st in the last few stitches. * The goal here is to create a smooth, half-circle curve. You can vary sc, hdc, dc stitches to help shape.
F.O. Weave in ends securely.
Part 4: Edging the Flap (Optional but Recommended)
For a cleaner look around the flap.
- Re-attach yarn to the bottom left corner of the flap (where it starts from the pouch body).
Ch 1. Workscstitches evenly around the entire curved edge of the flap, including the sides. Aim for a neat, even border. Work 2-3scinto the very tip of the flap to create a smooth turn.Sl stto join.- F.O. Weave in ends.
Video tutorial
Assembly:
- Attach Closure:
- For Button: Position the button on the front of the pouch body, centered, where the flap will naturally close. Sew it securely. Then, on the underside of the flap, create a small chain loop (e.g.,
ch 5) andsl stto secure it, making sure it fits over your button. - For Hidden Snap: Sew one half of the snap to the underside of the flap’s tip and the other half to the corresponding spot on the front of the pouch. Ensure they align perfectly.
- For Button: Position the button on the front of the pouch body, centered, where the flap will naturally close. Sew it securely. Then, on the underside of the flap, create a small chain loop (e.g.,
Your elegant crocheted flap pouch is now complete!