by
by 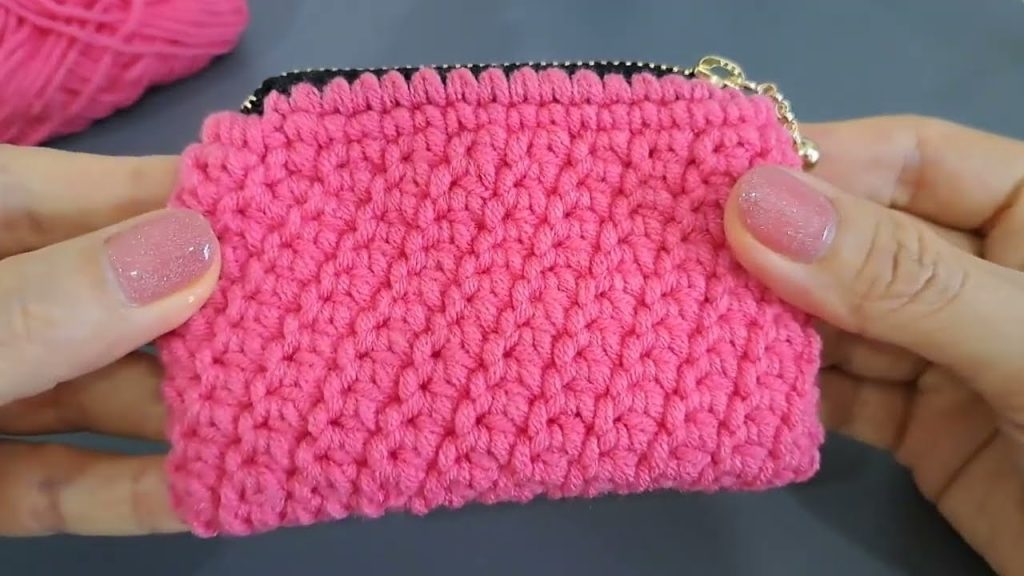
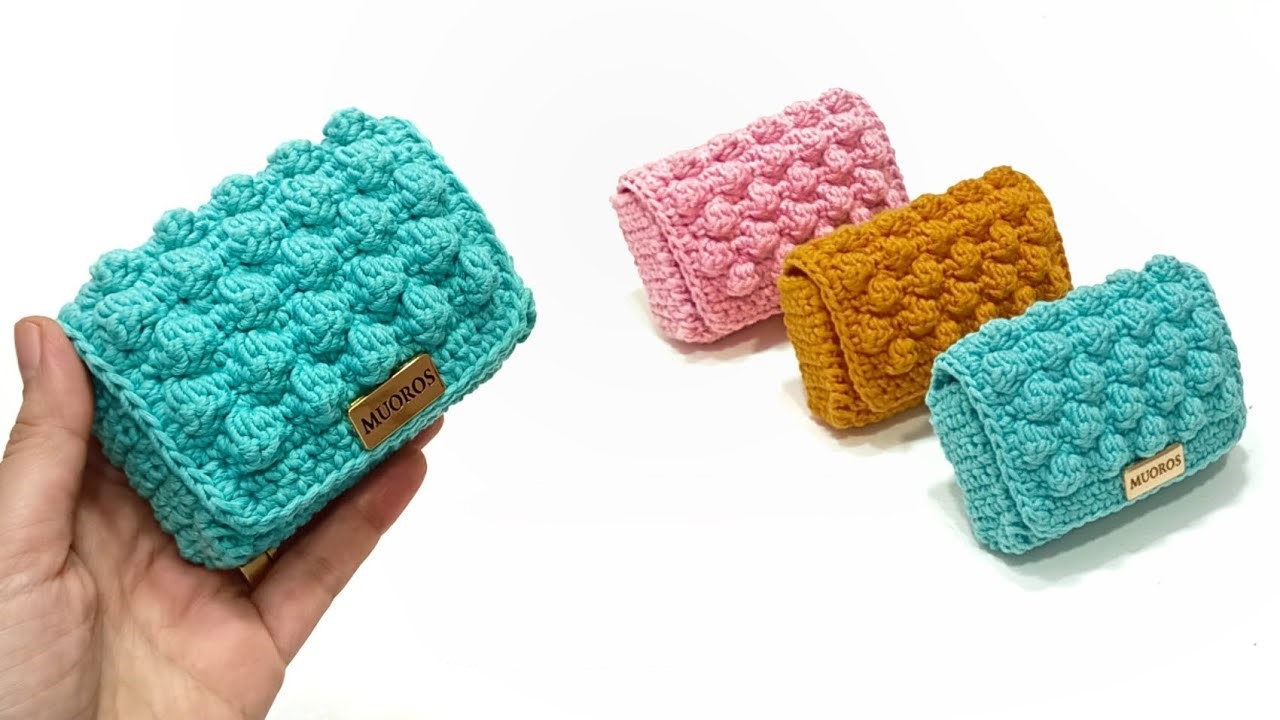
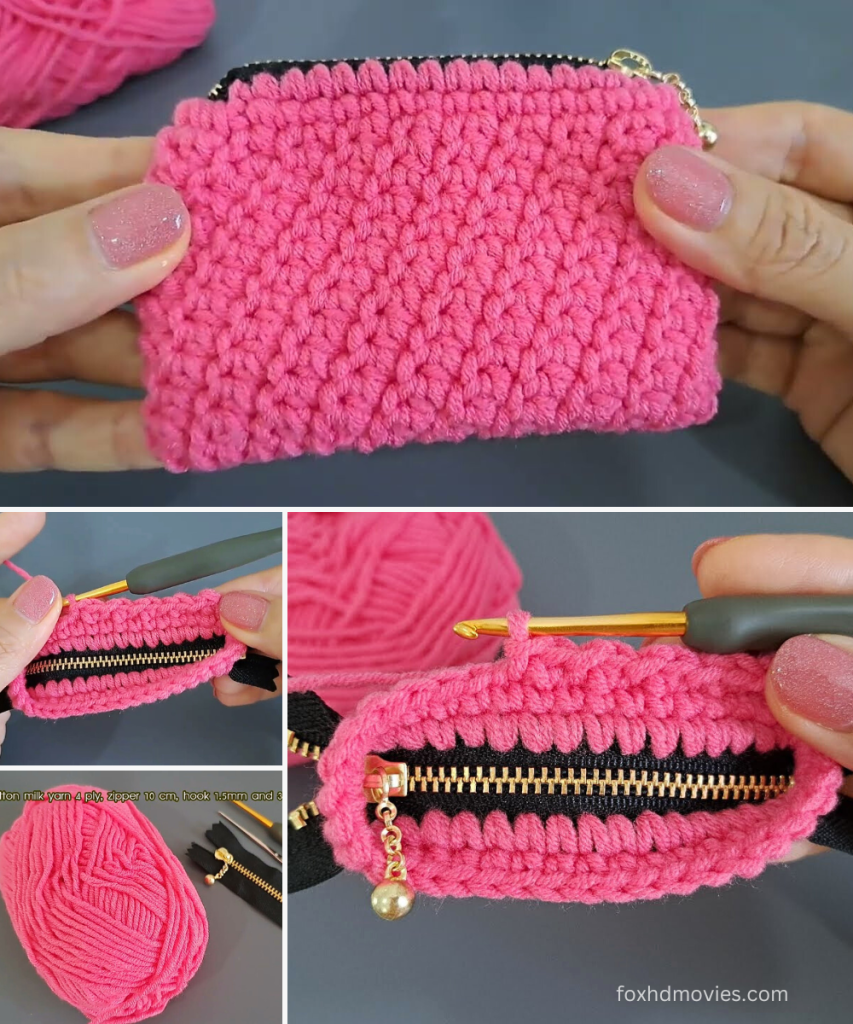
This pattern creates a small, functional, and adorable mini pouch that can be used as a keychain, a charm for a bag, or even a tiny gift holder. The design features a lovely ribbed texture and a cinched opening around a key ring.
Approximate Finished Size:
- Width: 2.5 – 3 inches (6.5 – 7.5 cm)
- Height (excluding key ring): 2.5 – 3 inches (6.5 – 7.5 cm)
Materials:
- Yarn: DK (Double Knitting) or Light Worsted weight (Category 3 or 4) yarn in your chosen color (e.g., Grey, Red, Yellow). A small amount is needed (approx. 10-15g).
- Contrast Yarn: Small amount of a contrasting color yarn for the decorative patch (e.g., light grey/white and yellow/red/dark grey).
- Crochet Hook: 3.5mm (E/4) or 4.0mm (G/6) hook (adjust to your yarn weight for a dense fabric).
- Key Ring: One (1) standard metal split key ring (approx. 1 inch / 2.5 cm diameter).
- Yarn Needle: For weaving in ends and embroidering the detail.
- Scissors
- Stitch Marker (optional)
Gauge: Not critical for this small project, but aim for a firm fabric.
Abbreviations (US Terms):
- ch: chain
- sl st: slip stitch
- sc: single crochet
- hdc: half double crochet
- BLO: back loop only (working into the back loop of the stitch only)
- st(s): stitch(es)
- F.O.: Fasten Off
Pattern Instructions: The Pouch Body
The pouch is worked flat in rows to create the ribbed texture, then seamed, and finally cinched around the key ring.
Part 1: Crocheting the Main Fabric (Flat)
Start with your Main Color (MC) yarn (e.g., Grey, Red, or Yellow).
Row 1 (Foundation Chain): Ch 17.
Row 2: Hdc in the 3rd ch from the hook (counts as first hdc). Hdc in each remaining ch across. (15 hdc) * Ch 2 (counts as first hdc). Turn.
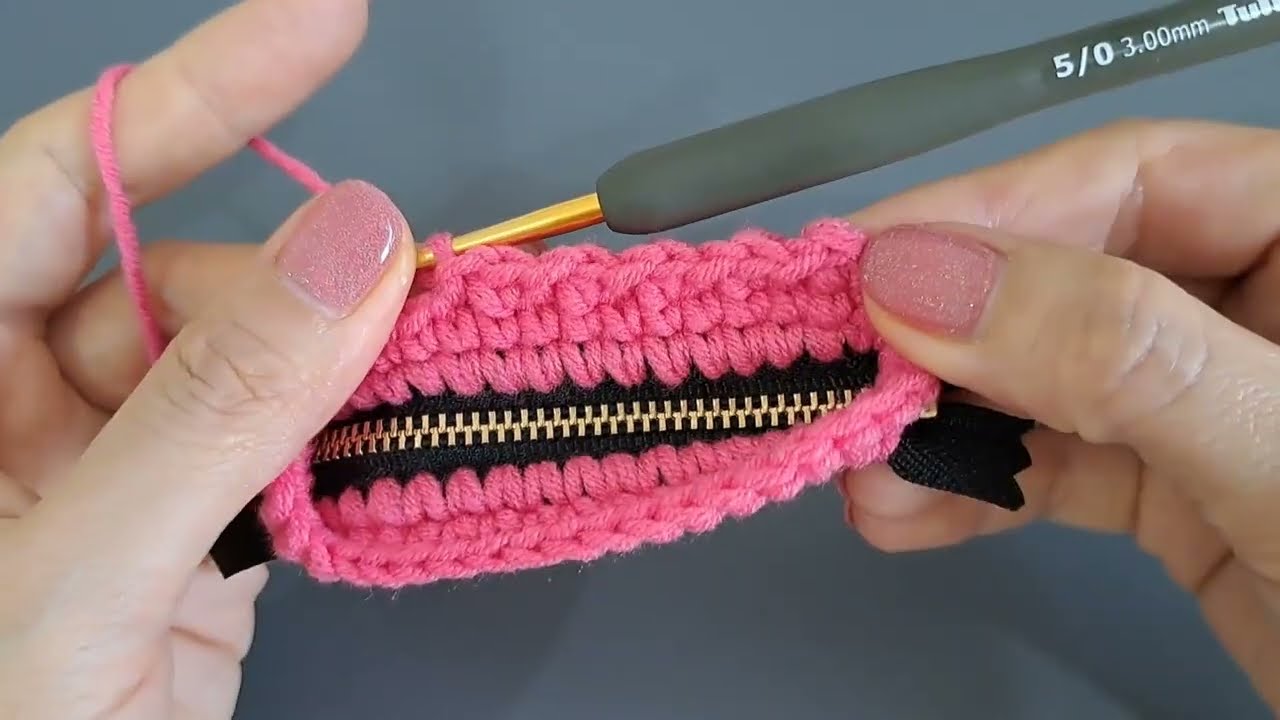
Row 3: Hdc in the BLO of each hdc across. (15 hdc) * Ch 2. Turn. * This row creates the distinctive horizontal ribbed texture.
Rows 4-14 (or until desired height): Repeat Row 3. * The image suggests about 12-13 visible ribbed rows before the cinching. Adjust the number of rows to achieve your desired pouch height.
F.O., leaving a long tail (approx. 15-20 inches / 38-50 cm) for seaming the side and bottom.
Part 2: Seaming the Pouch
- Fold your crocheted rectangle in half, bringing the short ends together. The ribbed texture should be on the outside.
- Using the long tail and your yarn needle, whip stitch or mattress stitch the side seam closed. Work neatly from the top edge down to the corner.
- Continue seaming along the bottom edge of the pouch, closing it completely.
- Weave in any remaining tail securely. You now have a small, open-top tube with a closed bottom.
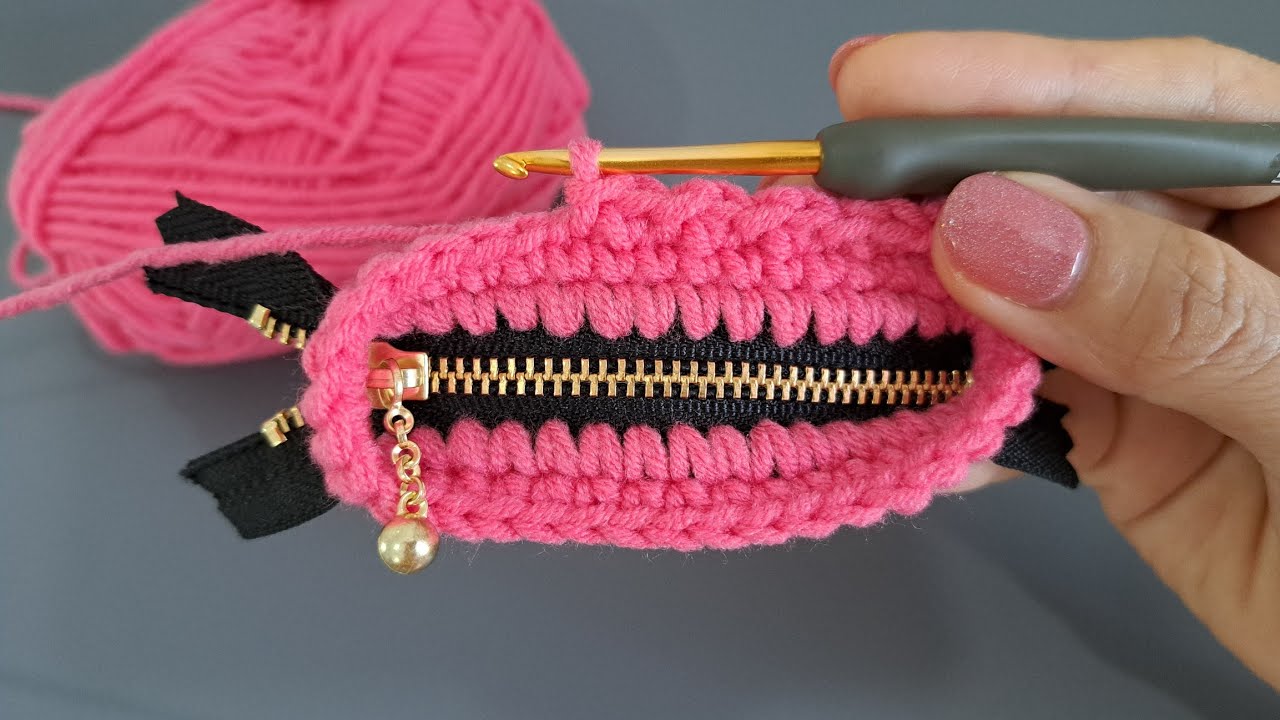
Part 3: Attaching the Key Ring and Cinching the Top
- Place the metal key ring over the top opening of your crocheted tube.
- Re-attach your main color yarn at any point along the top opening (the top edge of the
hdcstitches). Ch 1. Now, workscstitches around the key ring and through the top edge of your crocheted pouch simultaneously. Work evenly and snugly to gather the top of the pouch around the key ring.- Aim for approximately 20-25
scstitches evenly spaced around the ring, making sure the pouch is cinched tightly around it.
- Aim for approximately 20-25
Sl stto the firstscto join.- F.O. Weave in ends securely.
Pattern Instructions: The Decorative Patch
The patches in the image are simple, small shapes, often with a letter or symbol embroidered on them.

Part A: Base Patch (e.g., Grey yarn for red/yellow pouches, or lighter grey for grey pouch)
This will be a small, roughly triangular or shield-shaped piece.
Ch 4.Scin the 2ndchfrom hook.Scin the nextch. 3scin the lastch. (Works around the corner).Scin the nextchon the other side of the foundation chain.Scin the lastch(same as firstsc).Sl stto firstsc. (8 sc total, forming a small oval/triangle shape).- F.O., leaving a tail for sewing.
Part B: Embroidery (e.g., Yellow for grey pouch, Red for red pouch, Dark Grey for yellow pouch)
Using your yarn needle and a small amount of the contrast yarn, embroider a simple shape onto the center of the patch. Examples:
- “Y” shape: Make a small straight stitch, then two shorter stitches branching out from its top like a “Y”.
- “X” shape: Two simple crossing stitches.
- Heart/Star: Simple outline stitches to form a small heart or star.
Video tutorial
Assembly:
- Position the finished decorative patch onto the front of your crocheted keychain pouch, typically slightly off-center.
- Using the tail from the patch and your yarn needle, carefully sew the patch securely onto the pouch. Make sure your stitches are neat and the patch is firmly attached.
- Weave in any remaining loose ends.
You now have a delightful crocheted ribbed keychain pouch!