by
by 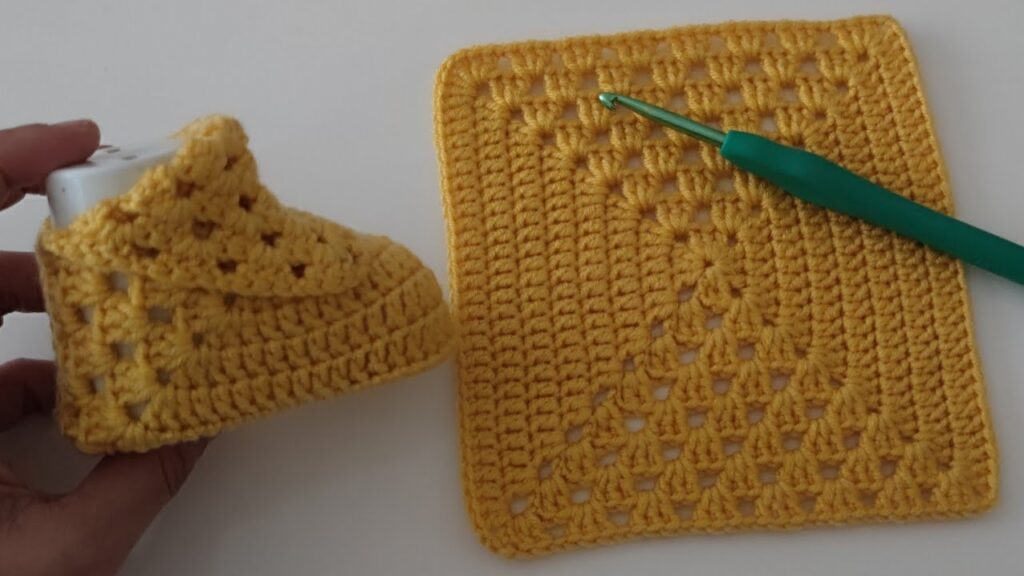
Hello fellow yarn enthusiasts! Are you looking for a charming and unique way to welcome a little one into the world? Or perhaps you need a heartfelt handmade gift for an upcoming baby shower? Look no further! Today, we’re diving into a project that combines the timeless appeal of the granny square with the undeniable cuteness of tiny baby shoes.
These crochet granny square baby shoes are not only adorable but also a fantastic way to use up those leftover bits of yarn. The modular nature of granny squares allows for endless color combinations and a truly personalized touch. So, grab your hooks and let’s get started on creating these tiny treasures!
What You’ll Need:
- Yarn: DK or worsted weight yarn in your desired colors. You’ll need small amounts of at least two colors – one for the main part of the shoe and another for the trim or embellishments. Cotton or a soft acrylic blend is recommended for baby items.
- Crochet Hook: A size appropriate for your chosen yarn (e.g., 3.5mm or 4mm).
- Scissors: For snipping yarn ends.
- Tapestry Needle: For weaving in ends.
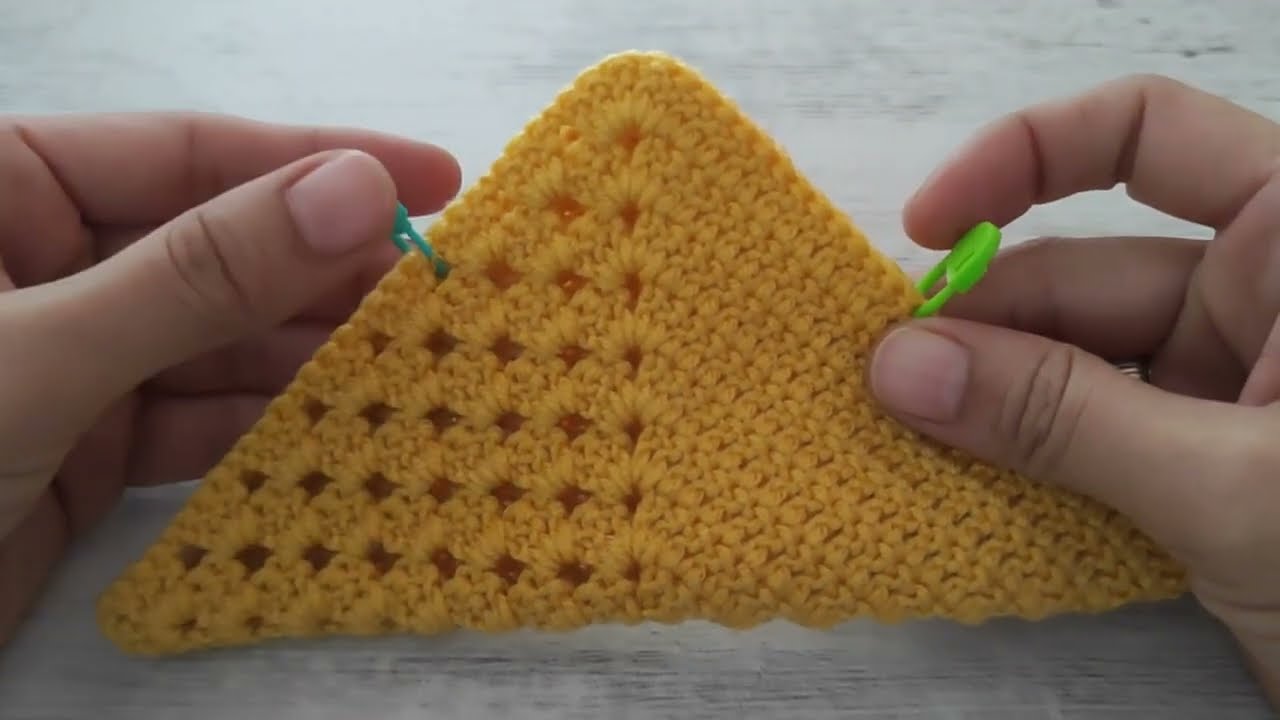
- Stitch Markers (optional but helpful): To mark important points.
- Buttons or Small Appliqués (optional): For decoration and fastening.

Abbreviations (US Crochet Terms):
- ch: chain
- sl st: slip stitch
- sc: single crochet
- hdc: half double crochet
- dc: double crochet
- tr: treble crochet
- sp: space
- st(s): stitch(es)
- beg: beginning
- rep: repeat
- rnd: round
Gauge:
While gauge isn’t critical for this small project, aim for a relatively tight and consistent tension to ensure the shoes hold their shape. A typical gauge for DK yarn is around 20-22 stitches and 14-16 rows in a 4-inch square.
Finished Size:
The finished size will depend on your yarn weight and hook size. This pattern is generally suitable for a newborn to 3-month-old baby (approximately 3-4 inches sole length). You can adjust the size slightly by adding or subtracting rounds in the sole and the main body.
Video pattern
Pattern:
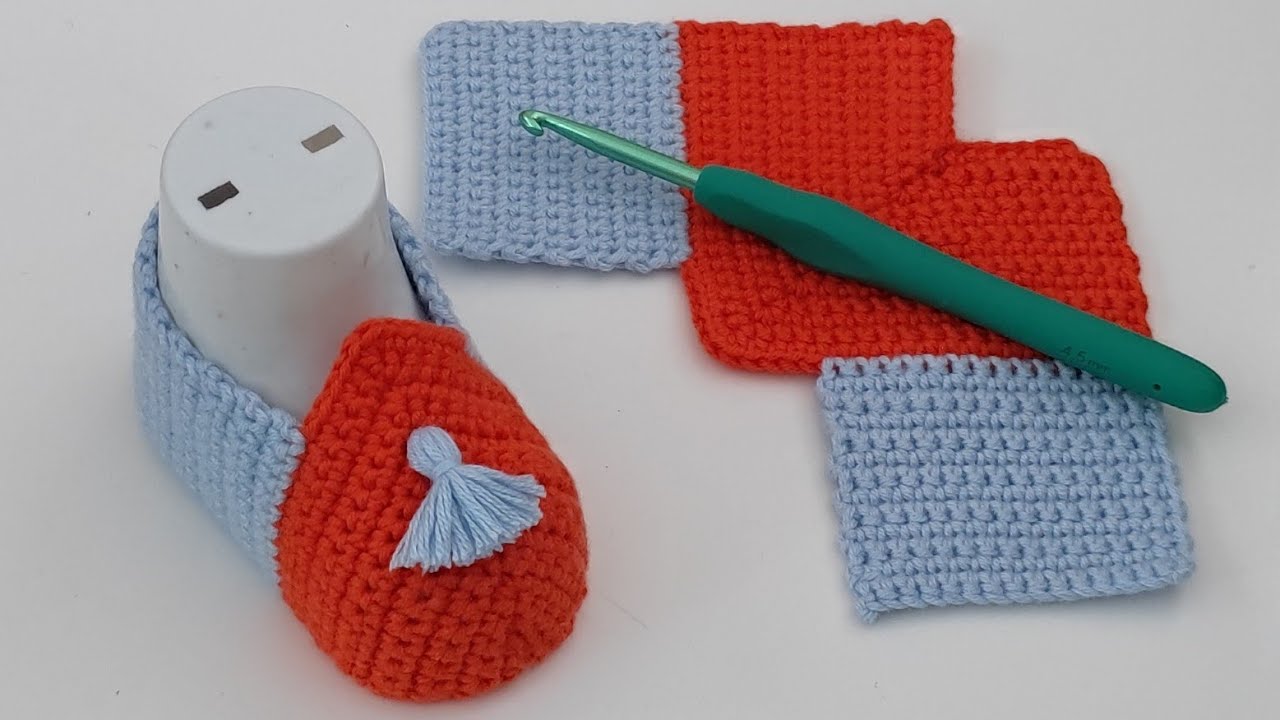
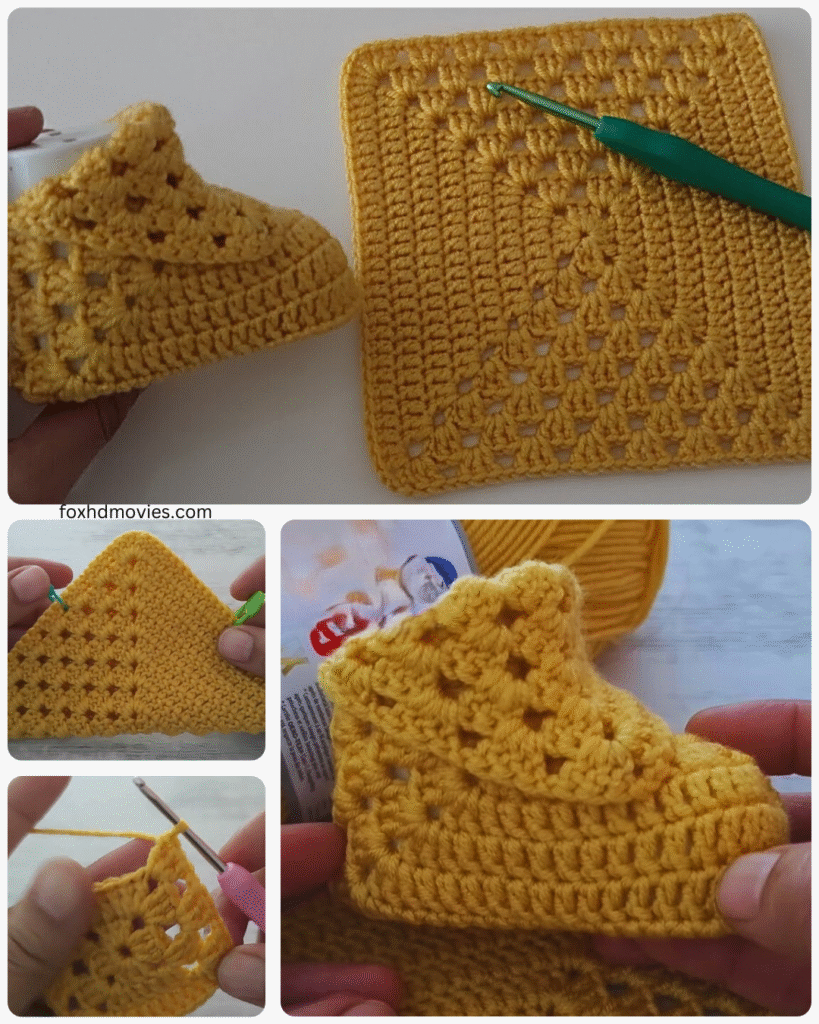
Part 1: Making the Granny Squares (Make 2)
We’ll create two small granny squares that will form the main body of each shoe.
- Round 1: With your main color, ch 4, sl st to join into a ring.
- Round 2: Ch 3 (counts as first dc), 2 dc in the ring, ch 2, (3 dc in the ring, ch 2) three times. Sl st to the top of the beginning ch-3. You should have four clusters of 3 dc separated by ch-2 spaces.
- Round 3: Sl st into the next 2 dc and into the ch-2 sp. Ch 3 (counts as first dc), (2 dc, ch 2, 3 dc) in the same ch-2 sp (corner made). Ch 1, (3 dc, ch 2, 3 dc) in the next ch-2 sp (corner made). Ch 1, repeat around. Sl st to the top of the beginning ch-3. Fasten off.
You should now have two small granny squares.
Part 2: Creating the Soles (Make 2)
We’ll crochet two oval shapes for the soles of the shoes.
- With your main color, ch 11.
- Round 1: Sc in the 2nd ch from the hook and in the next 8 chs. 3 sc in the last ch. Working on the other side of the chain, sc in the next 8 chs. 2 sc in the last ch (where you started the first sc). Sl st to the first sc to join. (22 sts)
- Round 2: Ch 1, 2 sc in the first st, sc in the next 8 sts, 2 sc in the next 3 sts, sc in the next 8 sts, 2 sc in the last 2 sts. Sl st to the first sc to join. (28 sts)
- Round 3: Ch 1, sc in the first st, 2 sc in the next st, sc in the next 9 sts, (sc, 2 sc) three times, sc in the next 9 sts, 2 sc in the next st, sc in the last st. Sl st to the first sc to join. (34 sts)
- Round 4 (Optional for slightly larger sole): Ch 1, 2 sc in the first st, sc in the next 10 sts, (sc, 2 sc) three times, sc in the next 10 sts, 2 sc in the next st, sc in the last st. Sl st to the first sc to join. (40 sts)
Fasten off, leaving a long tail for sewing.
Part 3: Assembling the Shoe
Now comes the exciting part – putting it all together!
- Attaching the Granny Square to the Sole: Position one granny square over the toe area of one sole. The center of one side of the granny square should align with the center front of the sole. Using your long tail from the sole, whip stitch or slip stitch the granny square to the sole, working around three sides of the square. Leave the back edge of the granny square unsewn for now.
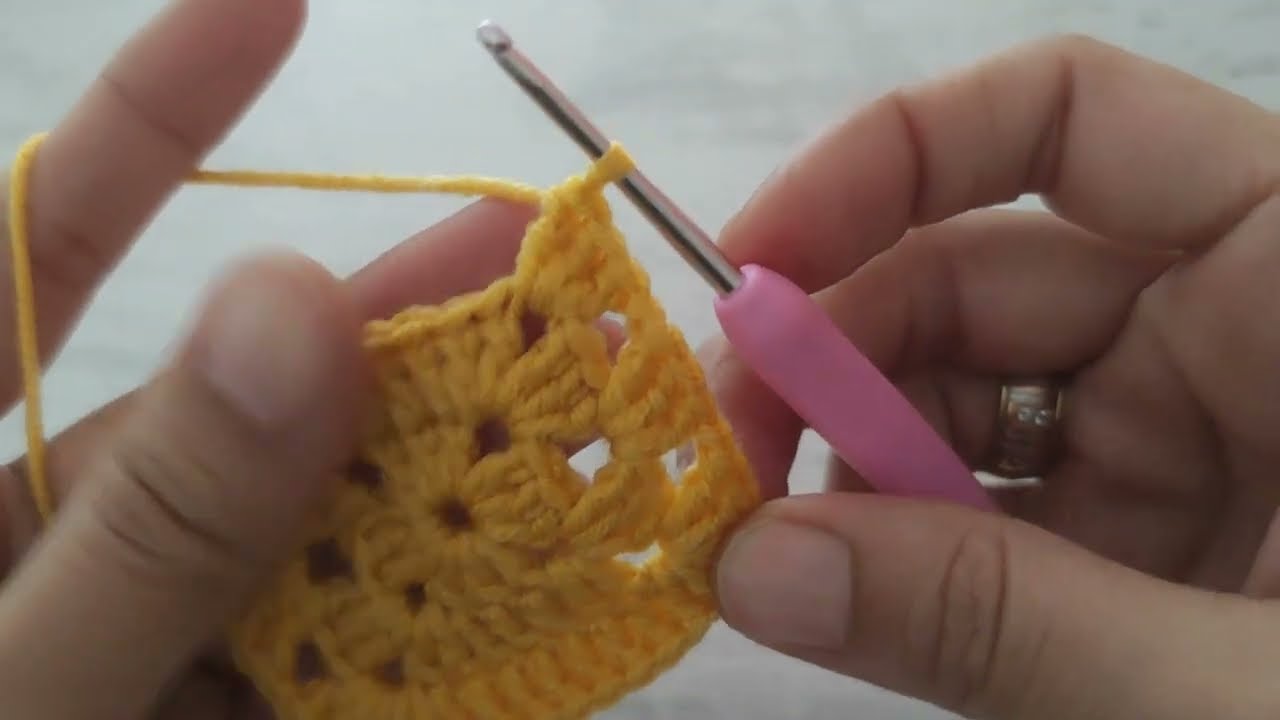
- Creating the Heel: With your main color (or a contrasting color), join the yarn at the back center of the sole.
- Round 1: Ch 1, sc evenly around the back opening of the shoe, ensuring you catch both the sole and the unsewn edge of the granny square. Join with a sl st to the first sc. The number of stitches will vary depending on your tension, but aim for a smooth curve.
- Round 2 and onwards (Heel Height): Ch 1, sc in each st around. Join with a sl st. Repeat this round until you reach your desired heel height (approximately 1-1.5 inches). Fasten off and weave in the ends.
Repeat steps 1-4 to create the second shoe.
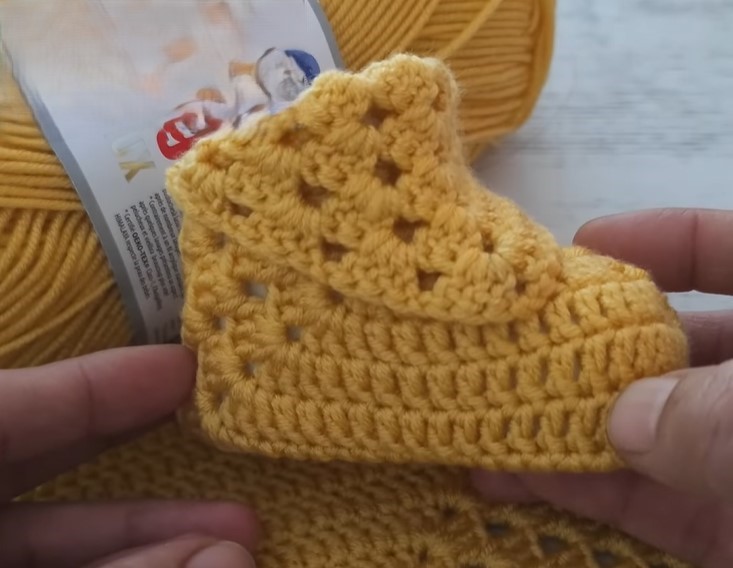
Part 4: Adding the Ankle Strap (Make 2)
This strap will help keep the little shoes securely on tiny feet.
- With your contrasting color, ch 15 (or your desired length).
- Row 1: Sc in the 2nd ch from the hook and in each ch across. (14 sc)
- Fasten off, leaving a long tail for sewing.
Part 5: Attaching the Ankle Strap and Embellishments
- Position one end of the ankle strap on the side of the shoe, near the heel. Using your tapestry needle and the long tail, securely sew the strap to the shoe.
- Repeat for the other side of the strap on the opposite side of the shoe.
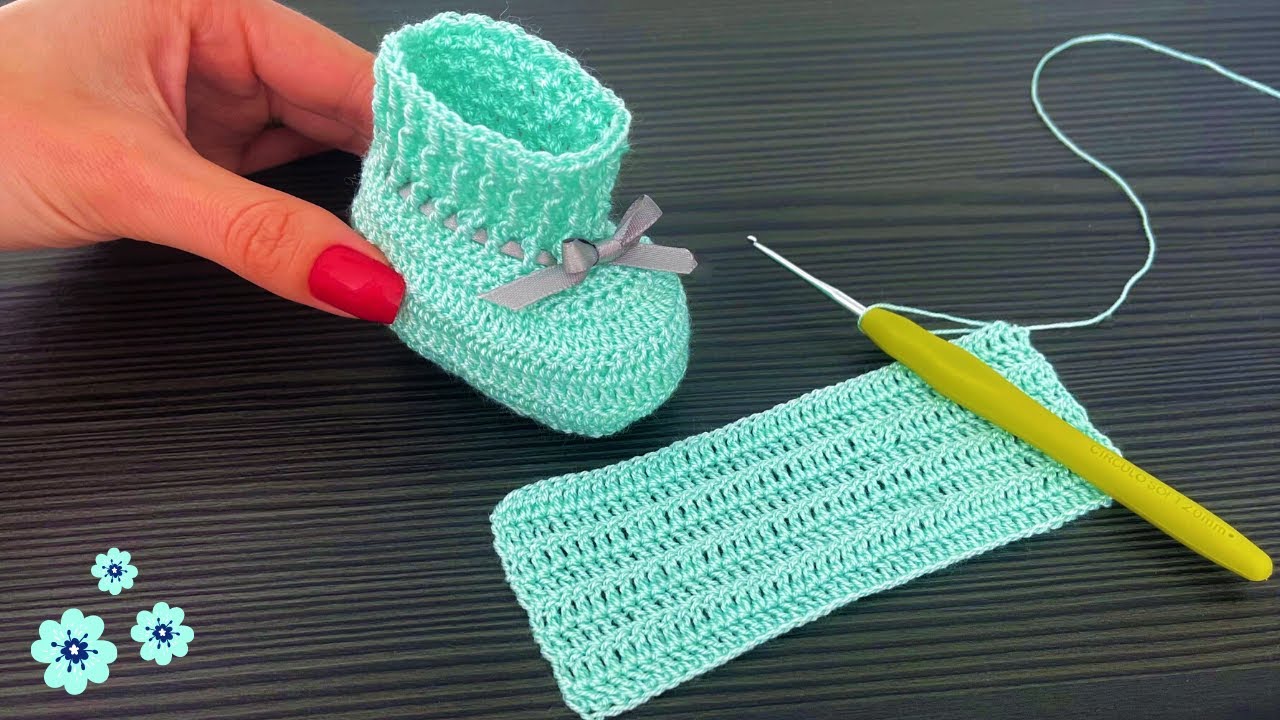
- If desired, attach a small button or appliqué to the side of the shoe where the strap will fasten. You can also create a small loop on the end of the strap using a chain and slip stitch for button fastening.
Finishing Touches:
- Weave in all remaining yarn ends securely.
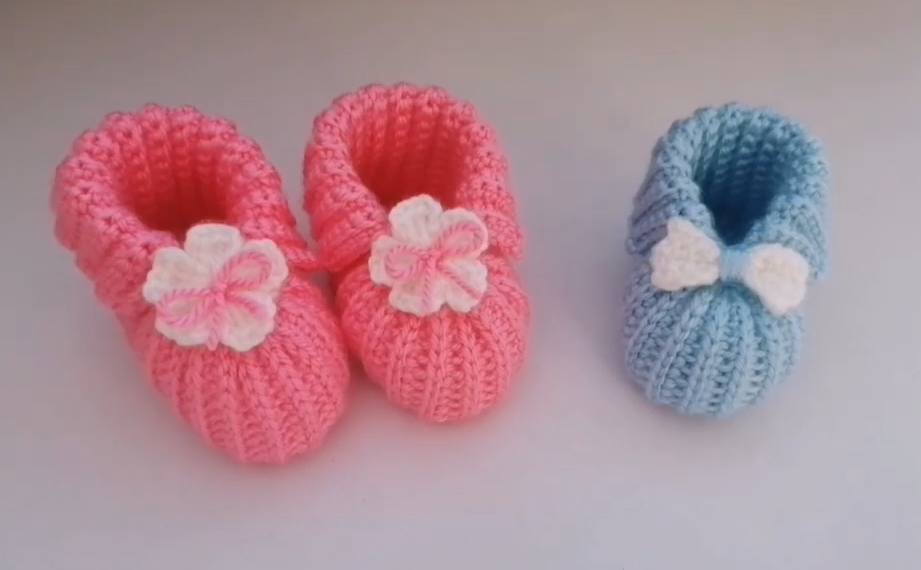
- You can add additional embellishments like small crocheted flowers, bows, or embroidered details to personalize your tiny creations.
Tips and Variations:
- Color Play: Experiment with different color combinations for the granny squares and the trim. Stripes or a rainbow effect can be particularly eye-catching.
- Square Size: You can adjust the size of the granny square by adding or subtracting rounds to alter the overall size of the shoe slightly.
- Stitch Variations: Feel free to use hdc or dc for the heel section if you prefer a different texture.
- Fastening Options: Instead of a button and loop, you could use small snaps or Velcro closures for the ankle strap.
Congratulations! You’ve now crocheted a beautiful pair of granny square baby shoes. These little booties are sure to be treasured by the lucky recipient. They make a wonderful handmade gift that is both practical and full of love.