by
by 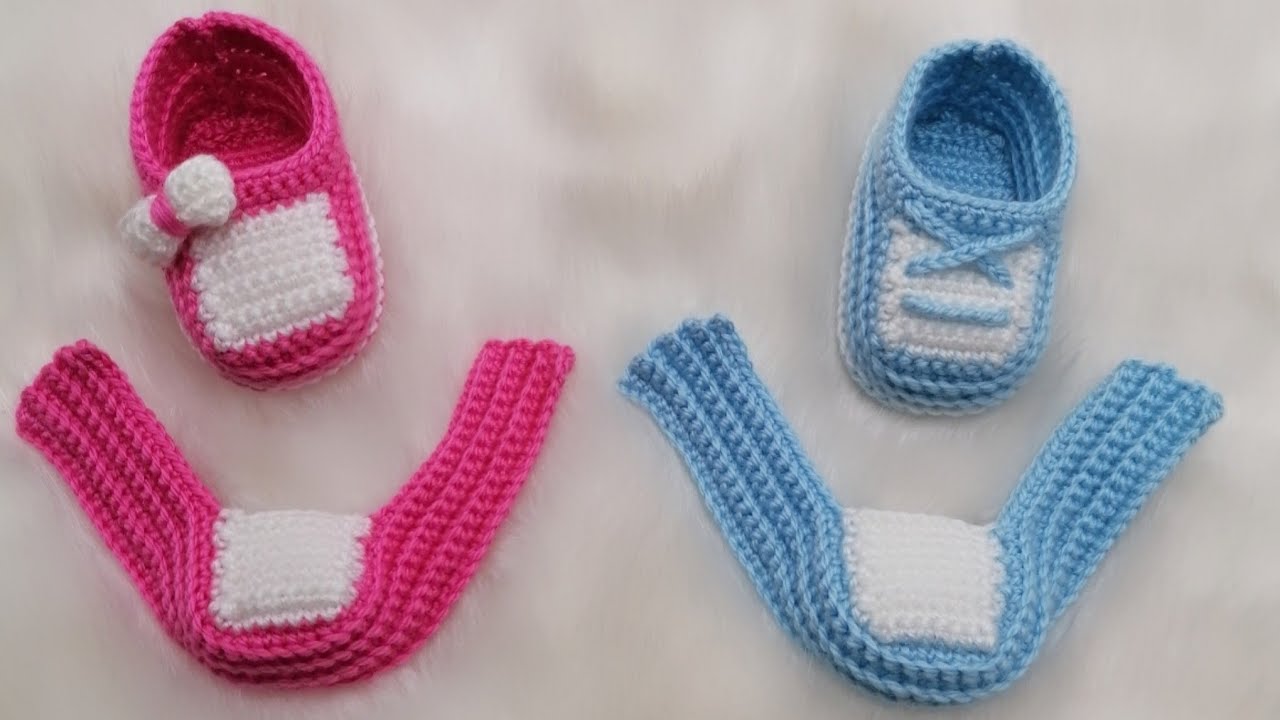
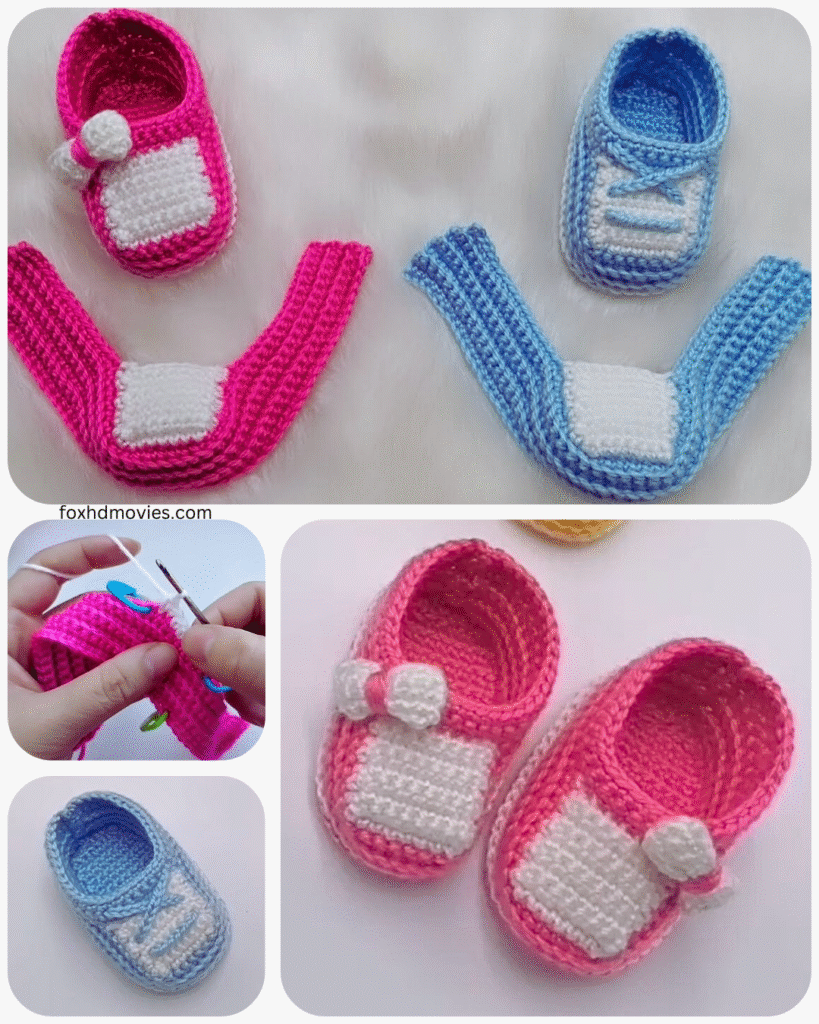
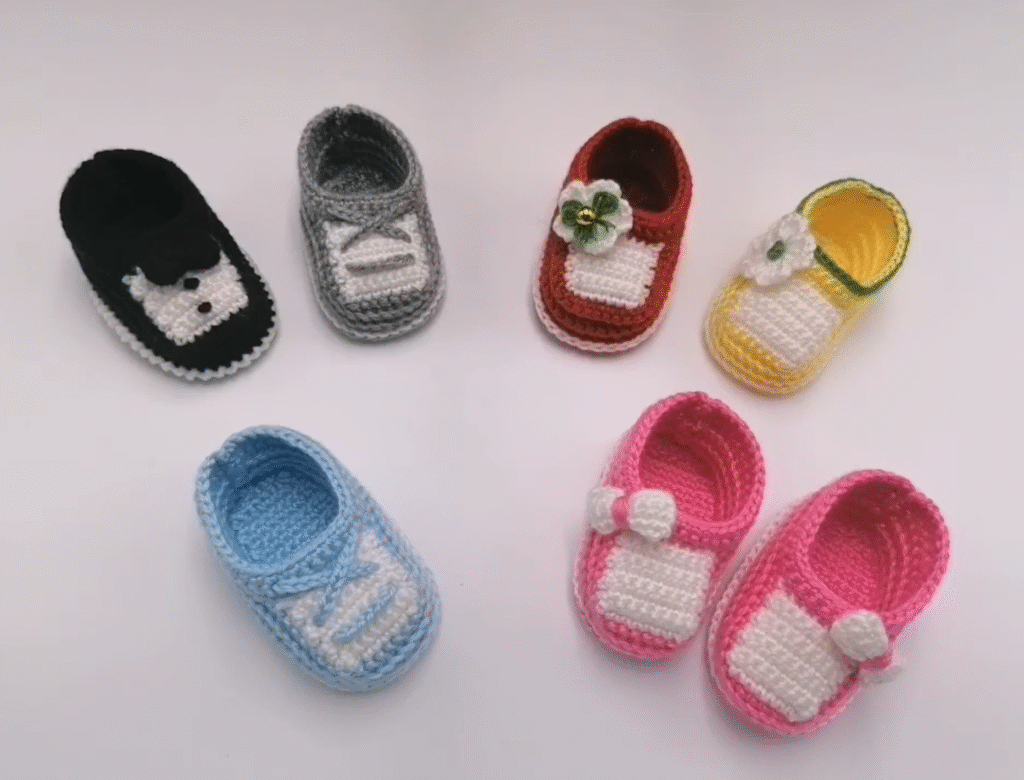
This pattern is designed with simplicity in mind, using basic crochet stitches to create a warm and comfortable slipper. Feel free to get creative with colors and embellishments to make them uniquely yours!
Skill Level: Beginner
Materials You’ll Need:
- Yarn: Approximately 100-150 yards of worsted weight yarn. A soft, durable yarn like acrylic or a wool blend is recommended for comfort and washability. You can even use two strands held together for extra thickness and warmth!
- Crochet Hook: An H/8 (5.0 mm) crochet hook, or the size recommended on your yarn label.
- Scissors: For snipping yarn.
- Tapestry Needle: For weaving in ends.
- Optional: Buttons, pom-poms, or other embellishments for a personal touch.
Gauge: While gauge isn’t critical for this project, aim for approximately 12 single crochet (sc) stitches and 14 rows to a 4-inch square. This will give you a good idea of the finished size.
Finished Size: This pattern is written for a women’s size 7-8 (US). Instructions for adjusting the size are included below.
Abbreviations (US Crochet Terms):
- ch = chain
- sc = single crochet
- hdc = half double crochet
- sl st = slip stitch
- st(s) = stitch(es)
- rep = repeat
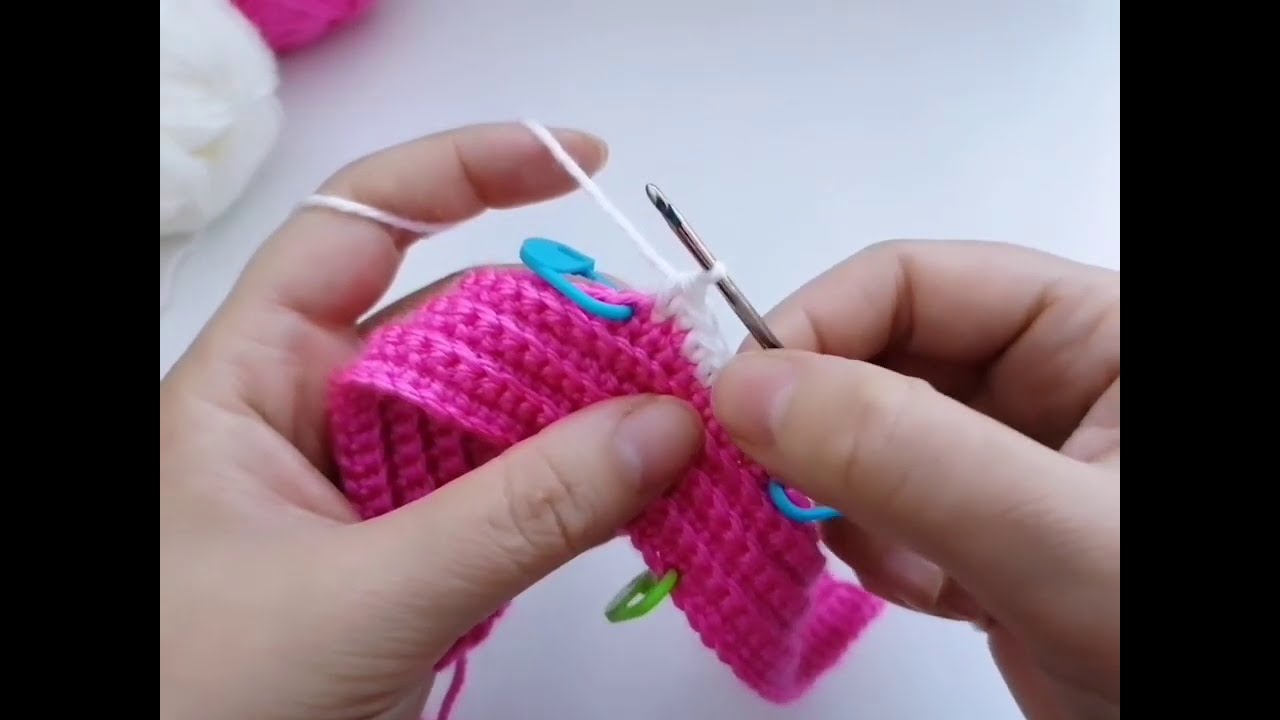
Video pattern
Let’s Get Started!
We’ll be working in rows to create a flat piece that will then be folded and seamed to form the slipper.
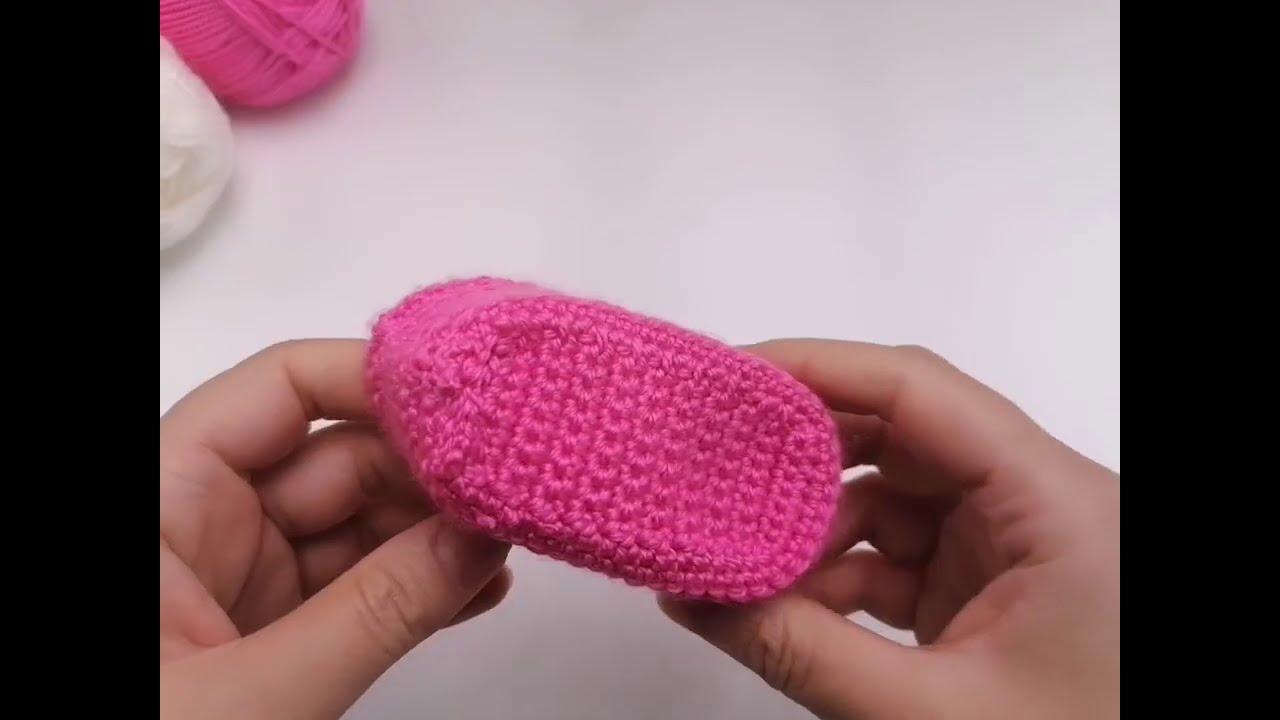
Sole (Make 2):
- Foundation Chain: Ch 26.
- Row 1: Sc in the second ch from the hook and in each ch across. (25 sts)
- Row 2: Ch 1 (does not count as a st), turn. Sc in each st across. (25 sts)
- Repeat Row 2: Continue repeating Row 2 for a total of 18 rows. This will form the base of your slipper.
- Fasten off and weave in the ends.
Upper (Make 2):
- Foundation Chain: Ch 26.
- Row 1: Sc in the second ch from the hook and in each ch across. (25 sts)
- Row 2: Ch 1 (does not count as a st), turn. Sc in each st across. (25 sts)
- Row 3: Ch 1, turn. Sc in the first 7 sts, hdc in the next 11 sts, sc in the last 7 sts. (25 sts)
- Row 4: Ch 1, turn. Sc in the first 7 sts, hdc in the next 11 sts, sc in the last 7 sts. (25 sts)
- Repeat Row 4: Continue repeating Row 4 for a total of 8 rows.
- Fasten off and weave in the ends.
Shaping and Assembling Your Slippers
Now comes the magic of turning these flat pieces into cozy slippers!
- Folding the Sole: Take one of your sole pieces. Fold it in half lengthwise. Using your tapestry needle and yarn, whipstitch along the short edges to close the toe and heel of the slipper. Ensure your stitches are snug to create a secure seam.
- Attaching the Upper: Take one of your upper pieces. Align the center of the short edge of the upper with the center of the toe seam on the sole.
- Sewing the Upper to the Sole: Using your tapestry needle and yarn, whipstitch the edges of the upper to the edges of the sole, starting from the toe and working your way around the sides towards the heel. Leave the back of the heel open for now.
- Finishing the Heel: Once the upper is attached to the sole along the sides, you’ll have an opening at the back of the heel. Fold the remaining edges of the upper together and whipstitch them to close the heel.
- Repeat: Repeat steps 1-4 to create your second slipper.
Adjusting the Size
- Smaller Size: To make a smaller slipper, you can reduce the number of rows in both the sole and the upper. Try decreasing by 1-2 rows at a time and check the size against your foot. You can also use a smaller hook and thinner yarn.
- Larger Size: To make a larger slipper, you can increase the number of rows in both the sole and the upper. Try increasing by 1-2 rows at a time and check the size against your foot. You can also use a larger hook and thicker yarn. You might also need to increase the foundation chain slightly for a wider fit.
Adding Your Personal Touch
This is where you can really let your creativity shine! Here are a few ideas:
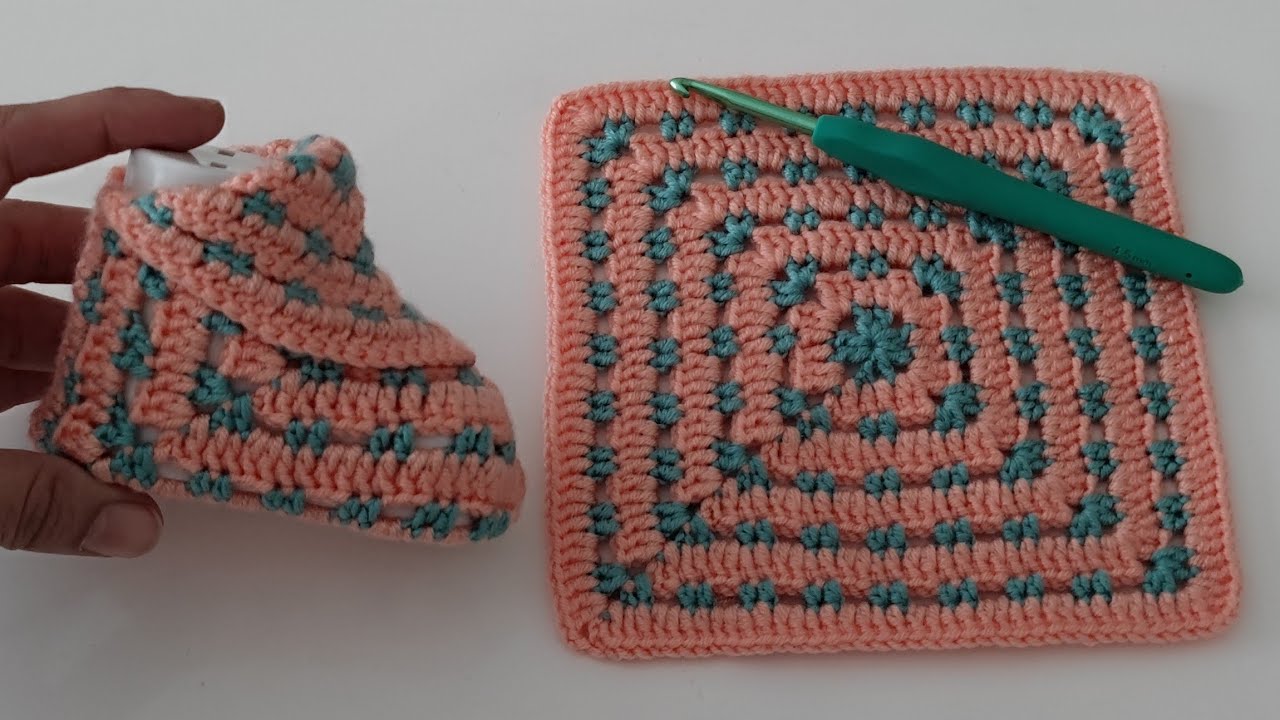
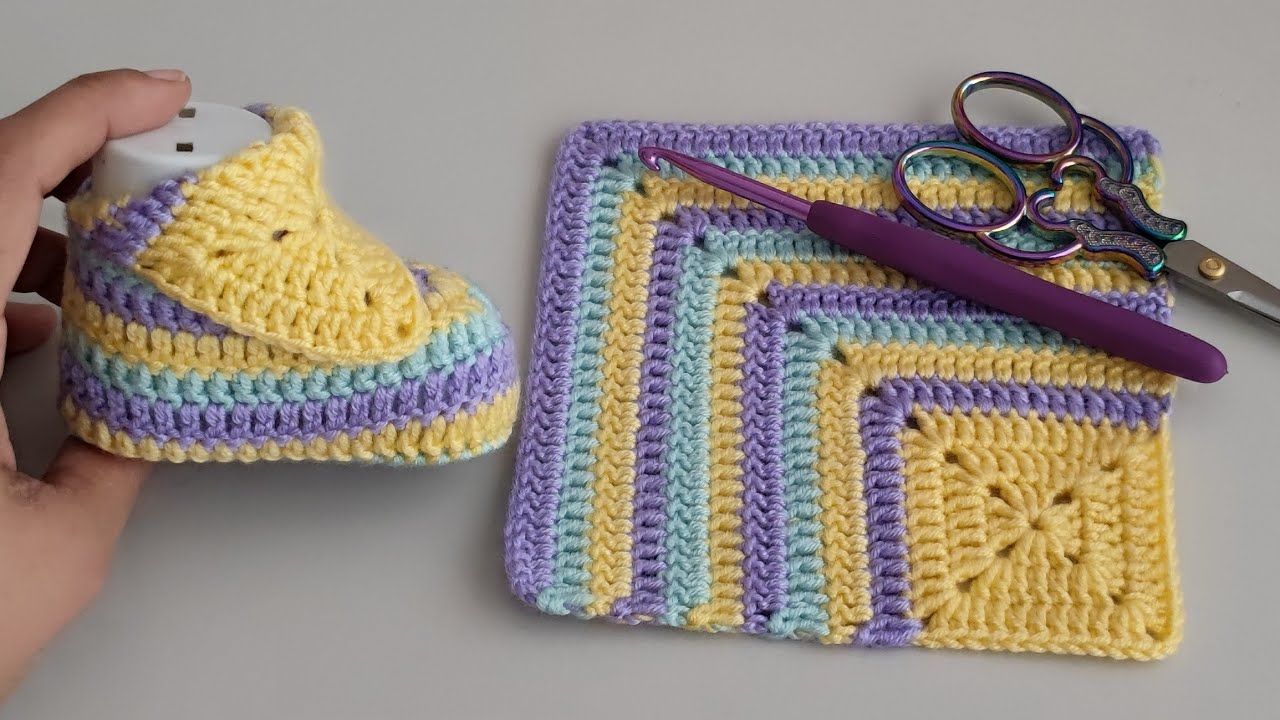
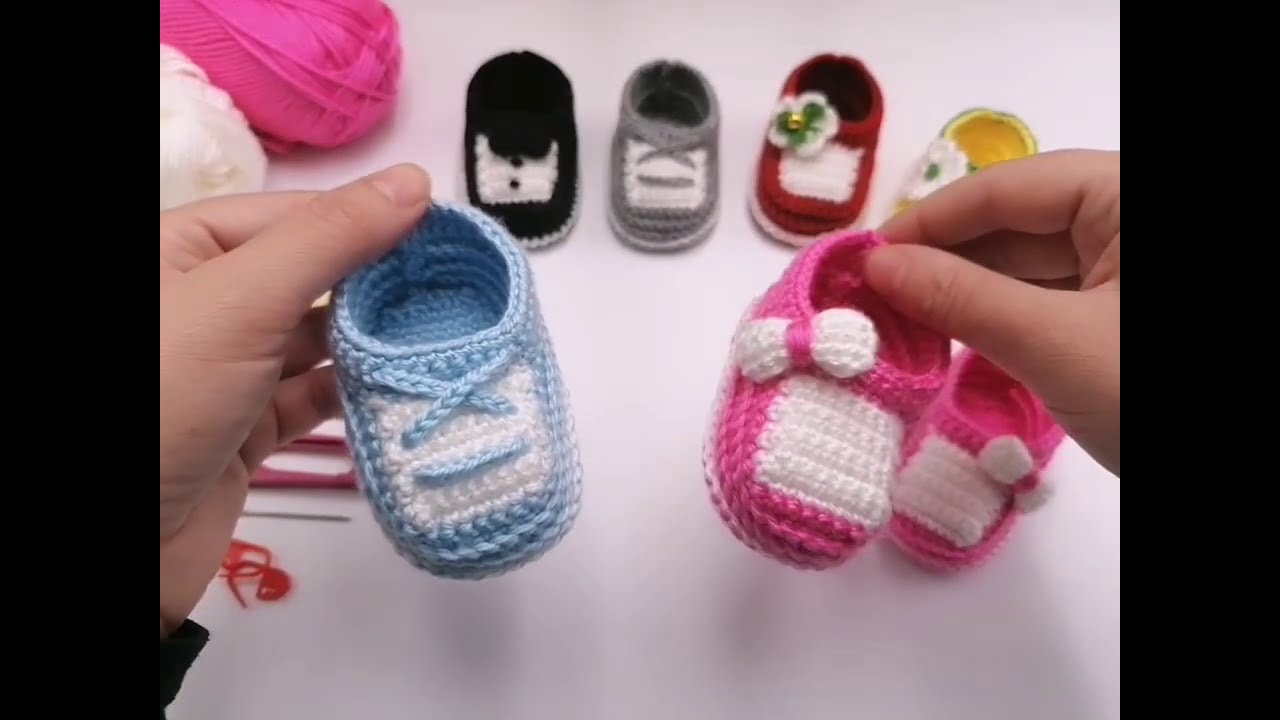
- Color Blocking: Use different colors of yarn for the sole and the upper, or even create stripes.
- Edging: Add a round of slip stitch or a decorative stitch like a crab stitch around the opening of the slipper for a polished look.
- Embellishments: Sew on buttons, attach pom-poms, or embroider simple designs onto the uppers.
- Non-Slip Soles: For added safety, you can add non-slip dots or fabric glue to the soles.
Care Instructions
- Hand wash your crochet slippers in cool water with a mild detergent.
- Gently squeeze out excess water and lay them flat to dry.
- Avoid putting them in the dryer as it can cause shrinkage.
Congratulations! You’ve now created a cozy pair of easy crochet slippers. Slip them on, relax, and enjoy the warmth and comfort of your handmade creation. Happy crocheting!