by
by 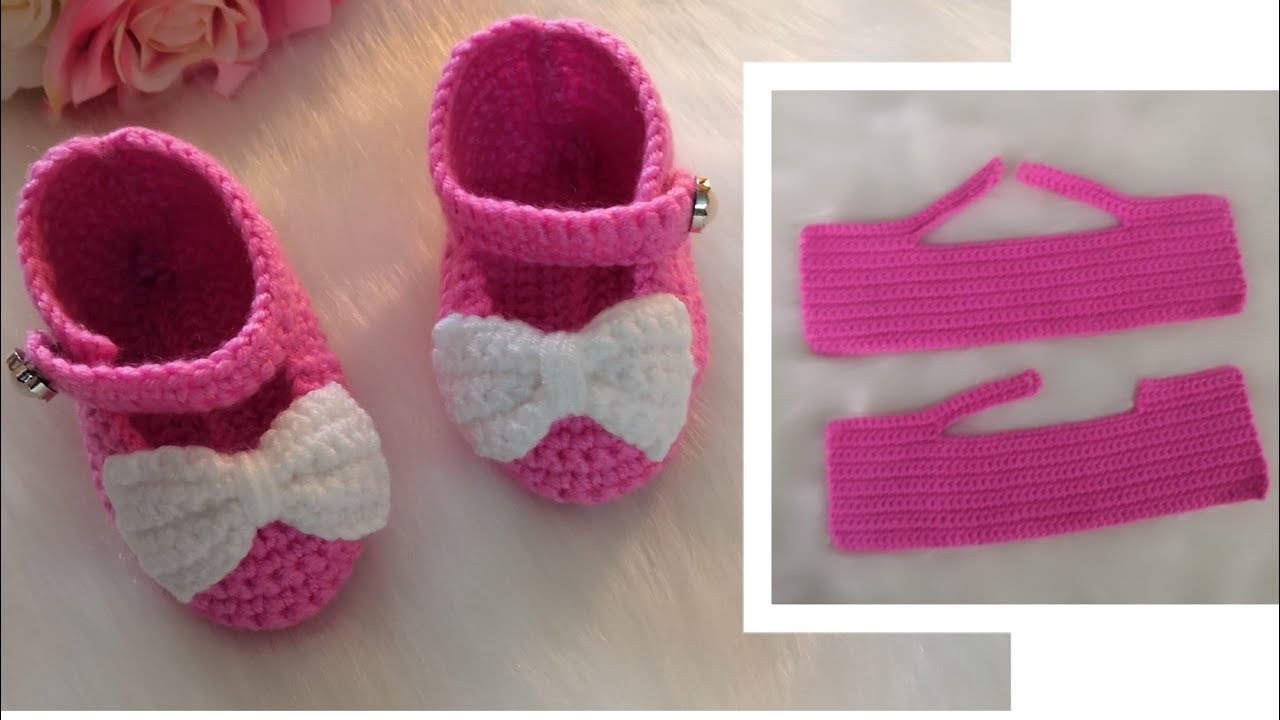
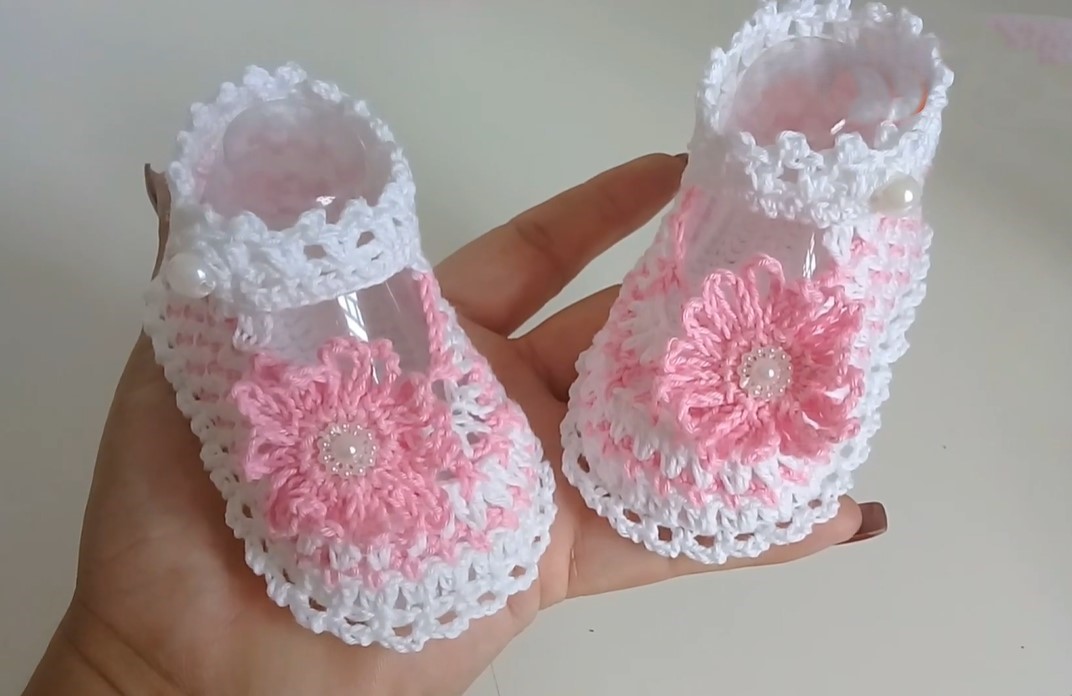
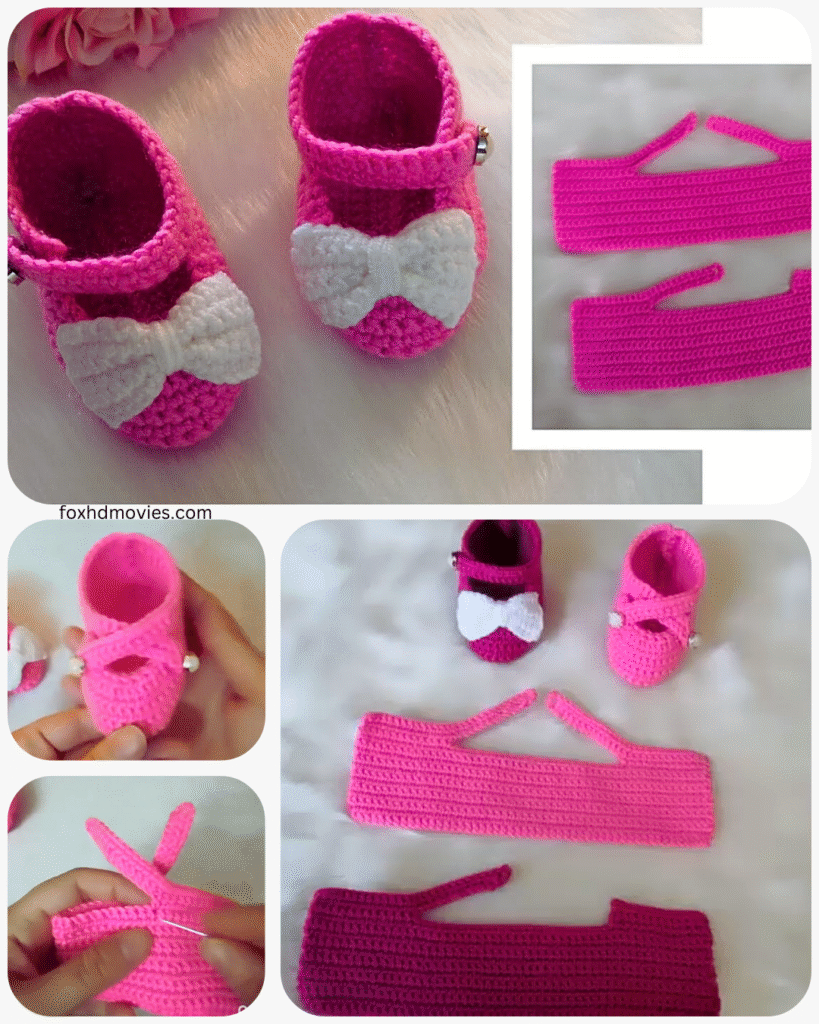
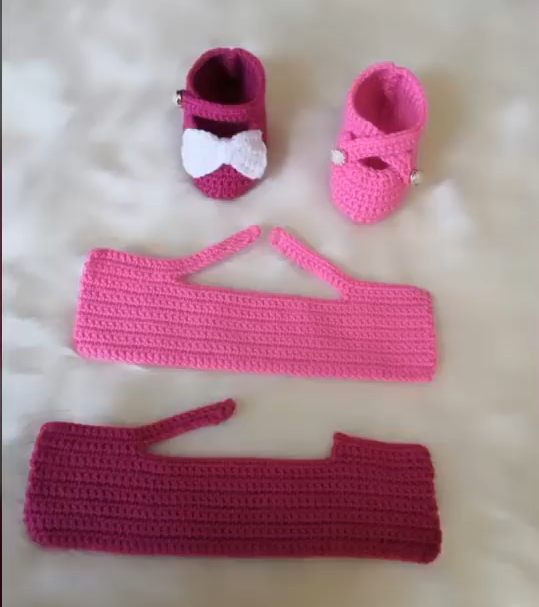
These little booties work up quickly and make a wonderful gift for newborns and infants. The simple design allows for plenty of customization with colors and embellishments.
Materials You’ll Need:
- Worsted weight yarn (approximately 50-75 yards). A soft, baby-friendly yarn is always a good choice.
- Crochet hook size H/8 (5.0 mm) or the size recommended on your yarn label.
- Scissors
- Yarn needle for weaving in ends
- Optional: Buttons, small appliques, or ribbon for decoration
Abbreviations (US Crochet Terms):
- ch: chain
- sl st: slip stitch
- sc: single crochet
- hdc: half double crochet
- dc: double crochet
- inc: increase (work 2 stitches in the same stitch)
- dec: decrease (sc2tog or hdc2tog depending on the row)
- BLO: back loop only
- FLO: front loop only
Gauge: While not critical for booties, aim for approximately 4 sc = 1 inch.
Video pattern
Let’s Get Started!
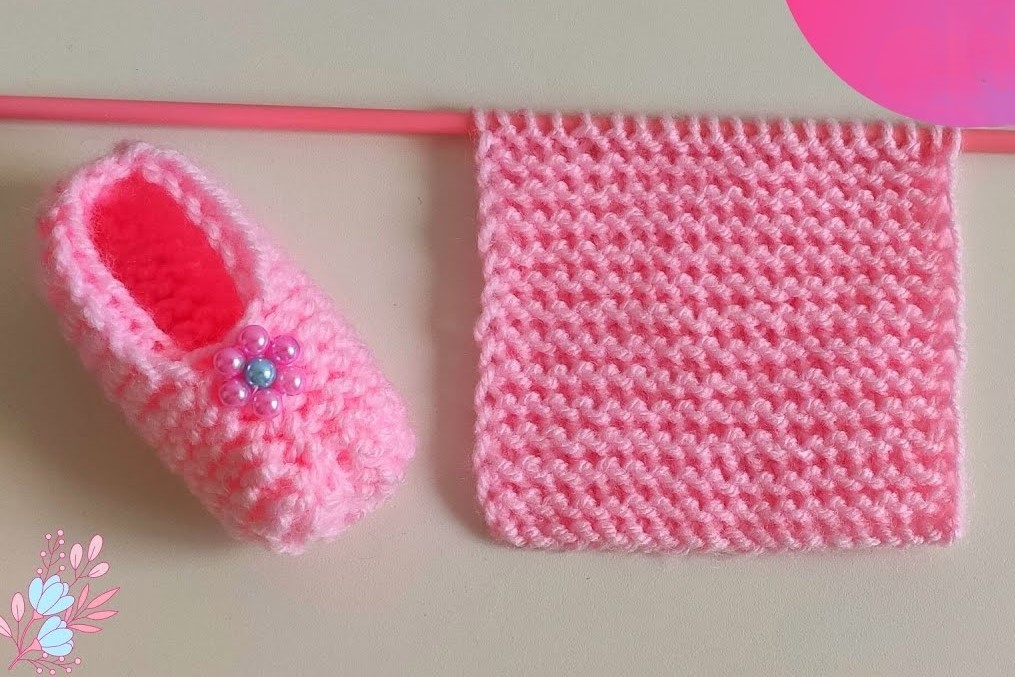
Sole (Make 2):
- Round 1: Ch 11. Sc in the 2nd ch from the hook and in each ch across (10 sc).
- Round 2: Ch 1, turn. Inc in the first sc, sc in the next 8 sc, inc in the last sc (12 sc).
- Round 3: Ch 1, turn. Sc in the first sc, inc in the next sc, sc in the next 8 sc, inc in the next sc, sc in the last sc (14 sc).
- Round 4: Ch 1, turn. Sc in the first 2 sc, inc in the next sc, sc in the next 8 sc, inc in the next sc, sc in the last 2 sc (16 sc).
- Round 5: Ch 1, turn. Sc in the first 3 sc, inc in the next sc, sc in the next 8 sc, inc in the next sc, sc in the last 3 sc (18 sc).
- Round 6: Ch 1, turn. Sc in the first 4 sc, inc in the next sc, sc in the next 8 sc, inc in the next sc, sc in the last 4 sc (20 sc).
- Round 7: Ch 1, turn. Sc in the first 5 sc, inc in the next sc, sc in the next 8 sc, inc in the next sc, sc in the last 5 sc (22 sc).
- Round 8: Ch 1, turn. Sc in the first 6 sc, inc in the next sc, sc in the next 8 sc, inc in the next sc, sc in the last 6 sc (24 sc).
- Round 9: Ch 1, turn. Sc in each sc across (24 sc).
Fasten off the first sole. Do not fasten off the second sole.
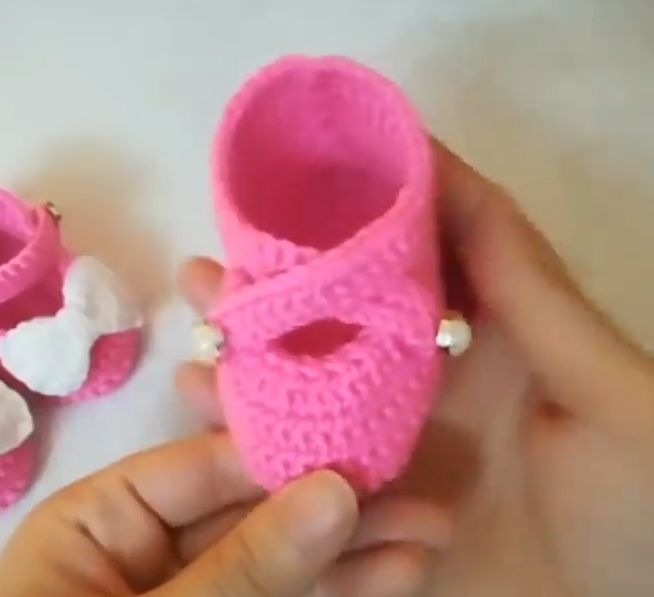
Upper Part of the Bootie:
- With the second sole still attached, ch 1, turn. Sc in the BLO of each sc around (24 sc). This creates a nice ridge for the sole.
- Round 11: Ch 1, turn. Sc in each sc around (24 sc).
- Round 12: Ch 1, turn. Sc in the first 7 sc, dec (sc2tog) over the next 2 sc, sc in the next 6 sc, dec (sc2tog) over the next 2 sc, sc in the last 7 sc (22 sc).
- Round 13: Ch 1, turn. Sc in the first 7 sc, dec (sc2tog) over the next 2 sc, sc in the next 4 sc, dec (sc2tog) over the next 2 sc, sc in the last 7 sc (20 sc).
- Round 14: Ch 1, turn. Sc in the first 6 sc, dec (sc2tog) over the next 2 sc, sc in the next 4 sc, dec (sc2tog) over the next 2 sc, sc in the last 6 sc (18 sc).
Ankle Cuff:
- Round 15: Ch 1, turn. Hdc in each sc around (18 hdc).
- Round 16: Ch 1, turn. Hdc in each hdc around (18 hdc).
- Round 17: Ch 1, turn. Hdc in each hdc around (18 hdc).
Fasten off and weave in all ends.
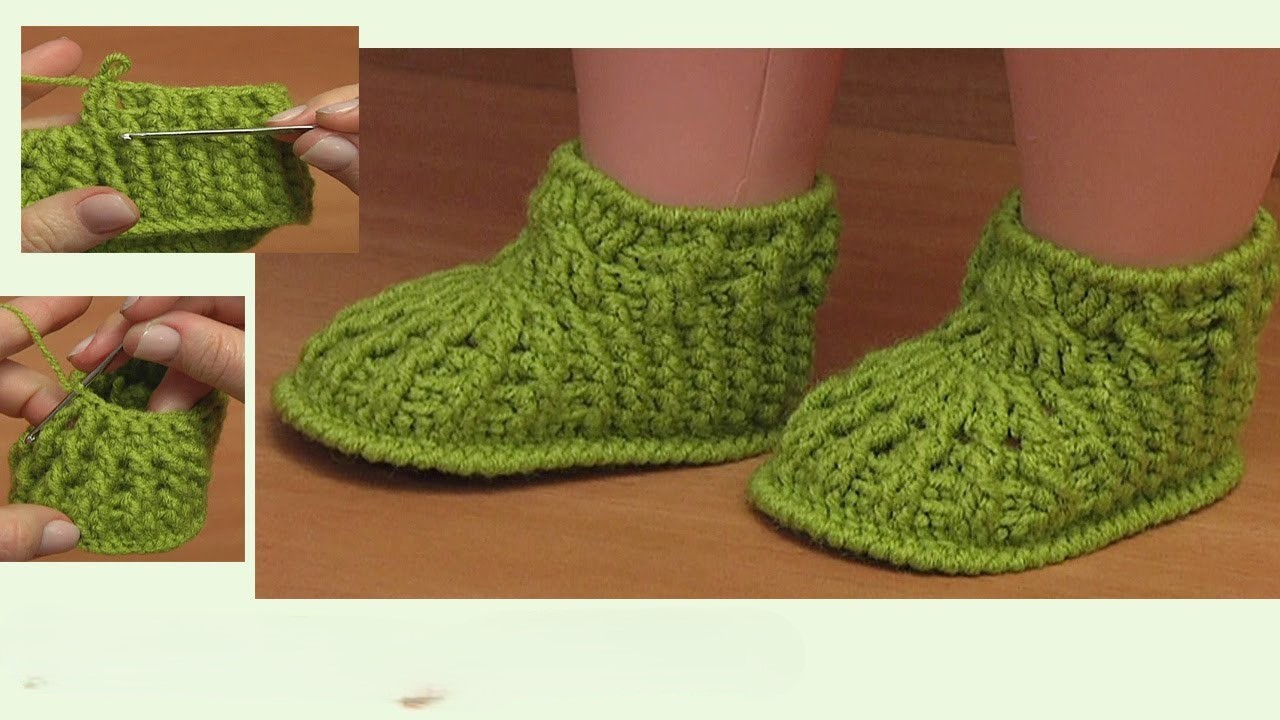
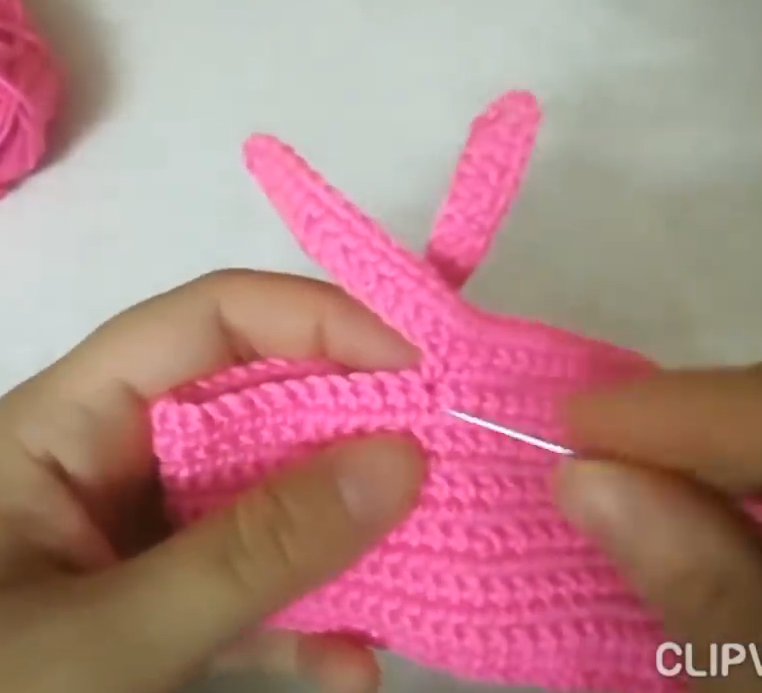
Assembly:
- Place the two soles together, wrong sides facing.
- Using your yarn needle and yarn, whip stitch or single crochet the two soles together, starting at the heel and working your way around. Leave a small opening at the center back of the heel (about 1 inch) to help with putting the bootie on.
Finishing Touches (Optional):
- Fold-Down Cuff: You can fold down the ankle cuff for a different look.
- Straps and Buttons: For a more secure fit, you can add a strap across the instep with a button closure. Simply chain a desired length, attach it to one side of the bootie, and sew a button on the other side.
- Appliques: Sew on small crocheted or felt appliques for a touch of personality.
- Ribbon Ties: Weave a thin ribbon through the ankle cuff to tie into a decorative bow.
Tips for Success:
- Keep your tension consistent throughout the project for even booties.
- Don’t pull your yarn too tight when decreasing, as this can distort the shape.
- Feel free to adjust the number of rounds in the sole to achieve your desired size.
- Get creative with colors! Stripes or color blocking can add a fun element.