by
by 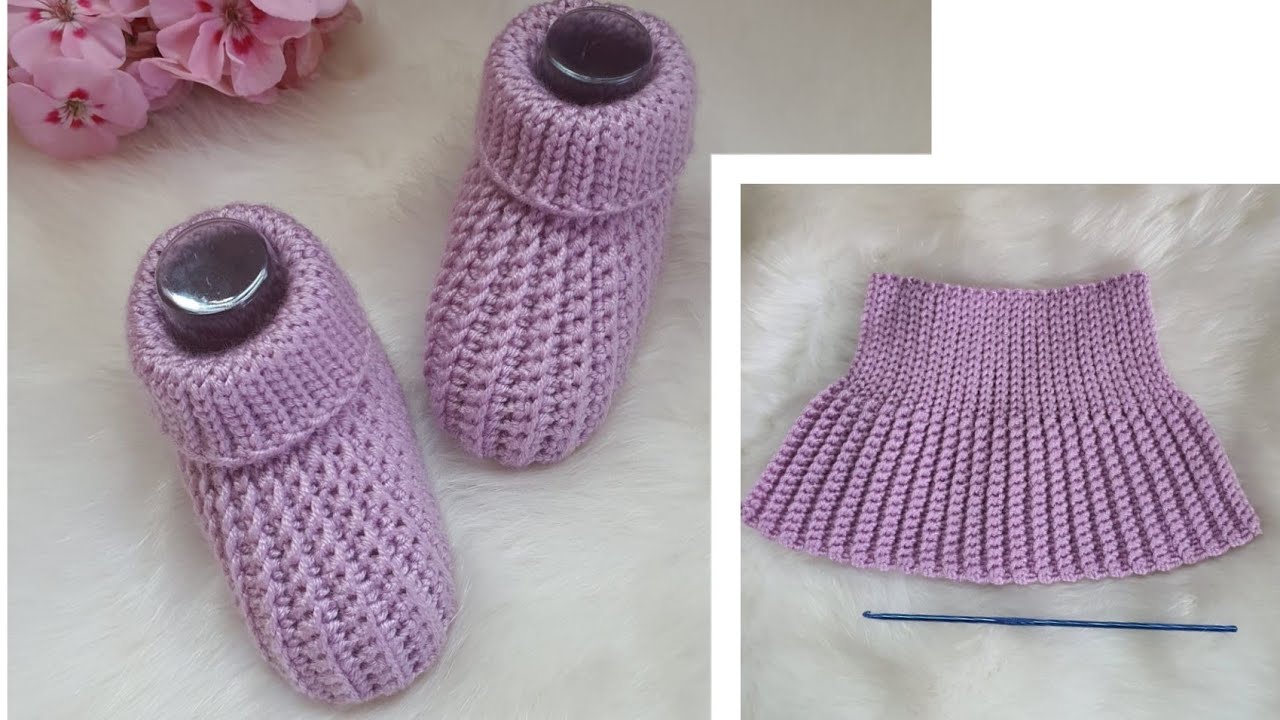
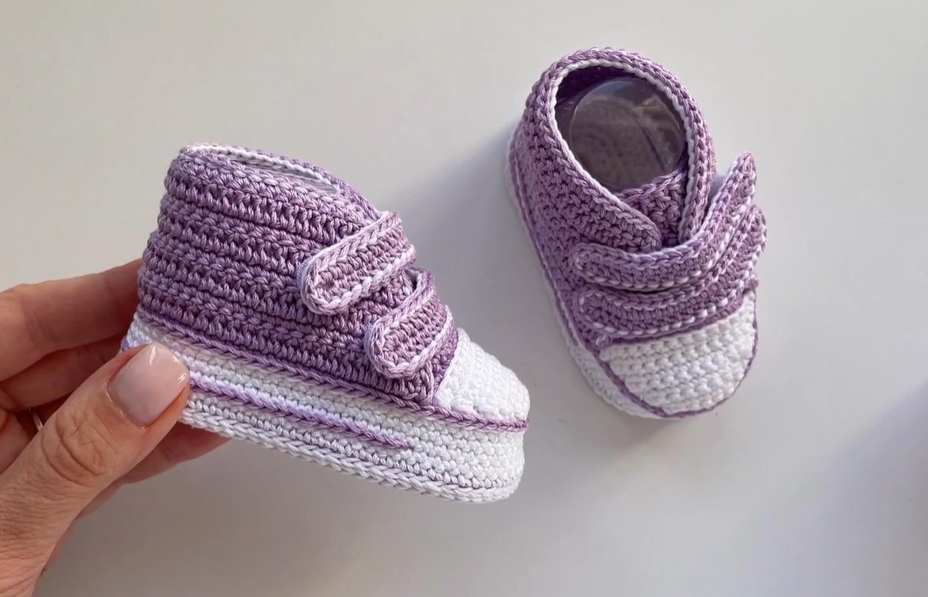
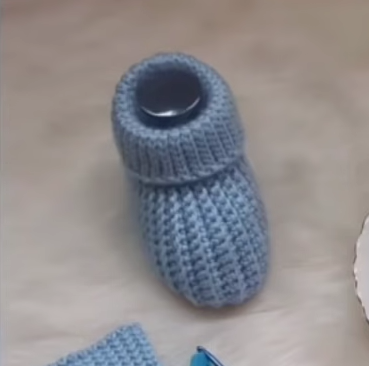
Welcome, fellow yarn enthusiasts! Today, we’re diving into a project that’s as adorable as it is simple: crochet baby shoes. If you’ve been wanting to try your hand at baby booties but felt intimidated, fret no more! This pattern uses basic crochet stitches and minimal shaping, making it the perfect project for beginners. Get ready to create a sweet and snuggly pair of booties for that special little one in your life.
What You’ll Need:
- Yarn: Worsted weight yarn in your favorite color(s). A soft yarn designed for babies is always a good choice. You won’t need much – scraps often work perfectly!
- Crochet Hook: An H/8 (5.0 mm) crochet hook, or the size recommended on your yarn label.
- Scissors: For snipping yarn ends.
- Yarn Needle: For weaving in ends.
- Stitch Markers (optional but helpful): To mark the beginning of rounds or specific stitches.
Abbreviations (US Crochet Terms):
- ch: chain
- sl st: slip stitch
- sc: single crochet
- hdc: half double crochet
- dc: double crochet
- inc: increase (work 2 stitches in the same stitch)
- st(s): stitch(es)
- rnd(s): round(s)
Gauge:
While gauge isn’t critical for baby shoes, aim for approximately 4 sc = 1 inch. This will help ensure a reasonably sized bootie.
Video pattern
Let’s Get Started!
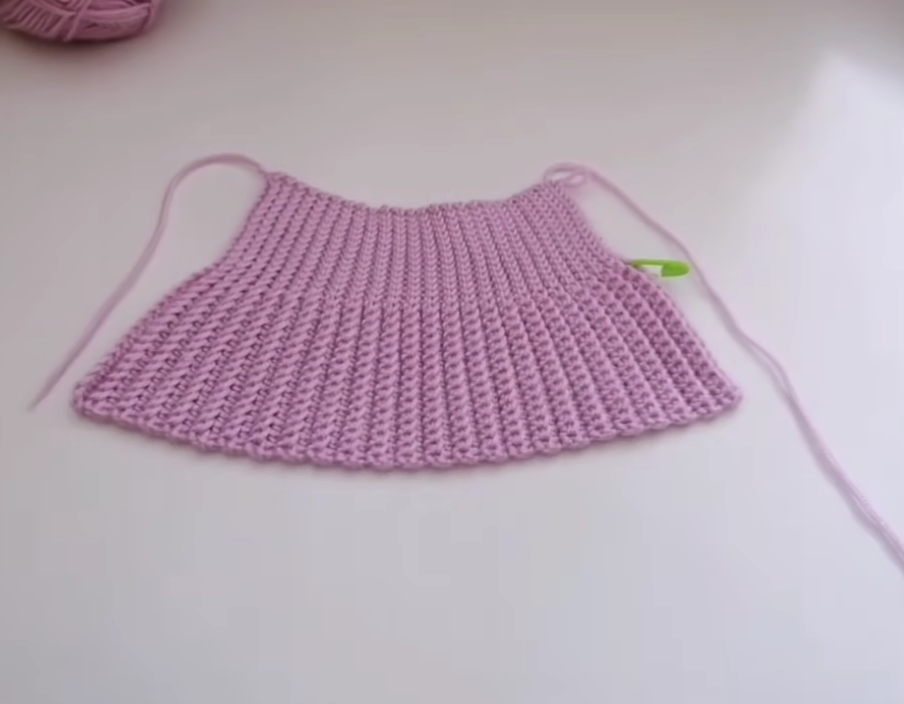
We’ll start by creating the sole of the bootie.
Sole (Make 2):
- Ch 11.
- Round 1: Sc in the 2nd ch from the hook, sc in the next 8 ch, 3 sc in the last ch. Working on the other side of the chain, sc in the next 8 ch, 2 sc in the last ch. Sl st to the first sc to join. (22 sts)
- Tip: Placing a stitch marker in the first stitch of the round can be helpful.
- Round 2: Ch 1 (does not count as a st), 2 sc in the first st, sc in the next 8 sts, 2 sc in each of the next 3 sts, sc in the next 8 sts, 2 sc in each of the last 2 sts. Sl st to the first sc to join. (28 sts)
- Notice how the increases create an oval shape for the sole.
- Round 3: Ch 1 (does not count as a st), sc in the first st, 2 sc in the next st, sc in the next 9 sts, (sc, 2 sc) three times, sc in the next 9 sts, 2 sc in the next st, sc in the last st. Sl st to the first sc to join. (34 sts)
- We’re gradually widening the sole to accommodate the foot.
Creating the Upper:
Now we’ll work on the main body of the bootie.
- Round 4: Ch 1 (does not count as a st), sc in each st around. Sl st to the first sc to join. (34 sts)
- This round creates a little “wall” that will form the sides of the bootie.
- Round 5: Ch 1 (does not count as a st), hdc in each st around. Sl st to the first hdc to join. (34 sts)
- Switching to half double crochet adds a bit more height and texture.
- Rounds 6-9: Ch 1 (does not count as a st), hdc in each st around. Sl st to the first hdc to join. (34 sts)
- These rounds build the height of the bootie. Adjust the number of rounds here if you want a taller or shorter bootie.
Shaping the Toe:
Now we’ll create the rounded toe of the bootie.
- Round 10: Ch 1 (does not count as a st), hdc in the next 10 sts.
- We’re now working in rows to shape the toe.
- Row 11: Turn, ch 1 (does not count as a st), hdc in the next 10 sts. (10 sts)
- Rows 12-16: Repeat Row 11. (10 sts)
- You should now have a small, flat piece forming the toe of the bootie.
Joining the Toe:
Now we’ll attach the toe piece to the rest of the bootie.
- Round 17: Ch 1 (does not count as a st), hdc in the next 12 sts (along the side of the toe flap), hdc in the next 10 sts (across the front of the toe flap), hdc in the next 12 sts (along the other side of the toe flap), hdc in the remaining 10 sts of the round. Sl st to the first hdc to join. (44 sts)
- Take your time with this round to ensure the toe is evenly attached.
Creating the Cuff:
Finally, we’ll add a simple cuff to finish the bootie.
- Round 18: Ch 1 (does not count as a st), sc in each st around. Sl st to the first sc to join. (44 sts)
- Round 19: Ch 1 (does not count as a st), sc in each st around. Sl st to the first sc to join. (44 sts)
- You can make the cuff wider by adding more rounds of single crochet.
Finishing:
- Fasten off your yarn and weave in all loose ends securely using your yarn needle.
- Repeat all steps to make the second bootie.

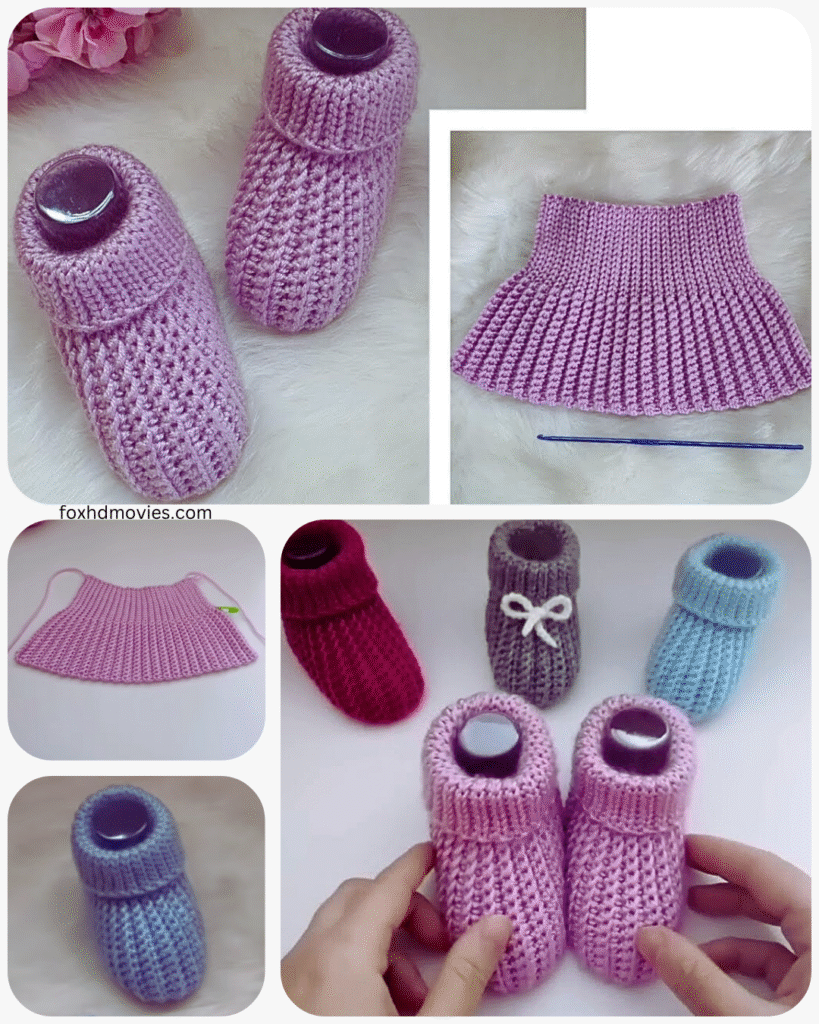
Tips and Variations:
- Color Play: Get creative with colors! You can make the sole, upper, and cuff different colors for a fun look. Stripes are also easy to incorporate.
- Edging: For a decorative touch, add a round of crab stitch (reverse single crochet) or picot stitch around the cuff.
- Embellishments: Once finished, you can add small crocheted flowers, buttons (make sure they are securely attached!), or embroidered details to personalize your booties.
- Sizing: This pattern is generally sized for a newborn to 3-month-old baby. To adjust the size, you can try using a different weight of yarn and corresponding hook size, or by adding/subtracting a few stitches in the initial chain of the sole. Remember that babies’ feet grow quickly, so it’s often better to err on the slightly larger side.
Congratulations! You’ve just created a beautiful and cozy pair of crochet baby shoes. These little booties make wonderful gifts for baby showers or just because. We hope you enjoyed this easy pattern. Happy crocheting!