by
by 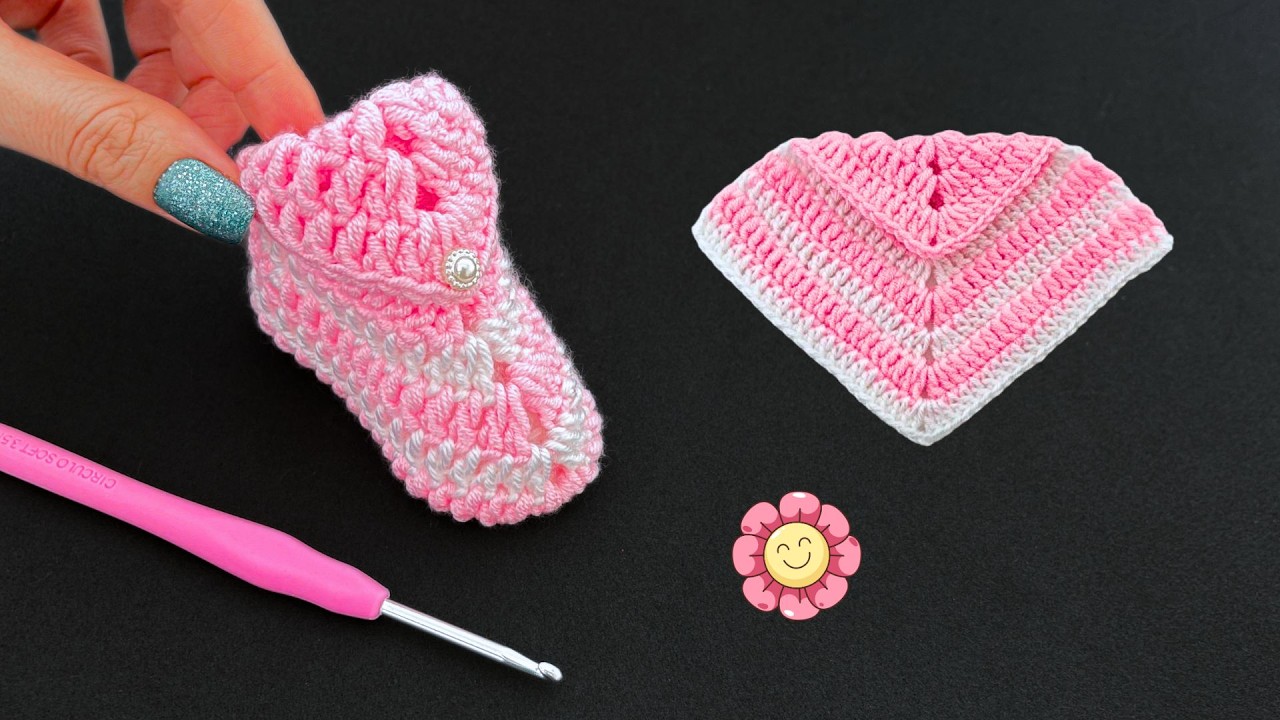
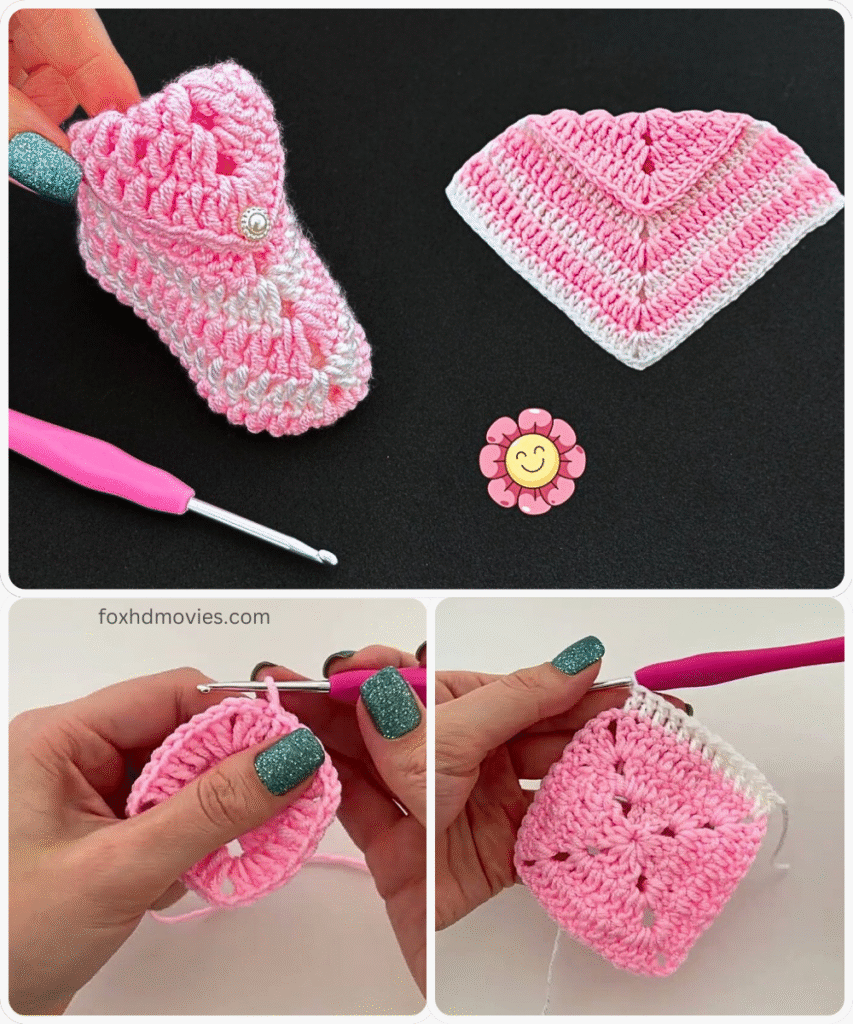
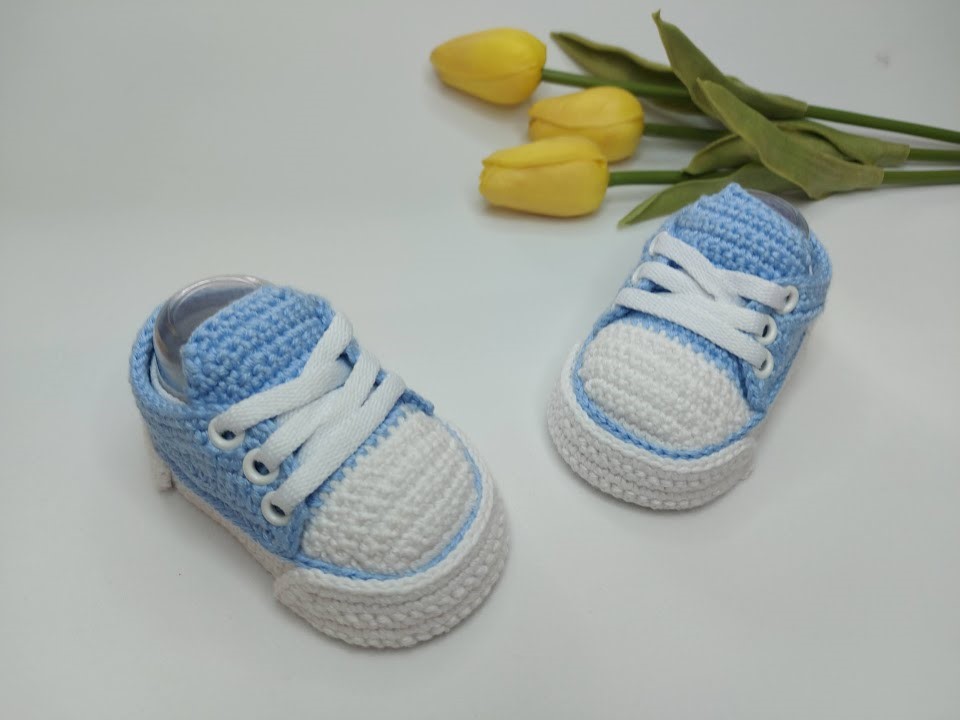
here’s a detailed, easy step-by-step pattern for baby crochet boots! I’ve focused on making it as clear and simple as possible for beginners.
Skill Level: Beginner
Materials:
- Worsted weight yarn in desired color(s)
- Crochet hook size US G/6 (4.0 mm)
- Yarn needle
- Scissors
- Stitch markers (optional but helpful)
- Buttons or other embellishments (optional)
Gauge:
- Gauge is not too critical for this project, but approximately 4 single crochet (sc) stitches and 4 rows should measure 1 inch.
Abbreviations:
- ch – chain
- sc – single crochet
- hdc – half double crochet
- sl st – slip stitch
- inc – increase (2 sc in the same st)
Pattern:
Sole (Make 2):
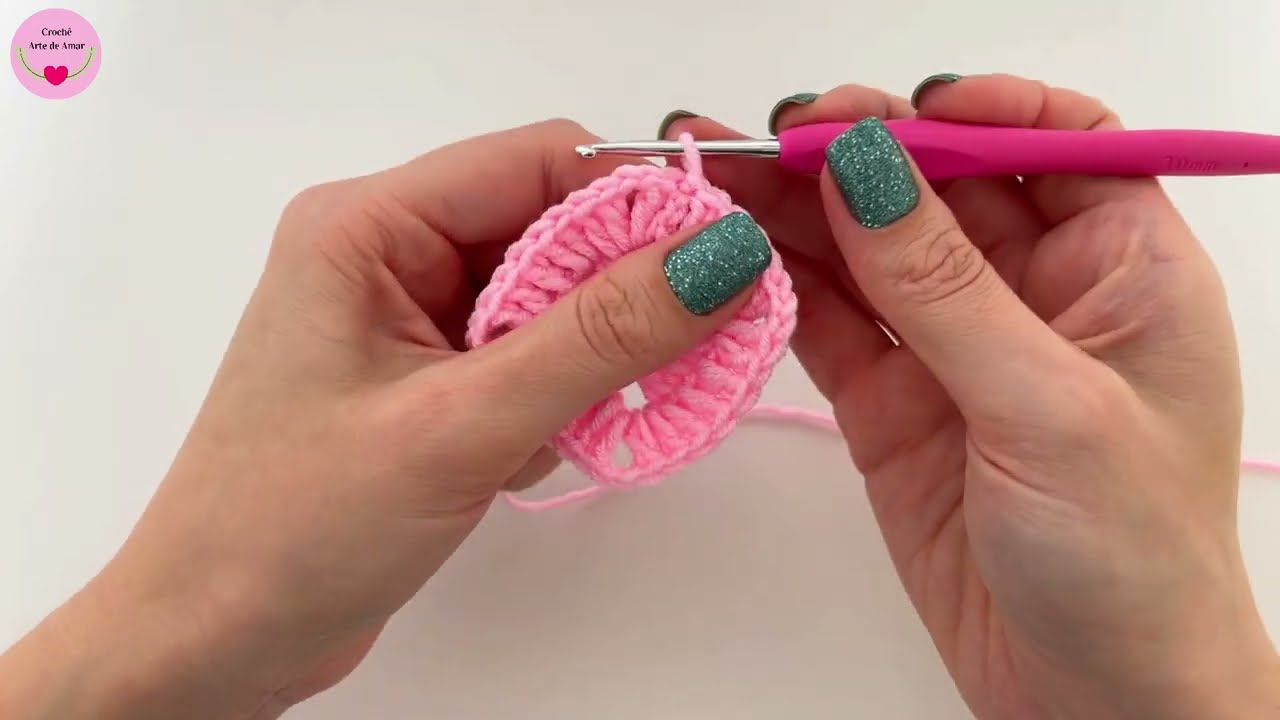
- Round 1: Start with a magic ring. Sc 6 into the ring. (6 sts)
- Round 2: Inc in each st around. (12 sts)
- Round 3: (Sc in next st, inc) repeat 6 times. (18 sts)
- Round 4: (Sc in next 2 sts, inc) repeat 6 times. (24 sts)
- Round 5: Sc in each st around. (24 sts) This size is suitable for a newborn to 3-month-old. For a slightly larger sole, add one more increase round: (Sc in next 3 sts, inc) repeat 6 times (30 sts).
- Sl st to the first sc to join the round. Fasten off, leaving a medium tail for sewing (on one of the soles; you won’t need a long tail for the second sole).

Upper Part (Make 2):
- Round 1: With the right side of the sole facing you, attach yarn with a sl st to any stitch. Ch 1 (does not count as a stitch), sc in the same st and in each st around. (24 sts)
- Round 2: Ch 1, turn. Sc in the next 7 sts.
- Row 3-6: Ch 1, turn. Sc in the same 7 sts. (7 sts) These rows create the front part of the bootie. Adjust the number of rows for a higher or lower front.
- Do not fasten off.
Joining the Upper to the Sole:
- With the wrong side of the upper facing the wrong side of the sole, align the front part of the upper you just made with the front half of the sole.
- Round 7: Ch 1, turn. Sc in the 7 sts of the upper. Now, continue to sc around the remaining stitches of the sole, joining the upper to the sole as you go. You will be single crocheting through both the stitches of the upper and the sole. Make sure to evenly distribute the stitches. You should end up with approximately 29-33 stitches around (this number may vary slightly depending on your tension).
- Sl st to the first sc to join the round.
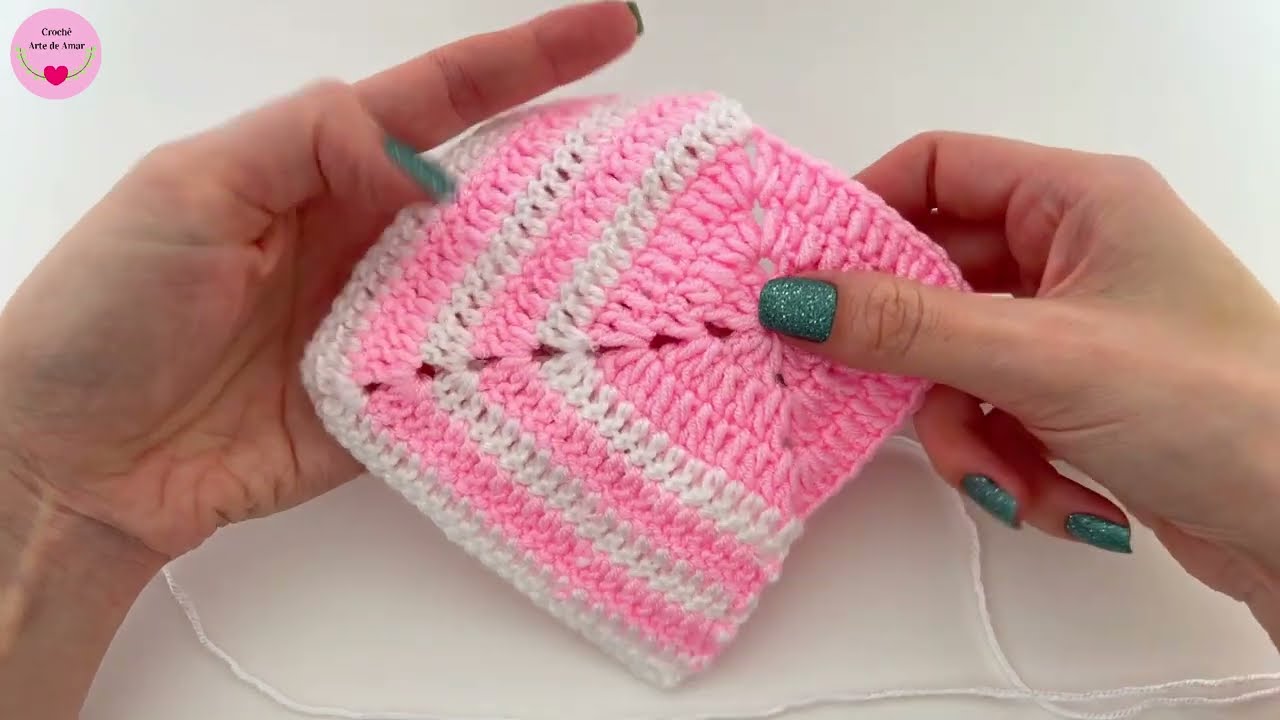
Ankle Cuff:
- Round 8: Ch 1, sc in each st around. (Approximately 29-33 sts)
- Round 9: Ch 1, sc in each st around. (Approximately 29-33 sts) For a taller cuff, add more rounds of single crochet.
- Sl st to the first sc to join the round. Fasten off, leaving a medium tail.
Finishing:
- Weave in all loose ends securely using your yarn needle.
- Optional Embellishments: You can now add buttons, small crocheted shapes, or ribbons to decorate your baby boots. Sew or attach them securely.
Video tutorial
Step-by-Step Summary:
- Make two soles using the magic ring and increasing rounds.
- For the upper part of each bootie, attach yarn to the sole and work a few rows of single crochet on the front section.
- Join the upper to the sole by single crocheting around, attaching the front flap to the sole.
- Work a few rounds of single crochet around the top edge to create the ankle cuff.
- Fasten off and weave in the ends.
- Add any desired embellishments.