by
by 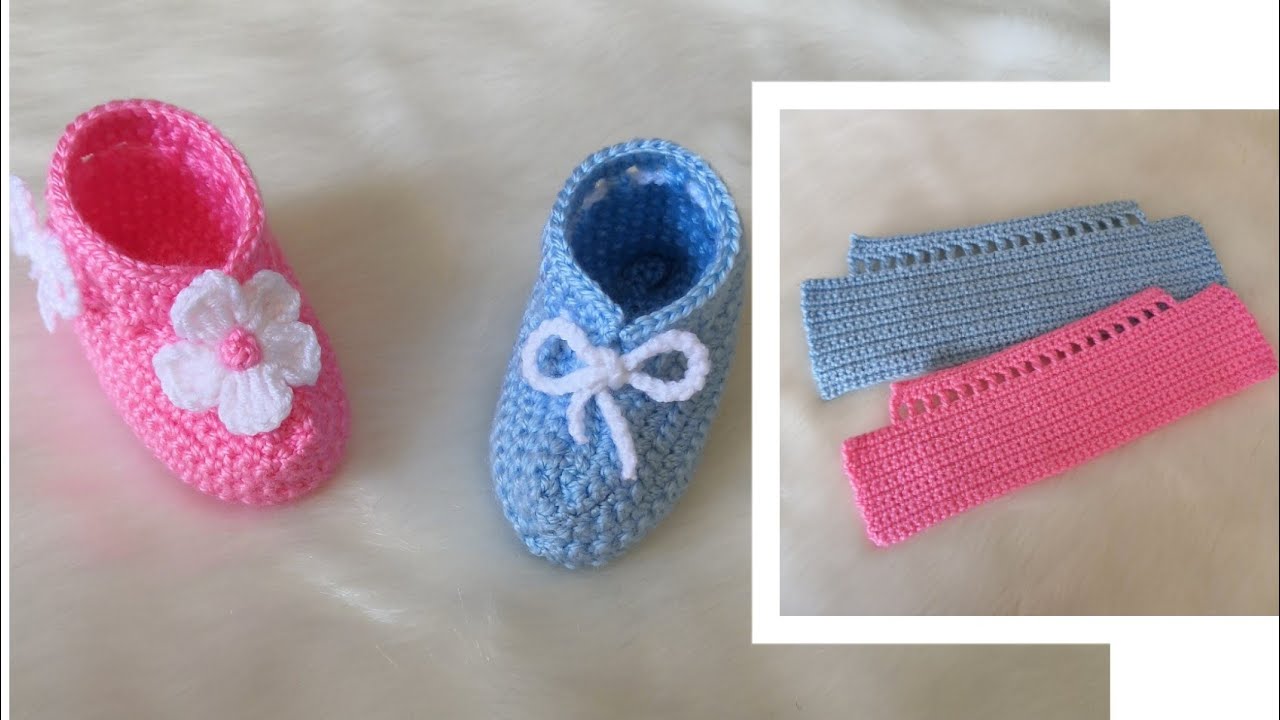
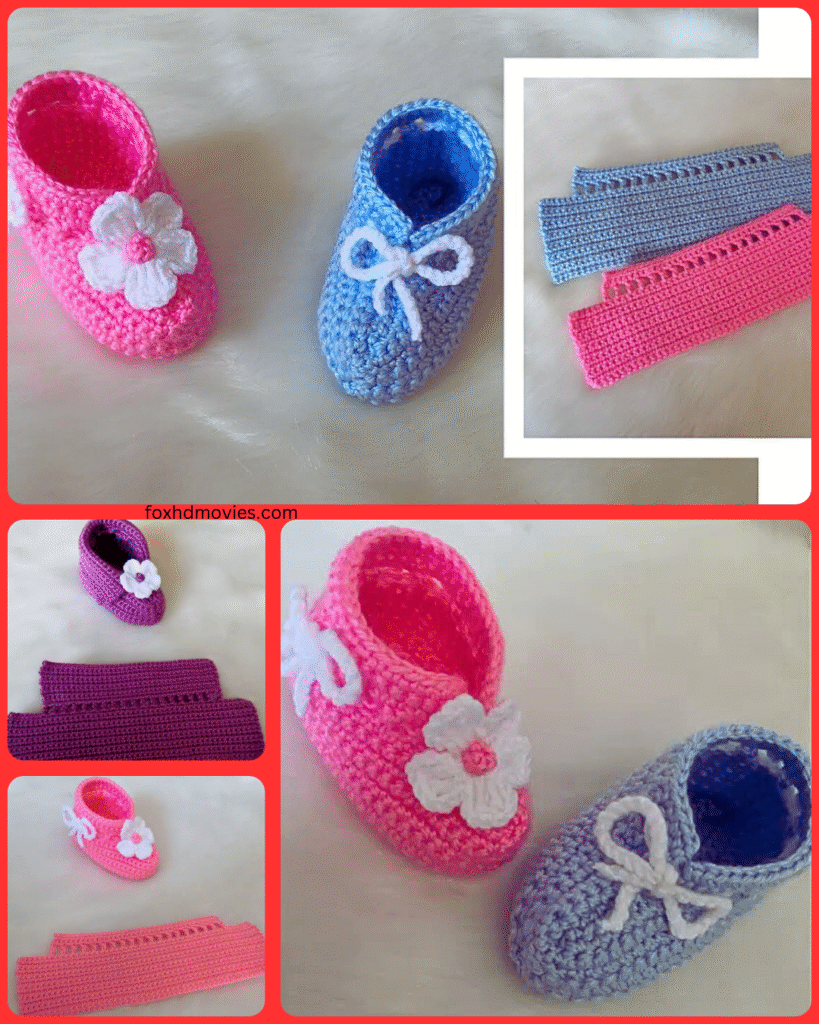
here we come! Get ready to whip up a pair of the easiest crochet slippers you’ve ever encountered. Seriously, if you can single crochet, you’re practically halfway there. This pattern focuses on simplicity and comfort, making it perfect for beginners or anyone craving a quick and satisfying project. Let’s dive in!
Materials You’ll Need:
- Yarn: Bulky weight yarn is ideal for warm and sturdy slippers. About 200-300 yards should suffice for a pair, but this can vary based on your foot size and tension. Choose your favorite color (or two for a fun striped look!).
- Crochet Hook: A size K/10.5 (6.5 mm) or L/11 (8 mm) hook is generally a good starting point for bulky yarn. Check your yarn label for the recommended hook size.
- Scissors: For snipping yarn ends.
- Tapestry Needle: For weaving in those pesky ends.
- Stitch Markers (Optional but Recommended): These little helpers can be lifesavers, especially for beginners.
Gauge:
While gauge isn’t critical for slippers (as you can adjust the size as you go), knowing your approximate gauge can be helpful. A common gauge for bulky yarn might be around 8-10 single crochet stitches in 4 inches and 8-10 rows in 4 inches. Don’t stress too much about this; we’ll focus on measuring against your foot as we go.
Abbreviations (US Crochet Terms):
- ch: chain
- sc: single crochet
- sl st: slip stitch
- st(s): stitch(es)
Video pattern
Let’s Get Crocheting!
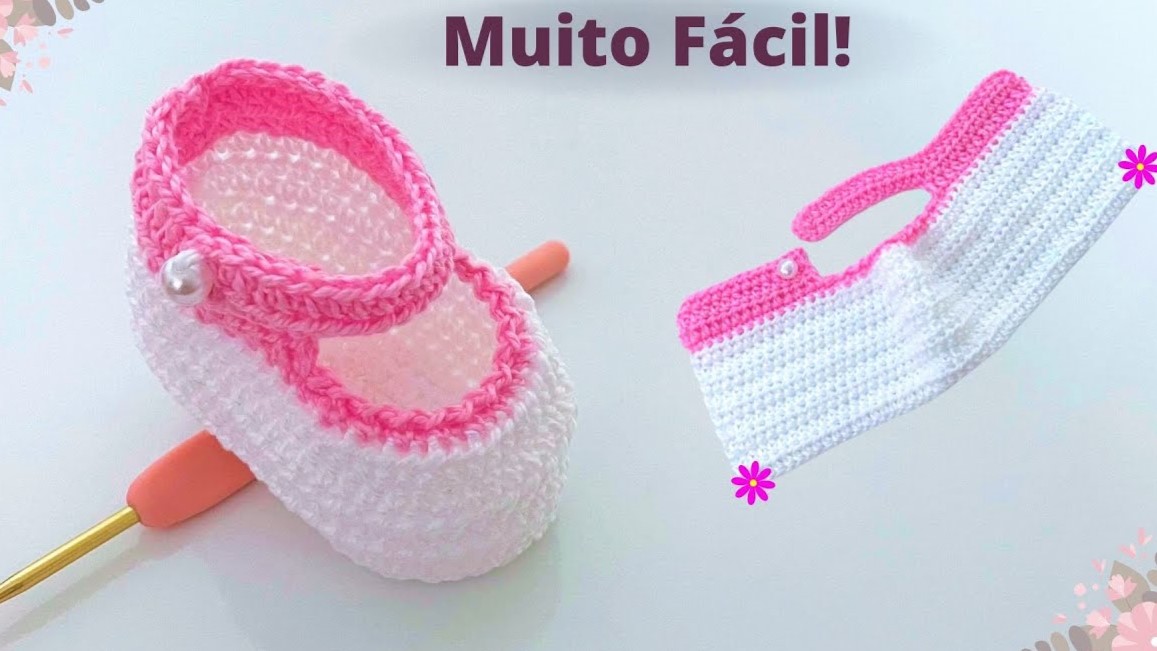
This pattern is worked in one continuous piece, making it super simple with minimal sewing. We’ll start with the sole, then work our way up to form the upper part of the slipper.
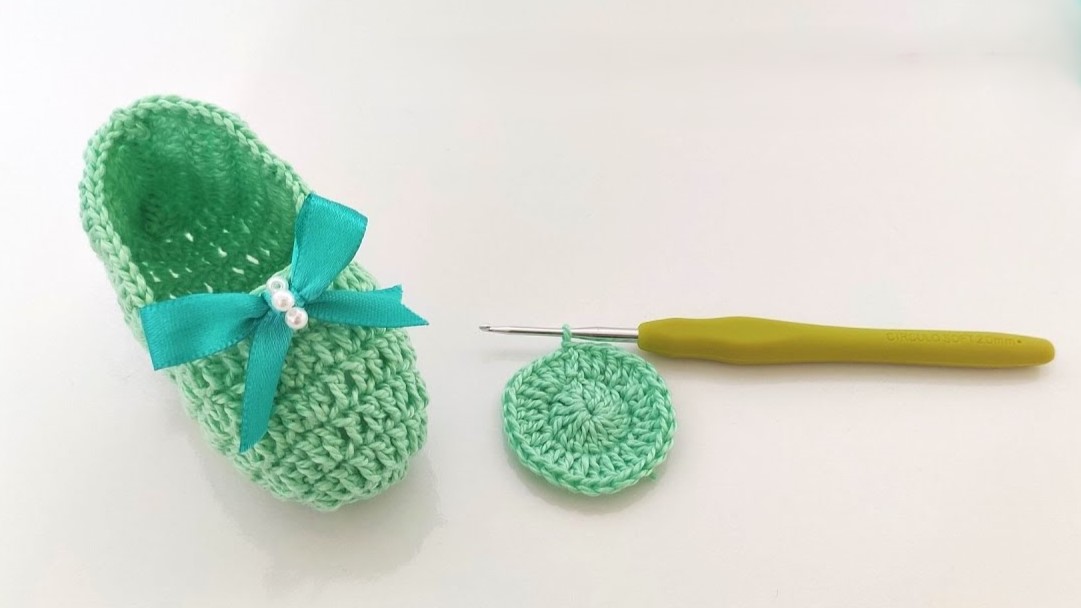
Part 1: The Sole
- Foundation Chain: Chain a length that comfortably fits across the widest part of your foot. For an average adult, this might be around 15-20 chains. Don’t make it too tight! Pro Tip: You can always add or subtract chains here to customize the width.
- Row 1: Single crochet in the second chain from the hook and in each chain across. (You’ll have one less sc than your starting chain). Turn.
- Rows 2 onwards: Chain 1 (this does not count as a stitch), single crochet in each stitch across. Turn.
- Continue Repeating Row 3: Keep working in single crochet rows until your piece is long enough to comfortably fit the length of your foot, from heel to just before your toes begin. Helpful Hint: Lay your work down periodically and step on it (carefully!) to check the length. You want it to be slightly shorter than your actual foot length as it will stretch a bit.
Part 2: Shaping the Upper
Now we’ll start shaping the part that goes over your foot.
- Folding and Marking: Fold your crocheted rectangle in half lengthwise. Place stitch markers on both sides, about one-third of the way in from the folded edge. These markers will indicate where we’ll start decreasing to create the toe shaping.
- Round 1: Chain 1, single crochet across until you reach the first stitch marker. Work two single crochet stitches together (sc2tog) over the next two stitches. Continue single crocheting until you are two stitches before the second stitch marker. Work another sc2tog over the next two stitches. Single crochet to the end of the row. Turn. What we’re doing here is creating a slight curve for the top of the slipper.
- Round 2: Chain 1, single crochet across. Turn.
- Repeat Rounds 1 and 2: Continue alternating between a decrease round (Round 1) and a plain single crochet round (Round 2). As you work, you’ll notice the fabric starting to curve inwards, forming the top of the slipper. Keep going until the opening is the desired size for your foot to comfortably slip in. Another Tip: Try slipping your foot into the opening as you go to check the fit.
Part 3: Closing the Heel
- Joining the Edges: Once the upper part is shaped to your liking, fold the slipper in half again, aligning the short ends (the initial rows of your sole).
- Slip Stitching: With your hook, slip stitch the two edges together to close the heel. Work through both layers of the fabric to create a secure seam.
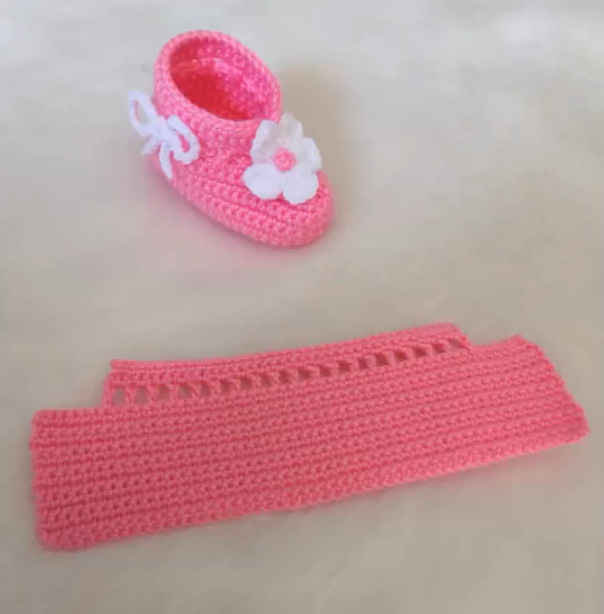
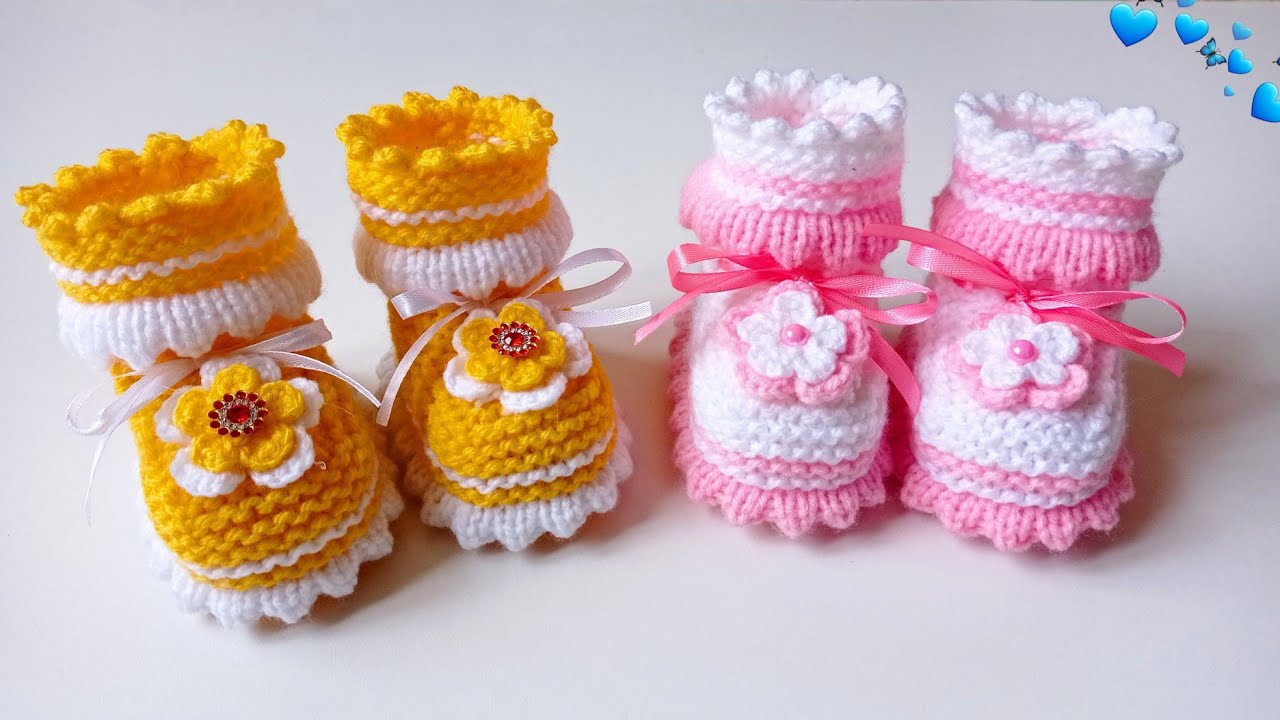
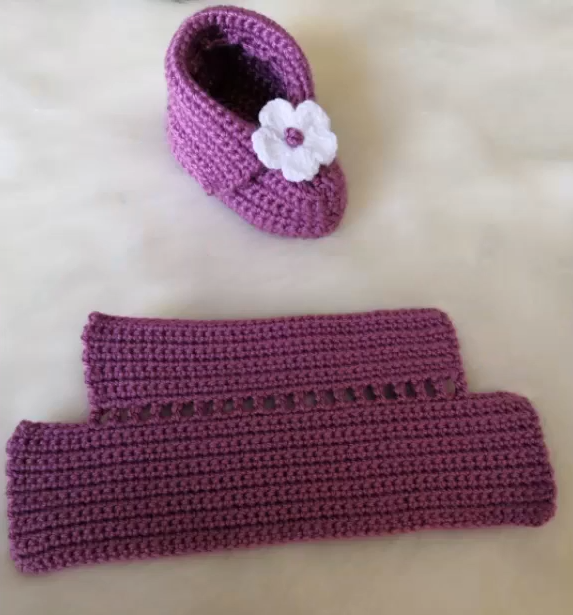
Part 4: Finishing Touches (Optional)
- Cuff (Optional): For extra coziness around the ankle, you can add a cuff. With the right side facing out, join your yarn to the top edge of the slipper. Chain a few stitches (depending on the desired height of your cuff), and then work in single crochet (or half double crochet for a taller cuff) around the opening for a few rounds. Slip stitch to join and fasten off.
- Edging (Optional): To create a neat edge around the opening, you can work a round of slip stitches or reverse single crochet (crab stitch).
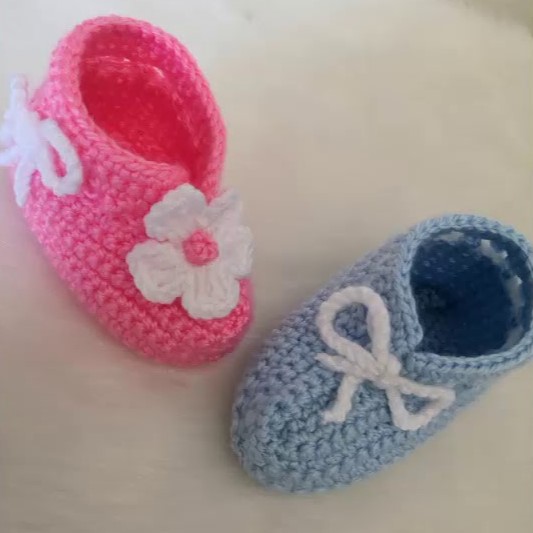
- Pom-poms, Buttons, or Other Embellishments (Totally Optional!): Get creative and add any fun details you like!
Making the Second Slipper:
Simply repeat the entire process to create the second slipper. Make sure to keep your tension as consistent as possible so that both slippers are the same size.
Congratulations! You’ve just crocheted a super easy and cozy pair of slippers. Slip them on, wiggle your toes, and enjoy the warmth and comfort of your handmade creation.
Tips for Success:
- Don’t be afraid to adjust: This pattern is a guideline. If your foot is wider or narrower, adjust the initial chain. If you want a higher or lower top, work more or fewer decrease rounds.
- Check your fit frequently: It’s always better to try on your slipper as you go to ensure a comfortable fit.
- Practice makes perfect: If this is your first time crocheting slippers, don’t worry if they’re not perfect. Each slipper you make will get better!
- Have fun with yarn choices: Experiment with different colors and textures of bulky yarn to create unique and personalized slippers.