 by
by 
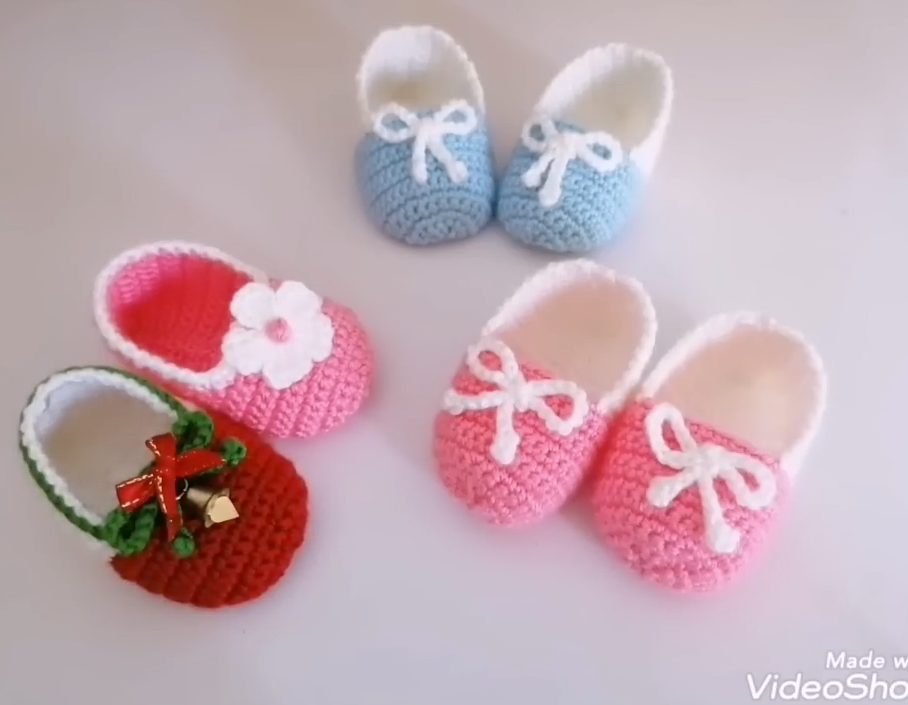
Those tiny, adorable foot coverings that just melt your heart. And guess what? You can totally crochet them yourself, even if you’re just starting out. This pattern focuses on simplicity, using basic stitches to create snug and sweet slippers for little feet. Let’s get started on this fun and rewarding project!
Snuggle-Up Easy Crochet Baby Slippers: A Beginner-Friendly Pattern
These slippers are designed with ease in mind, using mostly single crochet and half double crochet stitches. The simple construction makes them quick to work up, perfect for gifting or adding to your own little one’s wardrobe.
Materials You’ll Need:
- Yarn: Worsted weight yarn in your favorite baby-friendly color (soft acrylic or cotton blends work wonderfully). You won’t need a lot – scraps are perfect for this project!
- Crochet Hook: An H/8 (5.0 mm) crochet hook, or the size recommended for your yarn.
- Scissors: For snipping yarn ends.
- Yarn Needle: For weaving in those loose ends neatly.
- Measuring Tape (Optional): To check the size as you go.
Abbreviations (US Crochet Terms):
- ch: chain
- sl st: slip stitch
- sc: single crochet
- hdc: half double crochet
- inc: increase (work 2 stitches in the same stitch)
- dec: decrease (work 2 stitches together)
- st(s): stitch(es)
- rep: repeat
Gauge:
While gauge isn’t critical for baby slippers, aim for approximately 4 single crochet stitches per inch to ensure a snug fit for a newborn (adjust hook size if needed).
Sizing:
This pattern is written for a newborn to 3-month-old size (approximately 3.5 inches foot length). Adjust the starting chain and the number of rounds to customize the size.
Video pattern
Let’s Get Crocheting!
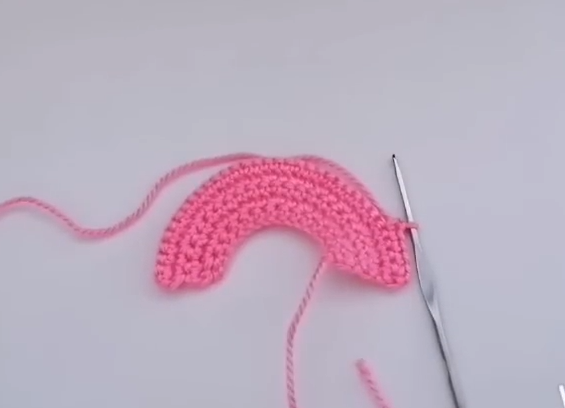
Sole (Make 2):
- Round 1: Ch 9. Sc in the 2nd ch from the hook and in each ch across (8 sts).
- Round 2: Ch 1, turn. Sc in the first st, hdc in the next 6 sts, sc in the last st (8 sts).
- Round 3: Ch 1, turn. Sc in the first st, inc in the next st, hdc in the next 4 sts, inc in the next st, sc in the last st (10 sts).
- Round 4: Ch 1, turn. Sc in the first st, inc in the next st, hdc in the next 6 sts, inc in the next st, sc in the last st (12 sts).
- Round 5: Ch 1, turn. Sc in the first st, inc in the next st, hdc in the next 8 sts, inc in the next st, sc in the last st (14 sts).
- Round 6: Ch 1, turn. Sc in the first st, inc in the next st, hdc in the next 10 sts, inc in the next st, sc in the last st (16 sts). For a slightly larger sole (3-6 months), continue with one more round: Ch 1, turn. Sc in the first st, inc in the next st, hdc in the next 12 sts, inc in the next st, sc in the last st (18 sts).
- Fasten off and weave in the end of one sole. Do not fasten off the second sole.
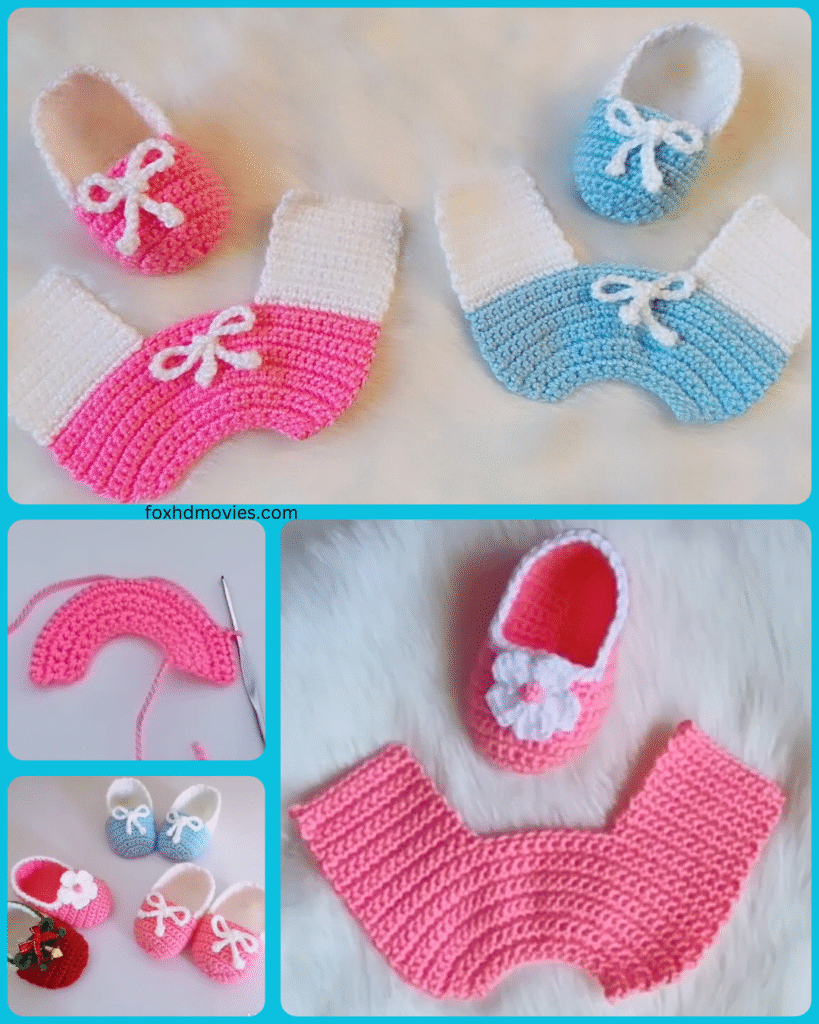
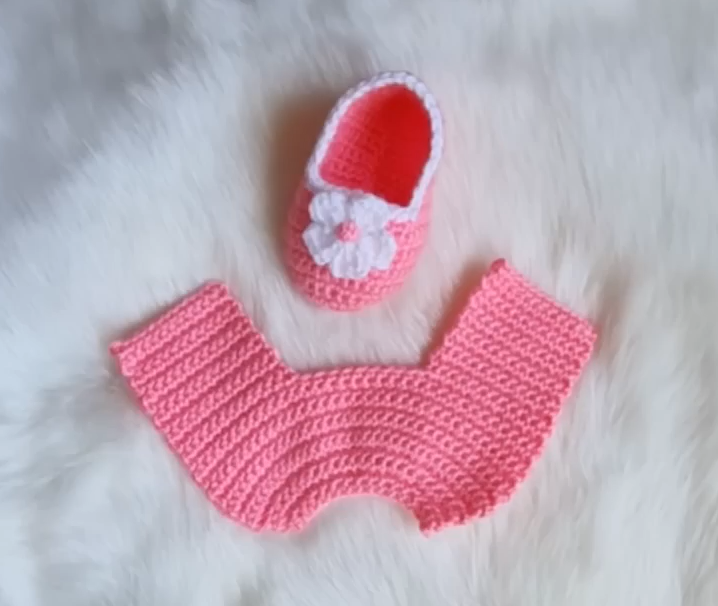
Upper:
- With the second sole still attached, ch 1 and turn. Sc evenly around the entire sole. Aim for approximately 20-24 sc stitches, adjusting as needed to keep the edge relatively flat. Sl st to the first sc to join the round.
- Round 2: Ch 1, turn. Sc in the next 6 sts. Ch 5 (this will form the strap opening). Skip the next 4 sts. Sc in the remaining sts around (approximately 10-14 sts). Sl st to the first sc to join the round.
- Round 3: Ch 1, turn. Sc in each st around, including the 5 ch stitches from the previous round (approximately 20-24 sts). Sl st to the first sc to join the round.
- Round 4: Ch 1, turn. Sc in the next 7 sts. Ch 3 (button loop). Skip the next 2 sts. Sc in the remaining sts around (approximately 11-15 sts). Sl st to the first sc to join the round.
- Round 5: Ch 1, turn. Sc in each st around, including the 3 ch stitches from the previous round (approximately 20-24 sts). Sl st to the first sc to join the round.
- Fasten off and weave in the end.
Finishing:
- Seaming the Heel: Line up the two soles with the wrong sides facing each other. Using your yarn needle and yarn, whip stitch or slip stitch the back edges of the soles together, starting from the heel and going up about 1.5-2 inches. This creates the back of the slipper.
- Attaching the Upper: Align the open edge of the upper with the top edge of the sole. Using your yarn needle and yarn, whip stitch or slip stitch the upper to the sole, starting at one side of the heel and working your way around. Ensure the strap opening is positioned correctly on the top of the slipper.
- Adding a Button (Optional): Sew a small button onto the front of the slipper, opposite the button loop, using your yarn needle and thread. This will help secure the strap.
Tips and Variations:
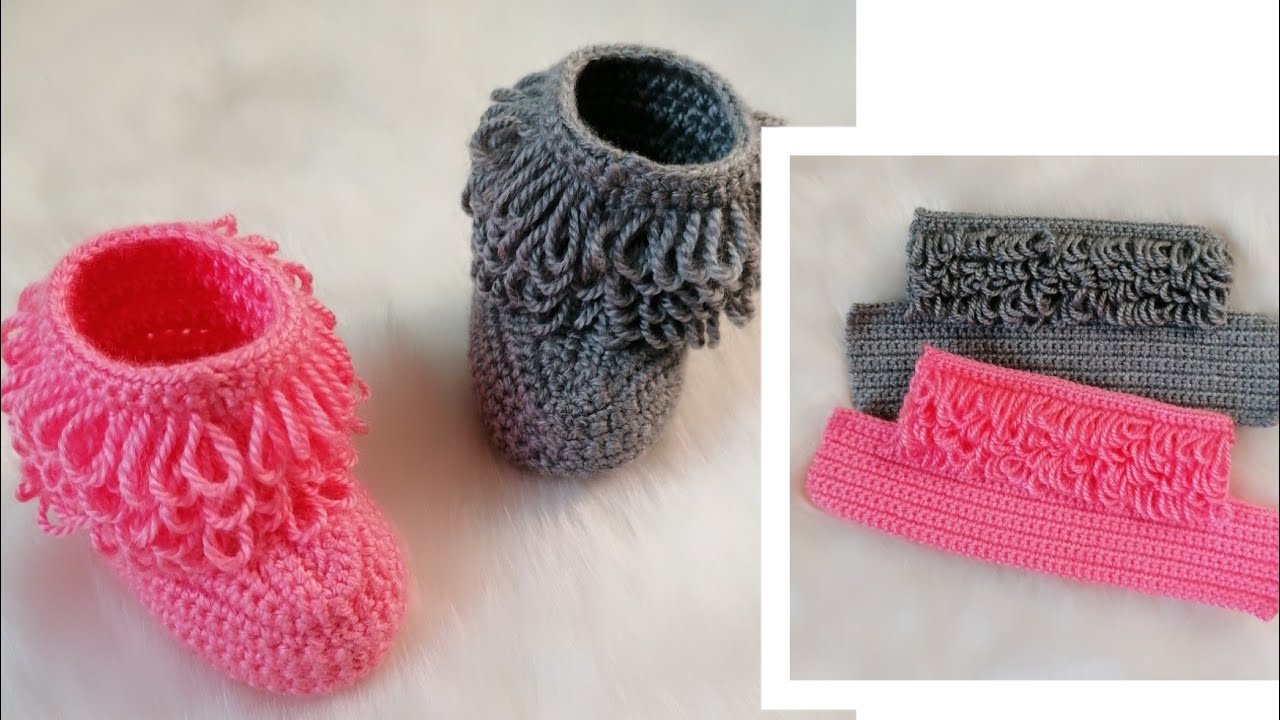
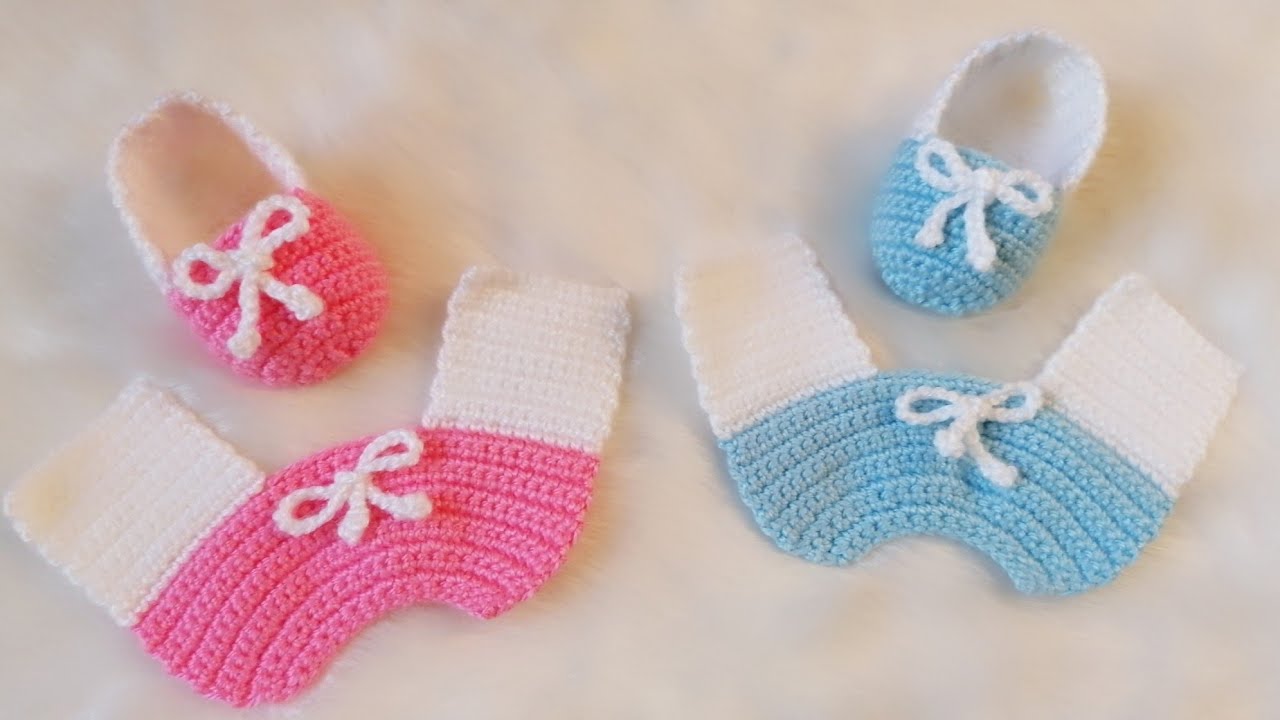
- Color Play: Get creative with colors! Use stripes, color blocking, or a different color for the strap and edging.
- Texture: Experiment with different stitches for the upper, like a row of bobble stitches or a simple shell stitch, for added texture.
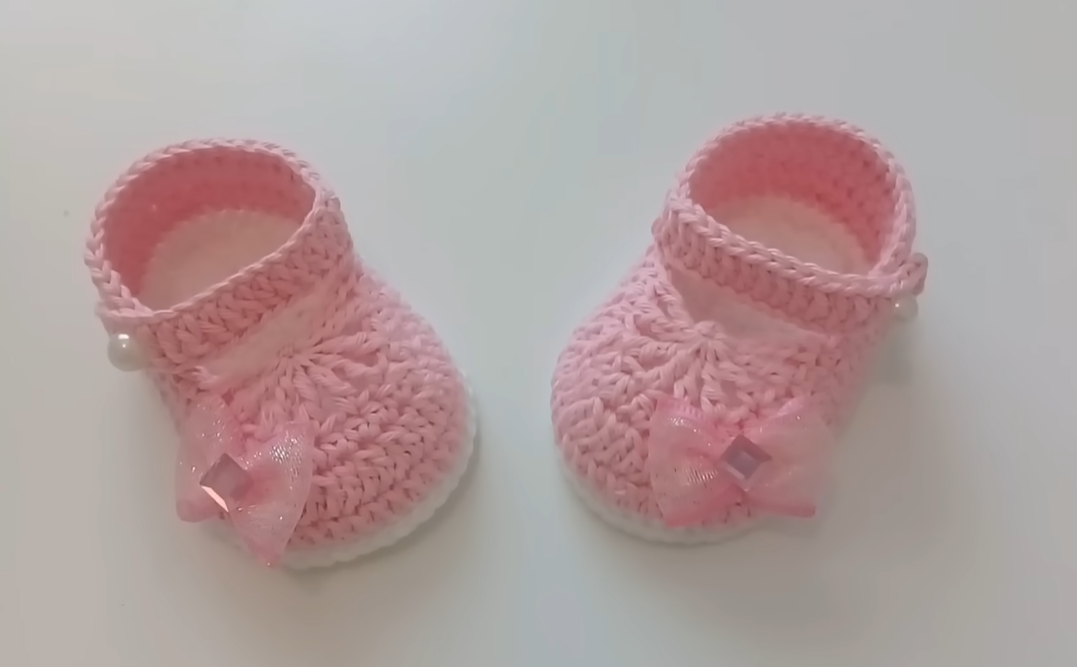
- Embellishments: Add small crocheted flowers, bows, or even tiny embroidered details for a personal touch.
- Sizing Adjustments: To make the slippers larger or smaller, adjust the starting chain length for the sole and the number of rounds worked. Remember to make corresponding adjustments to the upper.