by
by 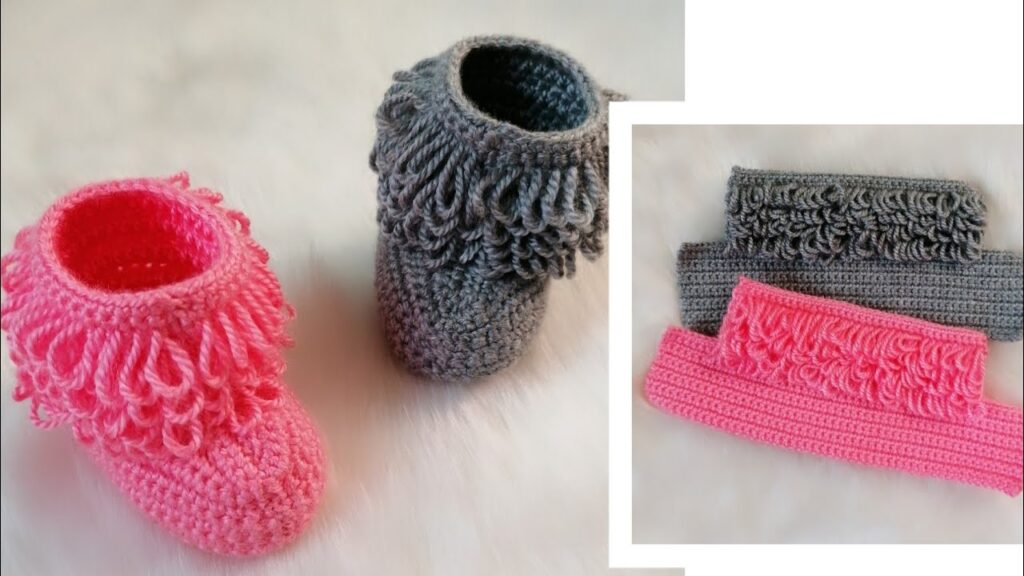
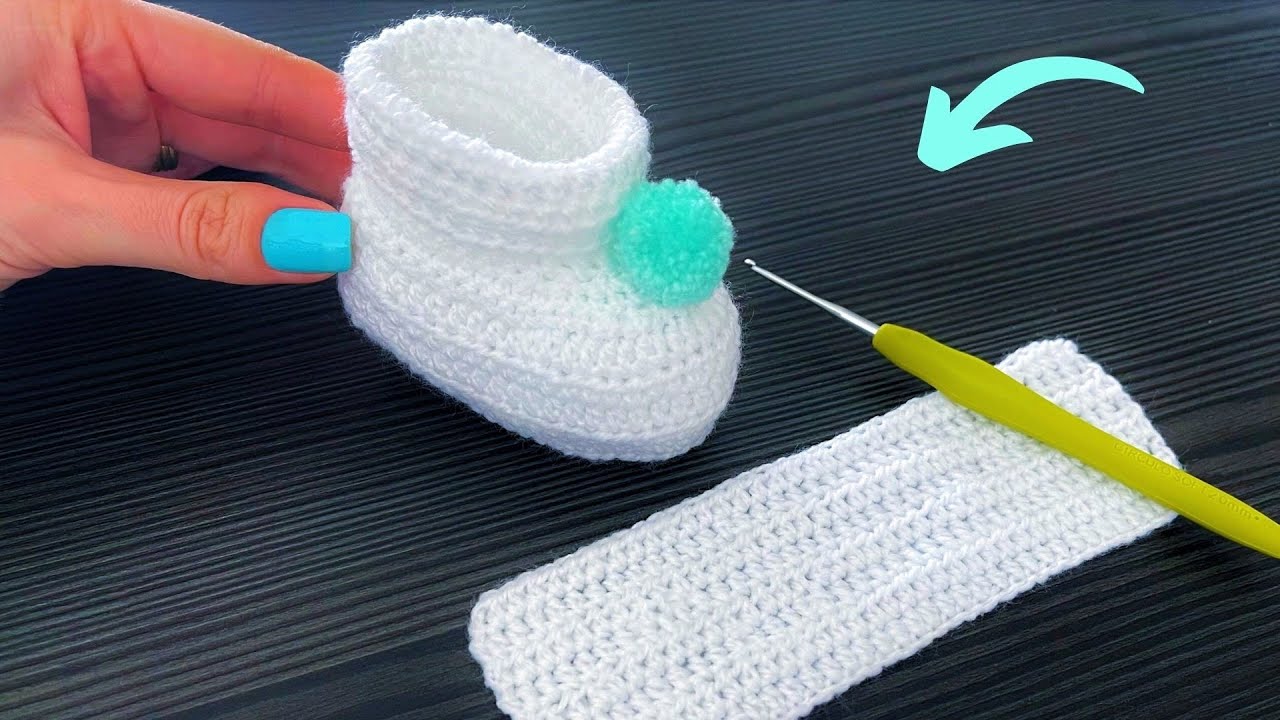
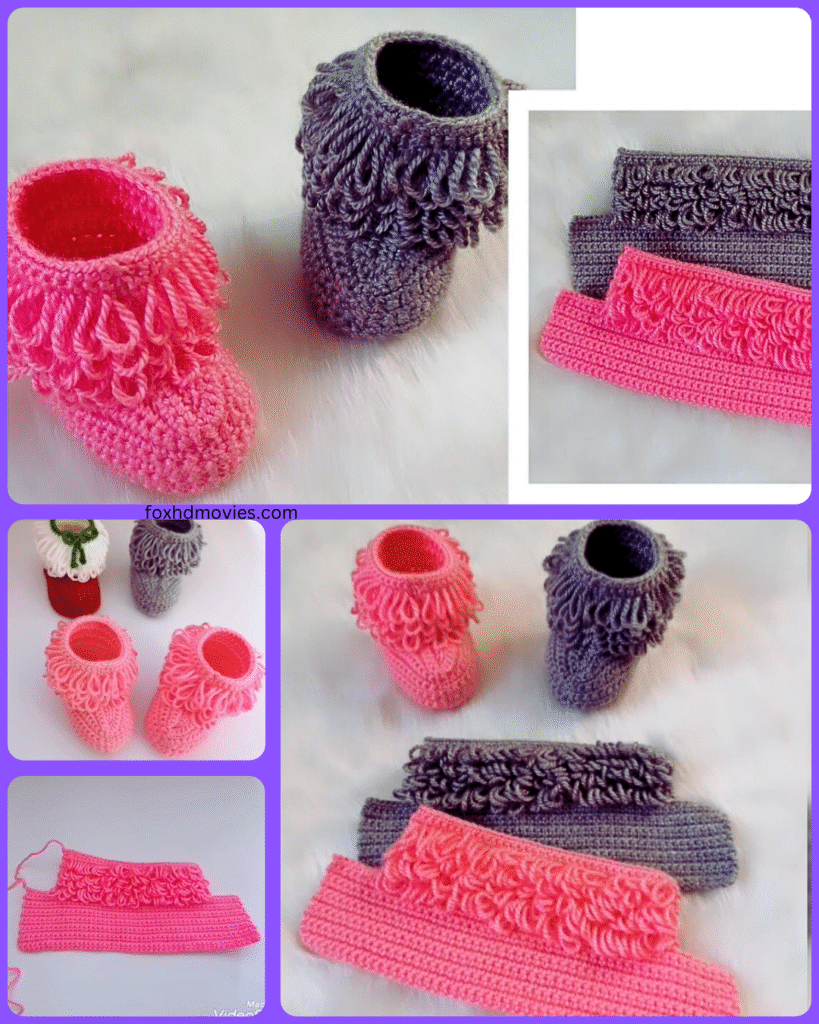
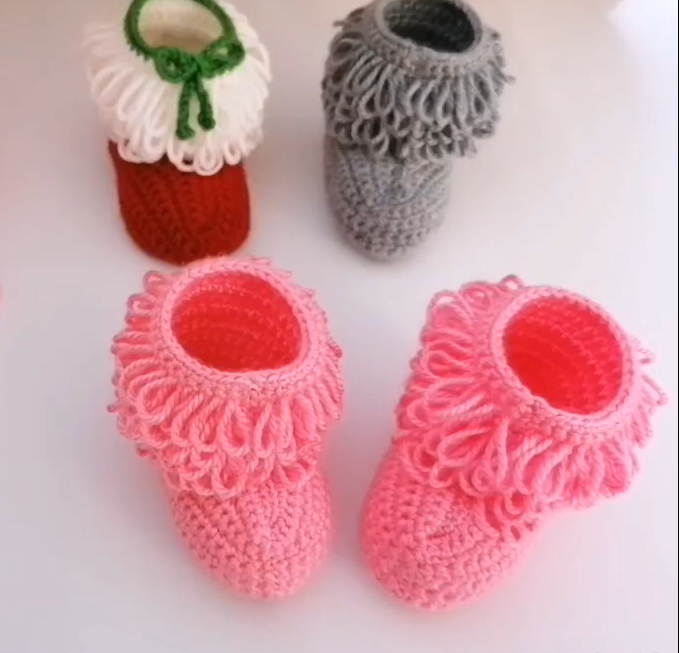
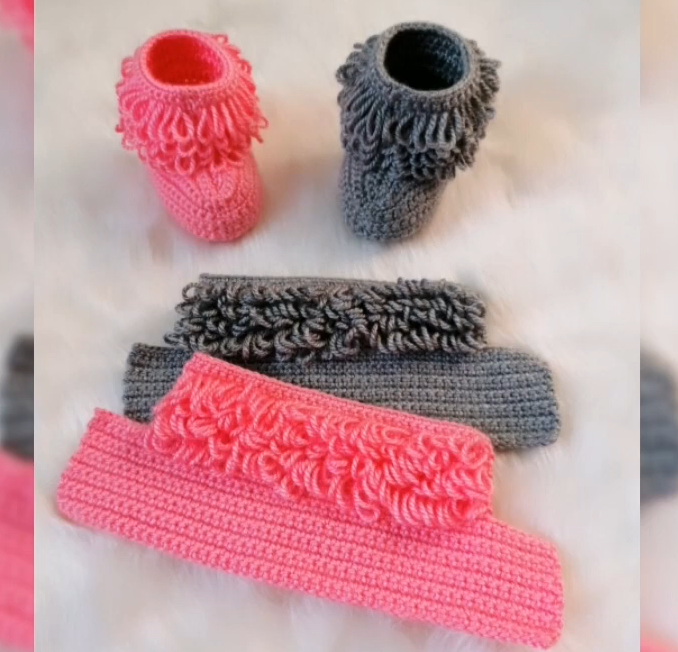
Welcome, fellow yarn enthusiasts! Today, we’re embarking on a sweet and simple crochet journey to create the coziest little slippers for a precious baby in the 0-5 month age range. These “Snuggle Bug Baby Slippers” are designed with ease in mind, perfect for beginners or anyone looking for a quick and satisfying project. Imagine those tiny toes nestled in these soft, handmade creations!
Why Crochet Baby Slippers?
Beyond the sheer cuteness factor, crocheted baby slippers offer several advantages:
- Warmth and Comfort: They provide a gentle layer of warmth for little feet, especially on cooler days or over hard floors.
- Customizable: You can choose your favorite yarn colors and even add embellishments to make them truly unique.
- Thoughtful Gift: Handmade items carry a special touch, making these slippers a wonderful and heartfelt gift for a newborn or baby shower.
- Quick Project: This pattern works up relatively quickly, offering instant gratification.
Materials You’ll Need:
- Worsted Weight Yarn: Choose a soft and baby-friendly yarn. Approximately 50-75 yards will be sufficient. Consider cotton, acrylic, or a blend.
- Crochet Hook: Size H/8 (5.0 mm) or the size recommended on your yarn label.
- Scissors: For snipping yarn ends.
- Yarn Needle: For weaving in ends.
- Stitch Markers (optional but helpful): To mark the beginning of rounds or specific stitches.
Gauge:
While gauge isn’t critical for this small project, aiming for approximately 4 single crochet (sc) stitches per inch will generally result in a slipper that fits a 0-5 month old.
Abbreviations (US Crochet Terms):
- ch: chain
- sc: single crochet
- hdc: half double crochet
- sl st: slip stitch
- st(s): stitch(es)
- rep: repeat
- inc: increase (work 2 sc in the same stitch)
Video pattern
Let’s Get Started!
Sole (Make 2):
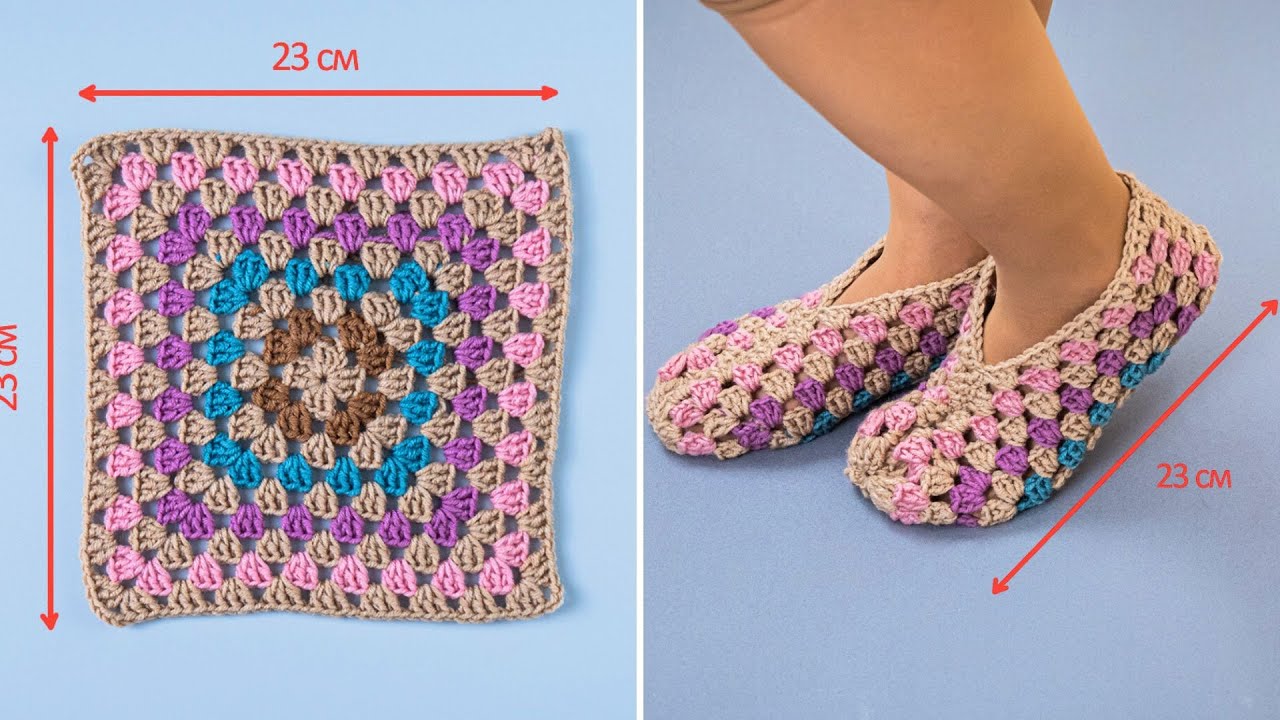
We’ll begin by creating the sole of the slipper, working in an oval shape.
- Foundation Chain: Ch 9.
- Round 1: Sc in the second ch from the hook, sc in the next 6 ch, 3 sc in the last ch. Working on the other side of the chain, sc in the next 6 ch, 2 sc in the last ch. (18 sts)
- Round 2: Inc in the next sc, sc in the next 6 sc, inc in the next 3 sc, sc in the next 6 sc, inc in the last 2 sc. (24 sts)
- Round 3: Sc in the next sc, inc in the next sc, sc in the next 7 sc, inc in the next sc, sc in the next sc, inc in the next sc, sc in the next 7 sc, inc in the next sc, sc in the last sc. (28 sts)
- Round 4: Sc in the next 2 sc, inc in the next sc, sc in the next 8 sc, inc in the next sc, sc in the next 2 sc, inc in the next sc, sc in the next 8 sc, inc in the next sc, sc in the last 2 sc. (32 sts)
Fasten off the first sole and weave in the end. Do not fasten off the second sole; we will continue working from here to create the upper part of the slipper.
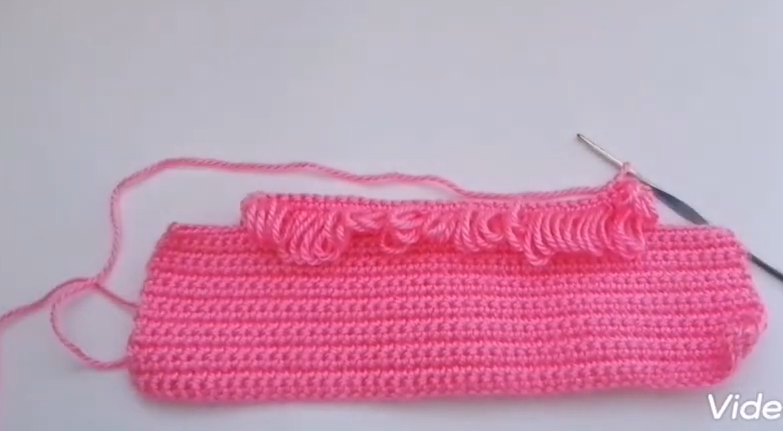
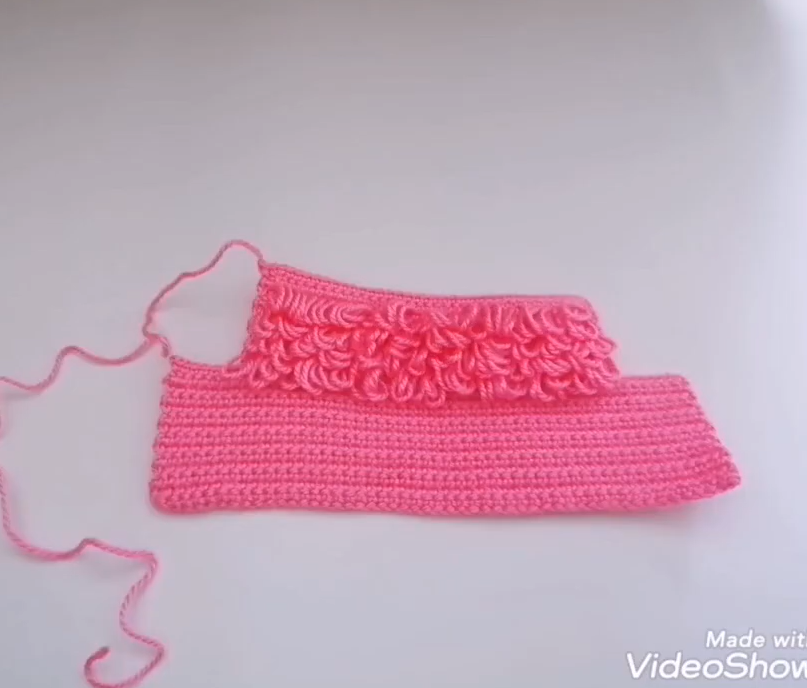
Upper Part of the Slipper:
- Round 5: With the second sole facing right side up, ch 1 (does not count as a stitch), sc in the back loop only of each stitch around. (32 sts) This creates a nice ridge that defines the sole.
- Round 6: Ch 1, sc in each stitch around. (32 sts)
- Round 7: Ch 1, sc in the next 10 sts, hdc in the next 12 sts, sc in the last 10 sts. (32 sts) This shaping creates the front curve of the slipper.
- Round 8: Ch 1, sc in the next 9 sts, hdc in the next 14 sts, sc in the last 9 sts. (32 sts)
- Round 9: Ch 1, sc in the next 8 sts, hdc in the next 16 sts, sc in the last 8 sts. (32 sts)
- Round 10: Ch 1, sc in the next 8 sts, skip the next 16 sts (this will be the opening for the foot), sc in the last 8 sts. (16 sts)
Fasten off and weave in the end.
Assembly:
- Align the Soles: Place the two soles together, wrong sides facing.
- Join the Soles: Using your yarn needle and a length of yarn, whip stitch or single crochet the two soles together, working through both loops of each stitch. Leave a small opening at the heel (approximately 1-1.5 inches) to allow for easy insertion of the baby’s foot.
- Secure the Heel Opening: Once you’ve joined most of the sole, weave in the remaining yarn end securely.
Finishing Touches (Optional):
- Ankle Strap: For added security, you can add a simple ankle strap. Chain a desired length (around 15-20 chains), and attach it to one side of the slipper opening. Create a loop or buttonhole at the other end. You can then crochet a small button onto the slipper.
- Embellishments: Add small crocheted flowers, bows, or buttons to the front of the slippers for a decorative touch. Ensure any embellishments are securely attached and pose no choking hazard.
- Contrasting Cuff: For Round 6 of the upper, you could switch to a contrasting color for a decorative cuff.
Care Instructions:
Gently hand wash in cool water with mild soap and lay flat to dry.
Congratulations!
You’ve now created a beautiful and cozy pair of Snuggle Bug Baby Slippers! Imagine the joy of seeing them on tiny feet. This simple pattern can be adapted with different yarn colors and embellishments to create a variety of adorable slippers.