by
by 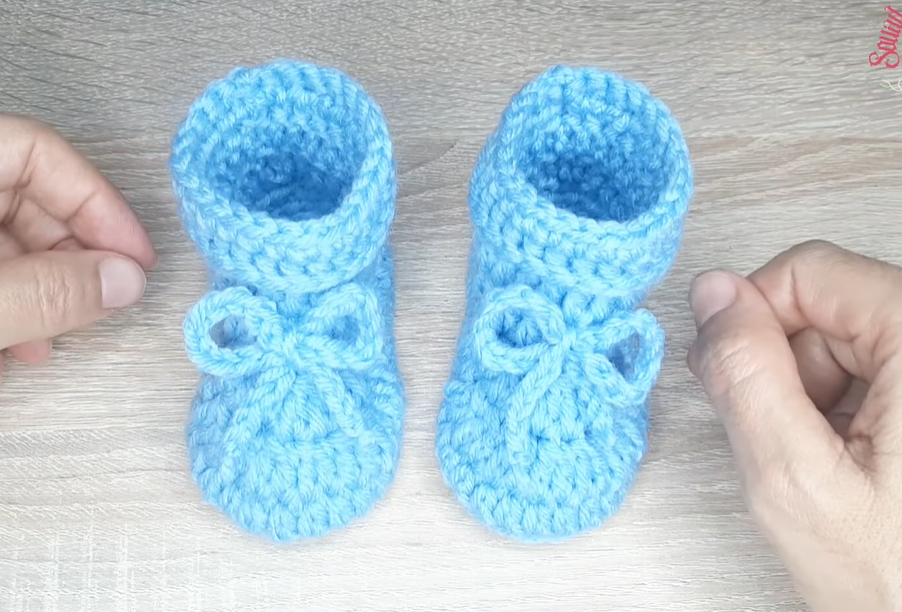
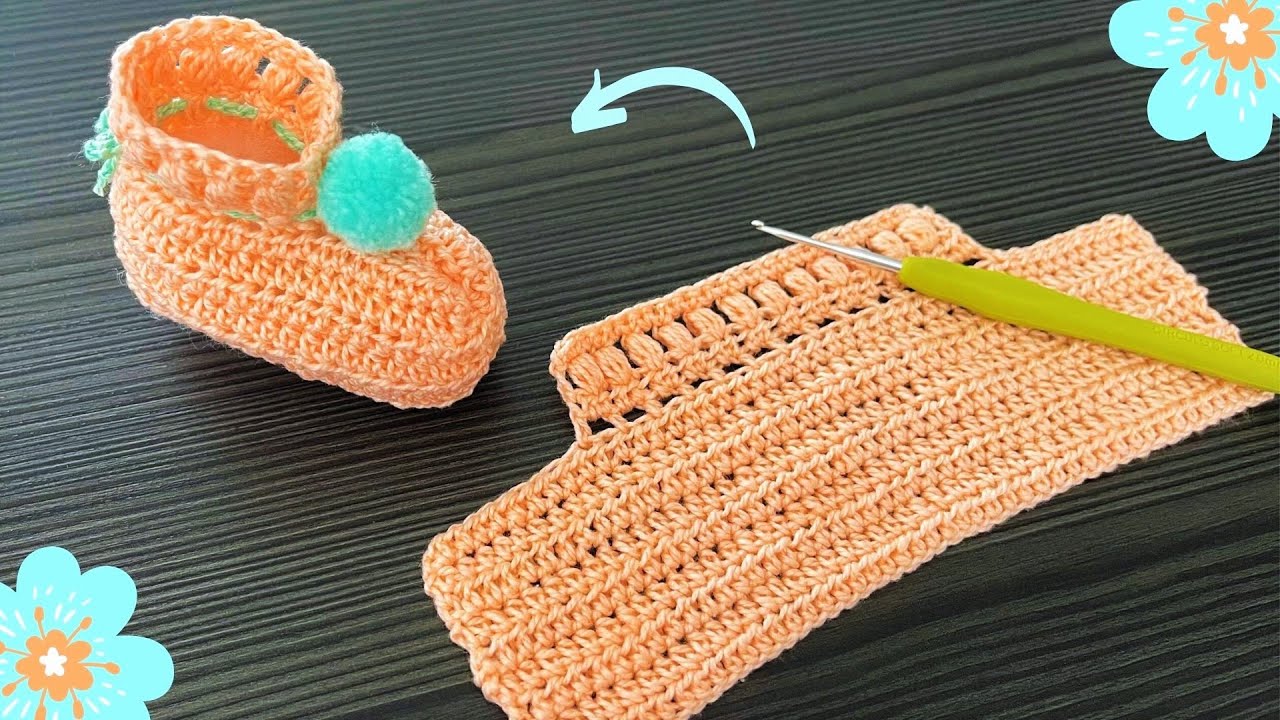
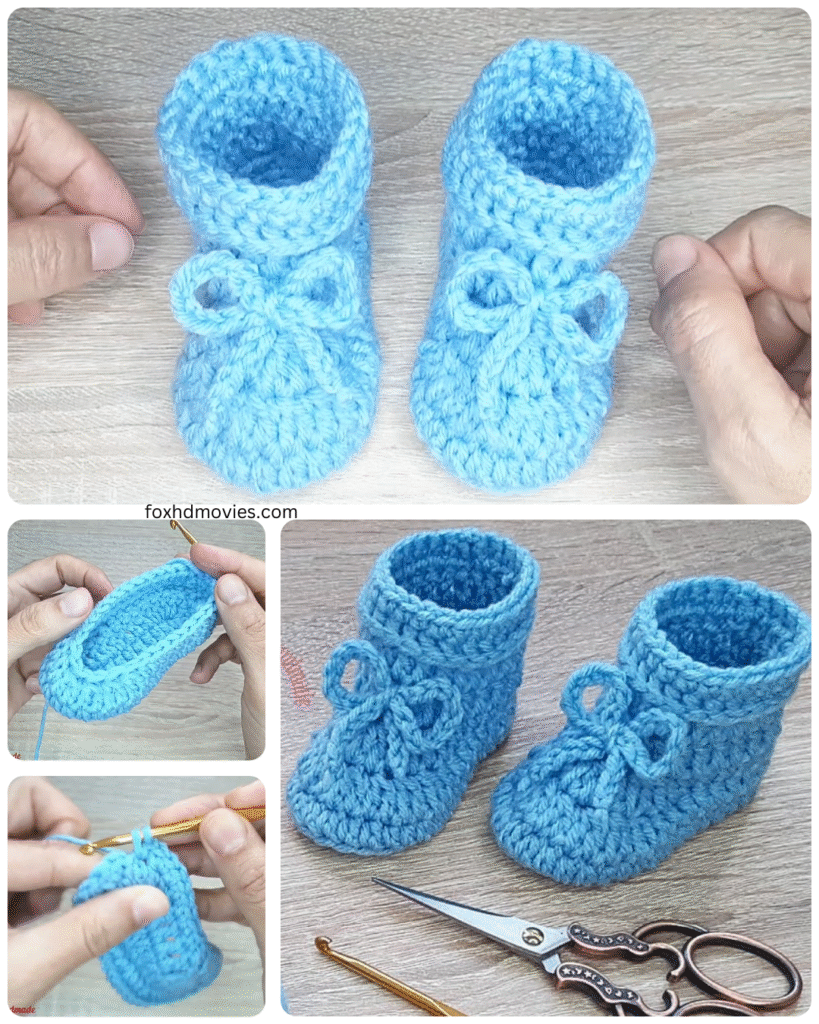
There’s something incredibly special about handmade items for a new arrival, and a pair of soft, cozy crochet baby booties is a perfect project for anyone, even if you’re new to the hook! This pattern is designed to be simple and quick, making it ideal for a last-minute gift or just a sweet afternoon project. We’ll be making a basic bootie perfect for little feet aged 3 to 6 months.
Why Crochet Baby Booties?
- Quick to Make: Most simple patterns can be completed in just a few hours.
- Great for Beginners: Uses fundamental crochet stitches.
- Adorable and Practical: Keeps tiny toes warm and adds a touch of handmade charm to any outfit.
- Heartfelt Gift: A handmade gift shows extra love and effort.
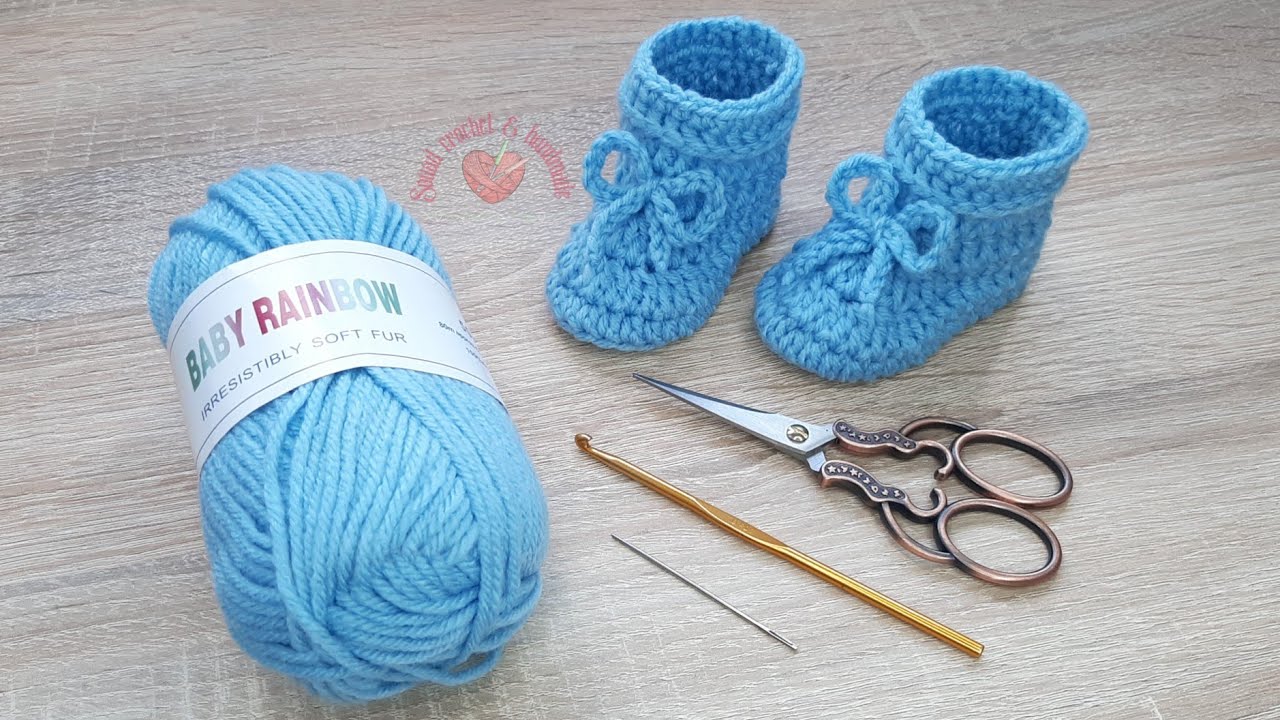
What You’ll Need:
- Yarn: Approximately 50-80 yards of DK (double knitting) or light worsted weight yarn. Look for soft, baby-friendly fibers like acrylic, cotton, or a blend. Avoid scratchy materials.
- Hook: A crochet hook in a size appropriate for your yarn. A 3.5mm or 4mm hook is commonly used with DK weight yarn to create a firm-enough fabric that holds its shape but is still soft. Check your yarn label for a recommended hook size.
- Yarn Needle: For weaving in ends.
- Scissors: To cut your yarn.
- Stitch Marker (optional but helpful): To mark the beginning of your rounds.
Understanding the Basics: Stitches We’ll Use
- Chain (ch): The foundation of your work.
- Slip Stitch (sl st): Used to join rounds and move across stitches discreetly.
- Single Crochet (sc): A basic, compact stitch.
- Half Double Crochet (hdc): Slightly taller than a single crochet.
- Double Crochet (dc): Taller than a half double crochet, creates a looser fabric.
- Increase: Working more than one stitch into a single stitch from the previous row/round to make your work wider.
- Decrease: Working two or more stitches together to make your work narrower. We’ll likely use sc2tog (single crochet two together) or hdc2tog (half double crochet two together).
Video tutorial
Let’s Get Crocheting! (Simplified Pattern)
This pattern starts by creating an oval for the sole, then building up the sides of the bootie.
Size: Approximately 3-6 Months (bootie length around 3.5 – 4 inches / 9-10 cm)
Gauge: (Optional but recommended for size accuracy) Work 8 hdc stitches across 4 rows with your chosen yarn and hook, it should measure approximately 1 inch by 1 inch. Adjust hook size if needed.

The Sole:
- Chain: Chain 11.
- Round 1: Work 2 hdc in the 2nd chain from the hook. Hdc in the next 8 chains. Work 4 hdc in the last chain. Now, working along the other side of the starting chain, hdc in the next 8 chains. Work 2 hdc in the very first chain you worked into (the one that already has 2 hdc). Join with a sl st to the first hdc of the round. (24 stitches)
- Round 2: Chain 1 (does NOT count as a stitch here and throughout). 2 hdc in the same stitch as the join. 2 hdc in the next stitch. Hdc in the next 8 stitches. 2 hdc in the next stitch repeated 4 times. Hdc in the next 8 stitches. 2 hdc in the next stitch repeated 2 times. Join with a sl st to the first hdc of the round. (34 stitches)
- Round 3: Chain 1. Hdc in each stitch around. Join with a sl st to the first hdc. (34 stitches)

Building the Sides:
- Round 4: Chain 1. Working in the back loop only for this round, sc in each stitch around. Join with a sl st to the first sc. This creates a defined edge for the sole. (34 stitches)
- Round 5: Chain 1. Sc in the first 10 stitches. Hdc2tog repeated 5 times. Sc in the last 14 stitches. Join with a sl st to the first sc. (29 stitches)
- Round 6: Chain 1. Sc in the first 9 stitches. Hdc2tog repeated 3 times. Sc in the last 14 stitches. Join with a sl st to the first sc. (26 stitches)
- Rounds 7-9: Chain 1. Hdc in each stitch around. Join with a sl st to the first hdc. (26 stitches)
Finishing:
- Fasten off and weave in all your loose ends securely with your yarn needle.
- Repeat for the second bootie!
Tips for Success:
- Keep your tension consistent: This will ensure your booties are the same size and shape.
- Use a stitch marker: This is especially helpful when working in rounds to avoid losing your place.
- Don’t worry about perfection: Handmade items have character!
- Have fun! Enjoy the process of creating something lovely.
Once you’ve made your first pair, you can experiment with different colors, adding a simple tie or ribbon through the stitches in Round 8 for decoration and a more secure fit, or even adding a cute button!