by
by 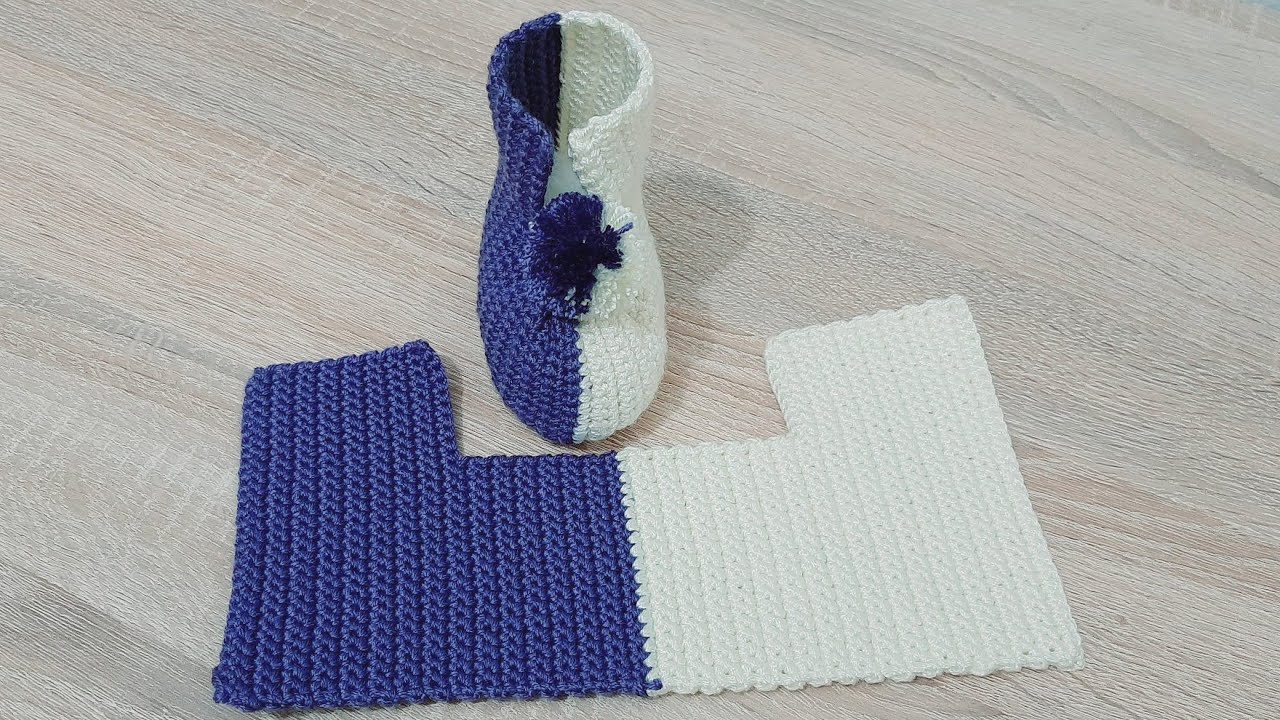
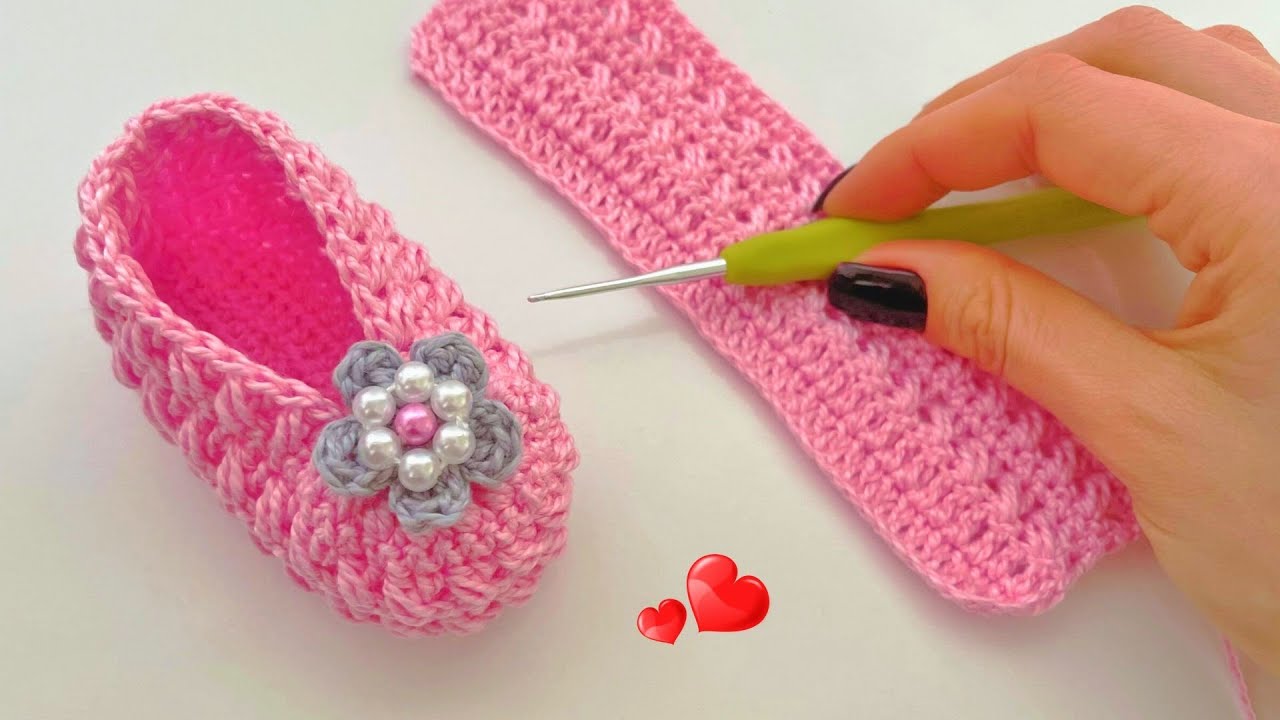
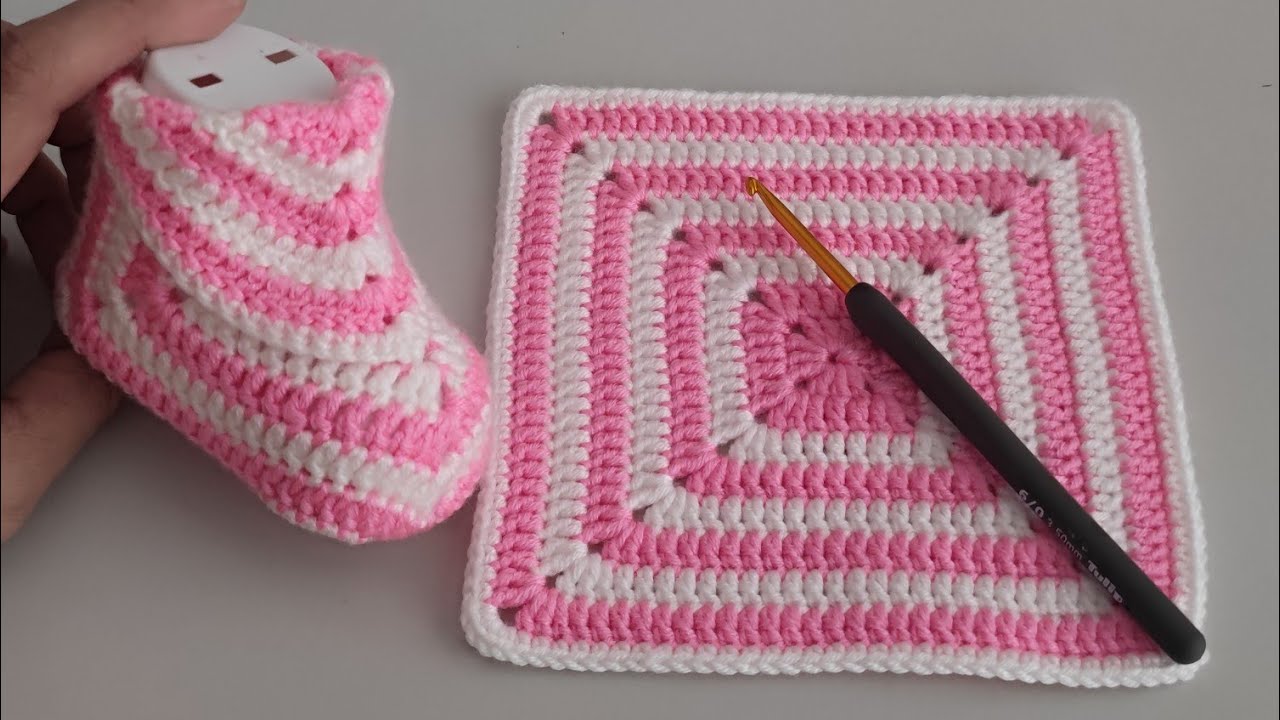
There’s something incredibly special about handmade baby items, and a pair of tiny, soft booties is no exception. Whether you’re expecting a little one yourself, making a gift for a baby shower, or simply want to create something adorable, these easy two-color crochet baby booties are a perfect project. Using just a couple of basic stitches and a simple color change technique, even beginner crocheters can whip up a sweet and practical pair in no time.
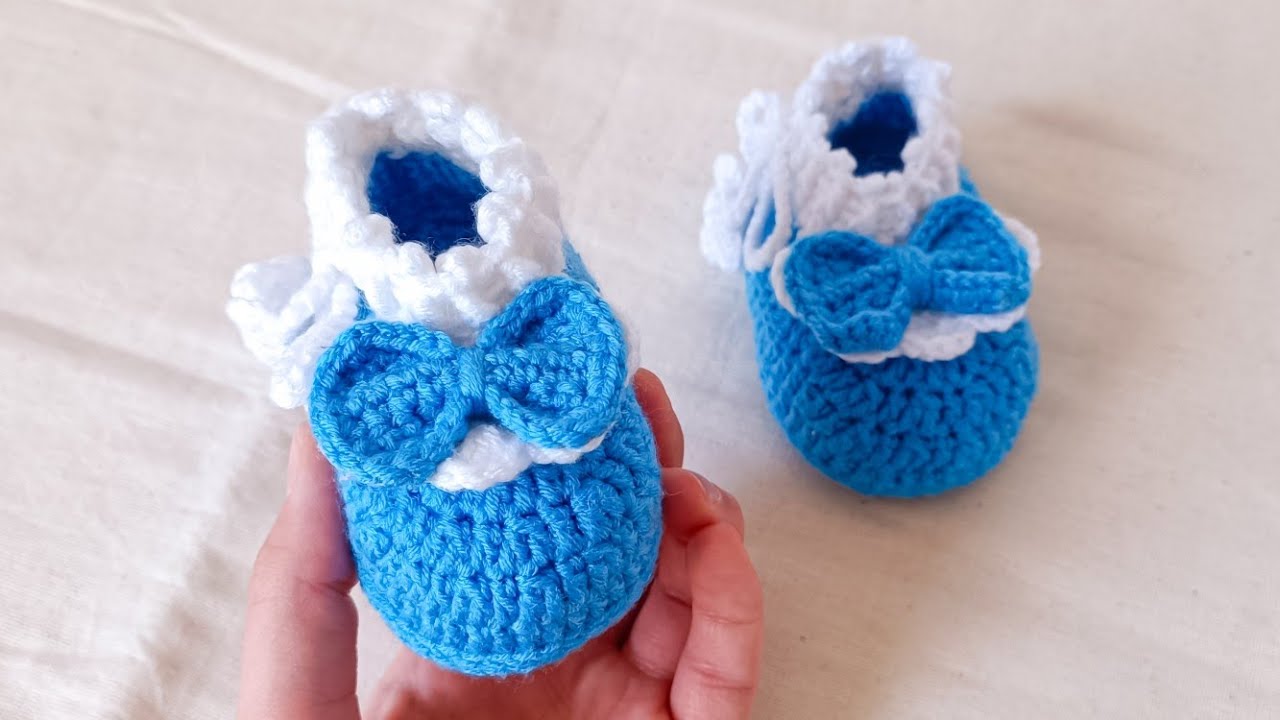
This pattern is designed to be straightforward and quick, allowing you to focus on the joy of creating without getting bogged down in complicated techniques. Plus, the two-color design adds a touch of visual interest and allows for fun color combinations!
Ready to get started? Let’s gather your supplies.
Materials You’ll Need:
- Approximately 50-60 yards of soft, washable worsted weight yarn in two contrasting or complementary colors (Color A and Color B). Look for baby-friendly yarns that are gentle on sensitive skin.
- A crochet hook in a size appropriate for your yarn. A G/6 (4.00 mm) or H/8 (5.00 mm) hook is often suitable for worsted weight yarn, but always check the yarn label for a recommendation.
- Yarn needle for weaving in ends.
- Scissors.
- Optional: Stitch markers, buttons or other embellishments.
Abbreviations (US Crochet Terms):
- ch: chain
- sl st: slip stitch
- sc: single crochet
- hdc: half double crochet
- st(s): stitch(es)
- rnd: round
- Color A: Your main color
- Color B: Your second color
Gauge: Gauge isn’t critical for baby booties as a little variation in size is usually okay, but for a bootie approximately [insert approximate finished sole length for chosen hook/yarn] in length, aim for approximately [insert approximate stitch count and row count for a 4×4 inch swatch in hdc].
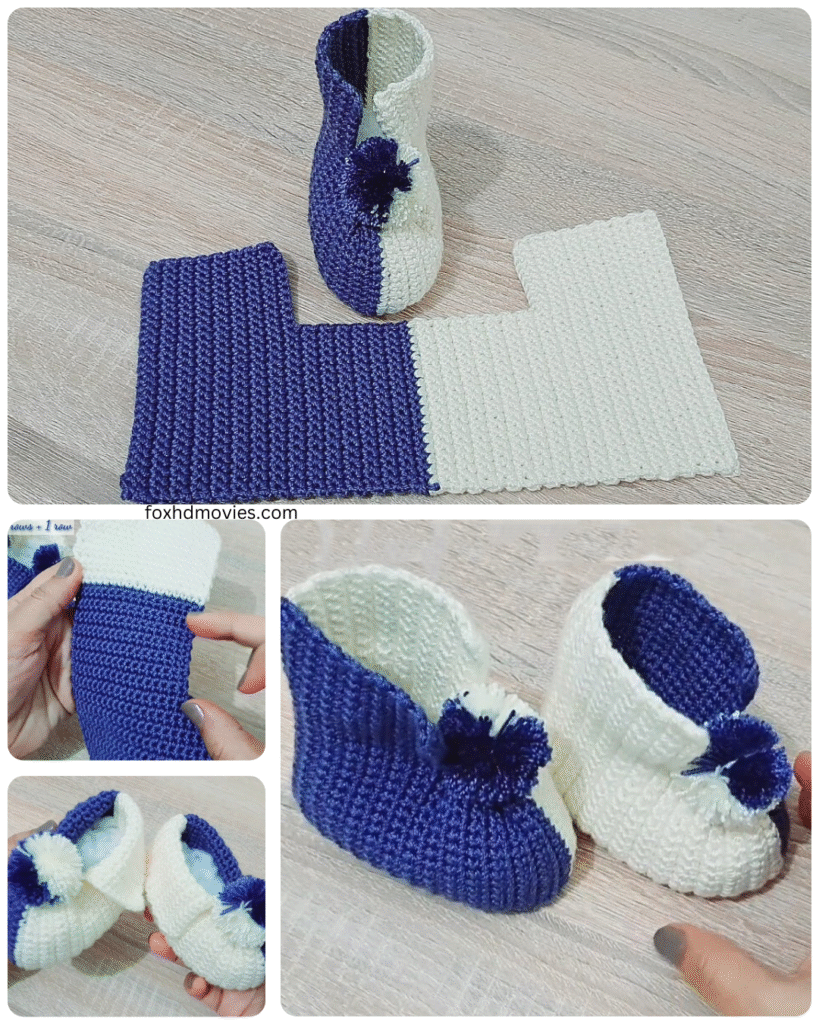
Video tutorial
Let’s Get Crocheting!
This pattern starts by creating the sole of the bootie, then working up for the body and ankle. We’ll incorporate the second color for the upper part.
Sole (Using Color A)
Ch [number appropriate for desired size – typically 9-12 for newborn to 6 months]. Rnd 1: Hdc in 2nd ch from hook and in next [number] chains. Work 5 hdc in the last chain. Now, working on the other side of the starting chain, hdc in the next [number] chains. Work 3 hdc in the last chain (the same chain as your very first hdc). Join with a sl st to the top of the first hdc. ([Total stitch count] hdc)
Rnd 2: Ch 1 (does not count as a stitch). 2 hdc in the same st as the ch 1. Hdc in the next [number] sts. 2 hdc in each of the next 5 sts. Hdc in the next [number] sts. 2 hdc in each of the last 3 sts. Join with a sl st to the top of the first hdc. ([Total stitch count] hdc)

Rnd 3: Ch 1. Hdc in each st around. Join with a sl st to the top of the first hdc. ([Total stitch count] hdc)
At the end of Rnd 3, change to Color B in the slip stitch join.
Changing Colors: To change colors neatly at the end of a round when joining with a slip stitch, work the slip stitch as usual until you have two loops on your hook. Drop Color A, yarn over with Color B, and pull Color B through both loops on your hook. Pull Color A gently to snug up the stitch. You are now ready to work the next round in Color B.
Body of the Bootie (Using Color B)
Rnd 4: Ch 1. Working in the back loops only for this round (this creates a defined edge for the sole), hdc in each st around. Join with a sl st to the top of the first hdc. ([Total stitch count] hdc)

Rnd 5 – [Number]: Ch 1. Hdc in each st around. Join with a sl st to the top of the first hdc. Repeat this round for [number] more rounds, or until the body of the bootie reaches the desired height (typically 3-5 rounds depending on yarn and hook size).
At the end of the last round of the body, you can change back to Color A if you’d like to create a cuff in the contrasting color. Change to Color A in the slip stitch join as before.
Ankle Cuff (Using Color A – Optional)
Rnd [Number + 1]: Ch 1. Sc in each st around. Join with a sl st to the top of the first sc. ([Total stitch count] sc)
Rnd [Number + 2]: Ch 1. Sc in each st around. Join with a sl st to the top of the first sc.
Fasten off and weave in your ends securely.
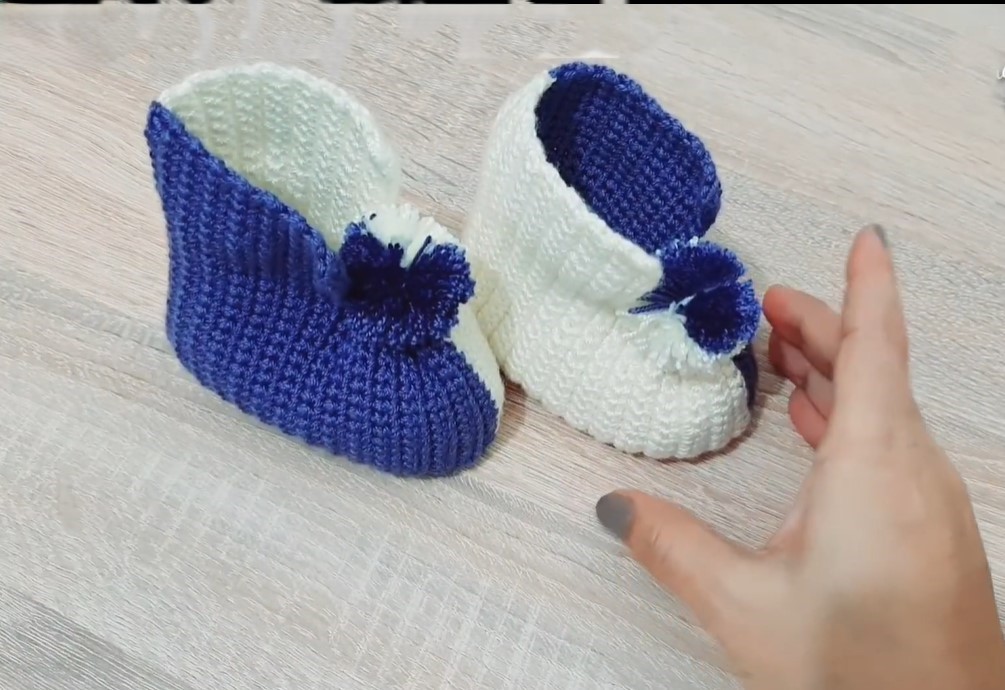
Finishing Touches
- Weave in all loose ends using your yarn needle. Take your time with this step for a neat finish.
- If you added an ankle cuff, you can fold it down.
- Consider adding a small button, a crochet applique, or a ribbon tie for extra charm. Make sure any embellishments are securely attached and safe for a baby.
- Repeat the entire process to make a second bootie!
Tips for Success:
- Read the pattern through before you start to familiarize yourself with the steps.
- Use a stitch marker to keep track of the beginning of your rounds, especially when working in the round.
- Keep your tension consistent for a more even fabric.
- Don’t be afraid to ask for help if you get stuck! Online crochet communities and local yarn stores are great resources.
- Practice changing colors a few times before you start the main project if you’re new to the technique.
Making these easy two-color crochet baby booties is a rewarding experience. You’ll have a precious handmade item that’s full of love and perfect for keeping tiny toes warm. Choose your favorite colors and have fun creating!