by
by 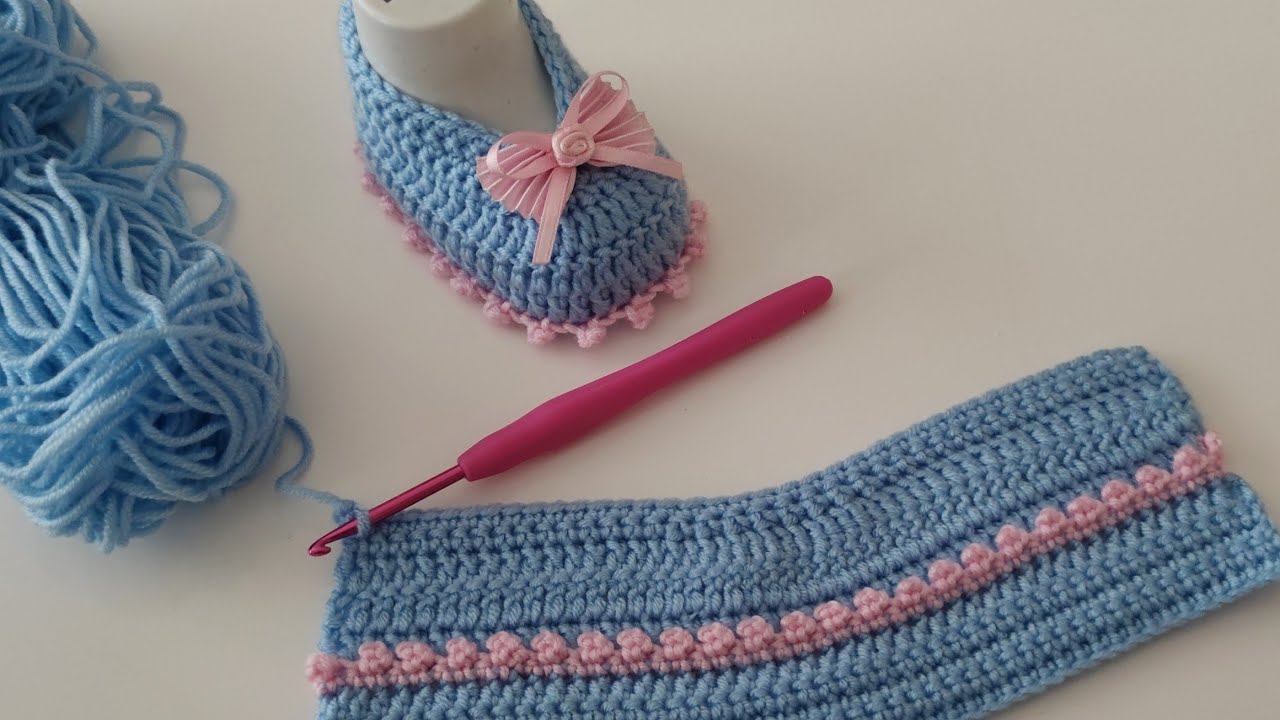
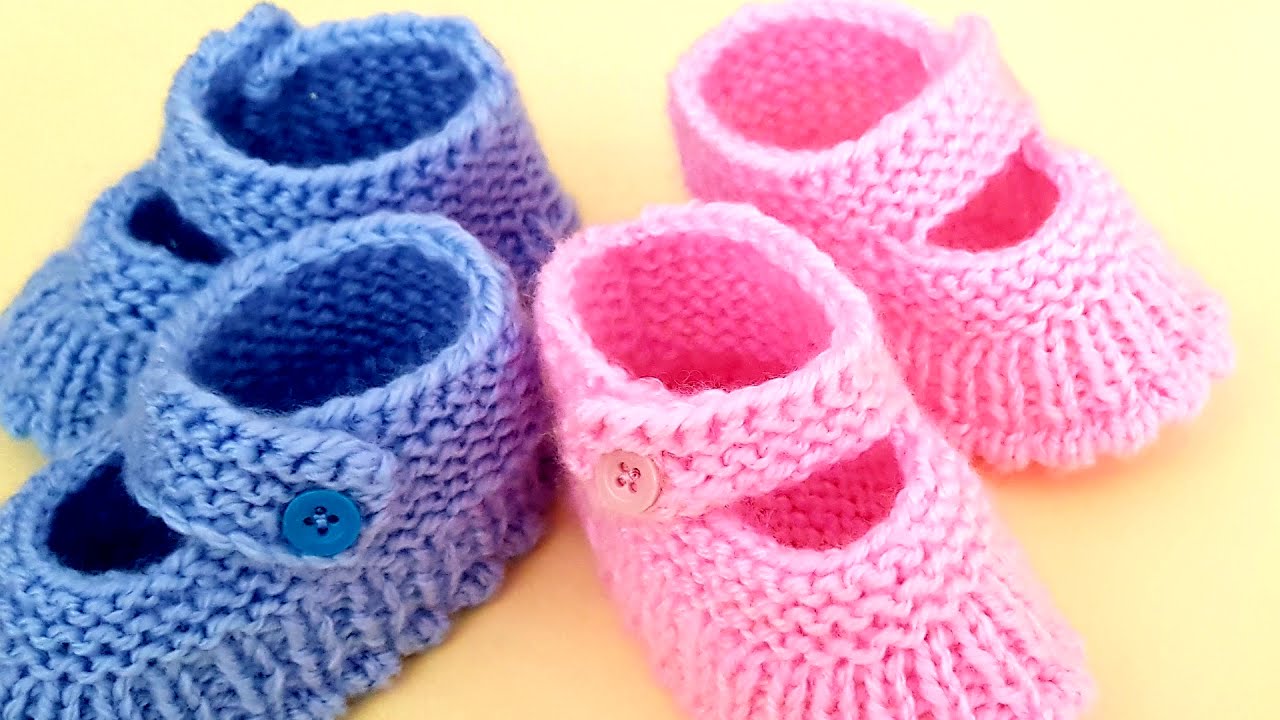
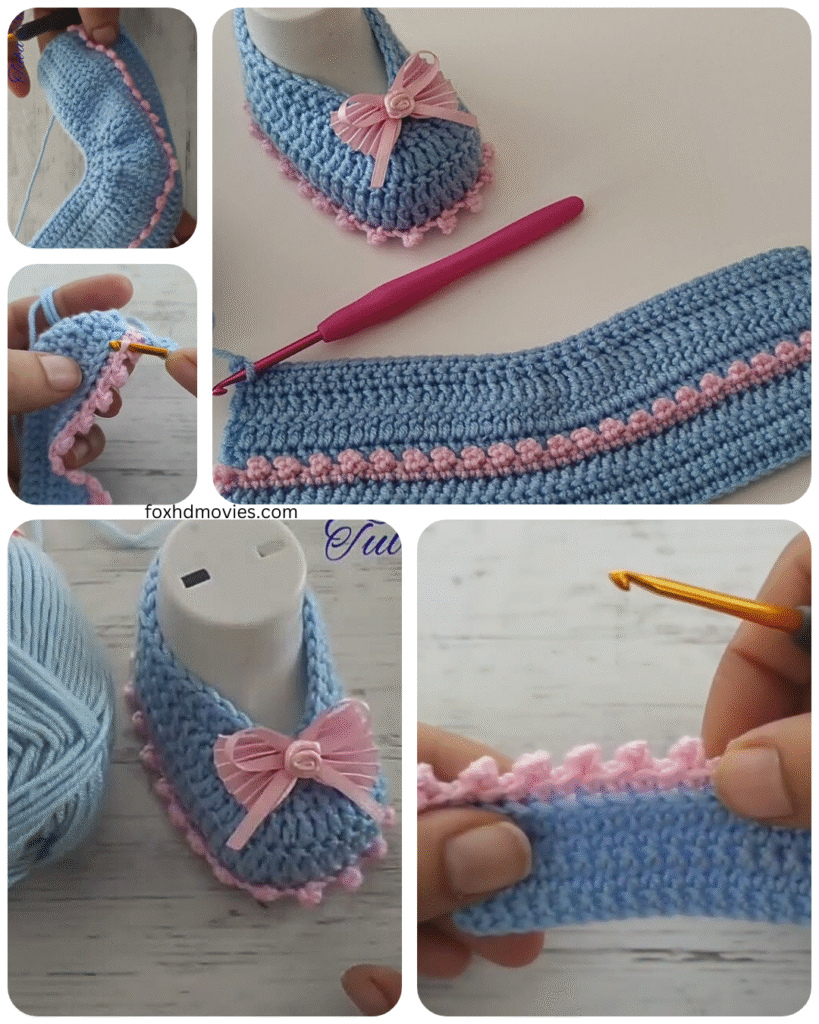
These lightweight and airy crochet mesh baby shoes are a fantastic project for beginners. Using simple stitches and a clever construction, you’ll create a breathable and comfortable footwear option for little ones. They work up quickly and make a lovely handmade gift!
Skill Level: Beginner
Materials:
- DK or light worsted weight cotton yarn (cotton is a great choice for breathability) in your desired color(s)
- Crochet hook size E/4 (3.5 mm) or size needed to obtain gauge
- Yarn needle for weaving in ends
- Scissors
- Stitch markers (optional, but helpful)
Gauge:
While gauge isn’t critical for baby shoes, aim for approximately 4 rows of single crochet (sc) to measure about 1 inch in height. Adjust your hook size if needed.
Finished Size:
This pattern is written for approximately 0-3 months (sole length around 3 inches). Instructions for slight adjustments will be included.
Abbreviations (US Crochet Terms):
- ch: chain
- sl st: slip stitch
- sc: single crochet
- hdc: half double crochet
- dc: double crochet
- sk: skip
- sp: space
- st(s): stitch(es)
- beg: beginning
- rep: repeat
Video tutorial
Let’s Get Started!
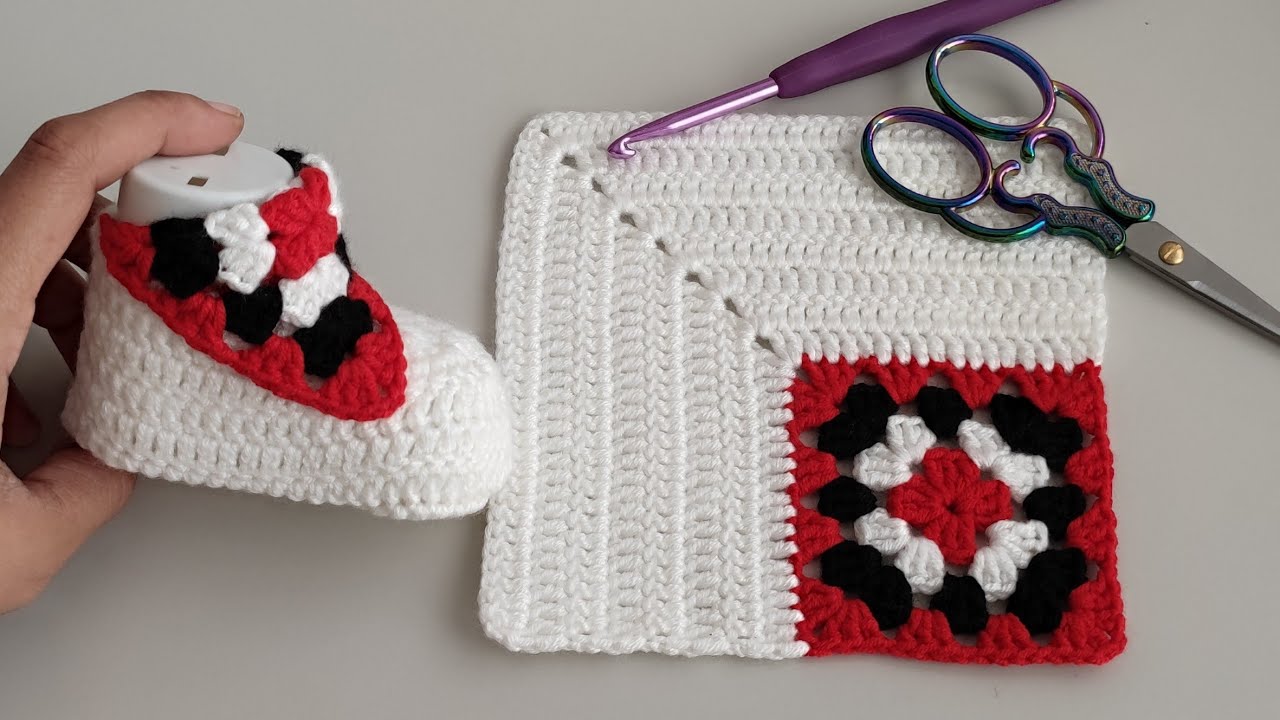
Part 1: Crocheting the Sole (Make 2)
We’ll start with a simple oval sole.
Round 1: Ch 9. In the 2nd ch from the hook, sc 1. Sc in the next 6 ch. In the last ch, work 3 sc. Now working on the other side of the chain, sc in the next 6 ch. Sc in the last ch (where you started the first sc). Sl st to the first sc. (18 sts)
Round 2: Ch 1, sc in the same st. Sc in the next 7 sts. Inc in the next 3 sts. Sc in the next 7 sts. Inc in the last 2 sts. Sl st to the first sc. (23 sts)
Round 3: Ch 1, sc in the same st. Sc in the next 8 sts. (Sc 1, inc) repeat 3 times. Sc in the next 8 sts. (Inc, sc 1) repeat 2 times. Sl st to the first sc. (28 sts)
Round 4: Ch 1, sc in the same st. Sc in the next 9 sts. (Sc 2, inc) repeat 3 times. Sc in the next 9 sts. (Inc, sc 2) repeat 2 times. Sl st to the first sc. (33 sts)
Fasten off the first sole and weave in the end. Make a second sole, but do not fasten off after the last round.

Part 2: Creating the Mesh Upper
Now we’ll work in rows to create the breathable mesh upper.
Row 1: Ch 3 (counts as first dc), turn. Sk the first st. Dc in the next 5 sts. Ch 1, sk 1 st. Dc in the next 5 sts. Ch 1, sk 1 st. Dc in the next 5 sts. Ch 1, sk 1 st. Dc in the last 5 sts. (20 dc, 3 ch-1 spaces)
Row 2: Ch 3 (counts as first dc), turn. Sk the first st. Dc in the next 4 sts. Ch 1, sk the next dc. Dc in the next dc. Ch 1, sk the next dc. Dc in the next dc. Ch 1, sk the next dc. Dc in the next dc. Ch 1, sk the next dc. Dc in the next dc. Ch 1, sk the next dc. Dc in the next 4 sts. (16 dc, 7 ch-1 spaces)
Row 3: Ch 3 (counts as first dc), turn. Sk the first st. Dc in the next 3 sts. *Ch 1, sk the next dc, dc in the next dc; rep from * across to the last 4 sts. Ch 1, sk the next dc, dc in the last 3 sts. (12 dc, 11 ch-1 spaces)
Row 4: Ch 3 (counts as first dc), turn. Sk the first st. Dc in the next 2 sts. *Ch 1, sk the next dc, dc in the next dc; rep from * across to the last 3 sts. Ch 1, sk the next dc, dc in the last 2 sts. (8 dc, 15 ch-1 spaces)
Row 5: Ch 3 (counts as first dc), turn. Sk the first st. Dc in the next st. *Ch 1, sk the next dc, dc in the next dc; rep from * across to the last 2 sts. Ch 1, sk the next dc, dc in the last st. (4 dc, 19 ch-1 spaces)
Row 6: Ch 3 (counts as first dc), turn. Sk the first st. Dc in the next st. Ch 1, sk the next dc, dc in the last st. (2 dc, 21 ch-1 spaces)

Fasten off and weave in the end of the first mesh piece. Make a second mesh piece exactly the same.
Part 3: Attaching the Mesh Upper to the Sole
Now we’ll attach the mesh pieces to the soles to form the shoes.
- Take the sole that you did not fasten off. With the right side of the sole facing you, align one long edge of a mesh piece with the front half of the sole.
- Using single crochet, attach the mesh piece to the sole. Make sure to distribute the stitches evenly. You’ll be working through both the stitches of the mesh piece and the stitches of the sole. You might need to slightly adjust the placement to ensure a smooth join. Aim to attach it from approximately one side edge of the sole, around the toe, to the other side edge.
- Once you reach the end of the mesh piece, fasten off and weave in the end.
- Repeat this process with the second mesh piece and the second sole.
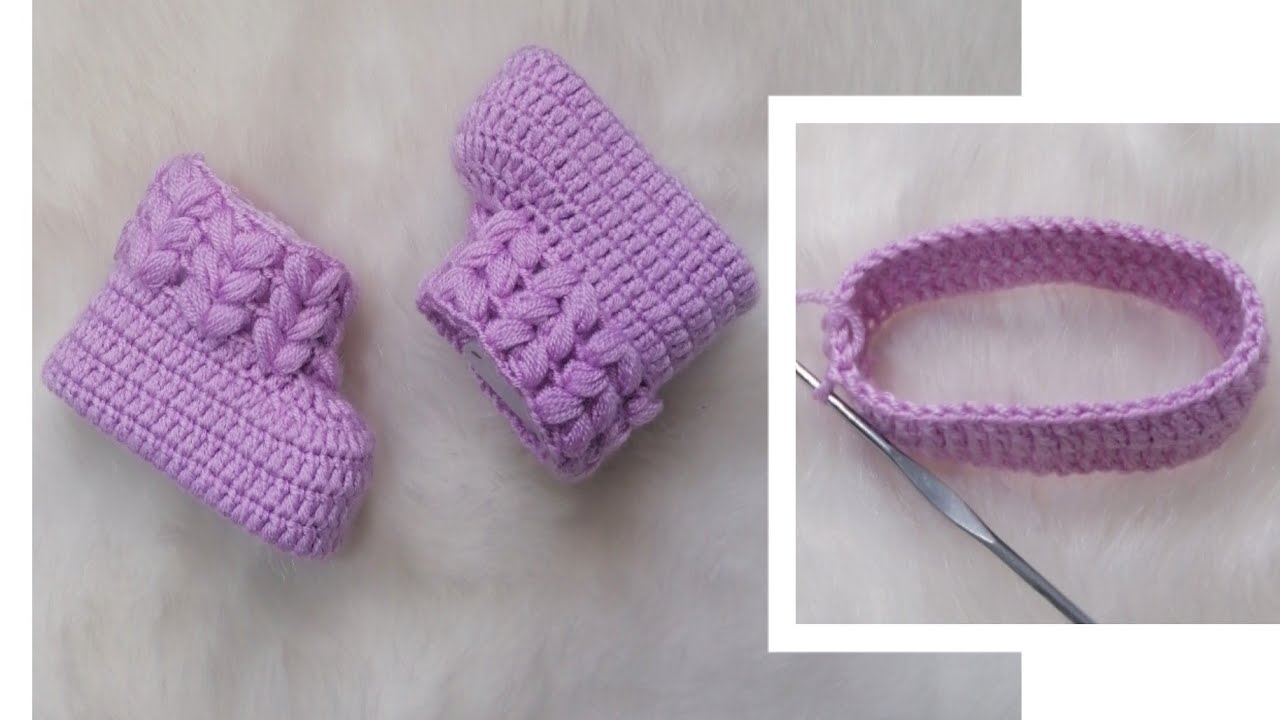
Part 4: Creating the Ankle Strap (Optional)
You can add a simple strap to help keep the shoes on.
- With your chosen yarn, attach it to the side of one shoe.
- Ch 15-20 (adjust length as needed).
- Sc in the 2nd ch from the hook and in each ch across. (14-19 sc)
- Sl st to the other side of the shoe to attach the strap.
- Fasten off and weave in the ends.
- Repeat for the second shoe.

Part 5: Adding Fasteners (Optional)
- Buttons: Sew a small button to the side of the shoe opposite the strap. The strap can then loop over the button.
- Ties: Instead of a solid strap, you can create two sets of chains on each side that can be tied together.
Finishing Touches:
- Weave in all remaining yarn ends securely.
- You can add small, lightweight embellishments if desired, ensuring they are securely attached and safe for the baby.
Adjusting the Size:
- For a smaller size: Use a smaller hook and/or thinner yarn. You can also work fewer rows in the mesh upper.
- For a larger size: Use a larger hook and/or thicker yarn. You can add more rows to the mesh upper and potentially an extra round to the sole.

Tips for Easy Mesh Baby Shoes:
- Cotton Yarn: Cotton yarn is a great choice for breathability and softness against baby’s skin.
- Even Stitching: Try to maintain even tension for a consistent mesh pattern.
- Placement: When attaching the mesh to the sole, take your time to ensure it’s centered and the stitches are evenly distributed.
- Simplicity: This pattern focuses on basic stitches, making it very beginner-friendly.
Congratulations! You’ve created a super easy and breathable pair of crochet mesh baby shoes. These lightweight shoes are perfect for keeping little feet cool and comfortable. Enjoy your beautiful creation!