by
by 
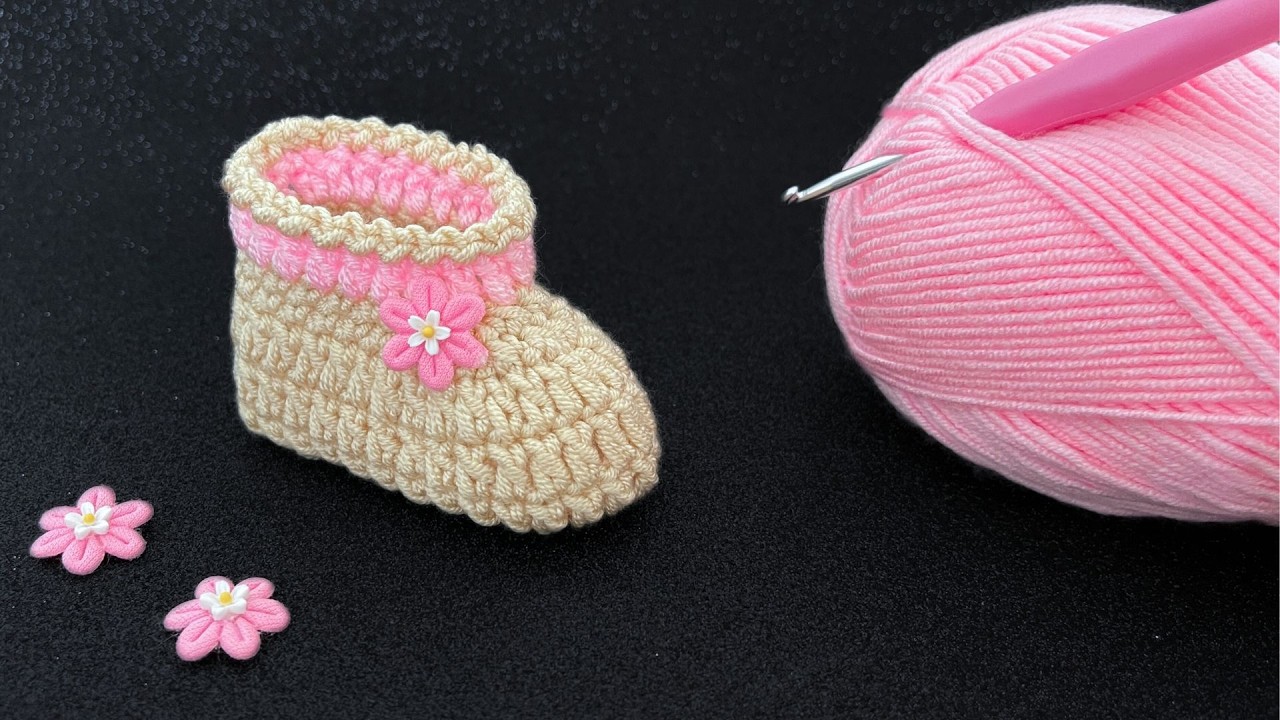
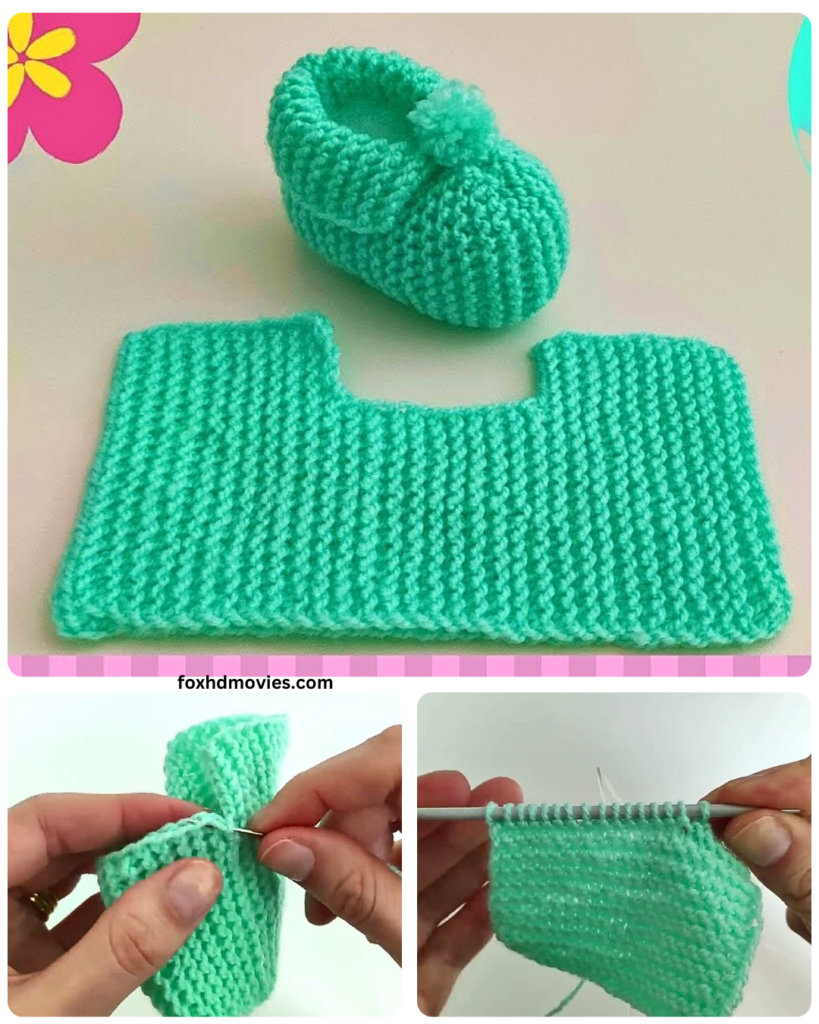
here is a detailed step-by-step pattern for making easy baby knitting shoes. This pattern is designed to be simple and suitable for beginners.
Materials You Will Need:
- Yarn: Approximately 50-75 yards of DK weight yarn (light worsted). You can choose any color you like.
- Knitting Needles: US size 6 (4.0 mm) straight or circular needles (circular needles can be easier to manage for smaller projects, but straight needles will work fine).
- Tapestry Needle: For weaving in yarn ends.
- Scissors: To cut the yarn.
Gauge (Optional but Recommended):
While not strictly necessary for a small project like baby shoes, knowing your gauge can help ensure the finished size is as expected.
- Gauge: Approximately 22 stitches and 30 rows in 4 inches (10 cm) in garter stitch (knit every row).
Abbreviations:
- K: Knit
- P: Purl (though this pattern primarily uses Knit)
- CO: Cast On
- BO: Bind Off (Cast Off)
- st(s): Stitch(es)
- Row: Row
- RS: Right Side
- WS: Wrong Side
- Garter Stitch: Knit every row.

Pattern Steps:
1. Making the Sole:
- CO 25 sts.
- Row 1 (RS): K all sts.
- Row 2 (WS): K all sts.
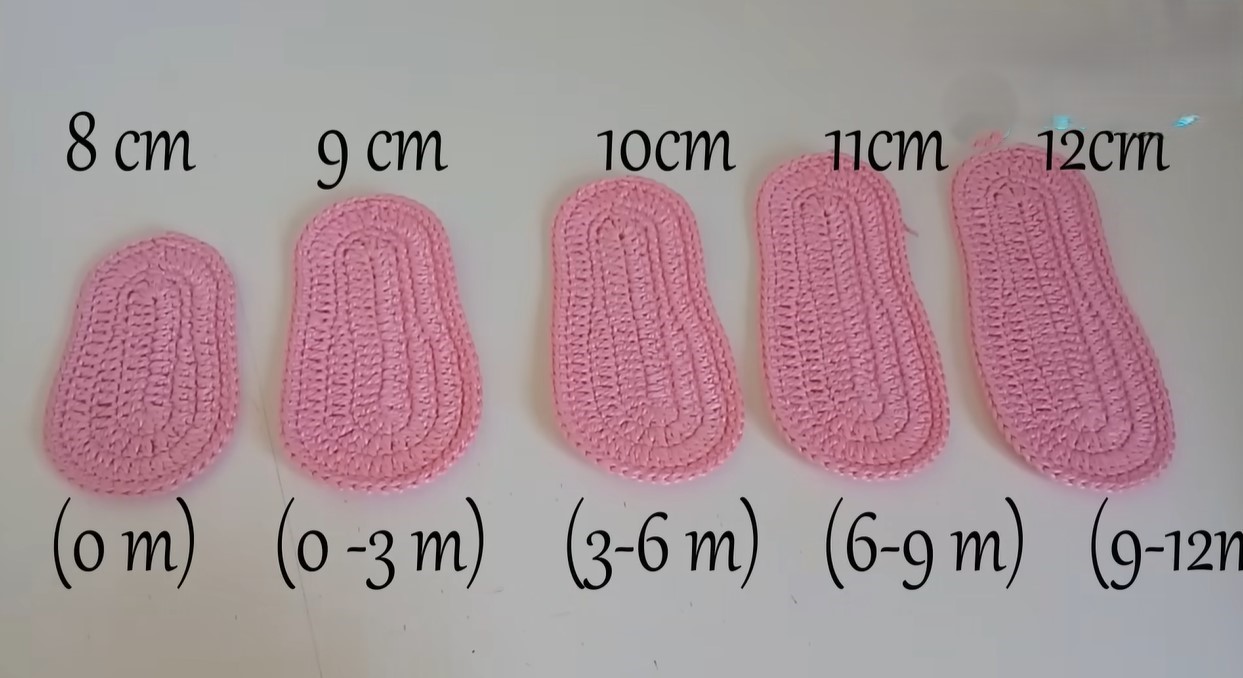
- Repeat Rows 1 and 2 (Garter Stitch) for a total of 40 rows. This will create a rectangular shape for the sole. The length can be adjusted slightly depending on the desired shoe size (longer for bigger babies).
2. Shaping the Upper Part of the Shoe:
- Row 41 (RS): K 7 sts, turn your work.
- Row 42 (WS): K 11 sts (you will be knitting back across the 7 sts you just knitted and picking up 4 more sts from the main piece). Turn your work.
- Row 43 (RS): K 11 sts. Turn your work.
- Row 44 (WS): K 11 sts. Turn your work.
- Repeat Rows 43 and 44 a total of 10 times. You will now have a small knitted rectangle forming the front/toe part of the shoe.
3. Creating the Sides of the Shoe:
- Row 65 (RS): K 7 sts (these are the remaining 7 sts from the right side of the sole). Turn your work.
- Row 66 (WS): K 11 sts (knit across the 7 sts and pick up 4 sts from the edge of the toe piece). Turn your work.
- Row 67 (RS): K 11 sts. Turn your work.
- Row 68 (WS): K 11 sts. Turn your work.
- Repeat Rows 67 and 68 a total of 10 times. You have now knitted one side of the shoe’s upper.

4. Finishing the Upper and Creating the Ankle Opening:
- Row 89 (RS): K the remaining 11 sts on your needle (these are the 4 sts you haven’t worked on yet from the middle of the sole, plus the 7 sts on the left side of the sole). You should now have all 25 original stitches back on your needle.
- Row 90 (WS): K all 25 sts.
- Row 91 (RS): K all 25 sts.
- Row 92 (WS): K all 25 sts.
- Repeat Rows 91 and 92 (Garter Stitch) for 8 more rows (total of 10 rows). This creates a small cuff around the ankle opening.
5. Binding Off:
- BO all 25 sts.
6. Finishing and Sewing:
- Cut the yarn, leaving a long tail (about 12-18 inches).
- Thread the tapestry needle with the yarn tail.
- Fold the knitted piece in half lengthwise along the center of the sole. The toe piece you knitted will be at one end.
- Sew the back seam: Starting from the cuff edge, sew the back of the shoe together using a mattress stitch or your preferred seaming method. Go down to where the upper part meets the sole.
- Sew the sole: Continue sewing along the edges of the sole, connecting the sides of the upper to the bottom of the sole. Work your way around the entire sole.
- Weave in all yarn ends securely using the tapestry needle. Trim any excess yarn.
Making the Second Shoe:
- Repeat steps 1 through 6 to make the second shoe.
Video tutorial
Tips for Beginners:
- Keep your tension consistent: This will help your shoes look more even.
- Don’t pull the yarn too tight when seaming: This can make the seams pucker.
- Practice your knit stitch: If you’re new to knitting, practice the knit stitch on some scrap yarn before starting the project.
- Adjust the size: You can adjust the size of the shoes by adding or subtracting rows in the sole section. A few extra rows will make the shoes longer.
- Get creative with colors: Feel free to use different colors of yarn for the sole, upper, and cuff.
- Add embellishments (optional): Once the shoes are finished, you can add small buttons, ribbons, or embroidered details for a personal touch.