by
by 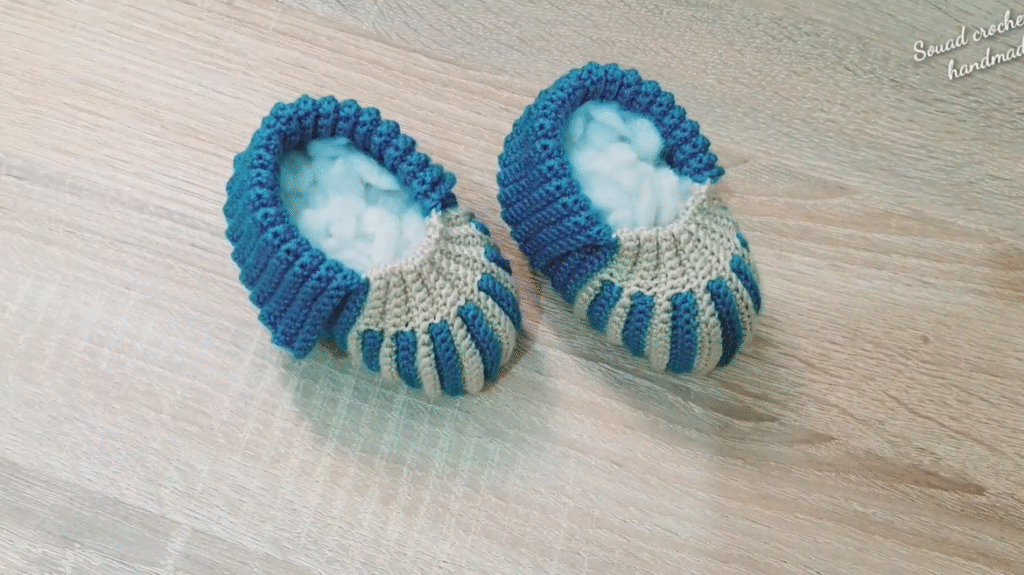
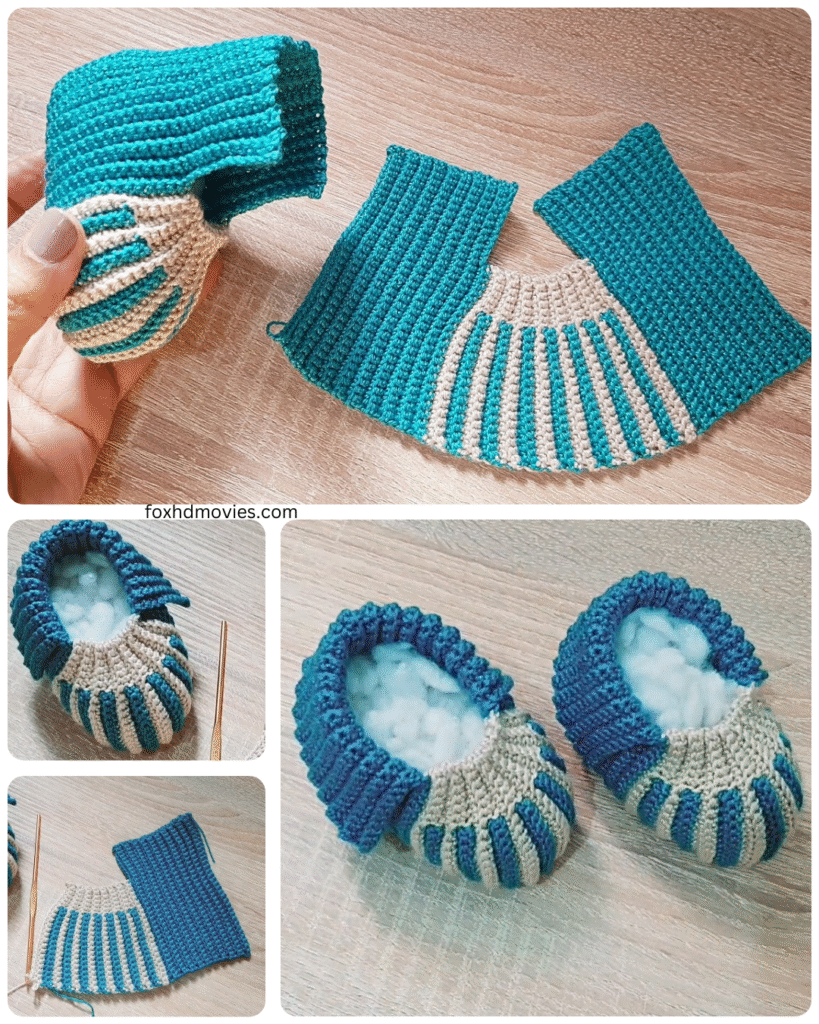
There’s something incredibly special about making things for little ones, isn’t there? And if you’re looking for a quick, satisfying project that’s also super practical and cute, these easy crochet baby booties are just the ticket!
Whether you’re a seasoned pro or picking up a hook for the first time, this pattern is designed to be simple and straightforward. Using basic stitches, you can create a sweet pair of booties in just an hour or two. They make a perfect baby shower gift, a thoughtful “welcome home” present, or just a lovely little project for your own bundle of joy.
Let’s get hooking!
Pattern Difficulty: Easy Peasy! (Great for confident beginners)
Estimated Time: 1-2 hours per pair
Notes:
- This pattern is written for a newborn size (approx. 0-3 months).
- We’ll be working in rounds. Join each round with a slip stitch to the first stitch unless otherwise stated.
- Chain 1 or Chain 2 at the start of a round usually does not count as a stitch. Check pattern instructions specifically.
Materials You’ll Need:
- Yarn: Approx. 50-75 yards of DK or worsted weight yarn. Choose something soft and washable – acrylic or a cotton blend is ideal for babies. (Avoid fibers that might be scratchy or shed heavily).
- Crochet Hook: One size smaller than recommended on your yarn label. This helps create a slightly denser fabric suitable for booties. A 3.5mm (E) or 4.0mm (G) hook is usually good for DK/worsted. Check your yarn label and gauge!
- Scissors
- Tapestry Needle (for weaving in ends)
- Optional: Ribbon, cord, or buttons for ties/decoration.
Abbreviations:
- ch: chain
- sl st: slip stitch
- sc: single crochet
- hdc: half double crochet
- dc: double crochet
- st(s): stitch(es)
- rnd: round
- sc2tog: single crochet 2 stitches together (decrease)
- hdc2tog: half double crochet 2 stitches together (decrease)
Video tutorial
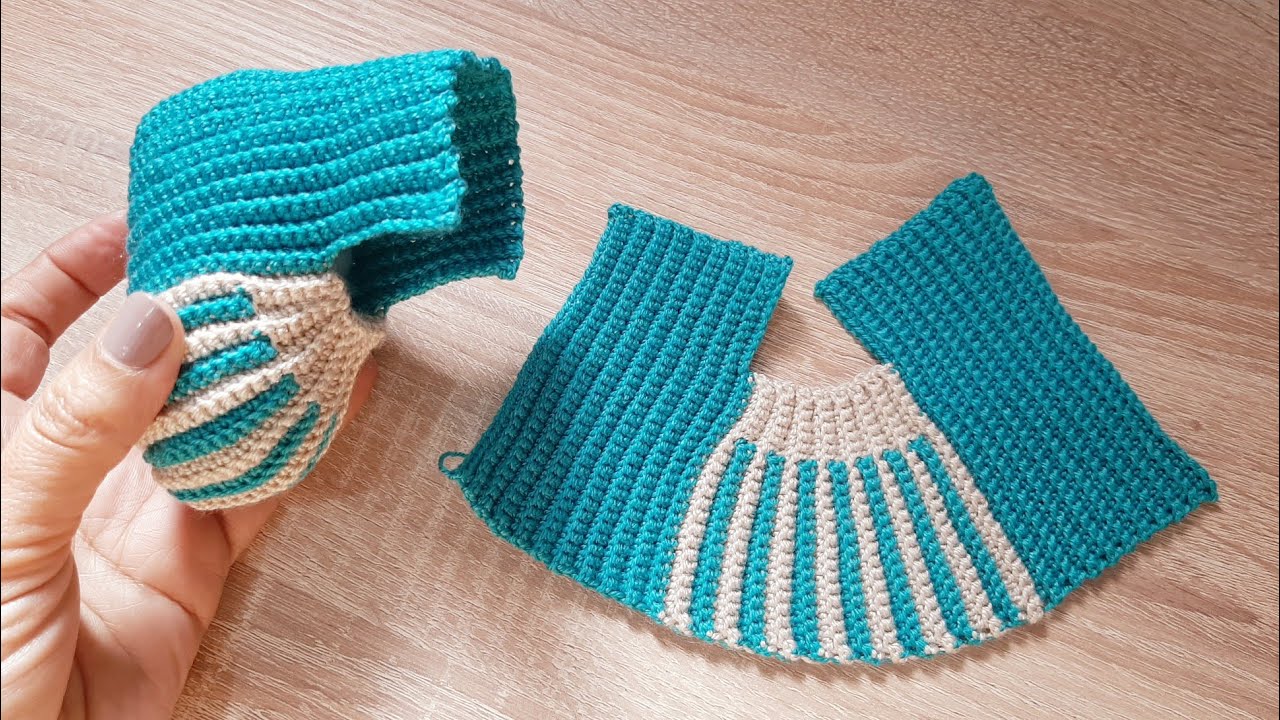
Let’s Crochet! (Newborn Size)
Sole:
We’ll start by creating an oval sole. This pattern uses HDC, which creates a nice, cushioned sole.
Rnd 1: Ch 9. hdc in the 2nd ch from the hook and in the next 6 chs (7 hdc). 3 hdc in the last ch. Now you’ll work along the other side of the starting chain. hdc in the next 6 chs. 2 hdc in the very last ch (the one you started in). Join with a sl st to the first hdc. (18 sts)
Rnd 2: Ch 2 (does not count as a st here and throughout). 2 hdc in the same st. hdc in the next 6 sts. 2 hdc in each of the next 3 sts. hdc in the next 6 sts. 2 hdc in each of the last 2 sts. Join with a sl st to the first hdc. (26 sts)
Rnd 3: Ch 2. hdc in the same st. hdc in the next 8 sts. (2 hdc in next st, hdc in next st) 3 times. hdc in the next 8 sts. (2 hdc in next st, hdc in next st) 2 times. Join with a sl st to the first hdc. (32 sts)
You should now have a nice oval shape for the sole.
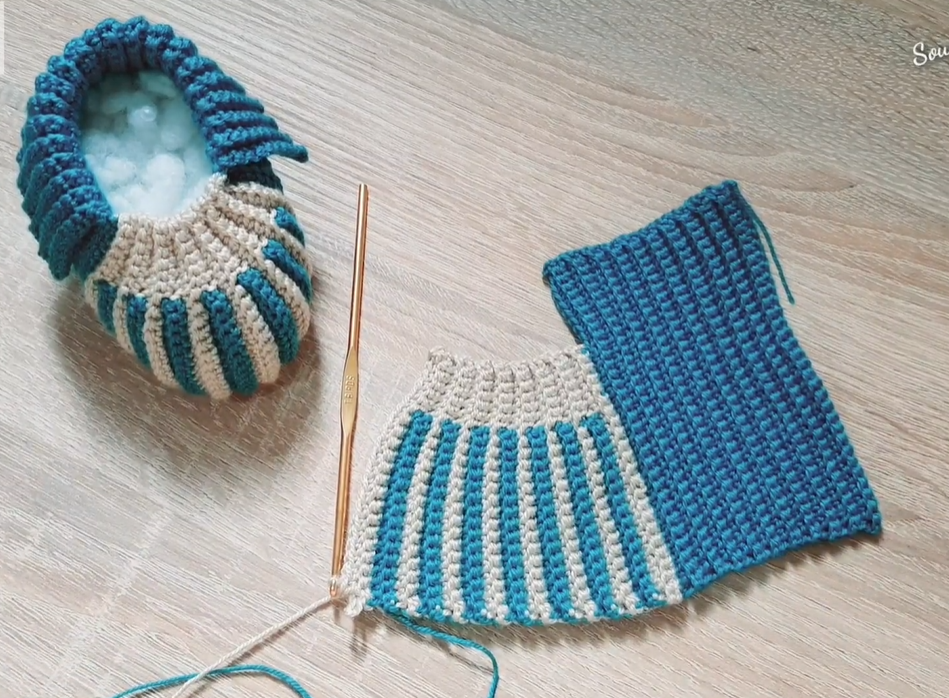
Body of the Bootie:
Now we’ll work upwards to create the sides. Working in the back loop only in the first round creates a nice defined edge between the sole and the body.
Rnd 4: Ch 1 (does not count as a st). Sc in the back loop only of each st around. Join with a sl st to the first sc. (32 sts)
Rnd 5 – 7: Ch 1. Sc in each st around. Join with a sl st to the first sc. (32 sts per round) Work these rounds evenly. You should start to see the sides of the bootie form.
Shaping the Toe:
We’ll work across the front of the bootie and use decreases to create the rounded toe shape. We’ll now work back and forth in rows across the front portion only.
Row 8: Ch 1. Sc in the first 8 sts. hdc2tog over the next 2 sts. dc2tog over the next 2 sts. dc2tog over the next 2 sts. hdc2tog over the next 2 sts. sc in the next 8 sts. (24 sts across this row) Do NOT join or turn.
Row 9: Turn your work. Ch 1. Sc in the first 6 sts. hdc2tog over the next 2 sts. dc2tog over the next 2 sts. hdc2tog over the next 2 sts. sc in the next 6 sts. (18 sts across this row) Do NOT join or turn.
You should now have a clearly defined toe shape.

Ankle/Cuff:
Now we’ll work in rounds again, working around the entire opening to build up the ankle and create a cuff.
Rnd 10: Ch 1. Sc in each of the 18 sts across the toe row you just made. Then, work 7 sc evenly spaced down the side towards the heel, sc in each of the 8 heel sts, and work 7 sc evenly spaced up the other side to meet the toe sts. Join with a sl st to the first sc. (Approx. 40 sts – the exact number on the sides might vary slightly, just aim for even spacing).
Rnd 11 – 13: Ch 1. Sc in each st around. Join with a sl st to the first sc. (Approx. 40 sts per round) Work these rounds to build the height of the cuff.
Finishing:

- Fasten off your yarn, leaving a tail about 6-8 inches long.
- Use your tapestry needle to weave in all loose ends securely on the inside of the bootie.
- Optional: Add a simple tie! Cut two lengths of yarn (about 18 inches each) or ribbon. Thread one through a stitch on the side of the ankle cuff of each bootie and tie a knot to secure it. You can then tie this around the baby’s ankle to help keep the bootie on.
- Make a second bootie following the exact same pattern!
Tips and Variations:
- Size Adjustment: To make a larger size, start with a longer initial chain and work more increase rounds on the sole before starting the body. Adjust the number of stitches worked before and after the toe decreases accordingly to keep the shaping centered. You can also use a larger hook and heavier yarn.
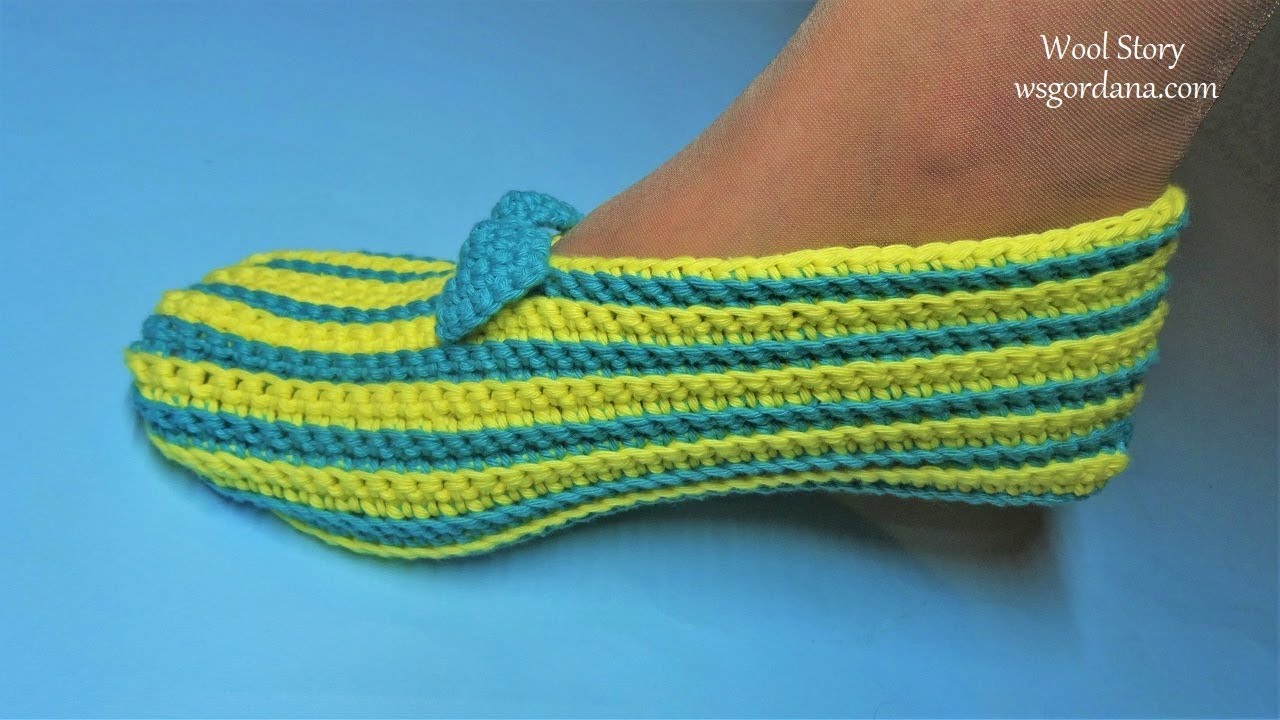
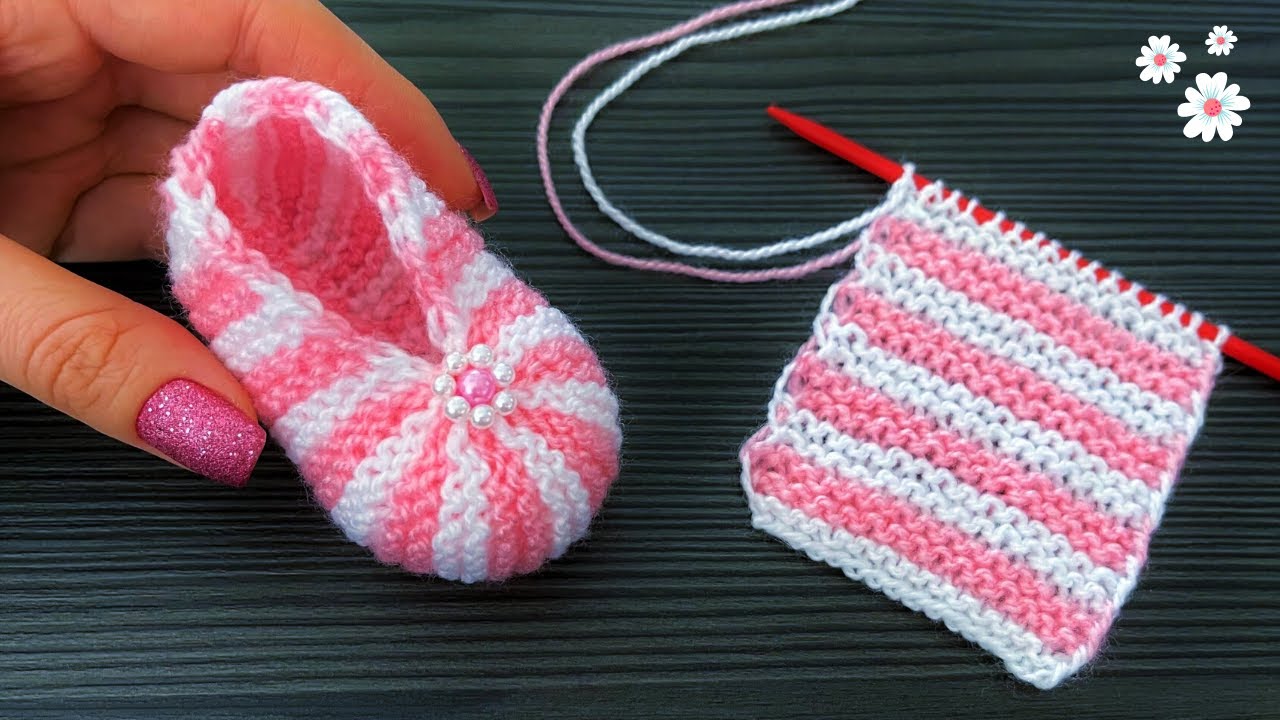
- Color Blocking: Change colors between rounds for a fun striped look!
- Add Embellishments: Sew on small crocheted hearts, stars, or even felt cutouts (ensure they are very securely attached and not a choking hazard).
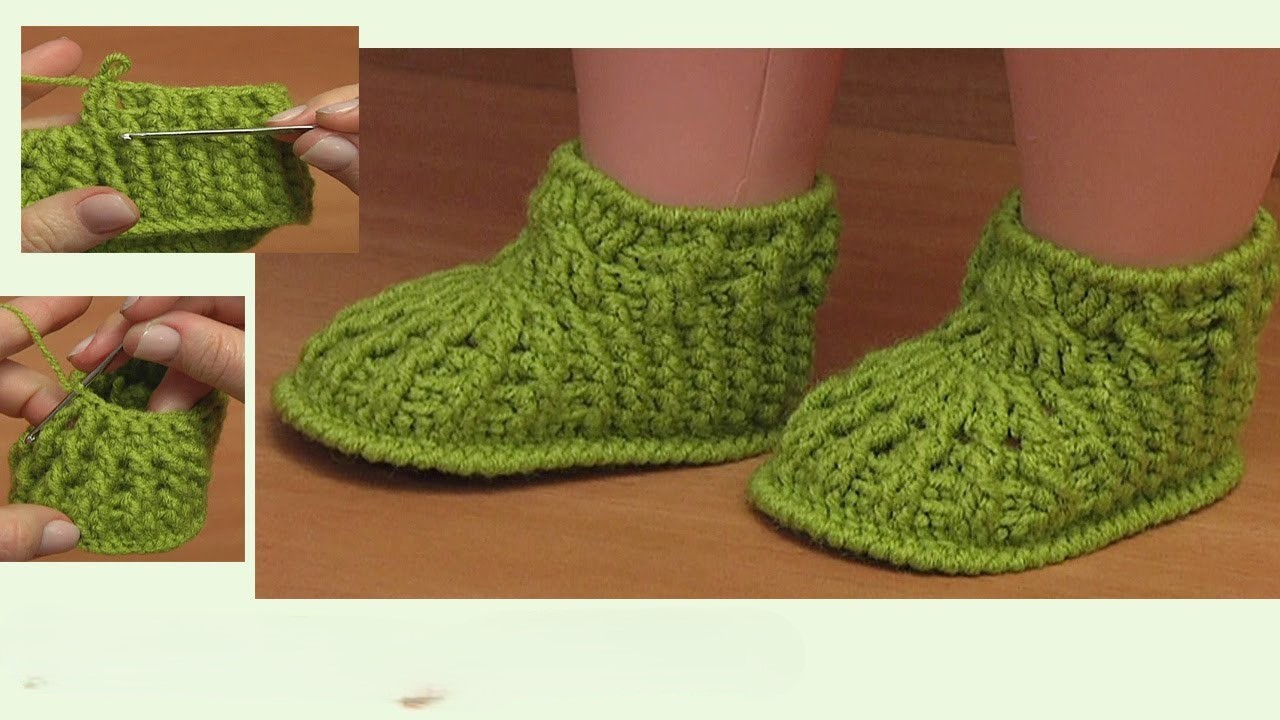
- Different Cuff: You could add a few rounds of HDC or DC for a taller cuff, or even work a ribbed cuff using front post/back post stitches (though that adds a bit more complexity).