 by
by 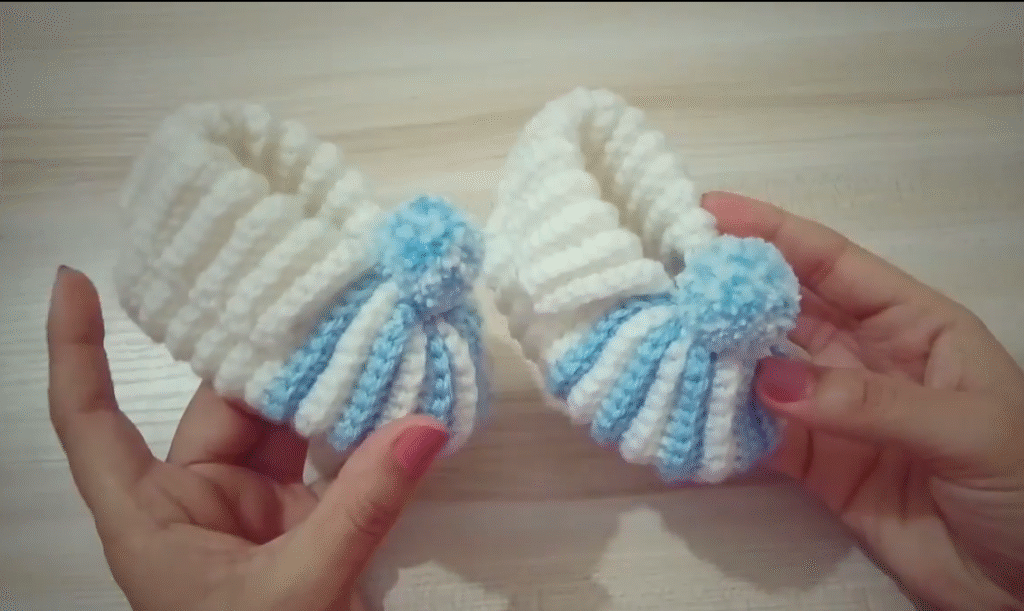
Welcome, makers! Are you looking for a quick, adorable project that’s perfect for gifting or dressing up tiny toes? Look no further! These Sweet & Simple Crochet Baby Booties are designed with ease in mind, making them a perfect project for beginners or those looking for a satisfyingly fast craft.
In just an evening or two, you can whip up a precious pair of booties that are as practical as they are cute. Let’s grab our hooks and get started!
Why you’ll love this pattern:
- Beginner-Friendly: Uses basic stitches like single crochet and half double crochet.
- Quick to Make: Perfect for last-minute gifts or when you need a speedy project.
- Adorable: The simple design is classic and sweet.
- Customizable: Easily change colors or add embellishments.
Materials:
- Approx. 50-70 yards of Soft DK or Worsted Weight Yarn (Acrylic or a cotton blend is great for babies!)
- Crochet Hook appropriate for your yarn (Check your yarn label – typically H/5mm or I/5.5mm for worsted weight)
- Tapestry Needle (for weaving in ends)
- Scissors
- Optional: Stitch marker, buttons, ribbon, or appliques for decoration.
Gauge:
Getting the right gauge is important for sizing! Work 8 HDC rows for 4 inches / 10 cm, and 13 HDC stitches for 4 inches / 10 cm. (Check your gauge by crocheting a small swatch – a square of about 4×4 inches – using the HDC stitch. If your swatch is too big, try a smaller hook. If it’s too small, try a larger hook.)
Skill Level: Easy
Abbreviations (US Terms):
- ch: chain
- sc: single crochet
- hdc: half double crochet
- sl st: slip stitch
- inc: increase (work 2 stitches in the same stitch)
- sc2tog: single crochet two stitches together (decrease)
- hdc2tog: half double crochet two stitches together (decrease)
- st(s): stitch(es)
- BLO: back loop only
Notes:
- Pattern is written for a newborn/0-3 month size. Instructions for adjusting size are provided in the notes section.
- We will be working in rounds. Join each round with a sl st to the first stitch unless otherwise stated.
- The starting chain does NOT count as a stitch unless specified.
- Stitch counts are provided at the end of each round in parentheses
()
Video tutorial
Pattern Instructions:
Sizing Adjustments:
- To make smaller (Preemie/Newborn): Start with a shorter initial chain (e.g., ch 8 or ch 7). Follow the same increase pattern for the sole, but potentially do fewer increase rounds. Adjust the number of rounds for the upper and cuff accordingly.
- To make larger (3-6 months, 6-12 months): Start with a longer initial chain (e.g., ch 10 or ch 11). Add an extra increase round or two to the sole, maintaining the oval shape. Add more rounds to the upper body before starting decreases, and potentially more rounds to the cuff.
Let’s Crochet! (Newborn/0-3 Month Size)
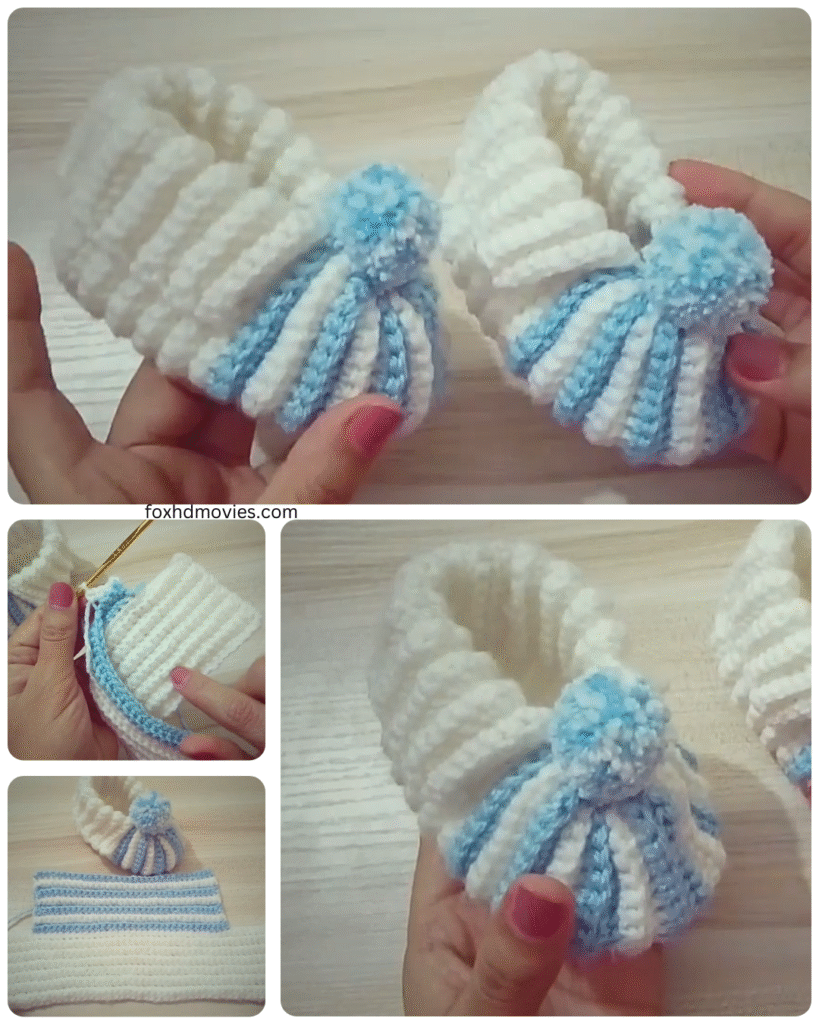
Sole (Make 2):
We’ll start by creating an oval shape for the sole.
- Ch 9.
- Round 1: Work 2 hdc in the 2nd ch from the hook (this is your first inc). Hdc in the next 6 chains. Work 5 hdc in the last chain (this creates the curve at the toe). Now, working down the other side of the foundation chain, hdc in the next 6 chains. Work 3 hdc in the first chain you worked into (this finishes the heel curve). Join with a sl st to the top of the first hdc.
(22 sts) - Round 2: Ch 1 (does not count as a stitch here and throughout). Work 2 hdc in the first 2 stitches (heel increases). Hdc in the next 6 stitches. Work 2 hdc in the next 5 stitches (toe increases). Hdc in the next 6 stitches. Work 2 hdc in the last 2 stitches (heel increases). Join with a sl st to the top of the first hdc.
(32 sts) - Round 3: Ch 1. Hdc in the first stitch. Work 2 hdc in the next stitch. Hdc in the next stitch, 2 hdc in the next stitch. Repeat from * to * once more (2 sets of [hdc, inc] at the heel). Hdc in the next 6 stitches. Hdc in the next stitch, 2 hdc in the next stitch. Repeat from * to * 4 more times (5 sets of [hdc, inc] at the toe). Hdc in the next 6 stitches. Hdc in the next stitch, 2 hdc in the next stitch. Repeat from * to * once more (2 sets of [hdc, inc] at the heel). Join with a sl st to the top of the first hdc.
(41 sts)
Your sole should now be an oval shape, relatively flat.

Upper Body:
Now we’ll build up the sides of the bootie.
- Round 4 (Creating the side wall): Ch 1. Sc in the BLO of each stitch around. Join with a sl st to the top of the first sc.
(41 sts)- Working in the back loop only creates a nice defined edge between the sole and the upper.
- Round 5: Ch 1. Hdc in each stitch around. Join with a sl st to the top of the first hdc.
(41 sts) - Round 6: Ch 1. Hdc in each stitch around. Join with a sl st to the top of the first hdc.
(41 sts)
Shaping the Toe:
We’ll now work decreases across the front of the bootie to create the toe shape.
- Round 7 (Toe Decrease Round 1): Ch 1. Hdc in the next 12 stitches. Hdc2tog over the next 2 stitches. Repeat from * to * 8 more times (9 hdc2tog decreases total). Hdc in the remaining 12 stitches. Join with a sl st to the top of the first hdc.
(32 sts) - Round 8 (Toe Decrease Round 2): Ch 1. Hdc in the next 10 stitches. Hdc2tog over the next 2 stitches. Repeat from * to * 5 more times (6 hdc2tog decreases total). Hdc in the remaining 10 stitches. Join with a sl st to the top of the first hdc.
(26 sts)
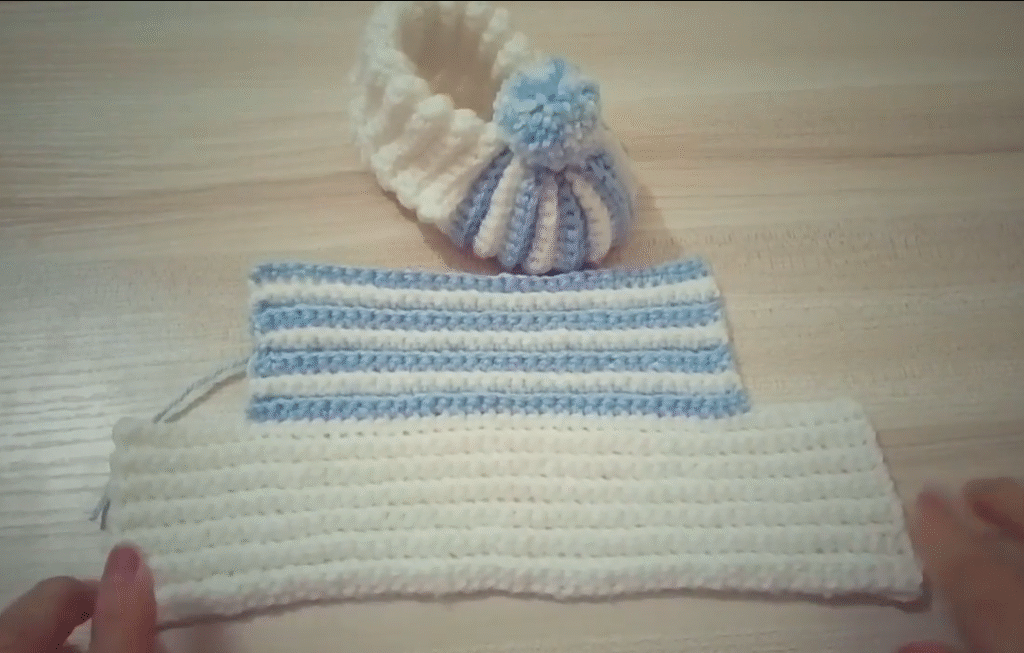
Ankle/Cuff:
Now we’ll finish the top edge of the bootie.
- Round 9: Ch 1. Sc in each stitch around. Join with a sl st to the top of the first sc.
(26 sts) - Round 10: Ch 1. Sc in each stitch around. Join with a sl st to the top of the first sc.
(26 sts)
Fasten off, leaving a tail long enough to weave in securely.
Finishing:
- Weave in all loose ends neatly on the inside of the bootie using your tapestry needle. Be sure they are secure so they don’t come loose.
- Repeat the pattern to make the second bootie!
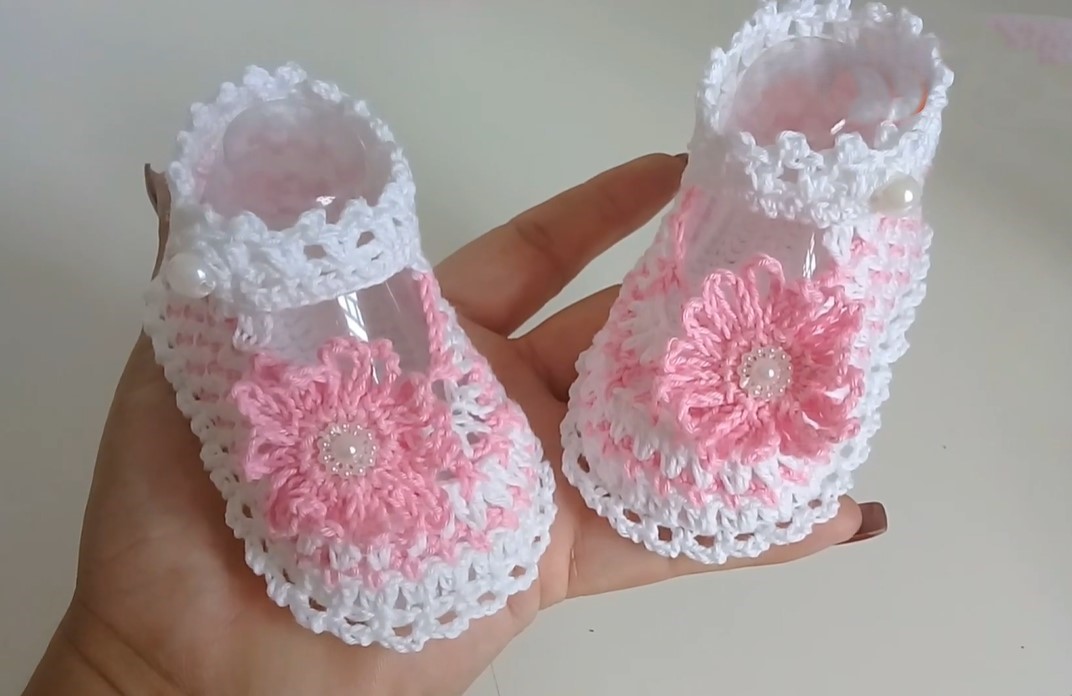
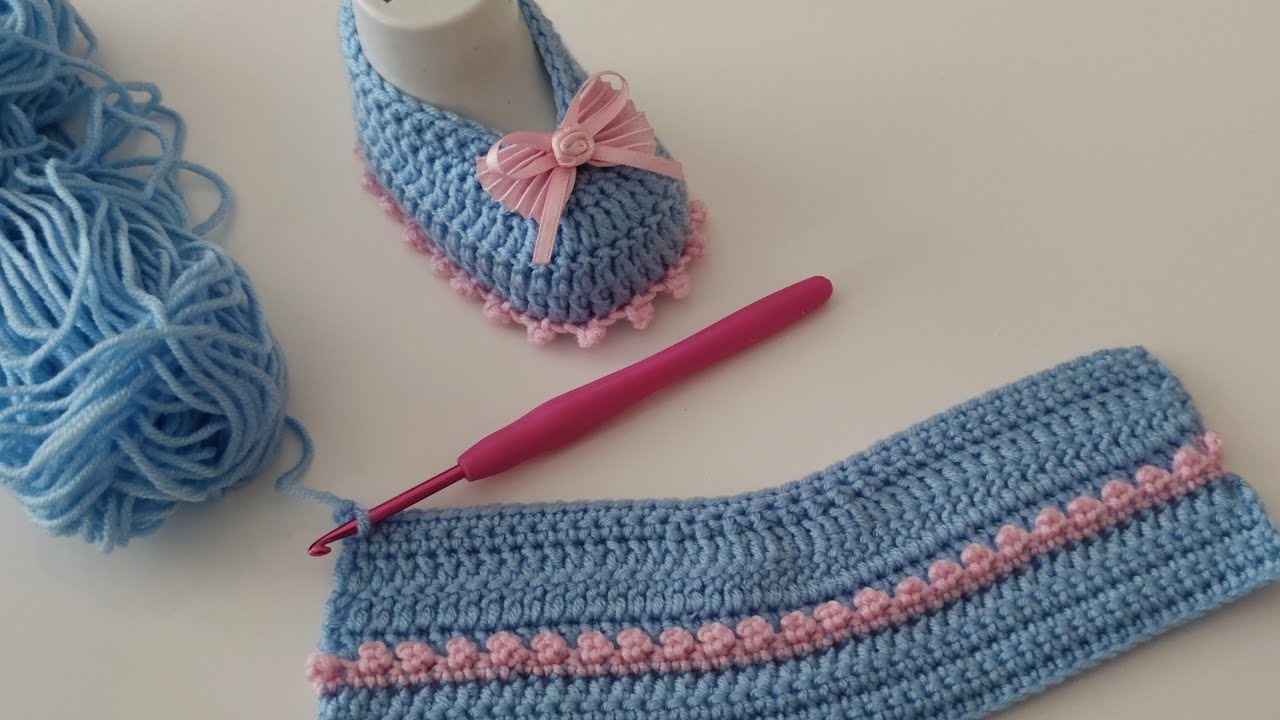
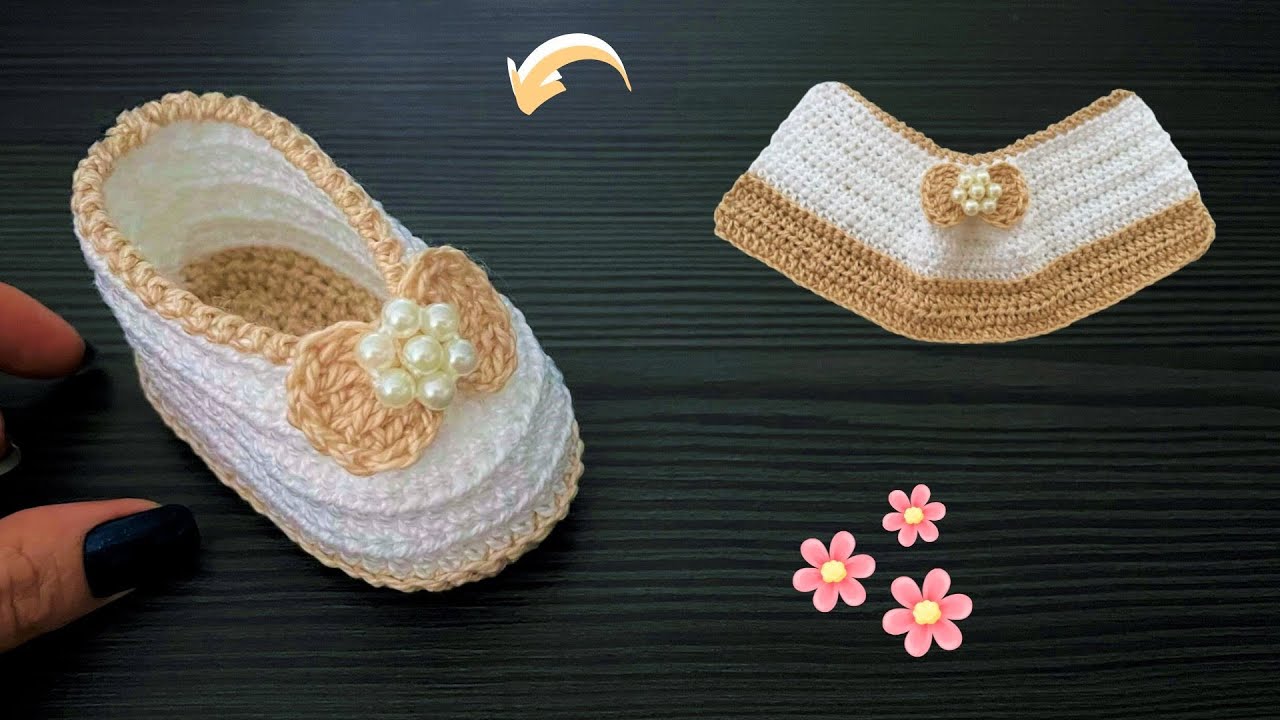
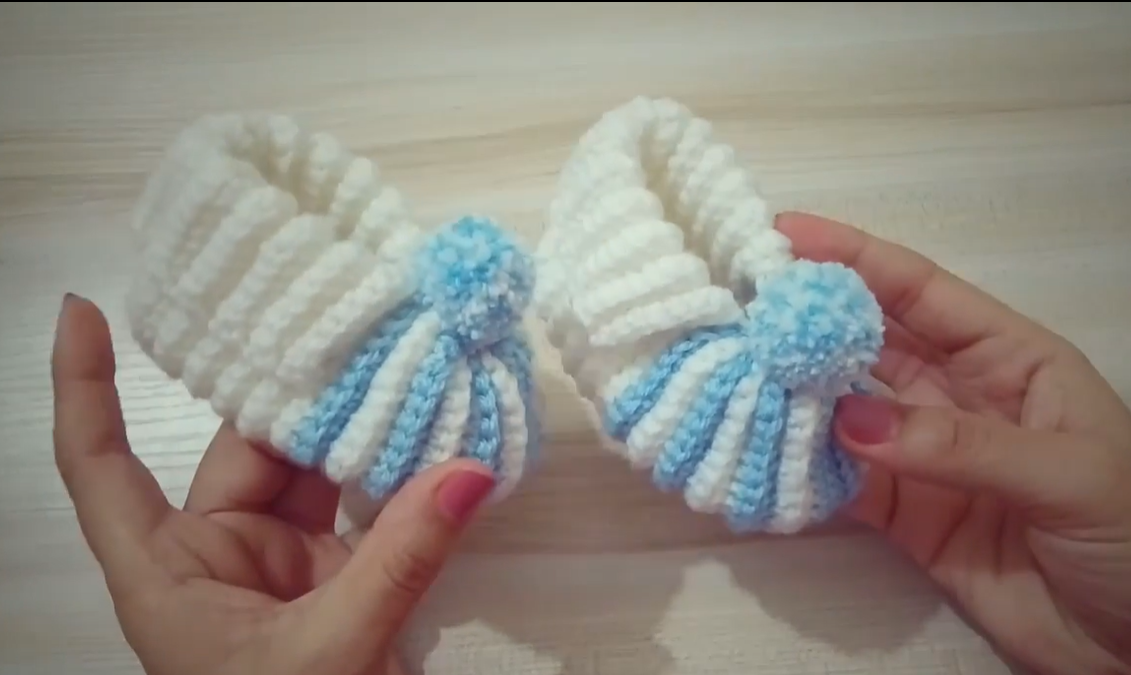
- (Optional) Add embellishments! You can sew on small buttons (ensure they are securely attached and large enough not to be a choking hazard), tie on ribbon laces, or stitch on a cute applique like a heart or star. Always prioritize baby safety when adding anything small.
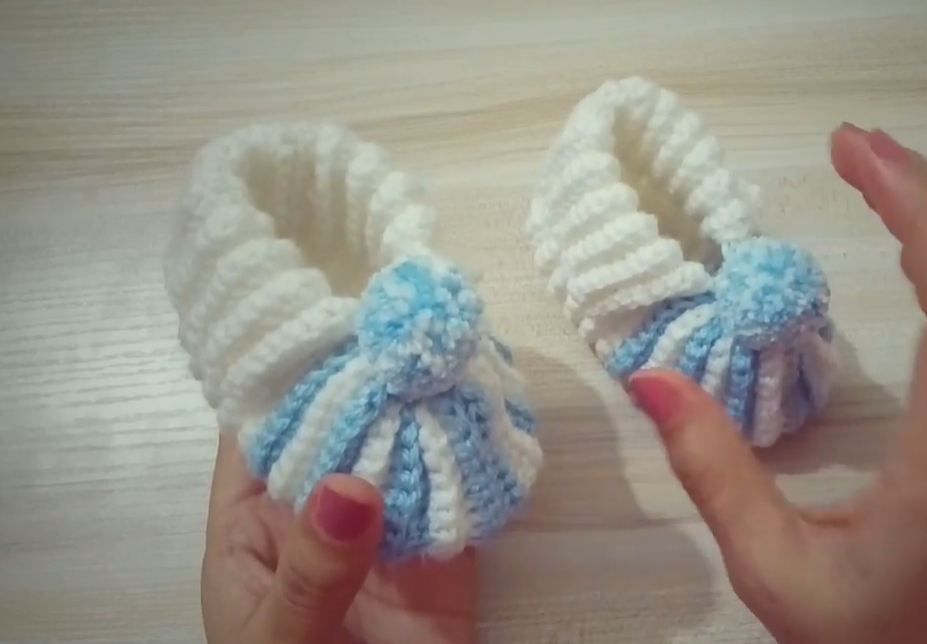
Ta-Da!
You’ve just created a sweet pair of handmade baby booties! They are so quick and easy, you might find yourself making them in every color. These make fantastic shower gifts or a special little something for your own precious little one.
We’d love to see your creations! Share photos of your finished booties in the comments below or on social media using the hashtag #SweetSimpleBooties and tag me!
Happy Crocheting!