by
by 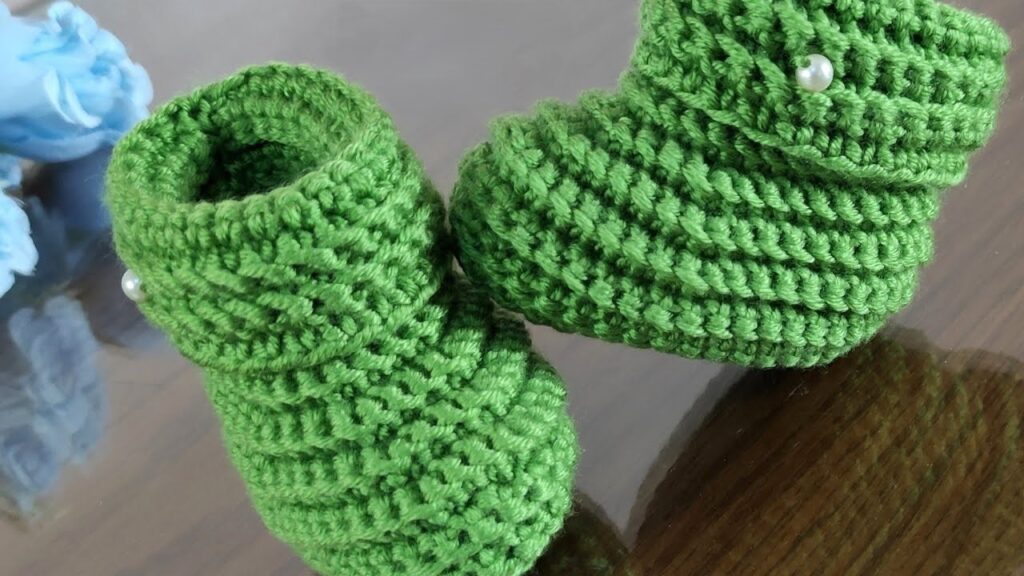
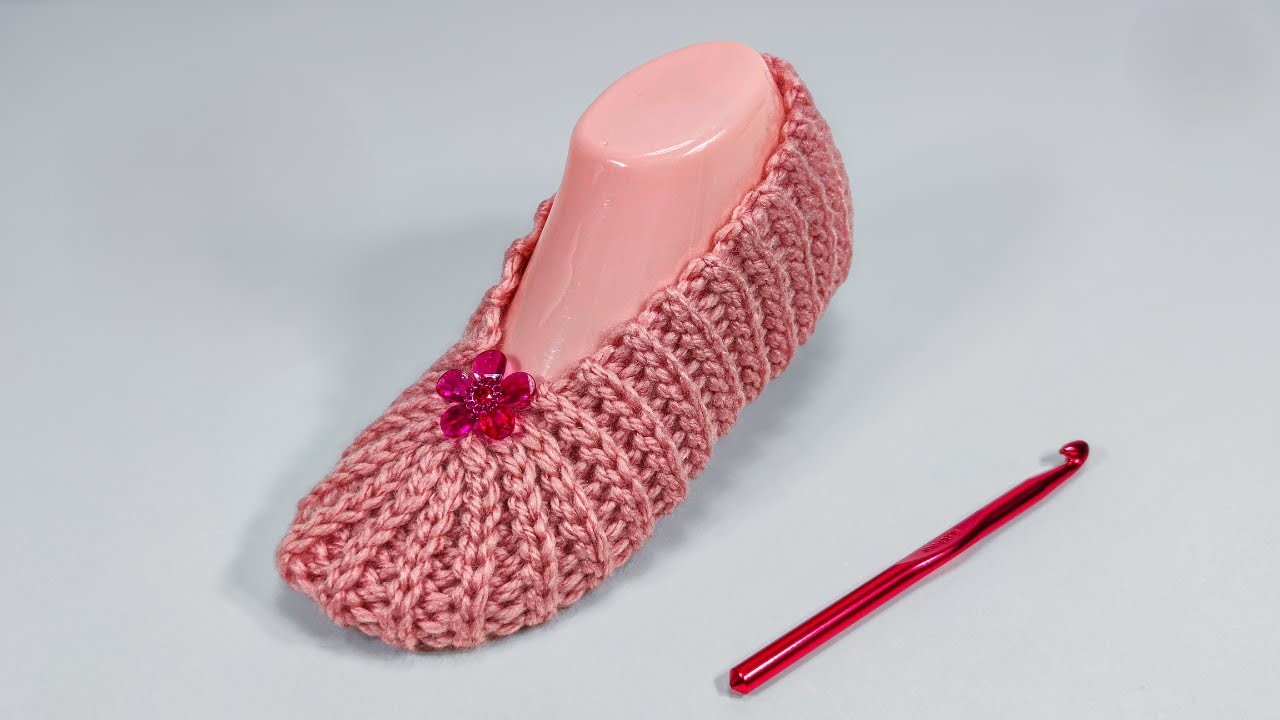
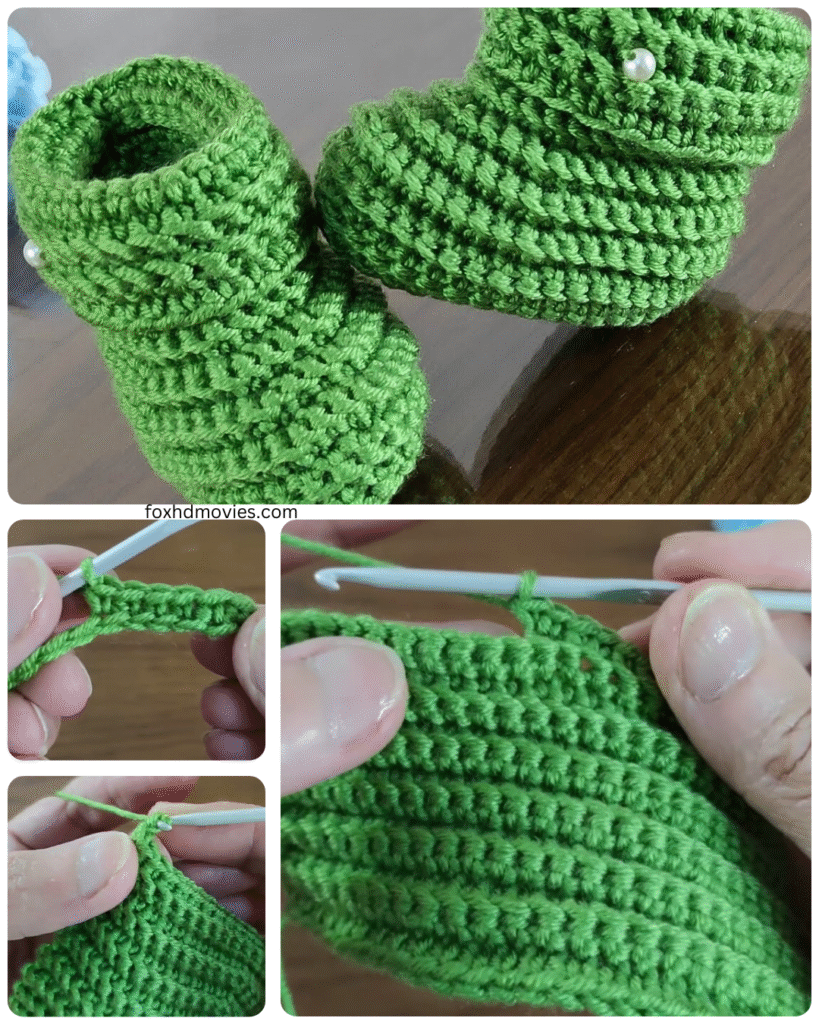
There’s something incredibly special about handmade baby items, and these simple crochet booties are a perfect first project. They work up quickly, are easily customizable in terms of color, and are sure to bring a smile to anyone’s face.
What you’ll need:
- Yarn: Approximately 50-100 yards of soft, dk (double knitting) or worsted weight yarn. Cotton or acrylic blends are great choices as they are soft and washable. Choose a color you love!
- Crochet Hook: A size appropriate for your yarn. Check the yarn label for a recommended hook size (usually between 3.5mm and 4.5mm for DK or worsted weight). A good starting point is a G/6 (4.0mm) or H/8 (5.0mm) hook.
- Yarn Needle: For weaving in ends.
- Scissors: For cutting yarn.
- Stitch Marker (optional but recommended): To mark the beginning of rounds.
Abbreviations (US Crochet Terms):
- ch: chain
- sl st: slip stitch
- sc: single crochet
- hdc: half double crochet
- dc: double crochet
- inc: increase (usually 2 sc, hdc, or dc in the same stitch)
- st(s): stitch(es)
Gauge: Gauge isn’t super critical for baby booties as a little variation in size is okay, but for a newborn size (approx. 3-3.5 inches long), a common gauge might be around 4-5 hdc per inch.
Let’s Crochet! (Newborn Size – adjust by adding or removing initial chains and corresponding stitches evenly for other sizes)
Video tutorial
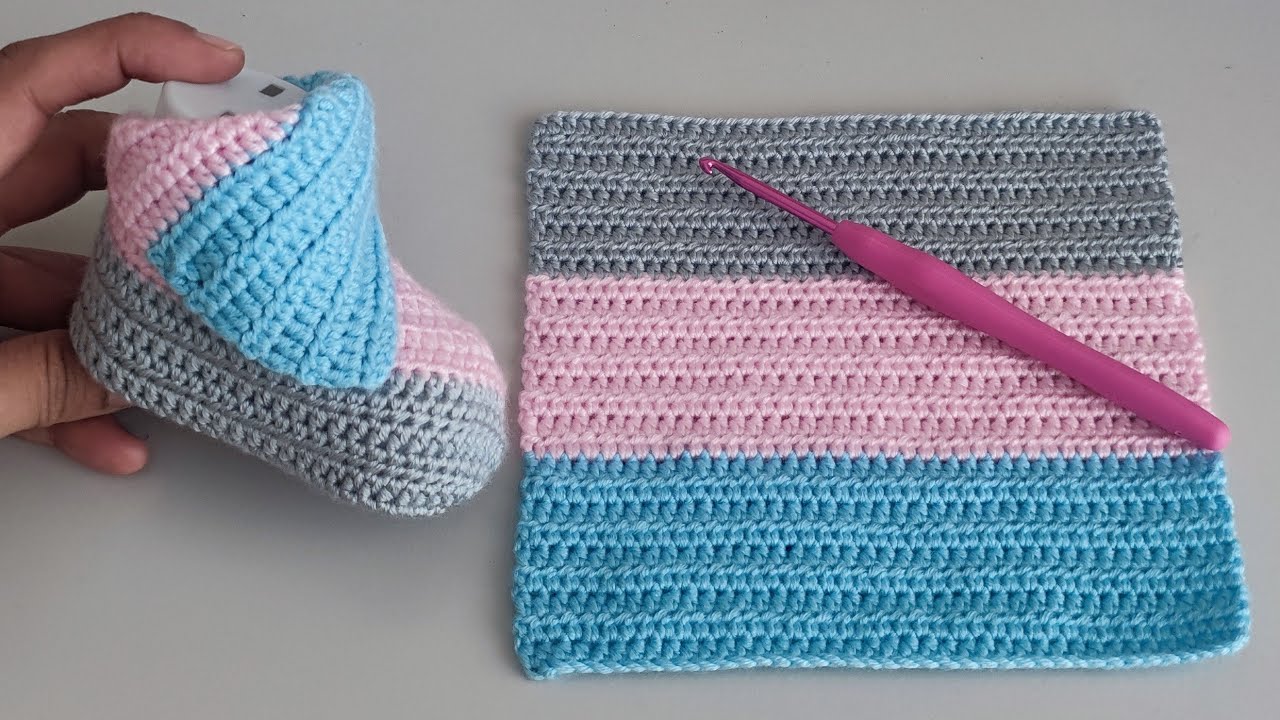
This pattern is worked in rounds, starting with the sole.
Sole:
Round 1: Ch 9 (This is the foundation chain. The first stitch will be worked into the second chain from the hook). Hdc in the 2nd ch from the hook and in the next 6 chains. 5 hdc in the last chain. Now you will work on the other side of the foundation chain. Hdc in the next 6 chains. 3 hdc in the last chain. Join with a sl st to the first hdc. (20 hdc)
- Beginner Tip: It can be helpful to place a stitch marker in the first stitch of the round to easily identify where to join.
Round 2: Ch 1 (does NOT count as a stitch). 2 hdc in the same stitch (your first increase). Hdc in the next 7 stitches. 2 hdc in the next 3 stitches (increases around the toe). Hdc in the next 7 stitches. 2 hdc in the next 2 stitches (increases around the heel). Join with a sl st to the first hdc. (26 hdc)
Round 3: Ch 1. Hdc in each stitch around. Join with a sl st to the first hdc. (26 hdc)
Creating the Upper:
Now we will start working on the sides of the bootie.
Round 4: Ch 1. Sc in each stitch around. Join with a sl st to the first sc. (26 sc)
- Beginner Tip: Working in single crochet for this round helps create a nice transition from the sole to the upper.
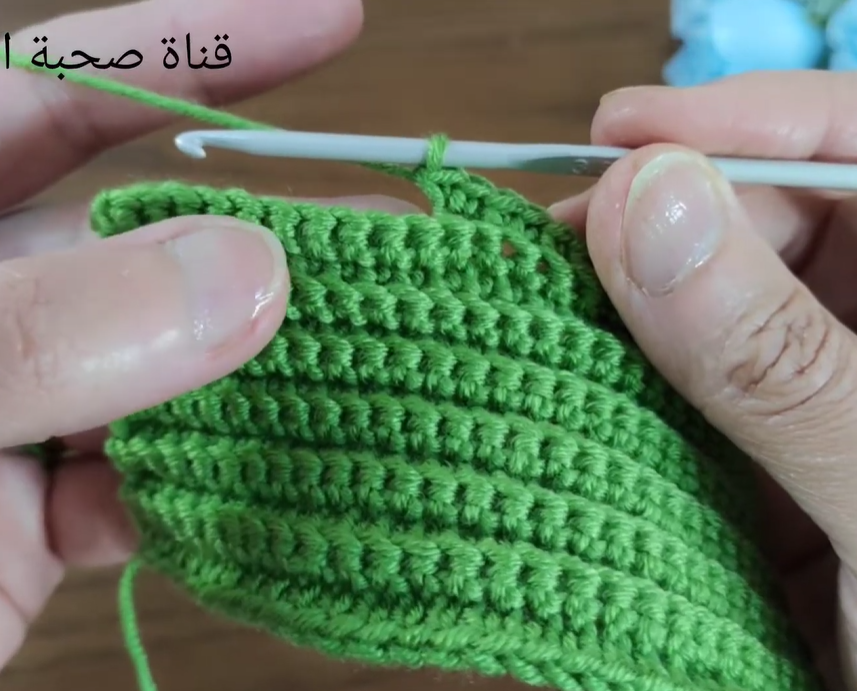
Round 5 – 7: Ch 1. Hdc in each stitch around. Join with a sl st to the first hdc. (26 hdc)
- Note: You can adjust the height of the bootie by adding or removing these rounds.
Shaping the Toe (Optional but recommended for a better fit):
This section creates a slight curve for the toe.
Round 8: Ch 1. Hdc in the first 8 stitches. Hdc2tog (half double crochet two together – decrease) over the next 2 stitches. Repeat hdc2tog 3 more times. Hdc in the remaining 8 stitches. Join with a sl st to the first hdc. (22 hdc)
- How to hdc2tog: Yarn over, insert hook into the first stitch, yarn over and pull up a loop (3 loops on hook). Yarn over, insert hook into the next stitch, yarn over and pull up a loop (4 loops on hook). Yarn over and pull through all 4 loops on your hook.
Finishing:
Round 9: Ch 1. Sc in each stitch around. Join with a sl st to the first sc. (22 sc)
Fasten off and weave in all loose ends securely with your yarn needle.
Making the Second Bootie:
Repeat the entire pattern to make a second bootie.

Beginner Tips for Success:
- Don’t stress about perfection: Your first few stitches might be a little uneven, and that’s perfectly normal! The more you practice, the more consistent your tension will become.
- Count your stitches: This is crucial, especially in the increase and decrease rounds, to ensure your booties are the correct size and shape.
- Use a stitch marker: Seriously, it saves so much frustration knowing where the round begins.
- Watch video tutorials: If you’re a visual learner, watching someone crochet the stitches and steps can be incredibly helpful. Search for videos on the basic stitches and simple baby bootie patterns.
- Don’t be afraid to start over: If you realize you’ve made a mistake a few rounds back, it’s often easier to gently pull out your stitches and start that section again than to try and fix it.
- Most importantly, have fun! Crocheting should be enjoyable.
You’ve now created a sweet and practical pair of baby booties! These make wonderful gifts for baby showers, birthdays, or just because. You can easily customize them by adding a little tie, a small applique, or working stripes with different colors of yarn.