by
by 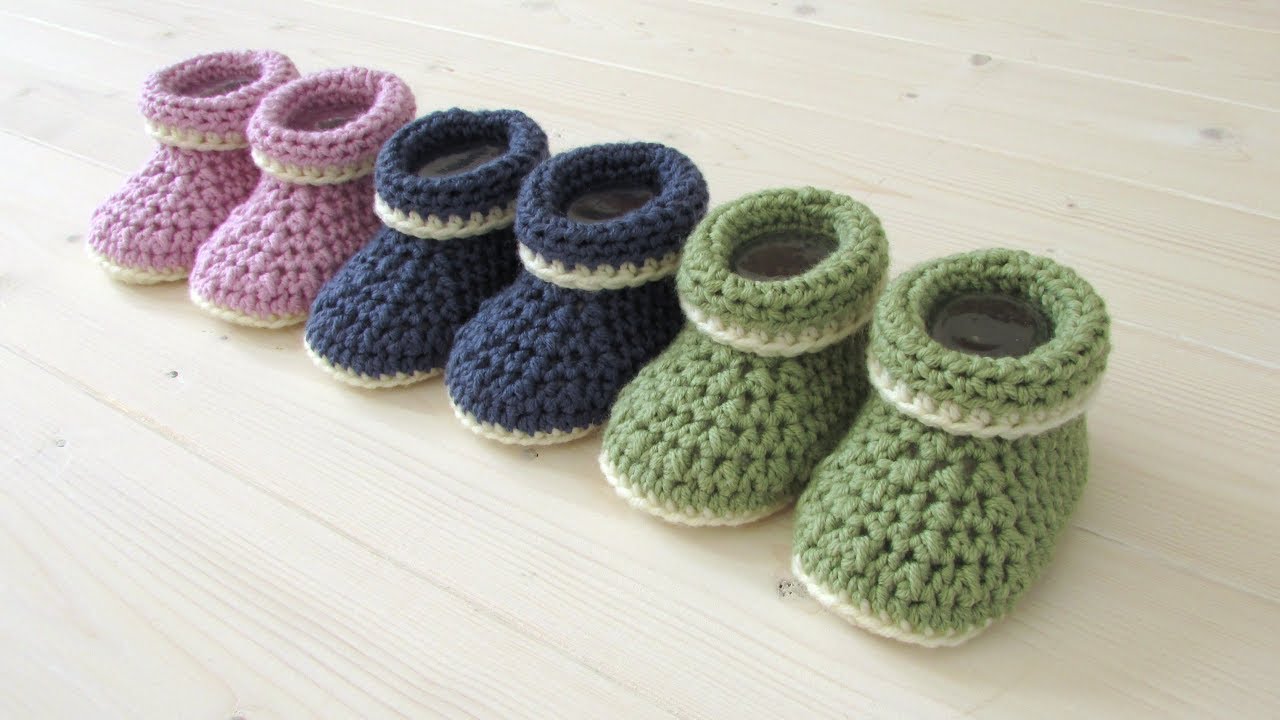
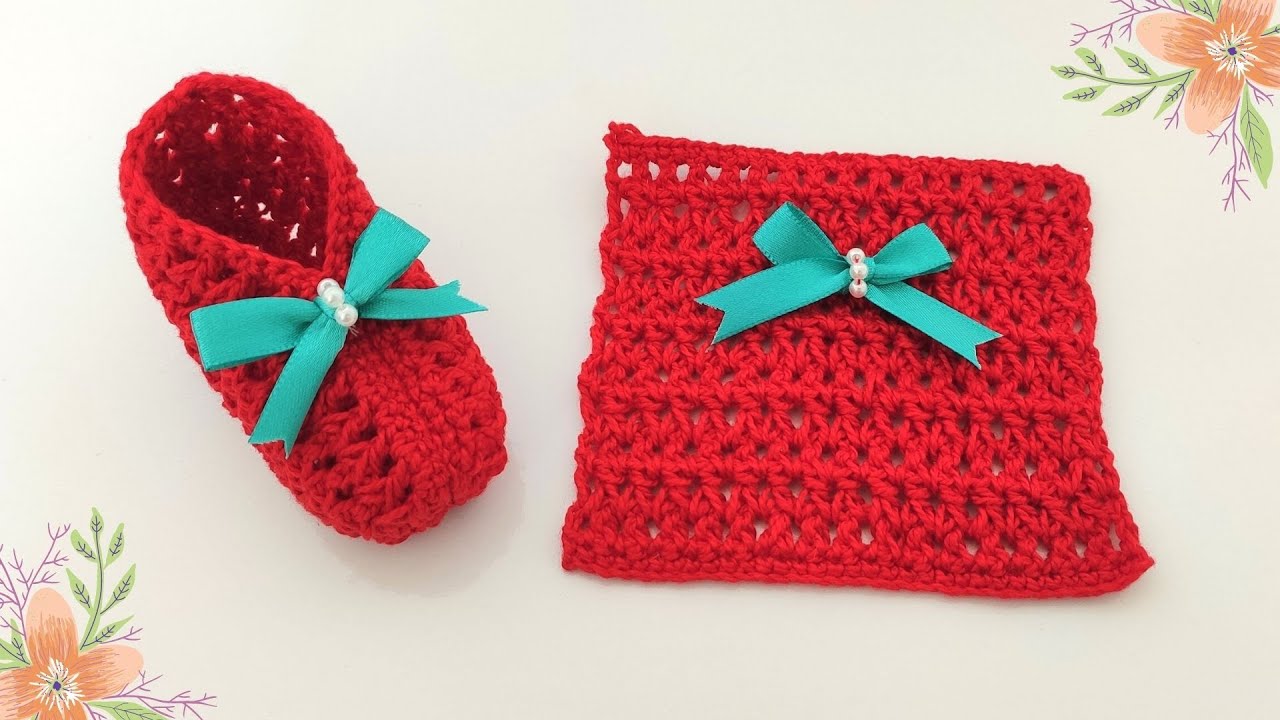
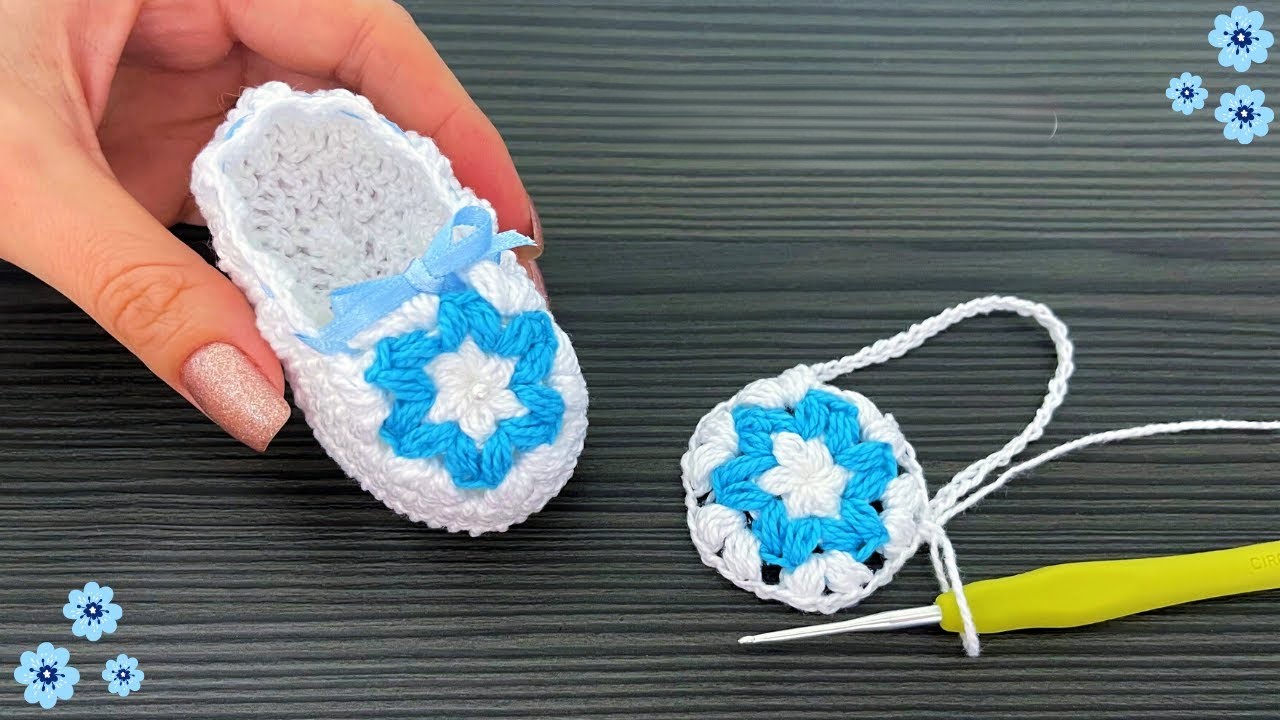
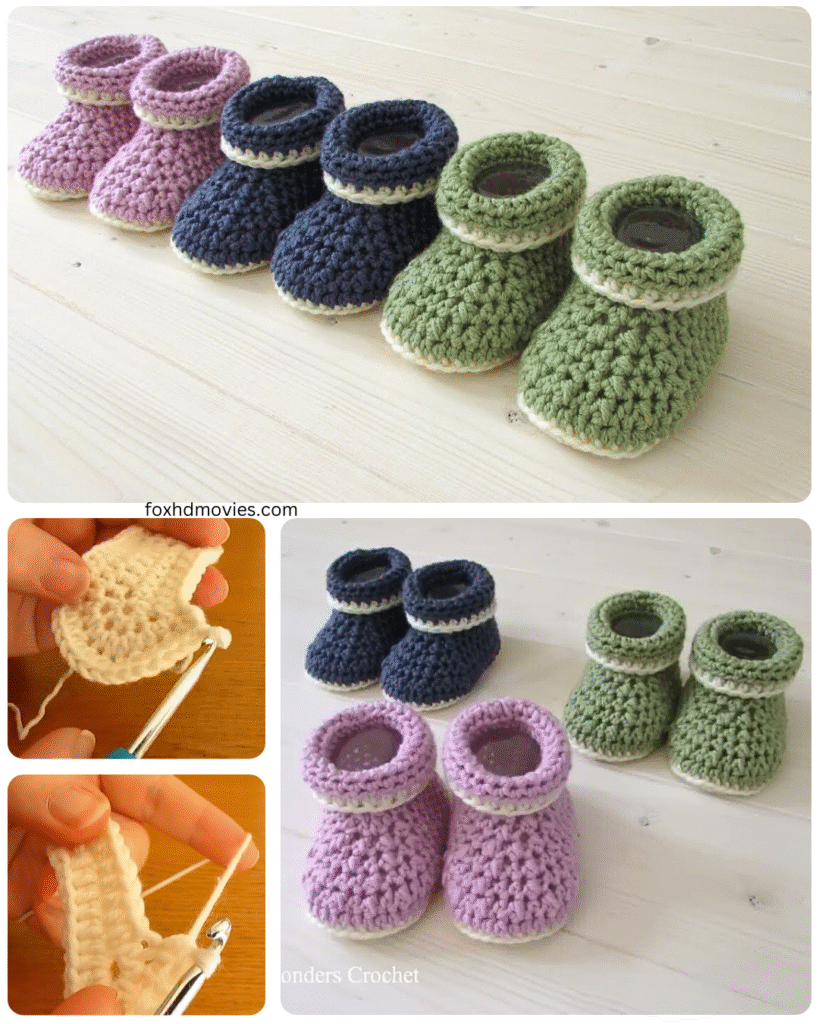
Get ready to create some adorable footwear for the little one in your life! This beginner-friendly crochet pattern will guide you through making sweet cuffed baby booties. Using just a few basic stitches, you’ll whip up a handmade treasure that’s both practical and completely lovable.
This pattern is designed with the beginner in mind, with clear steps and explanations of the stitches used. So, grab your hook and yarn, and let’s get started!
Skill Level: Beginner
Materials You’ll Need:
- Soft worsted weight yarn (choose a baby-friendly fiber like acrylic or cotton)
- Crochet hook appropriate for your yarn (check the yarn label for a recommendation, but a G/4.00 mm or H/5.00 mm is often suitable for worsted weight)
- Tapestry needle for weaving in ends
- Scissors
- Stitch marker (optional, but recommended for keeping track of rounds)
Abbreviations (US Terms):
- ch: chain
- st(s): stitch(es)
- sl st: slip stitch
- sc: single crochet
- hdc: half double crochet
- inc: increase (work 2 stitches in the same stitch) 1
- sc2tog: single crochet two together (decrease)
- hdc2tog: half double crochet two together (decrease)
Gauge: Gauge is not critical for this project, but aim for a fabric that is dense enough to be warm but not too stiff.
Video tutorial
Let’s Crochet! (Make 2):
This pattern is worked in rounds, starting with the sole of the bootie.
Sole:
- Ch 11 (or desired length for the sole – this will make a bootie for approximately 0-3 months. To adjust size, chain more or fewer stitches to start).
- Round 1: sc in the 2nd ch from the hook. sc in the next 8 ch. 5 sc in the last ch. Now you will work along the other side of the starting chain. sc in the next 8 ch. 2 sc in the last ch (this will be the same chain as your first sc). Join with a sl st to the first sc. (24 sts)
- Round 2: Ch 1 (does not count as a stitch). 2 hdc in the first st. hdc in the next 8 sts. 2 hdc in each of the next 5 sts. hdc in the next 8 sts. 2 hdc in each of the last 2 sts. Join with a sl st to the first hdc. (34 sts)
- Round 3: Ch 1. hdc in the first st. 2 hdc in the next st. hdc in the next 8 sts. 2 hdc in the next st, hdc in the next st. Repeat from * to * 4 more times. hdc in the next 8 sts. 2 hdc in the next st, hdc in the next st. Repeat from * to * one more time. Join with a sl st to the first hdc. (41 sts)
Body of the Bootie:
Now we will start working on the sides of the bootie.
- Round 4: Ch 1. sc in the back loop only (BLO) of each st around. Join with a sl st to the first sc. (41 sts) – Working in the BLO in this round creates a defined edge for the sole.
- Rounds 5-7: Ch 1. hdc in each st around. Join with a sl st to the first hdc. (41 sts)
Shaping the Toe:
- Round 8: Ch 1. hdc in the first 12 sts. hdc2tog 8 times. hdc in the remaining 13 sts. Join with a sl st to the first hdc. (33 sts)
- Round 9: Ch 1. hdc in the first 11 sts. hdc2tog 5 times. hdc in the remaining 12 sts. Join with a sl st to the first hdc. (28 sts)

Creating the Cuff:
Now we will work in rows to create the ribbed cuff.
- Row 10: Ch 8 (this is the height of your cuff). sc in the 2nd ch from the hook and in each of the next 6 ch. This creates a strip of 7 sc stitches.
- Attach the cuff to the bootie: Sl st into the next 2 stitches on the last round of the bootie body.
- Row 11: Turn your work. sc in the back loop only (BLO) of each of the 7 sc stitches you just made. (7 sts)
- Row 12: Ch 1 and turn. sc in the BLO of each of the 7 sc stitches. (7 sts)
- Repeat Rows 10-12 around the opening of the bootie, attaching the cuff to the bootie body by slip stitching into the next two stitches of the bootie body after every Row 12. Continue until you have worked your way around the entire opening.
Finishing:
- Once you have completed the cuff and sl stitched it to the bootie body, fasten off, leaving a long tail for sewing the cuff seam.
- Using your tapestry needle, sew the two ends of the cuff together neatly.
- Weave in any remaining loose ends securely.
- Repeat all steps to make the second bootie.
Tips for Beginners:
- Use a stitch marker to mark the beginning of each round, especially when working in the round for the sole and body. This will help you keep track of where each round starts and ends.
- Don’t worry if your first bootie isn’t perfect. Crochet takes practice! The second one will likely look even better.
- Watch video tutorials for the basic stitches (sc, hdc, sl st, inc, decreases) if you’re unsure. Seeing the stitch formed can be very helpful.
- Keep your tension consistent. This will help your booties have a nice, even look.
- Have fun! Enjoy the process of creating something handmade for a special baby.