by
by 
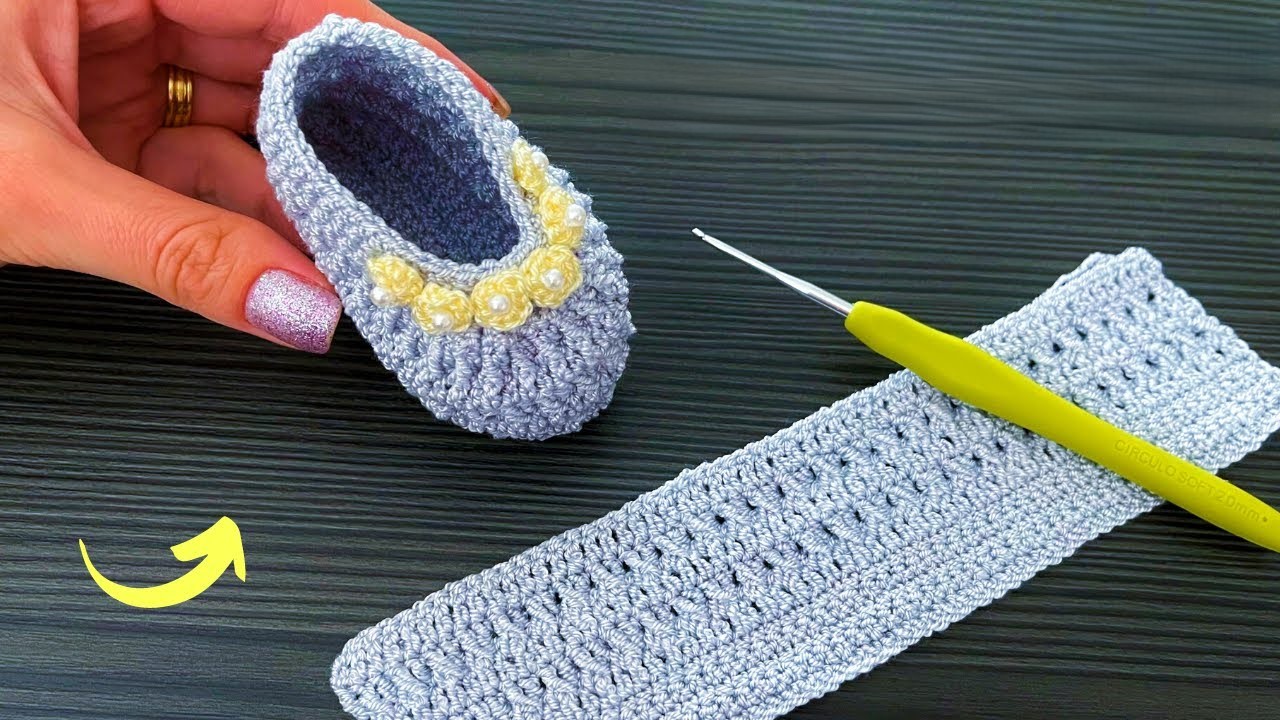
Hello fellow knitting enthusiasts! As the days get shorter and the evenings cooler, there’s nothing quite like the feeling of slipping your feet into a pair of warm, handmade slippers. Today, we’re embarking on a wonderfully simple project that delivers maximum comfort with minimal fuss: Knitted Rectangular Slippers.
Yes, you read that right – rectangular! This ingenious design uses basic knit and purl stitches to create flat rectangles that are then cleverly folded and seamed to form cozy, custom-fit slippers. Perfect for beginners and seasoned knitters alike, these slippers make fantastic gifts or a treat for your own tired feet.
So, grab your favorite chunky yarn, your needles, and let’s knit our way to ultimate foot comfort!
What You’ll Need:
- Chunky Weight Yarn: Choose a soft and durable yarn that will felt slightly with wear or washing (if using wool) or hold its shape well (for acrylic or blends). Approximately 200-300 yards should be sufficient for a pair, depending on your foot size.
- Knitting Needles: Size US 8 (5.0 mm) or size needed to obtain gauge (though gauge is quite forgiving in this project). You’ll need two needles.
- Scissors: For snipping your yarn.
- Tapestry Needle: For seaming the slipper pieces.
- Measuring Tape: To ensure a good fit.
- Stitch Markers (optional): Can be helpful for marking sections.
Understanding the Basics: Simple Stitches, Cozy Results
This pattern relies on the two most fundamental knitting stitches:
- Knit (k): Inserting your needle into the front loop of the stitch and drawing a new loop through.
- Purl (p): Inserting your needle into the back loop of the stitch and bringing the yarn to the front before drawing a new loop through.
We’ll be using variations of these stitches to create textured rectangles that will form the different parts of the slipper.
Video tutorial: https://youtu.be/PGS6B1_Rd7g
The Pattern: Knitting Your Rectangular Comfort
We’ll knit two identical rectangles for each slipper. The size of these rectangles will determine the size of your finished slippers. Here’s a general guideline for adult sizes (adjust as needed):
- Small (US Women’s 5-6 / Men’s 4-5): Approximately 8 inches wide x 11 inches long
- Medium (US Women’s 7-8 / Men’s 6-7): Approximately 9 inches wide x 12 inches long
- Large (US Women’s 9-10 / Men’s 8-9): Approximately 10 inches wide x 13 inches long
- Extra Large (US Women’s 11-12 / Men’s 10-11): Approximately 11 inches wide x 14 inches long

Instructions (Make 2 Rectangles per Slipper):
- Cast On: Cast on 36 stitches (adjust this number to achieve your desired width. Add or subtract in multiples of 2).
- Garter Stitch Section (Sole):
- Rows 1-20 (approximately 3-4 inches): Knit all stitches across. This section will form the sole of your slipper. You can adjust the number of rows here to make the sole longer or shorter.
- Stockinette Stitch Section (Instep):
- Row 21: Knit all stitches.
- Row 22: Purl all stitches.
- Rows 23-40 (approximately 4-5 inches): Repeat Rows 21 and 22. This smooth stockinette section will form the top of your instep. Adjust the number of rows for a higher or lower instep.
- Garter Stitch Section (Heel Flap):
- Rows 41-60 (approximately 3-4 inches): Knit all stitches across. This section will form the heel flap. Adjust the number of rows for a higher or lower heel.
- Bind Off: Bind off all stitches loosely.
- Repeat Steps 1-5 to create a second identical rectangle for the other slipper.

Assembling Your Cozy Slippers:
Now for the magic of turning these simple rectangles into wearable comfort!
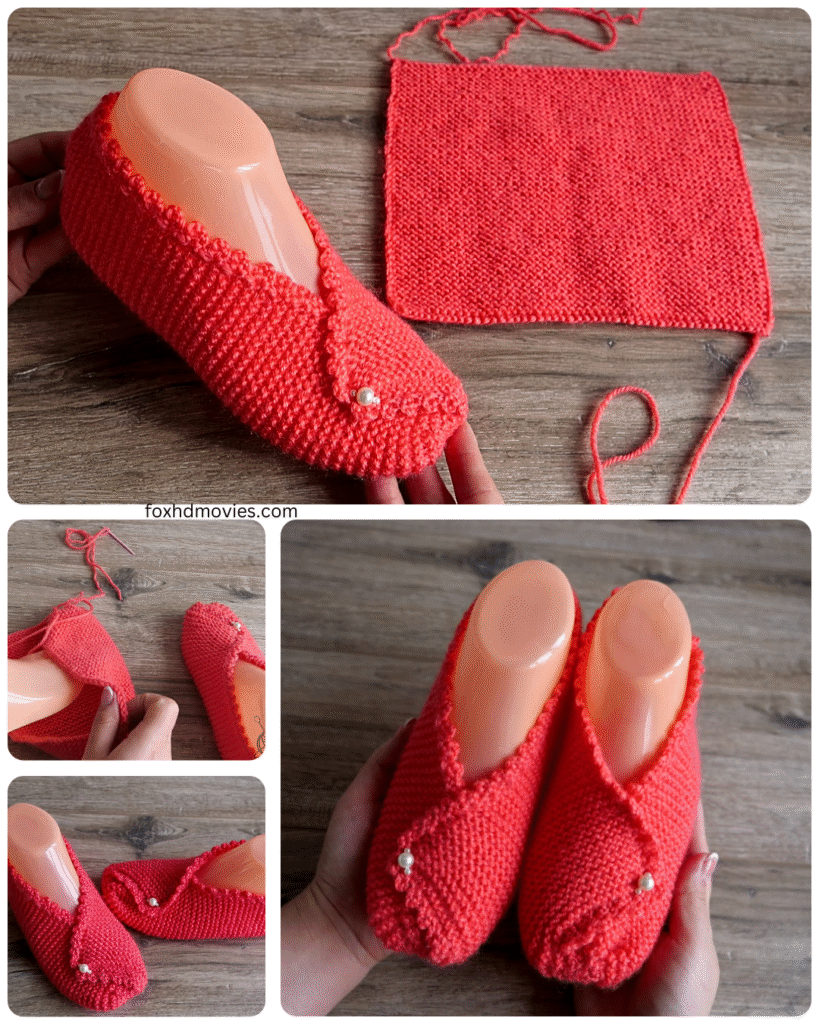
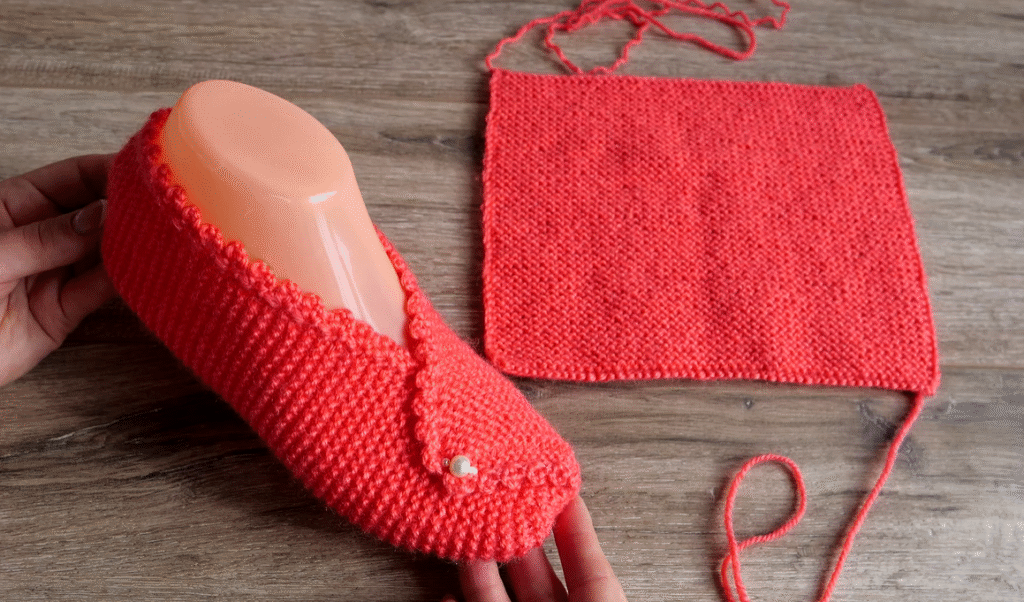
- Folding: Lay one rectangle flat with the wrong side facing up. Identify the three distinct sections created by the stitch patterns. The first garter stitch section is the sole, the middle stockinette section is the instep, and the last garter stitch section is the heel flap.
- Creating the Toe: Fold the cast-on edge (the beginning of the sole section) upwards by approximately 3-4 inches (adjust to your desired toe box height).
- Creating the Heel: Fold the bind-off edge (the end of the heel flap section) downwards by approximately 3-4 inches (adjust to your desired heel height). The folded edges of the toe and heel flap should now overlap slightly in the middle stockinette section.
- Seaming the Sides: Using your tapestry needle and a length of yarn, seam the open side edges of the slipper together, starting from the folded toe edge and continuing along the side, through the overlapped instep section, and down to the folded heel flap edge. Repeat on the other side. You are essentially creating a tube shape with openings for your foot.
- Seaming the Toe: With the wrong side still facing out, use your tapestry needle to seam across the folded edge of the toe, creating a closed toe box. You can gather the edge slightly as you sew for a neater finish.
- Seaming the Heel: Similarly, seam across the folded edge of the heel flap, creating a closed heel.
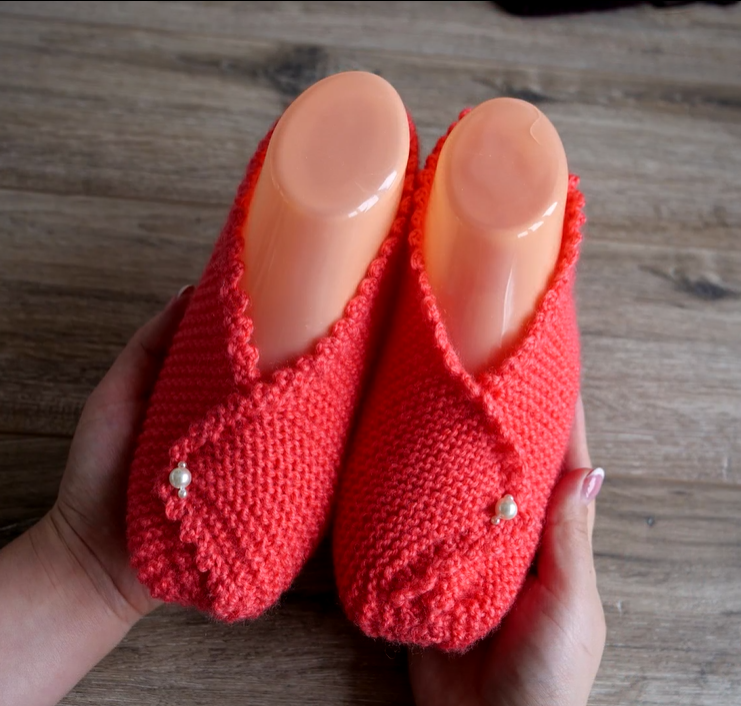
- Finishing: Turn the slipper right side out. Weave in all loose ends securely with your tapestry needle.
- Repeat the folding and seaming process for the second rectangle to create the other slipper.
Tips and Variations for Extra Comfort and Style:
- Add Grippers: For extra traction on slippery floors, you can purchase and sew on non-slip gripper soles to the bottom of your finished slippers.
- Felted Finish: If you’re using wool yarn, you can gently felt your finished slippers by hand-washing them in hot water and agitating them slightly. This will create a denser, warmer, and more durable fabric. Be cautious as felting can significantly shrink the slippers.
- Decorative Touches: Get creative with embellishments! You can add knitted or crocheted cuffs around the ankle opening, sew on buttons, pom-poms, or even embroider simple designs onto the instep.
- Stripes or Color Blocking: Knit each rectangle using different colors for stripes or color-blocked sections.
- Different Stitch Patterns: While garter and stockinette are simple and effective, you can experiment with other easy stitch patterns like seed stitch or broken rib for added texture in the rectangles. Just be mindful of how the fabric drapes when folded.