by
by 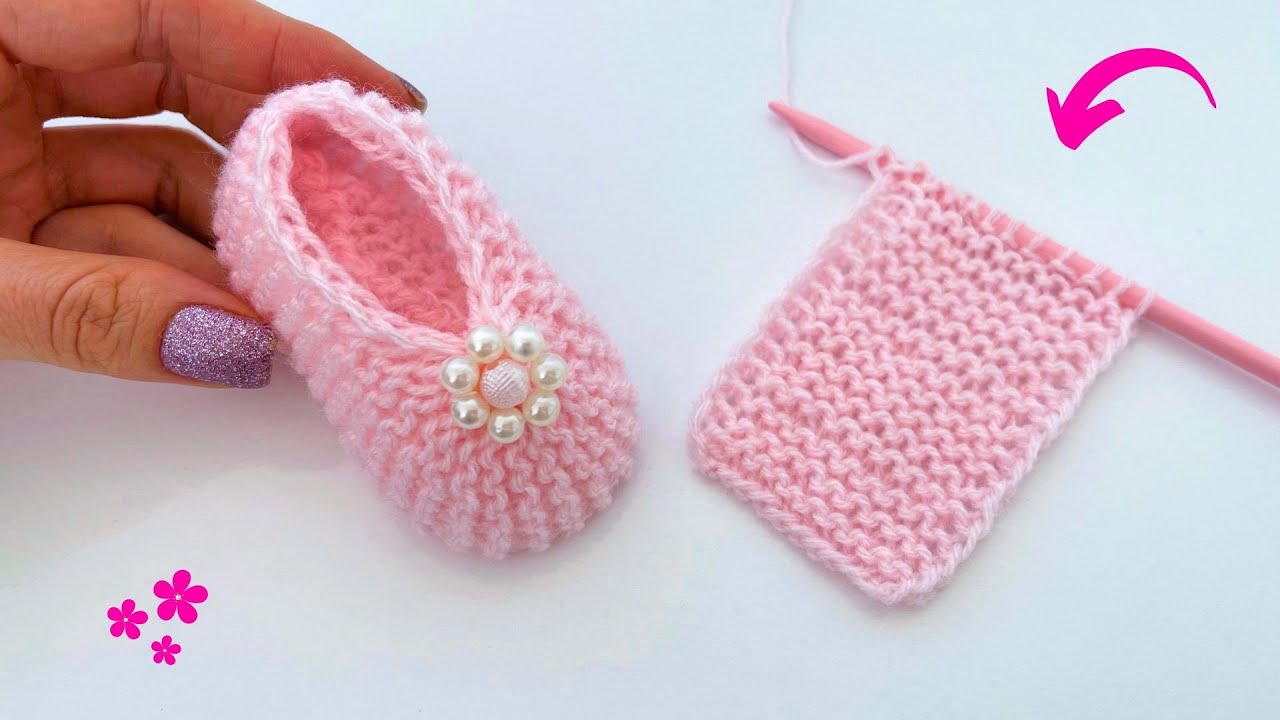

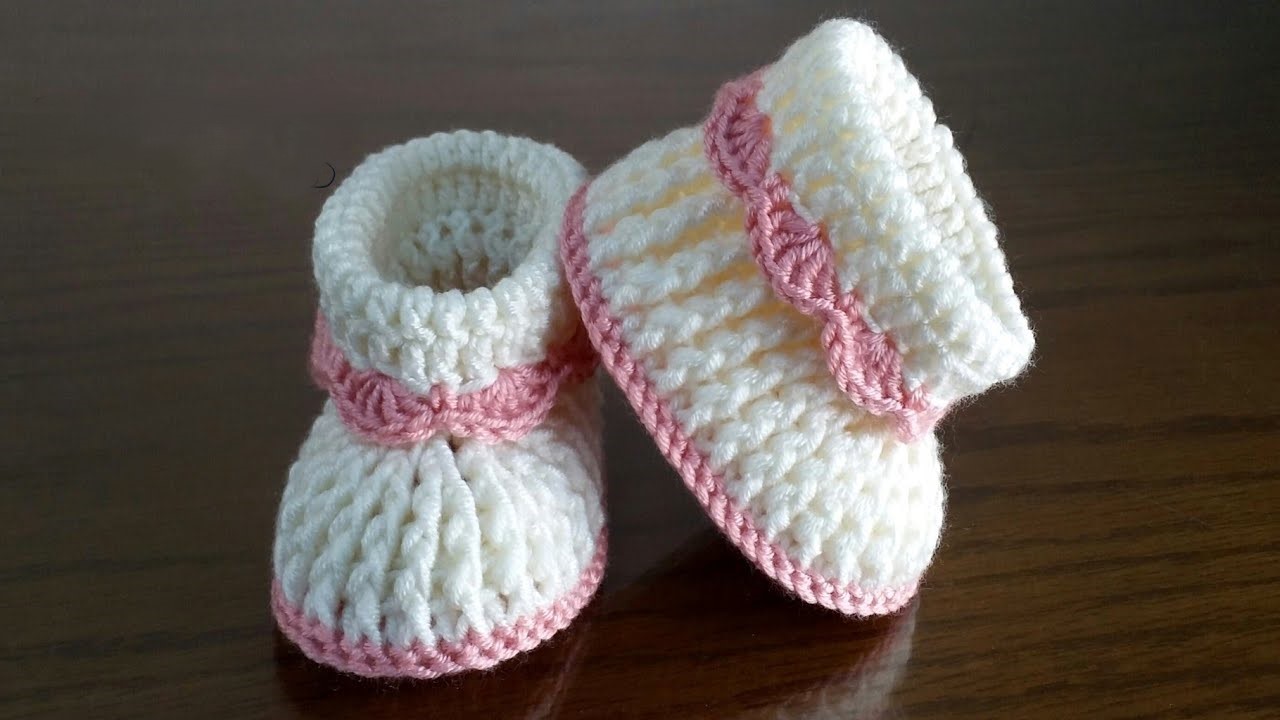
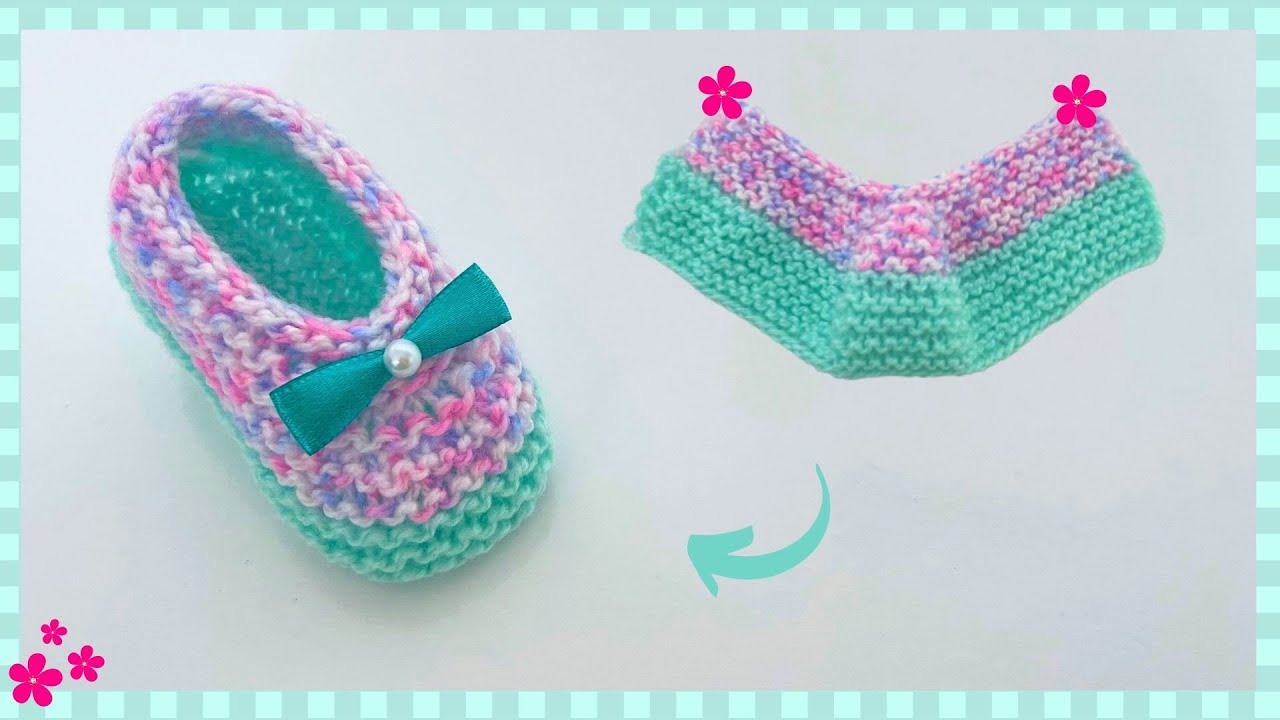
let’s get those little feet cozy! Here’s a step-by-step pattern for a super easy knitted baby shoe, perfect for beginners. We’ll keep it simple and sweet.
Materials You’ll Need:
- One ball of soft baby yarn (worsted weight is a good choice)
- One pair of knitting needles, size US 6 (4 mm) or size recommended for your yarn
- A tapestry needle for sewing up
Gauge: Don’t sweat the exact gauge too much for a beginner project like this, but aim for something around 4-5 stitches per inch in garter stitch (knitting every row).
Abbreviations:
- K: Knit
- P: Purl (we won’t use this much, keeping it easy!)
- St(s): Stitch(es)
- RS: Right Side (the outside of the shoe)
- WS: Wrong Side (the inside of the shoe)
- K2tog: Knit two stitches together (decreases a stitch)
- ssk: Slip, slip, knit (another way to decrease a stitch, looks a bit neater)
Let’s Get Knitting!

Part 1: The Sole
This part is all about simple garter stitch – knitting every single row.
- Cast On: Cast on 35 stitches onto your needle.
- Rows 1-25: Knit every row. You’ll see a lovely textured fabric forming – that’s garter stitch! This rectangle will be the base of the sole.
Part 2: Shaping the Upper
Now we’ll start shaping the top part of the shoe.
- Row 26 (RS): Knit 12, K2tog, Knit 7, K2tog, Knit 12. (33 stitches)
- Row 27 (WS): Knit all stitches.
- Row 28 (RS): Knit 11, K2tog, Knit 7, K2tog, Knit 11. (31 stitches)
- Row 29 (WS): Knit all stitches.
- Row 30 (RS): Knit 10, K2tog, Knit 7, K2tog, Knit 10. (29 stitches)
- Row 31 (WS): Knit all stitches.
- Row 32 (RS): Knit 9, K2tog, Knit 7, K2tog, Knit 9. (27 stitches)
- Row 33 (WS): Knit all stitches.
You should now see the middle section starting to narrow – this will form the front of the shoe.

Part 3: Creating the Ankle Strap (Optional, but Recommended for Keeping Shoes On!)
We’ll now create a little strap to help keep the shoe on those wiggly feet.
- Row 34 (RS): Knit 7.
- Row 35 (WS): Knit 7.
- Repeat Rows 34 and 35: Continue knitting these 7 stitches for about 3-4 inches (adjust to your preference for strap length).
- Cast Off: Cast off these 7 stitches.
- Rejoin Yarn: Now, go back to the remaining stitches on your needle (there should be 20). Attach your yarn to the first of these 20 stitches.
- Rows 36-37: Knit all 20 stitches.
- Repeat Rows 36 and 37: Continue knitting these 20 stitches for about 3-4 inches (same length as the first strap).
- Cast Off: Cast off these 20 stitches.
Part 4: Finishing and Sewing Up
Time to bring it all together!
- Shape the Toe: With your tapestry needle and yarn, thread through the remaining 7 stitches at the center of the last shaped row (Row 32). Pull gently to gather them into a rounded toe shape and secure the yarn.
- Sew the Sole: Fold the knitted piece in half lengthwise. Using your tapestry needle and yarn, sew along the cast-on edge and the opposite edge (the last row of the sole) to form the bottom of the shoe.
- Sew the Heel: Now, sew up the back of the shoe, connecting the edges from where the sole meets the upper to where the straps begin.
- Sew the Straps: Attach the ends of the straps to the sides of the shoe. You can either sew them straight on or create a small buttonhole on one strap and sew a little button onto the other side for closure (make sure the button is securely attached!).
You Did It!
You’ve now knitted one adorable baby shoe! Repeat all the steps to make the second shoe.
Video tutorial
Tips for Beginners:
- Don’t worry about perfection. The first one might look a little wonky, and that’s totally okay! Practice makes progress.
- Count your stitches regularly, especially during the shaping part, to avoid accidental increases or decreases.
- If you’re finding the K2tog difficult, you can also try ssk (slip one stitch knitwise, slip the next stitch knitwise, then knit them together through the back loops). It achieves the same decrease.
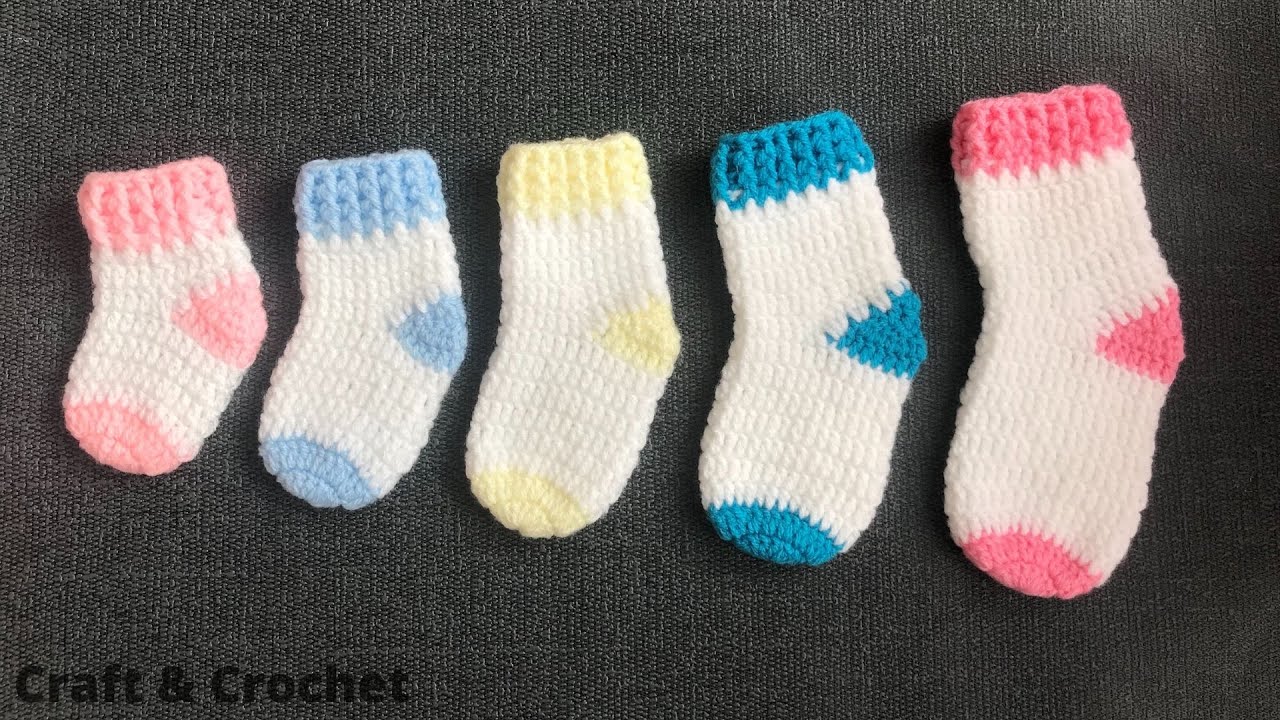
- Have fun with yarn colors! You can make these shoes in any color you like.