 by
by 
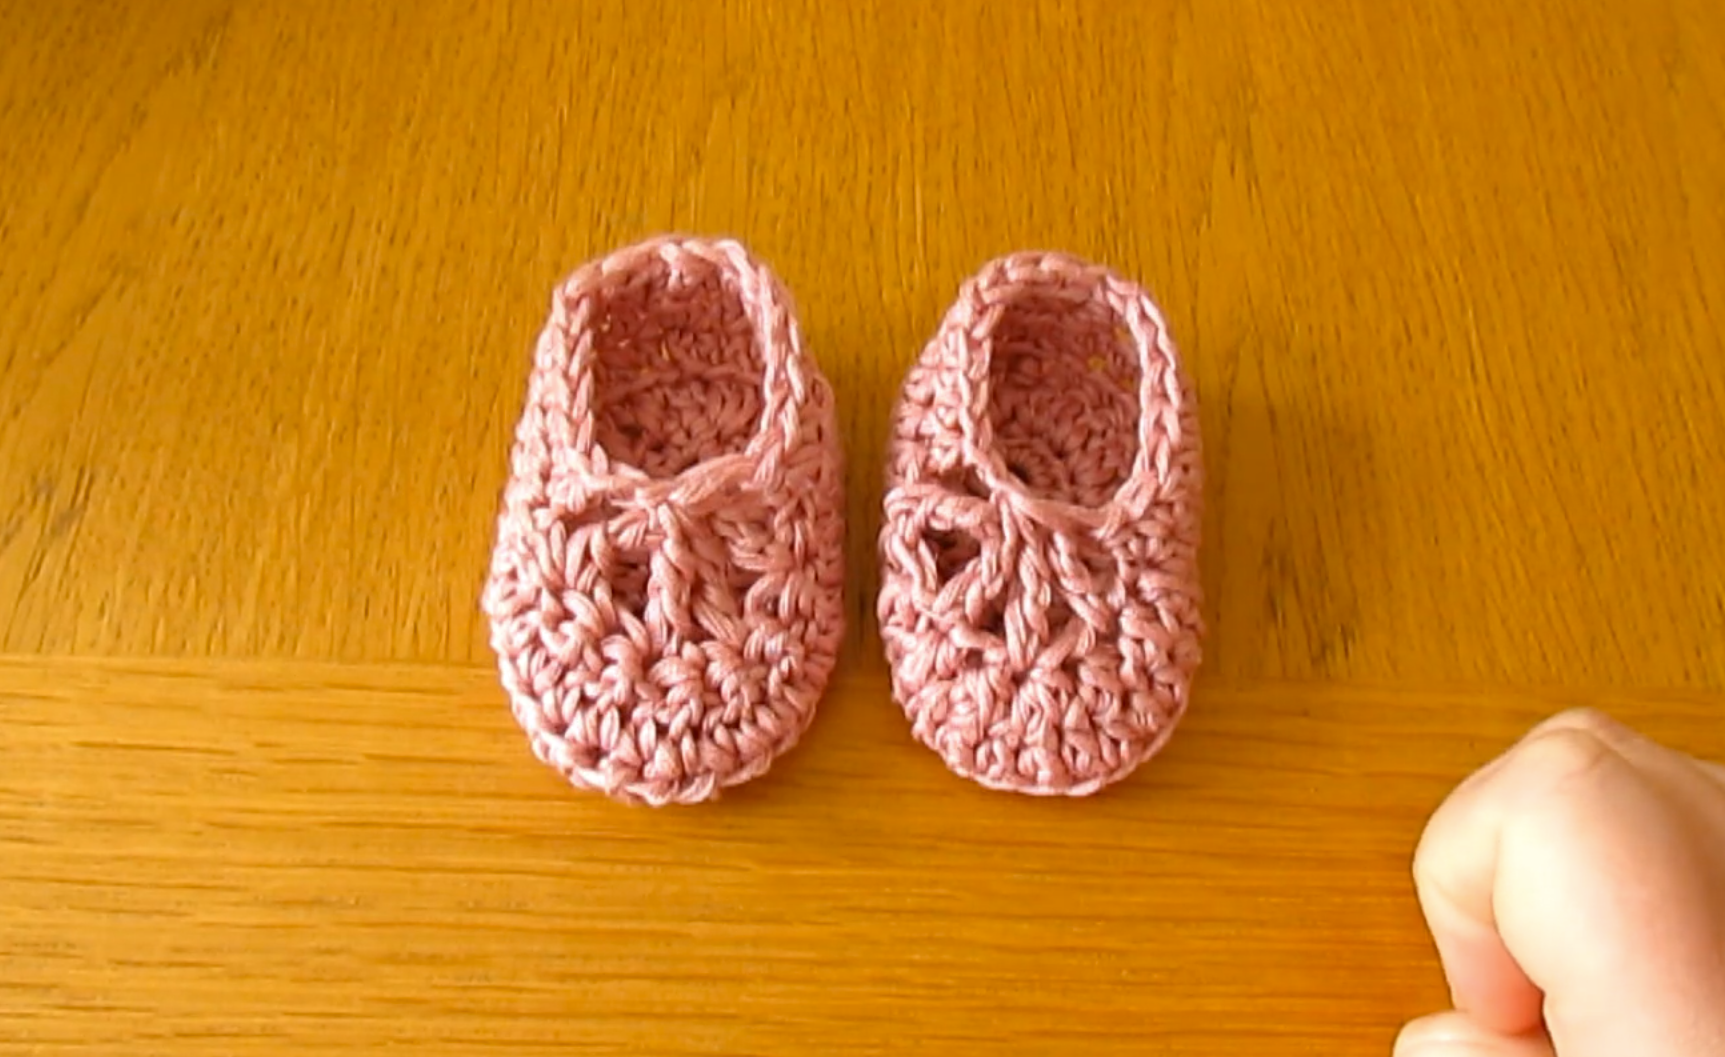
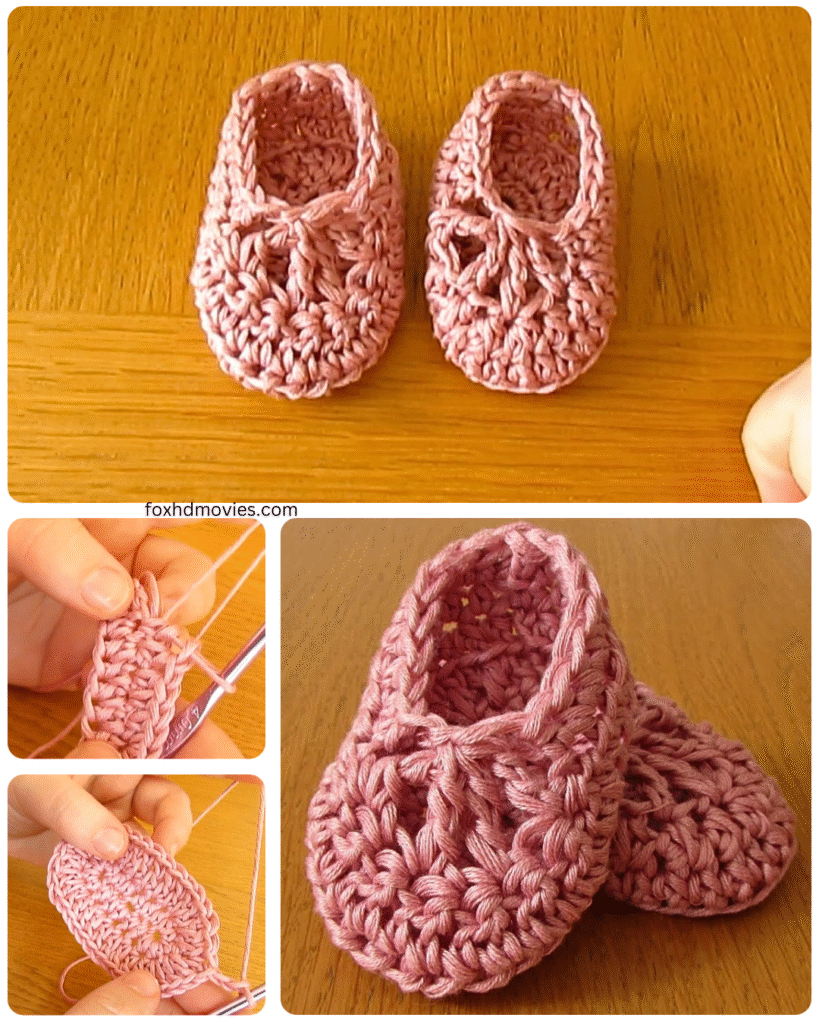
Tiny toes deserve the cutest coverings! If you’re looking for a quick, easy, and adorable crochet project, these simple baby ballet slippers are perfect. Using just a few basic stitches, you can create a lovely and practical gift for the little dancer in your life.
This pattern is designed with beginners in mind, so if you’re new to crochet, don’t be shy! We’ll walk through each step to create a soft and sweet pair of ballet slippers that are as fun to make as they are to look at.
Materials You’ll Need:
- Soft, worsted weight yarn (acrylic or a cotton blend is great for babies) in your desired color. A classic ballet pink is always a winner!
- Corresponding crochet hook (check your yarn label for a recommended size, likely around 4mm or 5mm).
- Tapestry needle for weaving in ends.
- Optional: Ribbon or elastic for straps, small felt circles for the sole (for added grip), or small embellishments like bows or flowers.
Abbreviations (US Terms):
- ch: chain
- st: stitch
- sl st: slip stitch
- sc: single crochet
- hdc: half double crochet
- dc: double crochet
- inc: increase (work 2 stitches in the same stitch)
- sc2tog: single crochet two together (decrease)
Video tutorial
Let’s Get Started!
This pattern is for a standard newborn size, approximately 3.5 inches long. You can adjust the size by changing your hook size or adding/removing rounds on the sole.
Sole (Make 2):
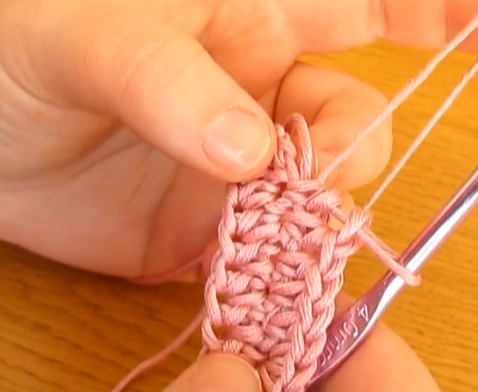
We’ll start by creating an oval-shaped sole.
- Ch 9.
- Round 1: Work 2 hdc in the 2nd ch from the hook. hdc in the next 6 chains. Work 5 hdc in the last chain. Now, working on the other side of the starting chain, hdc in the next 6 chains. Work 2 hdc in the last chain. Join with a sl st to the first hdc. (21 hdc)
- Round 2: Ch 2 (does not count as a stitch here and throughout). inc in the first 2 stitches. hdc in the next 6 stitches. inc in the next 5 stitches. hdc in the next 6 stitches. inc in the last 2 stitches. Join with a sl st to the top of the first hdc. (30 hdc)
- Round 3: Ch 2. hdc in the first stitch. inc in the next stitch, hdc in the next stitch. Repeat from * to * once more. hdc in the next 6 stitches. inc in the next stitch, hdc in the next stitch. Repeat from * to * 4 more times. hdc in the next 6 stitches. inc in the next stitch, hdc in the next stitch. Repeat from * to * once more. Join with a sl st to the top of the first hdc. (40 hdc)
Your sole should now have a nice oval shape. Fasten off and weave in the ends on one sole. For the second sole, do not fasten off.
Sides of the Slipper:
Now we’ll work up the sides of the slipper. We’ll attach the yarn to the second sole you made.
- Round 4: Ch 1 (does not count as a stitch). Working in the back loop only for this round, sc in each stitch around. Join with a sl st to the first sc. (40 sc) Working in the back loop only creates a defined edge for the sole.
- Round 5: Ch 1. sc in each stitch around. Join with a sl st to the first sc. (40 sc)
- Round 6: Ch 1. sc in the first 12 stitches. sc2tog 8 times. sc in the last 12 stitches. Join with a sl st to the first sc. (32 sc) This round starts shaping the toe of the slipper.
- Round 7: Ch 1. sc in the first 10 stitches. sc2tog 6 times. sc in the last 10 stitches. Join with a sl st to the first sc. (26 sc)
- Round 8: Ch 1. sc in each stitch around. Join with a sl st to the first sc. (26 sc)

Fasten off and weave in your ends.
Finishing Touches:
- Attaching the Soles: Place the two soles together with the wrong sides facing. Using your tapestry needle and a length of yarn, whip stitch or single crochet around the edge to join the two soles together. This creates a slightly sturdier sole for the slipper.
- Creating the Strap: You have a few options for the classic ballet slipper strap:
- Crocheted Strap: Join yarn to the side of the slipper where you want the strap to start. Ch loosely for your desired length (enough to tie a bow or secure). Fasten off. Attach yarn to the corresponding spot on the other side of the slipper and repeat to create the second strap. You can then tie these straps together over the top of the foot.
- Ribbon Straps: Cut two lengths of ribbon. Sew one end of each ribbon securely to the sides of the slipper.
- Elastic Strap: Cut a piece of elastic that will gently go across the top of the foot. Securely sew each end to the sides of the slipper.
- Adding Embellishments: Get creative! Sew on small crochet flowers, bows, or even a tiny satin ribbon bow to the toe of the slipper. For extra grip on slippery floors, you can sew small felt circles or apply a fabric-friendly non-slip पेंट (paint) to the bottom of the sole.
Your adorable, easy crochet baby ballet slippers are complete!