 by
by 
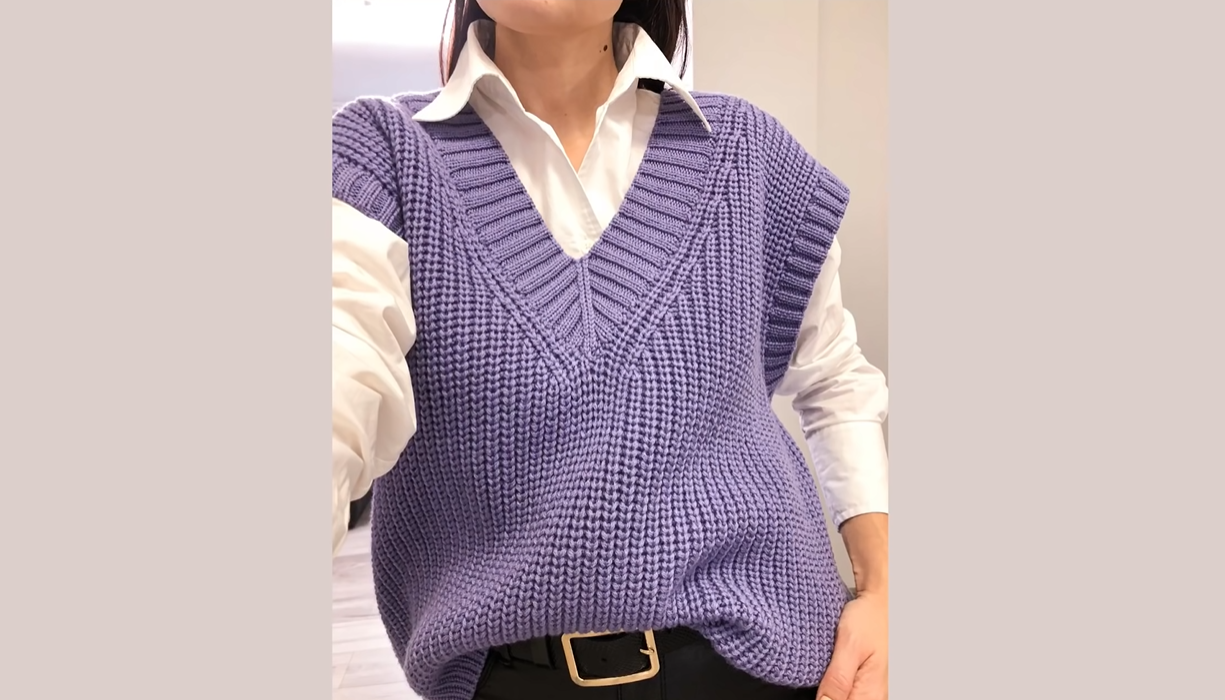
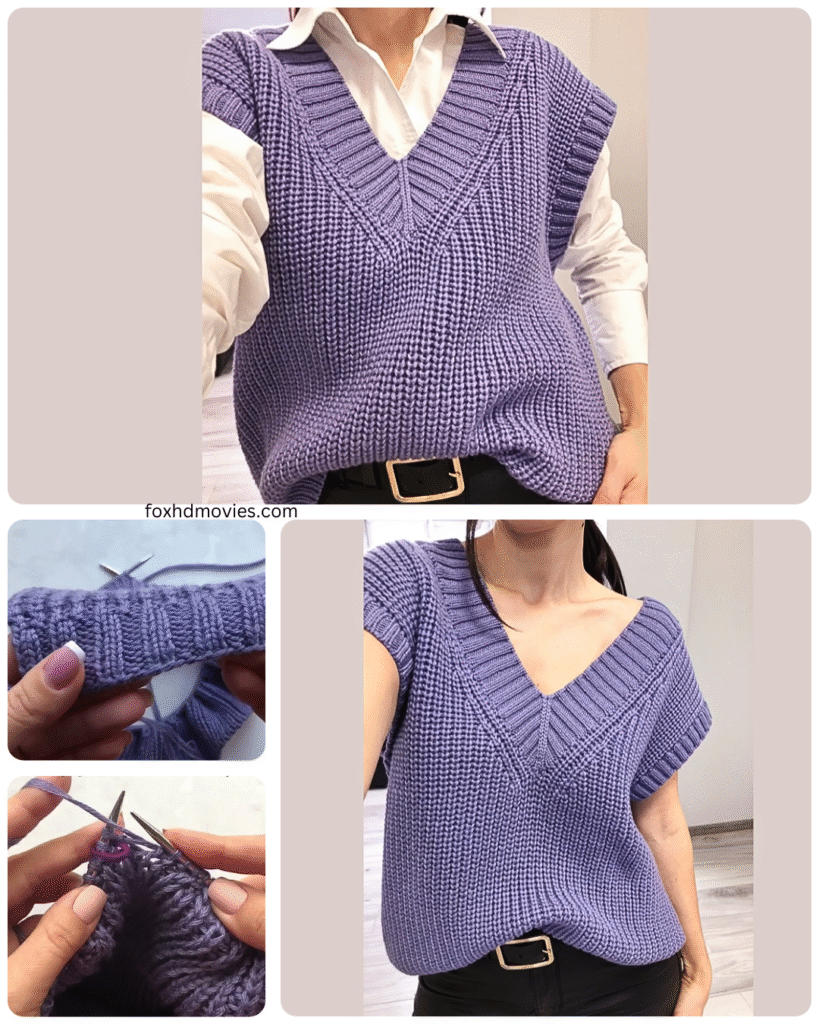
Hello fellow knitting enthusiasts! Is there anything more satisfying than wrapping yourself in a cozy, hand-knit sweater? Today, we’re embarking on a rewarding project: knitting a classic V-neck sweater. This tutorial is designed to guide you through each step, making it achievable for knitters with some basic experience.
A V-neck sweater is a timeless wardrobe staple, offering both comfort and style. Whether you prefer a relaxed fit or something more tailored, this pattern provides a solid foundation that you can customize to your liking. So, gather your needles and yarn, find a comfy spot, and let’s knit ourselves a beautiful V-neck sweater!
What You’ll Need:
- Worsted Weight Yarn: Choose a yarn you love! The amount will depend on your desired size. For an average adult size (M), you’ll likely need around 800-1200 yards. Check your yarn label for gauge recommendations.
- Circular Knitting Needles:
- One pair in the size recommended for your yarn (usually around US 7-8 / 4.5-5 mm) for the main body.
- One smaller size circular needle (about one size down) for the ribbing (e.g., US 6 / 4 mm).
- Double-Pointed Needles (DPNs) or a longer circular needle for magic loop (optional): For working the sleeves in the round.
- Stitch Markers: Essential for marking raglan increases and the V-neck shaping. You’ll need at least 4.
- Row Counter: To keep track of your progress.
- Measuring Tape: To ensure accurate sizing.
- Scissors: For snipping yarn.
- Tapestry Needle: For weaving in ends.
- Cable Needle or Stitch Holder (optional): For holding stitches during the V-neck shaping.
Understanding the Basics: Stitches and Techniques
This pattern utilizes the following basic knitting stitches and techniques:
- Knit (k): The fundamental stitch in knitting.
- Purl (p): The other fundamental stitch, creating a textured surface.
- Stockinette Stitch (St st): Knit on the right side (RS) and purl on the wrong side (WS).
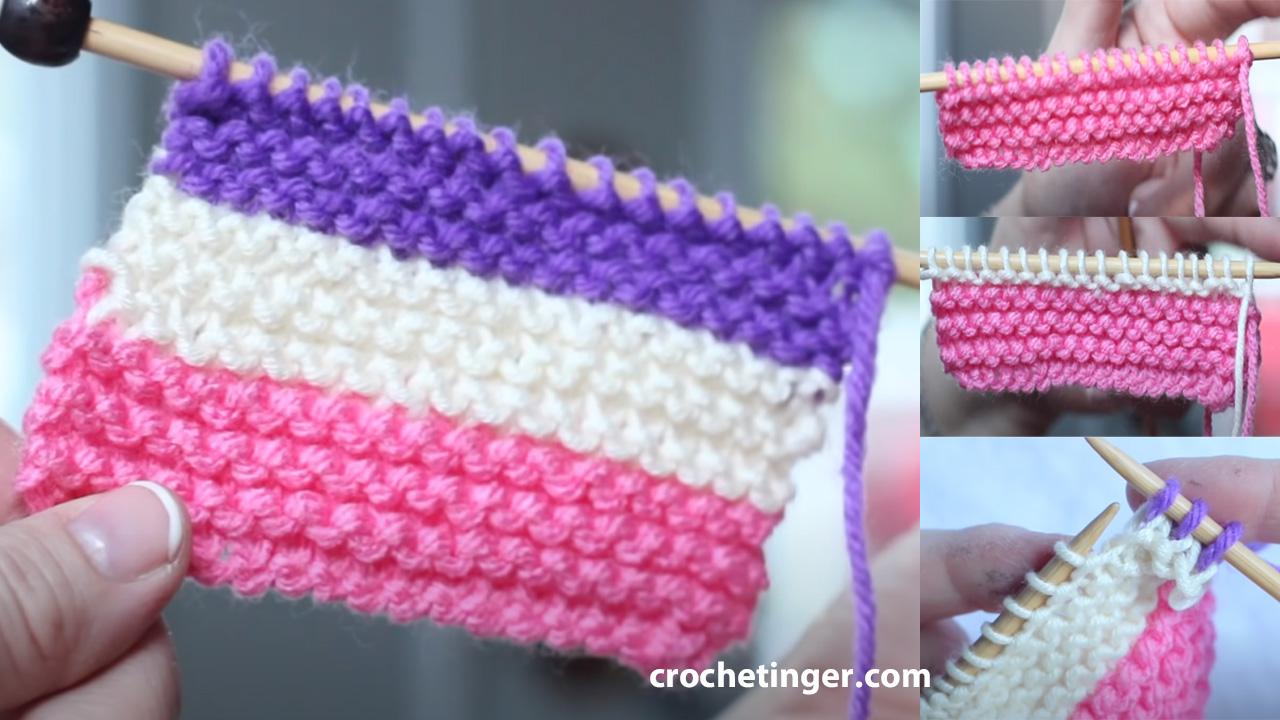
- Garter Stitch: Knit every row. Used for the initial cast-on edge.
- Ribbing (k1, p1 or k2, p2): Creates a stretchy and neat edge for the cuffs, hem, and neckband. We’ll use k1, p1 ribbing.
- Make One Right (M1R): A common increase that leans to the right.
- Make One Left (M1L): A common increase that leans to the left.
- Slip, Slip, Knit (ssk): A left-leaning decrease.
- Knit Two Together (k2tog): A right-leaning decrease.
- Picking Up Stitches: A technique used for creating the neckband.
- Binding Off: Finishing the edges of your knitted pieces.
Video tutorial
The Pattern: Knitting Your V-Neck Masterpiece
This pattern is written for a bottom-up, raglan construction with V-neck shaping.
1. Back:
- Using the smaller circular needles, cast on the required number of stitches for your desired size (e.g., 90 stitches for a size M) using a stretchy cast-on method.
- Rows 1-8 (Garter Stitch): Knit every row.
- Switch to larger circular needles.
- Row 9 (RS): Knit across.
- Row 10 (WS): Purl across.
- Continue in Stockinette Stitch (knit on RS, purl on WS) until the back measures approximately [desired length to underarm – e.g., 16 inches].
- Divide for Raglan: On the next RS row, bind off [number of stitches for armhole – e.g., 4] stitches at the beginning of the row. Knit to the last [number of stitches for armhole] stitches, and bind off those stitches.
- Continue in Stockinette Stitch, decreasing 1 stitch at the beginning of the next two rows (WS and RS) at each armhole edge.
- Continue decreasing 1 stitch at each armhole edge every other RS row until you have [remaining number of stitches for back neck – e.g., 30] stitches.
- Work straight in Stockinette Stitch until the back measures approximately [desired total length to shoulder – e.g., 24 inches].
- Bind off all stitches for the back neck and shoulders.

2. Front:
- Using the smaller circular needles, cast on the same number of stitches as the back (e.g., 90 stitches).
- Rows 1-8 (Garter Stitch): Knit every row.
- Switch to larger circular needles.
- Row 9 (RS): Knit across.
- Row 10 (WS): Purl across.
- Continue in Stockinette Stitch until the front measures the same length as the back to the underarm.
- Divide for Raglan and V-Neck: On the next RS row, bind off [number of stitches for armhole] stitches at the beginning of the row. Knit to the last [number of stitches for armhole] stitches, and bind off those stitches.
- On the next WS row, purl across, decreasing 1 stitch at each armhole edge.
- Begin V-Neck Shaping (RS): Knit to the center two stitches. Slip the first of these two stitches knitwise, knit the second stitch, then pass the slipped stitch over the knitted stitch (ssk – left-leaning decrease). Place a marker. Knit to the end of the row.
- Next WS Row: Purl to one stitch before the marker, purl two together (p2tog – right-leaning decrease). Purl the last stitch.
- Continue raglan decreases as on the back (every other RS row at each armhole edge).
- Continue V-neck decreases every RS row (or every other RS row for a shallower V-neck) at the marker.
- Work until the front measures the same total length as the back to the shoulder.
- Bind off the remaining shoulder stitches.

3. Sleeves (Make 2):
- Using the smaller DPNs or magic loop method, cast on the required number of stitches for your desired sleeve circumference (e.g., 40 stitches).
- Work in k1, p1 ribbing for approximately [desired cuff length – e.g., 2 inches].
- Switch to larger needles.
- Work in Stockinette Stitch, increasing 1 stitch at the beginning and end of every [desired number of rows – e.g., 8th] row until you have the desired number of stitches for the upper arm (e.g., 60 stitches).
- Continue in Stockinette Stitch until the sleeve measures approximately [desired length to underarm – e.g., 18 inches].
- Shape Raglan Cap: Bind off [number of stitches for armhole – e.g., 4] stitches at the beginning of the next two rounds.
- Decrease 1 stitch at the beginning of the next round and 1 stitch at the end of the next round.
- Continue decreasing 1 stitch at the beginning and end of every other round until [remaining number of sleeve stitches – e.g., 10] stitches remain.
- Bind off the remaining stitches.
4. Blocking:
- Gently hand wash all your knitted pieces in lukewarm water with a mild soap.
- Carefully squeeze out excess water (do not twist or wring).
- Lay the pieces flat on a blocking board or foam mat.
- Pin the pieces to your desired measurements, paying attention to the armhole and neck shaping.
- Allow the pieces to dry completely.
5. Assembly:
- Using the tapestry needle, sew the raglan seams together, aligning the decreases.
- Sew the side seams of the body and the underarm seams of the sleeves in one continuous seam.
6. Neckband:
- Using the smaller circular needles, pick up stitches around the V-neck opening. Aim for a multiple of 2 stitches.
- Round 1: Knit all picked-up stitches.
- Work in k1, p1 ribbing for approximately [desired neckband width – e.g., 1 inch].
- Shape the V-Neck: To create a neat V-neck, you’ll need to work a centered double decrease (sl 1, k2tog, psso) at the center front point on every other round (or every round, depending on your preference). Place a stitch marker at the center front to help you identify this point.
- Continue working in ribbing and shaping the V-neck until the neckband reaches your desired width.
- Bind off all stitches using a stretchy bind-off method.
Congratulations! You’ve now knit your very own V-neck sweater. Weave in all remaining ends, give it a final press if needed (following yarn care instructions), and wear your handmade creation with pride!
Customization Ideas:
- Different Ribbing: Experiment with k2, p2 ribbing or other ribbing patterns for the cuffs, hem, and neckband.
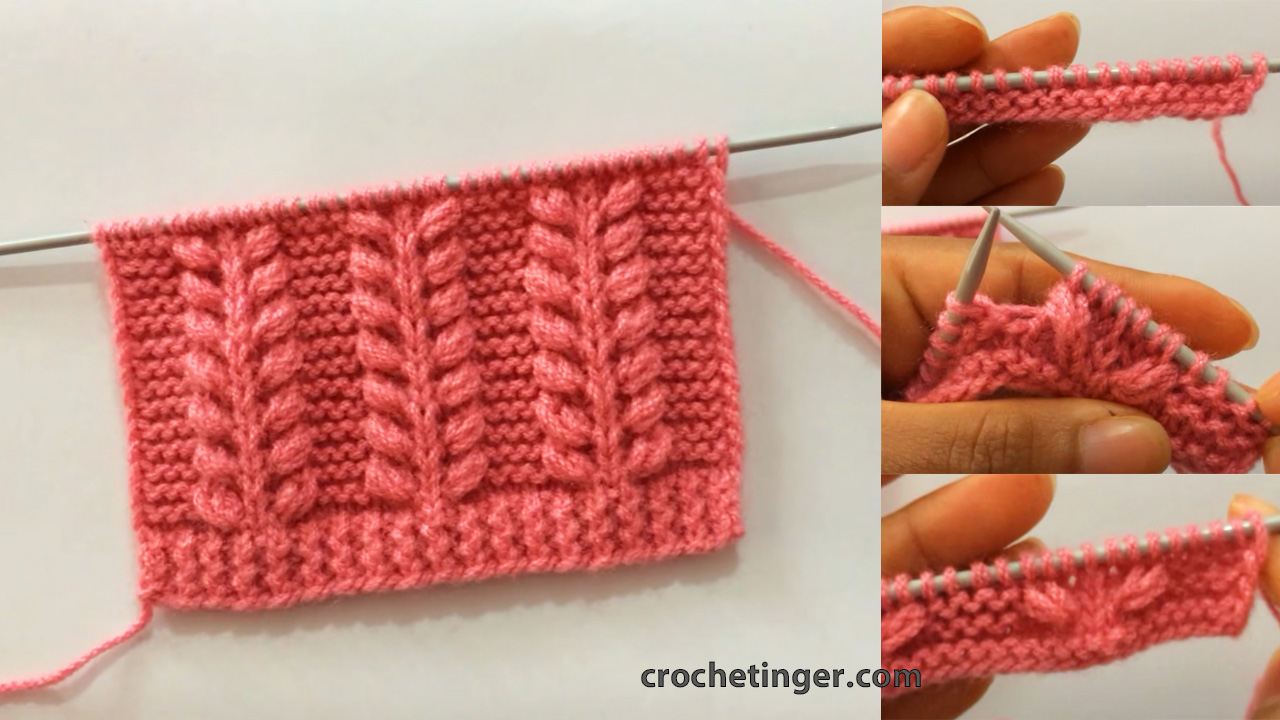
- Texture: Incorporate textured stitches like cables, seed stitch, or moss stitch into the body or sleeves.
- Colorwork: Add stripes or other colorwork patterns for a unique look.
- Fit: Adjust the number of cast-on stitches and the rate of increases/decreases to achieve a looser or more fitted silhouette.
- Yarn Choice: The look and feel of your sweater will vary greatly depending on the yarn you choose.