by
by 
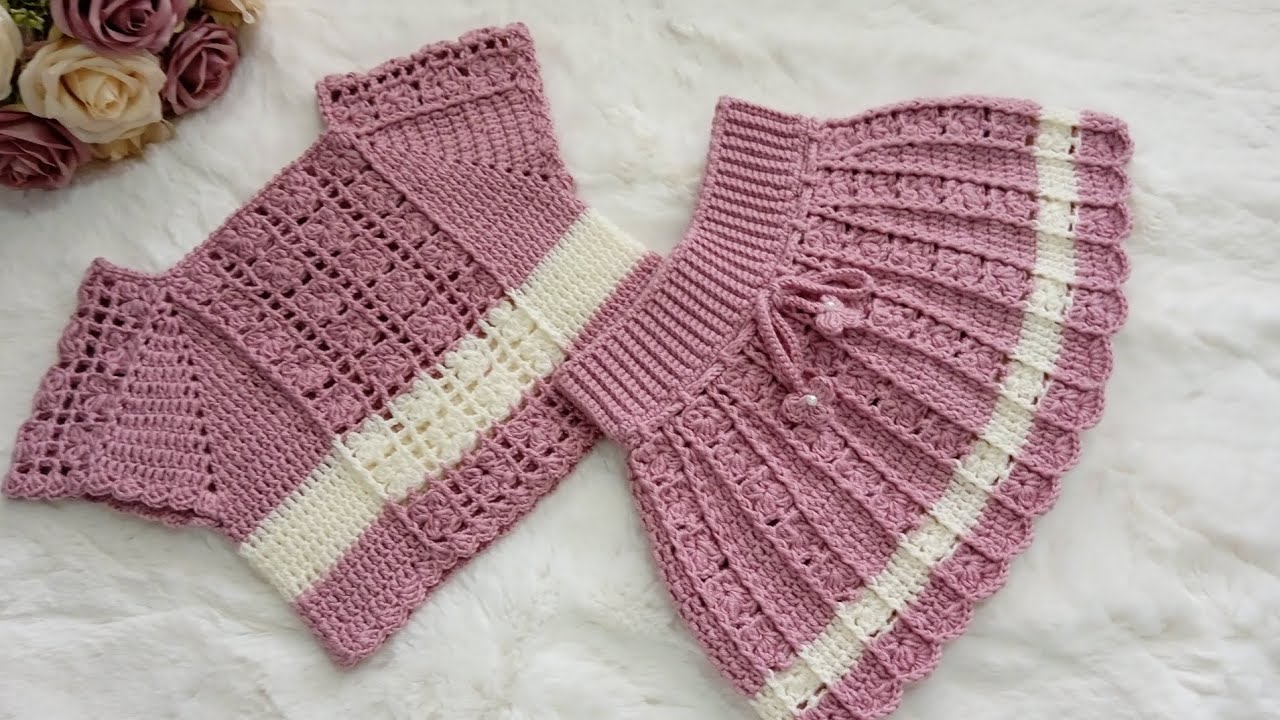
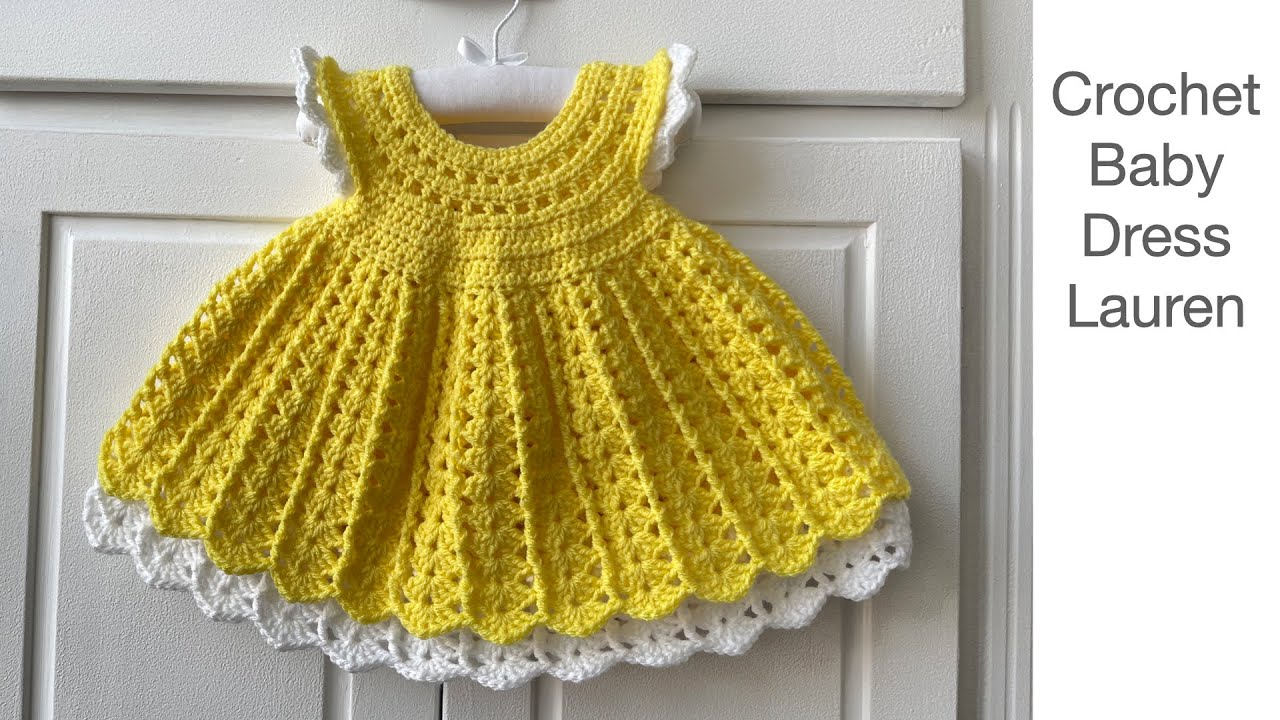
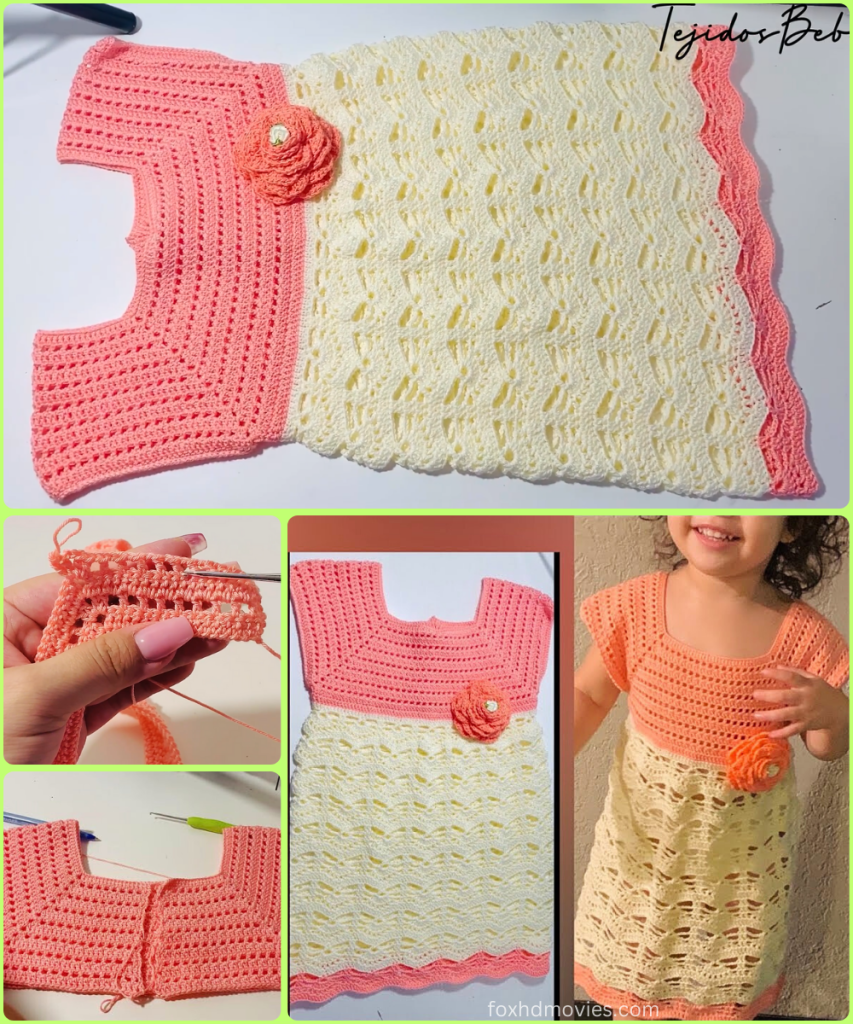
Create a delightful and stylish dress for a precious baby with this original crochet pattern. This design features a two-toned construction with a lacy, textured yoke and a full, flowing skirt. The optional rosette applique adds a touch of classic elegance, making this a perfect handmade gift or a cherished keepsake.
Let’s pick up our hooks and create this beautiful dress!
Skill Level: Intermediate
Materials You’ll Need:
- Yarn:
- Approximately 150-200 yards of sport (size 2) or DK (size 3) weight yarn in a main color (e.g., the pink for the yoke).
- Approximately 200-250 yards of sport (size 2) or DK (size 3) weight yarn in a contrasting color (e.g., the cream for the skirt).
- A crochet hook appropriate for your yarn. A size G/6 (4.0mm) hook is a good starting point.
- Scissors
- Yarn needle for weaving in ends
- Stitch markers
Key Stitches and Abbreviations:
- ch: chain
- st(s): stitch(es)
- sl st: slip stitch
- sc: single crochet
- dc: double crochet
- tr: treble crochet
- Shell/Fan st: fan stitch ([5 dc] in the same stitch)
- V-st: V-stitch (dc, ch 1, dc) in the same stitch
- sk: skip
- sp: space
- rnd: round
Pattern Instructions:
Part 1: The Yoke (Pink Yarn)
The yoke is worked in the round from the top down, with increases to create a flat, circular shape.
- Rnd 1 (Neckline): ch 65 (or adjust for desired neck opening), sl st to the first ch to form a ring. (65 sts)
- Rnd 2: ch 3 (counts as dc), dc in each st around. Join with sl st.
- Rnd 3 (Lace Yoke): ch 3, dc in next 2 sts, ch 1, sk 1 st. Repeat from * around. Join with sl st.
- Rnd 4: ch 3, dc in each dc and ch-1 sp around. Join with sl st.
- Rnd 5: ch 3, dc in each st and ch-1 sp around, evenly increasing by approximately 10-15 stitches to ensure the yoke lies flat.
- Continue working rounds of dc and the lace pattern, increasing the stitch count as needed to form a flat, round yoke. Work until the yoke is wide enough to reach the armpits.
Part 2: Separate Armholes
Now you will create the armholes and begin working on the skirt.
- Split for Sleeves: Place stitch markers to divide the stitches into sections for the front, back, and two sleeves.
- Continue Body: ch 3, and continue your pattern across the stitches for the front panel. When you reach the first sleeve marker, ch 5 and skip all sleeve stitches to the next marker. Continue the pattern across the back stitches. When you reach the third marker, ch 5 and skip the remaining sleeve stitches. Join the round.
Part 3: The Skirt (Cream Yarn)
The skirt is worked in continuous rounds from the armhole separation down to the hem.
- Rnd 1: With cream yarn, ch 3, dc in each dc and ch st around, including in the ch-5 spaces under the armpits. Join with sl st.
- Rnd 2 (Fan Stitch Skirt): ch 1, sc in first st. sk 2 sts, [5 dc] in next st (this is your shell stitch), sk 2 sts, sc in next st. Repeat from * around. Join with sl st.
- Rnd 3: ch 1, sc in the first sc. [5 dc] in the center dc of the next shell. Repeat from * around. Join with sl st.
- Repeat Rnd 3 until the skirt reaches your desired length. To create the full, flared look of the dress, you can increase the stitch count every few inches by using a wider shell stitch (e.g., [7 dc] instead of 5).

Part 4: The Ruffled Hem (Pink Yarn)
The skirt is finished with an elegant, ruffled border.
- Join pink yarn to the hem of the skirt.
- Rnd 1 (Ruffled Border): ch 1, sc in first st. sk 1, [3 dc, ch 1, 3 dc] in next st (this is your ruffled shell), sk 1, sc in next st. Repeat from * around. Join with sl st. Fasten off.
Part 5: The Rosette Applique (Pink Yarn)
This will create a ruffled, multi-layered flower.
- Base Chain: ch 30 (or a longer chain for a larger flower).
- Rnd 1: ch 2 (counts as hdc), hdc in 2nd ch from hook and in each ch across. Turn.
- Rnd 2: ch 1, sc in next st, 5 dc in next st. Repeat from * across. You will see the piece start to curl into a rosette.
- Fasten off, leaving a long tail for sewing. Roll the piece into a spiral, starting from the end without the tail.
- Use the long tail to sew the bottom edges of the spiral together to secure the shape of the flower.

Finishing Touches:
- Weave in all loose ends.
- Sew the rosette applique to the yoke of the dress.
- Gently block the finished dress to help the stitches relax and the pattern to lay flat.
Video tutorial
You’re Done!
Congratulations! You have just crocheted a beautiful and elegant two-toned baby dress. The combination of colors and textures makes this a truly special and heartfelt garment.
Share your finished “Rosette Bloom Dress” with me on social media using #RosetteBloomDress – I would be absolutely delighted to see your beautiful creations! Happy crocheting!