by
by 
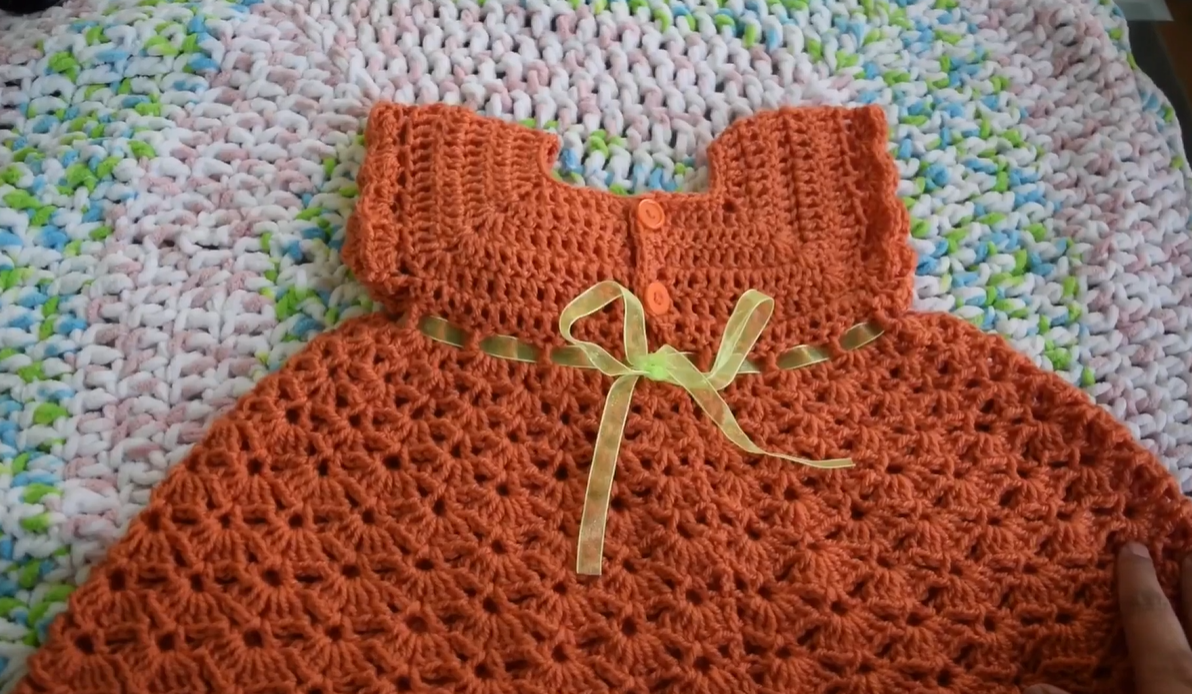
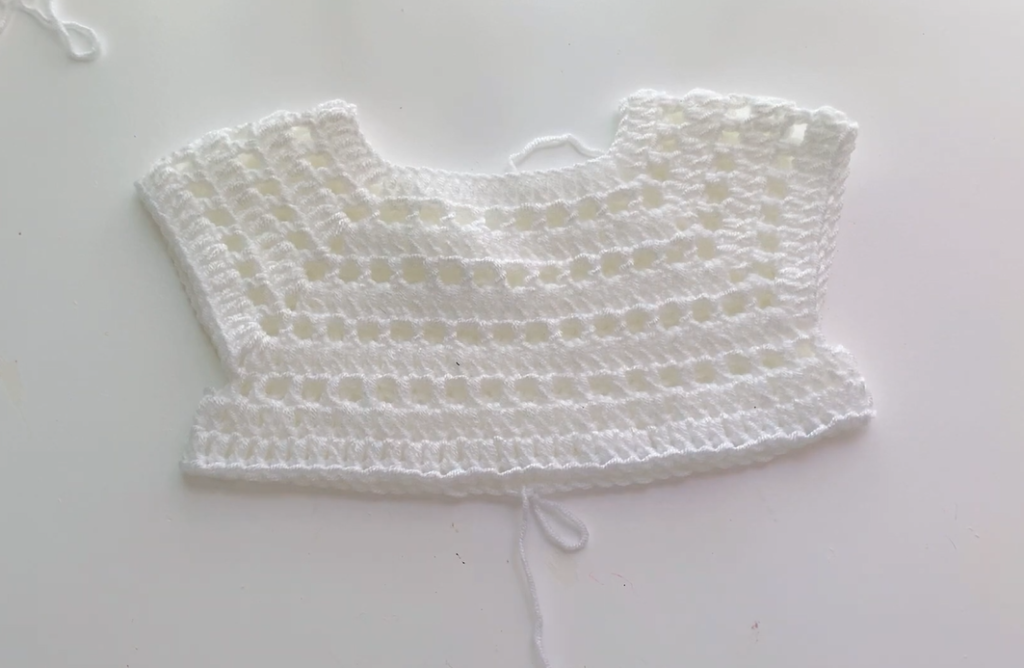
Create an elegant garment for a special little girl with this long and detailed crochet pattern. Inspired by the beautiful red dress shown in your image, this “Coral Sunset Dress” features a classic, top-down construction that begins with a solid yoke and flows into a beautifully textured, lacy skirt. Finished with a delicate floral applique and a graceful scalloped hem, this dress is a timeless piece that will be cherished.
The pattern is written for a child size 2-3 years, as indicated in your image, but notes on how to adjust the size are included.
Skill Level: Intermediate – The pattern uses basic stitches but requires careful counting and shaping.
Materials You’ll Need:
- Yarn: Approximately 300-400 yards of DK (size 3) or Worsted (size 4) weight yarn in a solid color (e.g., the pictured red/coral).
- Crochet Hook: A size H/8 (5.0mm) hook is recommended for a 2-3 year-old size.
- Scissors
- Yarn Needle for weaving in ends and attaching the flower.
- Stitch Markers (at least 4)
- A small amount of yarn in a contrasting color (e.g., white or cream) for the flower applique.
- A small bead or button for the center of the flower.
Key Stitches and Abbreviations:
- ch: chain
- st(s): stitch(es)
- sl st: slip stitch
- sc: single crochet
- dc: double crochet
- tr: treble crochet
- inc: increase (2 dc in the same stitch)
- Shell/Fan st: fan stitch ([3 dc] in the same stitch)
- V-st: V-stitch (dc, ch 1, dc) in the same stitch
- sk: skip
- sp: space
- rnd: round
Detailed Pattern Instructions
Part 1: The Yoke
The yoke is worked seamlessly in the round, from the top down. It forms a flat circle with strategic increases to accommodate the shoulders and chest.

- Rnd 1 (Neckline): ch 78, sl st to the first ch to form a ring. (78 sts)
- Rnd 2: ch 3 (counts as dc), dc in each st around. Join with sl st.
- Rnd 3 (Increase Round): ch 3 (counts as dc), dc in next st, inc in next st, dc in next 2 sts. Repeat from * around. You will likely need to adjust the number of stitches between increases to maintain a flat circle. Join with sl st.
- Rnd 4: ch 3, dc in each st around. Join with sl st.
- Rnd 5 (Increase Round): ch 3 (counts as dc), dc in next 2 sts, inc in next st, dc in next 3 sts. Repeat from * around, adjusting as needed. Join with sl st.
- Rnd 6-8: Repeat Rnd 4, working a few more increase rounds (about every 2-3 rows) as needed until the yoke measures approximately 6-7 inches from the neckline to the bottom edge. The goal is to create a flat, circular piece large enough to cover the shoulders and chest comfortably.
Part 2: Separate Armholes
This is the most critical step to transition from the flat yoke to the dress’s body.
- Split for Sleeves: Lay the yoke flat and fold it in half. Use stitch markers to divide the stitches into front, back, and two sleeve sections. For a 2-3 year-old size, this might be roughly 45 stitches for the front, 45 for the back, and 30 for each sleeve.
- Continue Body: ch 3, and continue working the last dc pattern across the stitches for the front panel. When you reach the first sleeve marker, chain 5 (or enough to comfortably bridge the gap under the arm) and skip all the sleeve stitches to the next marker. Continue the pattern across the back stitches. When you reach the third marker, chain 5 and skip the remaining sleeve stitches. Join the round.
Part 3: The Skirt
The skirt is worked in continuous rounds from the armhole separation down to the hem. The lacy fan pattern creates a full, flowing shape.

- Rnd 1 (Set-up): ch 3, dc in each dc and ch st around, including in the ch-5 spaces under the armpits. Join with sl st.
- Rnd 2 (Lacy Fan Pattern): ch 3 (counts as dc), sk 2 sts, [3 dc] in next st (this is your fan stitch), sk 2 sts, dc in next st. Repeat from * around. Adjust the pattern at the end of the round to fit evenly. Join with sl st.
- Rnd 3: ch 3, sk the first dc of the next fan, [3 dc] in the center dc of the fan, sk the last dc of the fan, dc in the next dc. Repeat from * around. Join with sl st.
- Repeat Rnd 3 for the remainder of the skirt. The repeating fan pattern will naturally create the A-line shape. Continue working until the skirt reaches your desired length, or approximately 10-12 inches from the armpits to the hem.
Part 4: The Finishing Edges
The scalloped edging on the hem and neckline adds a beautiful, professional finish.
- Hemline: Join yarn to the hem of the skirt. Work a round of sc evenly around. Then, work a round of edging: sk 1 st, [2 dc, ch 1, 2 dc] in next st, sk 1 st, sc in next st. Repeat from * around. This creates a slightly ruffled, scalloped look.
- Neckline: Join yarn to the neckline. Work a round of sc evenly around. Then, repeat the scalloped edging pattern from the hemline.
- Sleeves: Join yarn to the armhole openings and repeat the scalloped edging pattern.
Part 5: The Flower Applique (Contrasting Yarn)
The flower adds a sweet and elegant focal point to the dress.
- Inner Ring: ch 4, sl st to the first ch to form a ring.
- Petals: ch 3 (counts as dc), [2 dc, ch 1, sl st] in the ring. Repeat this pattern 4 more times to create 5 petals.
- Fasten off, leaving a long tail for sewing.
- Sew the flower securely to the yoke of the dress, near the top, as shown in the image. Sew a small bead or button in the center of the flower.
Part 6: Finalizing
- Weave in all loose ends securely with your yarn needle.
- Gently block the finished dress to help the stitches lay flat and the skirt to drape beautifully.
Video tutorial
You’re Done!
Congratulations! You have just completed the beautiful and intricate “Coral Sunset Dress.” Your attention to detail has resulted in a one-of-a-kind garment that is both a work of art and a loving creation. This is a pattern that will be cherished and a dress that will be adored.