 by
by 
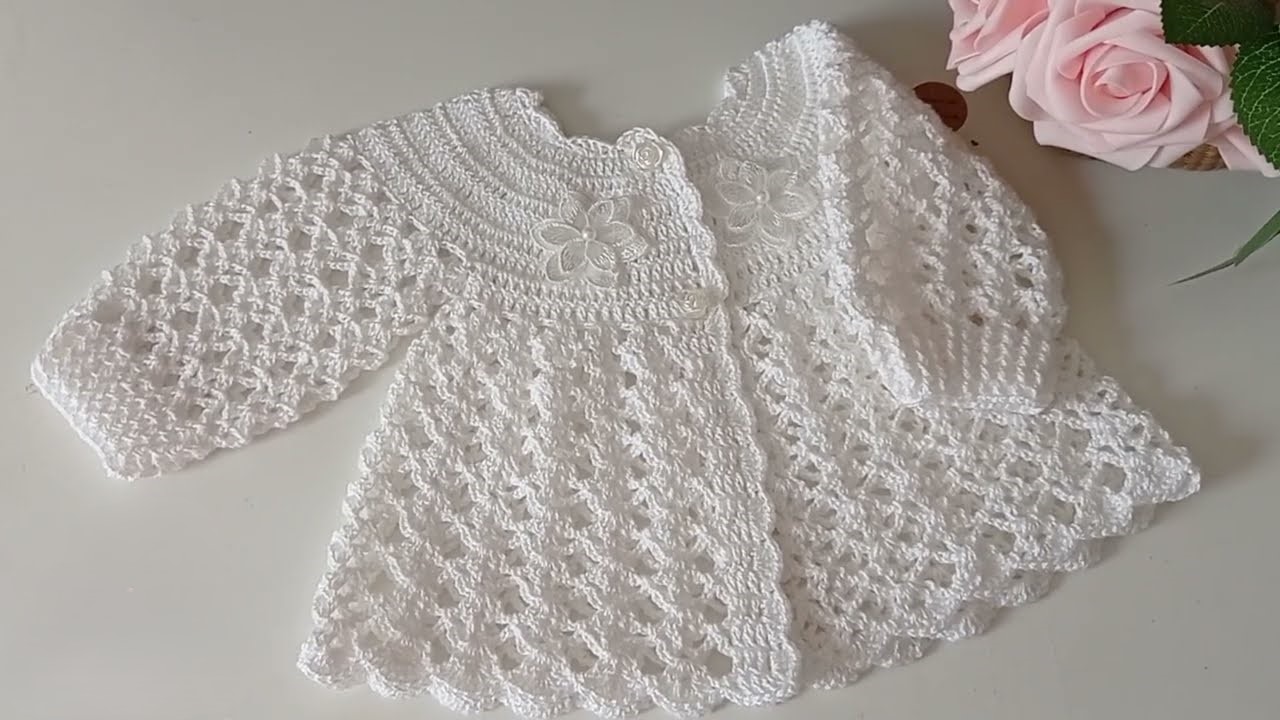
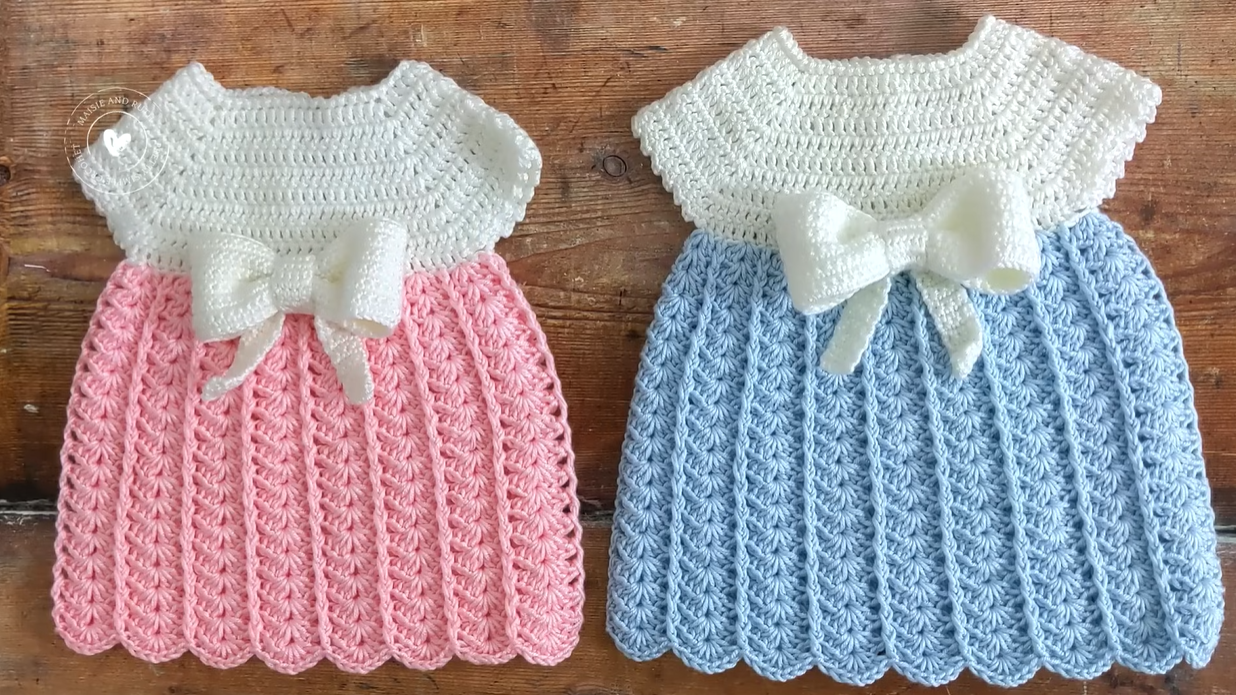
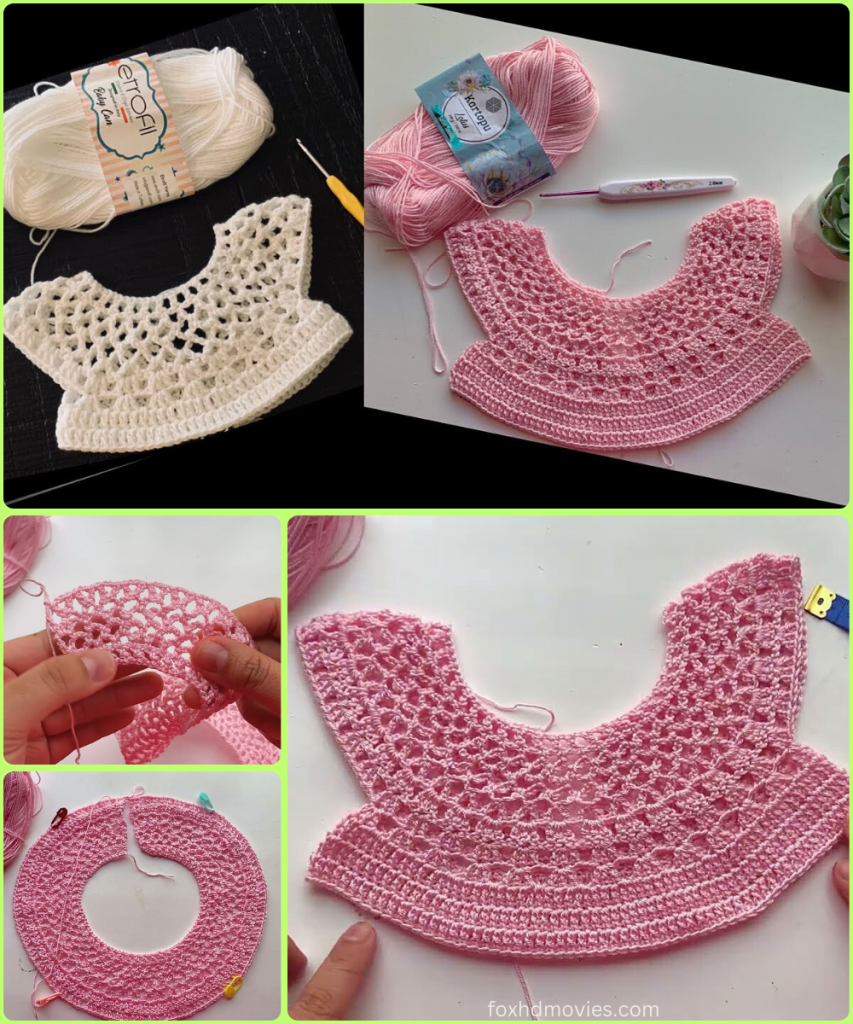
Create a truly exquisite, two-toned dress with this detailed and original pattern. Inspired by the elegant work of designer Luissita Torres, this “Strawberry Cream Dress” features a stunning lacy yoke with delicate floral motifs and a beautifully textured skirt. The seamless top-down construction, combined with a contrasting scalloped hem, results in an elegant, one-of-a-kind garment perfect for a special occasion or a treasured family keepsake.
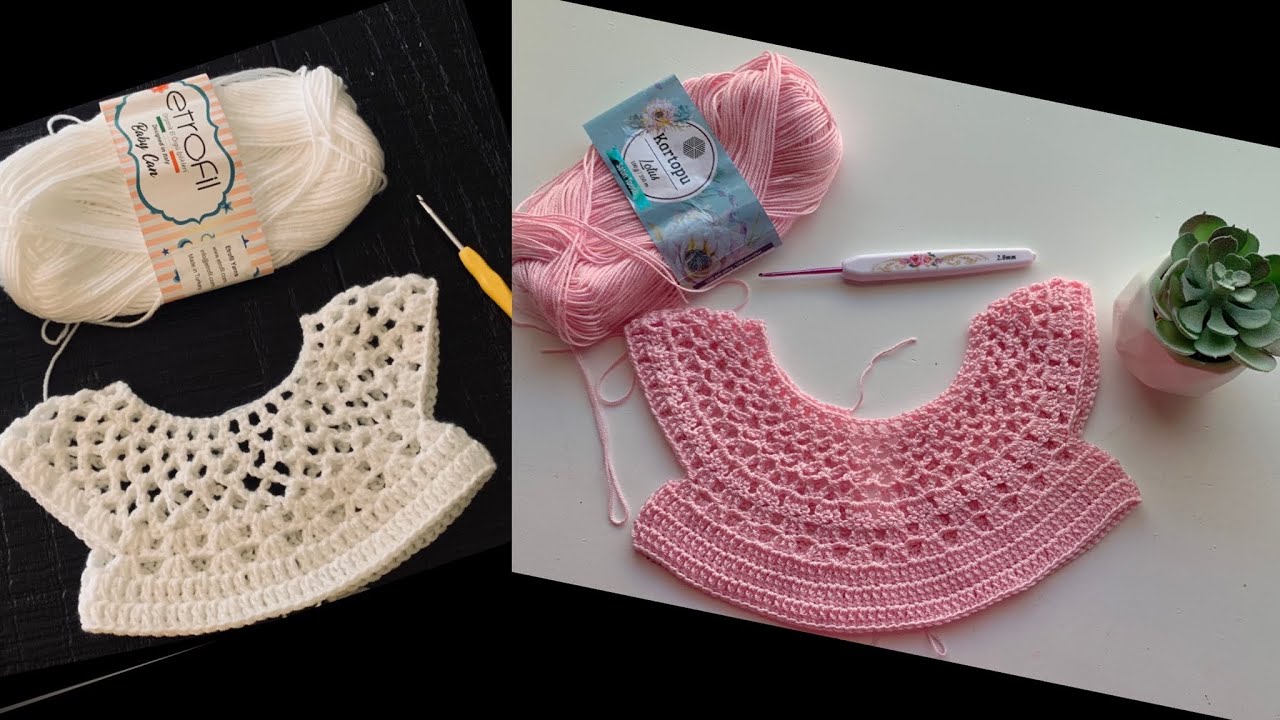
This is a pattern for the confident crocheter, designed to challenge and delight. The yarns shown in your image are Etrofil Baby Can and Kartopu Baby One, which are excellent choices.
Skill Level: Advanced Intermediate to Advanced
Materials You’ll Need:
- Yarn:
- Approximately 100-150 yards of sport (size 2) or DK (size 3) weight yarn in White for the yoke and edging.
- Approximately 200-300 yards of sport (size 2) or DK (size 3) weight yarn in Pink for the skirt and yoke motifs.
- Crochet Hook: A size G/6 (4.0mm) hook is recommended.
- Scissors
- Yarn Needle for weaving in ends.
- Stitch Markers (at least 4)
Key Stitches and Abbreviations:
- ch: chain
- st(s): stitch(es)
- sl st: slip stitch
- sc: single crochet
- hdc: half double crochet
- dc: double crochet
- tr: treble crochet
- Picot: ch 3, sl st in the first ch.
- Shell/Fan st: fan stitch ([5 dc] in the same stitch)
- V-st: V-stitch (dc, ch 1, dc) in the same stitch
- sk: skip
- sp: space
- rnd: round
Detailed Pattern Instructions
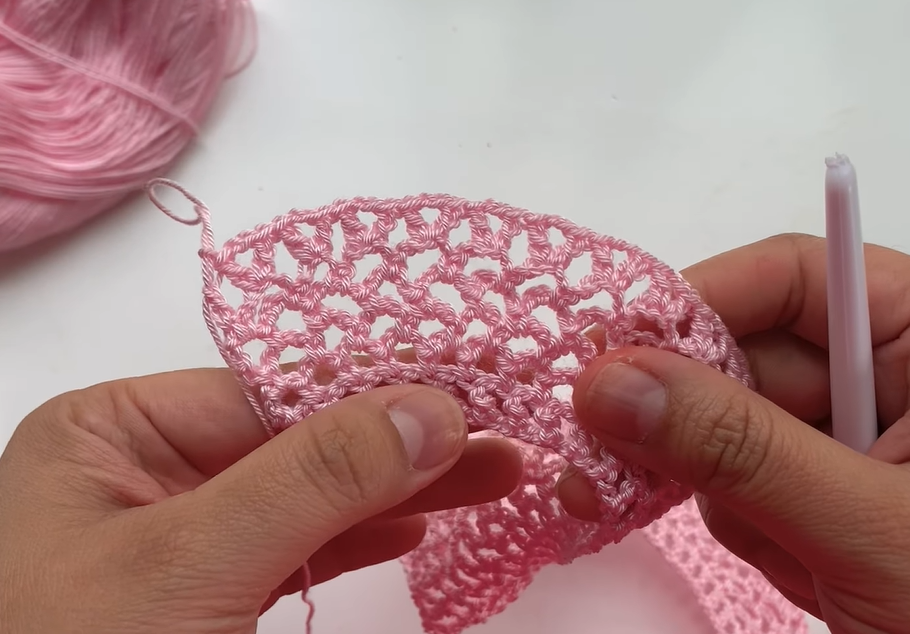
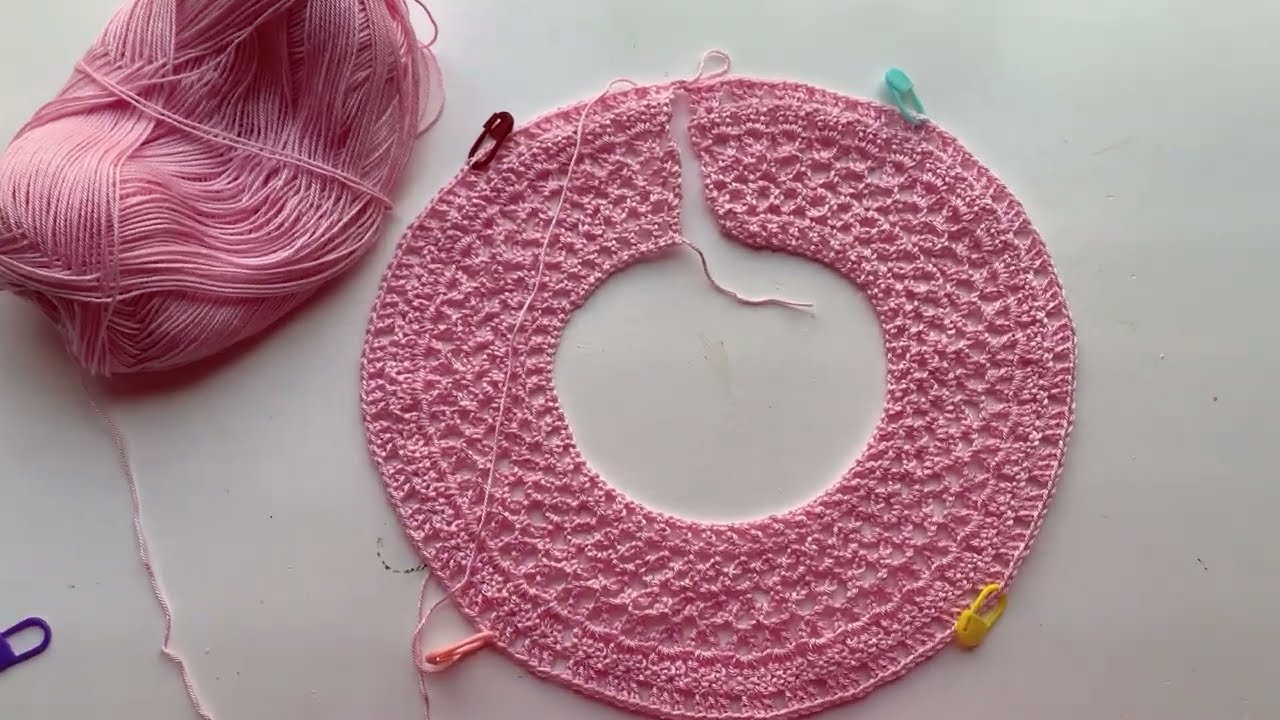
Part 1: The Lacy Yoke (White & Pink Yarn)
The yoke is worked in the round from the top down. The pink floral motifs are created by changing colors mid-round.
- Rnd 1 (Neckline – White Yarn): ch 70, sl st to the first ch to form a ring. (70 sts)
- Rnd 2: ch 2 (counts as hdc), hdc in each st around. Join with sl st.
- Rnd 3 (Lace Yoke – White Yarn): ch 3 (counts as dc), sk 2 sts, [3 dc] in next st, ch 2, sk 2 sts, dc in next st. Repeat from * around. Join with sl st. (Approximately 14 fan motifs)
- Rnd 4 (Floral Motifs – Change to Pink): Join pink yarn. ch 1, sc in the first st. With pink yarn, work 3 dc in the ch-2 sp. Carry the white yarn loosely behind your work. With white yarn, sc in the center dc of the next [3 dc] fan, ch 2, sk the next ch-2 sp. Repeat from * around, alternating the pink dc motifs and the white sc/ch motifs. Join with a sl st to the first sc.
- Rnd 5 (White Yarn): ch 2 (counts as hdc), hdc in each st and ch-sp around. You can increase the stitch count in this round by working 2 hdc in a stitch or sp every few stitches.
- Rnd 6: ch 3, sk 2 sts, [3 dc] in next st, ch 2, sk 2 sts, dc in next st. Repeat from * around. You will now have more fan motifs than in Rnd 3.
- Rnd 7: Repeat Rnd 4, but with the pink motifs landing in the new ch-2 sps.
- Repeat this pattern of alternating solid/hdc rows with lacy/fan rows, increasing stitches in the hdc rows as needed to create a flat, circular shape. Work until the yoke is wide enough to reach the armpits.
Part 2: Separate Armholes
This is the critical step to transition from the yoke to the body of the dress.
- Split for Sleeves: Count your total stitches and divide them into front, back, and two sleeve sections. For example, if you have 120 stitches, you can do 35 for the front, 35 for the back, and 25 for each sleeve. Place stitch markers.
- Continue Body: ch 3, and continue your pattern (the last dc/hdc row) across the stitches for the front panel. When you reach the first sleeve marker, ch 4 and skip all the sleeve stitches to the next marker. Continue the pattern across the back stitches. When you reach the third marker, ch 4 and skip the remaining sleeve stitches. Join the round.
Part 3: The Textured Skirt (Pink Yarn)
The skirt is worked in continuous rounds, alternating between a solid row and a lacy row to create the beautiful striped texture.

- Rnd 1 (Solid): With pink yarn, ch 3, dc in each dc and ch st around, including in the ch-4 spaces under the armpits. Join with sl st.
- Rnd 2 (Lacy): ch 3, dc in next st. ch 1, sk 1 st, dc in next 2 sts. Repeat from * around. Join with sl st.
- Rnd 3 (Solid): ch 3, dc in each dc and ch-1 sp around. Join with sl st.
- Rnd 4 (Lacy): ch 3, dc in next st. ch 1, sk 1 st, dc in next 2 sts. Repeat from * around. Join with sl st.
- Continue repeating Rnds 3 and 4 until the skirt reaches your desired length.
Part 4: The Finishing Edges (White Yarn)
The white, scalloped edging on the neckline and hem adds a final touch of elegance.
- Hemline: Join white yarn to the hem of the skirt. sc in first st, sk 1, [3 dc] in next st, sk 1. Repeat from * around. This will create a pretty, ruffled edge.
- Neckline: Join white yarn to the neckline. Work a round of sc around. Then, work a round of edging: sc in first st, sk 1, [3 dc] in next st, sk 1. Repeat from * around.
- Armholes: Repeat the scalloped edging pattern on the armhole openings as well.
Part 5: Finalizing
- Weave in all loose ends securely with your yarn needle.
- Gently block the finished dress to help the lace pattern lay flat and define the stitches. Blocking will also improve the drape and flow of the skirt.
Video tutorial
You’re Done!
Congratulations! You have just completed the beautiful and intricate “Strawberry Cream Dress.” Your attention to detail has resulted in a one-of-a-kind garment that is both a work of art and a loving creation. This is a pattern that will be cherished and a dress that will be adored.
We hope you enjoyed this detailed journey in crochet. Please feel free to share your finished dress with us! Happy crocheting!