by
by 
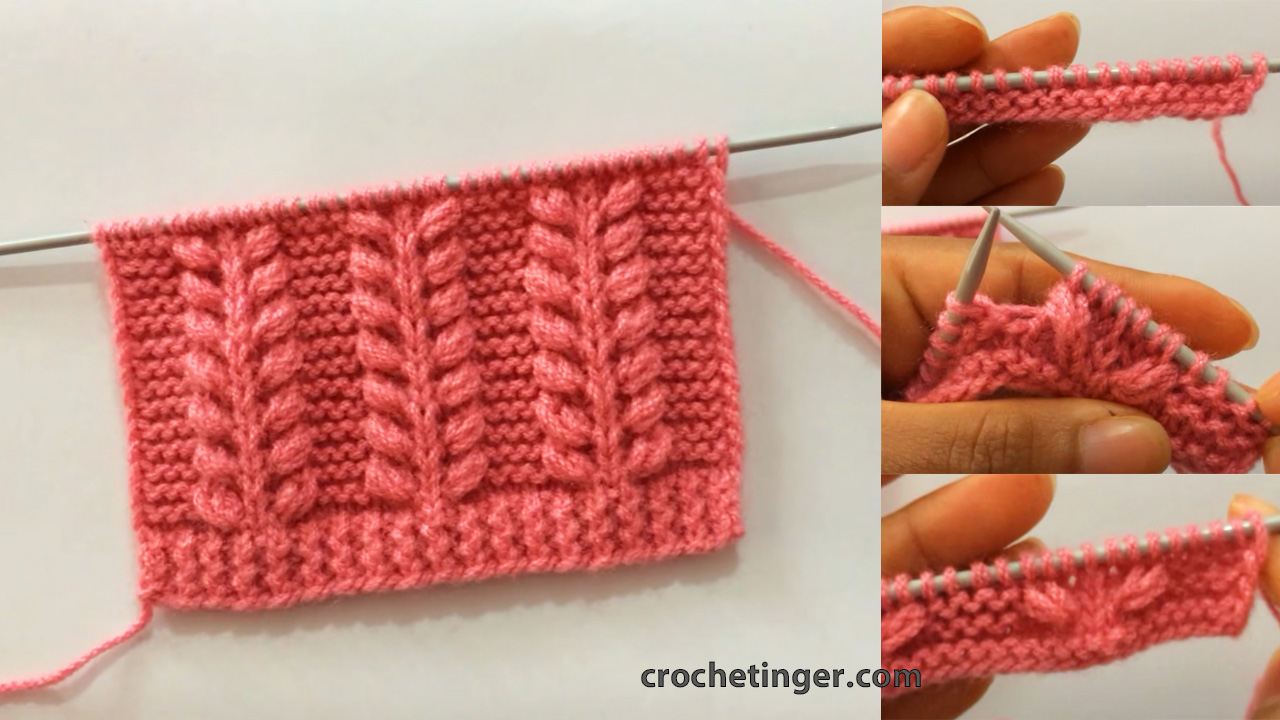
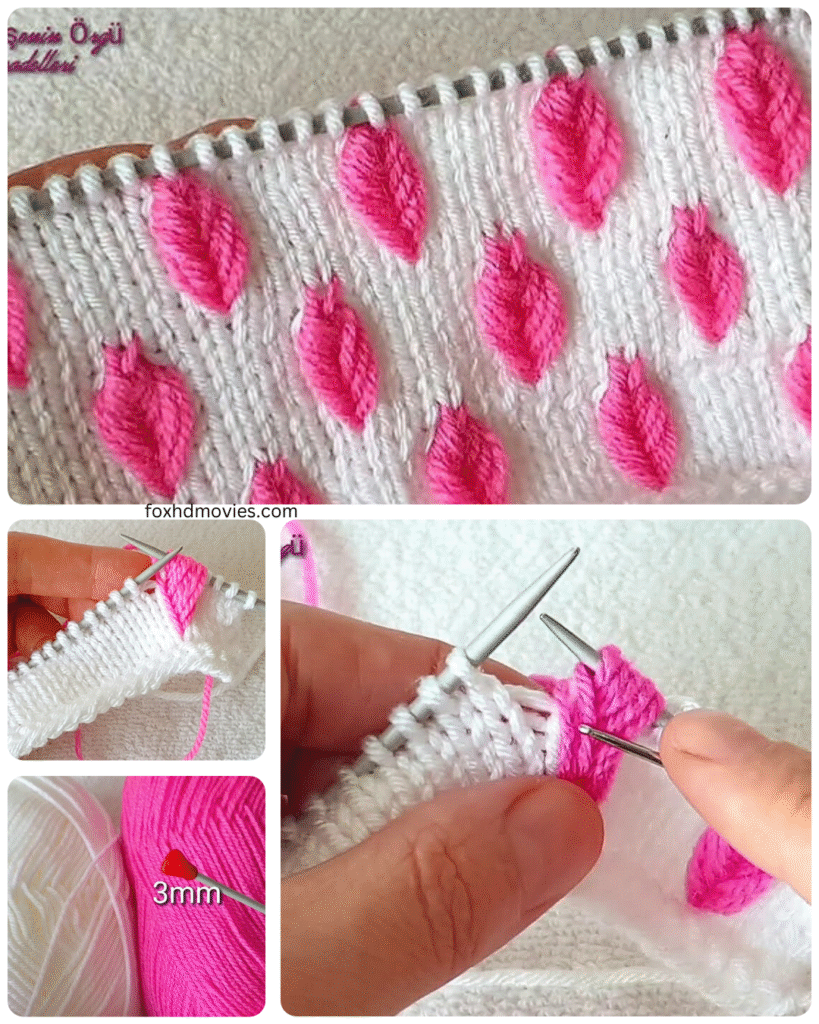
Hello fellow knitters! Are you looking for a knitting pattern that adds a touch of organic texture and visual interest to your projects? Look no further than the Raised Leaf pattern! This stunning stitch creates three-dimensional leaves that seem to pop right off the fabric, adding a unique and sophisticated element to scarves, blankets, sweaters, and more.
While it might look intricate, the Raised Leaf pattern is built upon a foundation of simple knit and purl stitches, with clever shaping techniques to create the lifted effect. So, grab your needles and your favorite yarn, and let’s embark on this journey of knitting nature’s beauty!
What You’ll Need:
- Yarn: Choose a yarn that showcases texture well. Worsted weight or DK weight yarns are often good choices. The amount will depend on your project.
- Knitting Needles: Select the needle size appropriate for your chosen yarn.
- Cable Needle (CN): This is essential for holding stitches while you work the cables that form the leaf veins.
- Stitch Markers (optional but recommended): To help you keep track of the pattern repeats and shaping.
- Tapestry Needle: For weaving in ends.

Understanding the Anatomy of the Raised Leaf:
The Raised Leaf pattern is typically worked over a set number of stitches and rows. The “raised” effect comes from strategically placed cable stitches that create the central vein and often the edges of the leaf. Increases and decreases shape the leaf, while purl stitches in the background help the leaf stand out.
The Pattern: Cultivating Your Knitted Leaves
This pattern provides instructions for a single raised leaf motif. You can work multiple repeats of this motif across your fabric, separated by a background stitch pattern (like reverse stockinette or garter stitch) as desired.
Stitch Abbreviations:
- k: knit
- p: purl
- c4b: cable 4 back – slip 2 stitches onto cable needle and hold at back, k2, then k2 from cable needle.
- c4f: cable 4 front – slip 2 stitches onto cable needle and hold at front, k2, then k2 from cable needle.
- kfb: knit front and back (increase 1 stitch)
- skp: slip 1 stitch knitwise, k1, pass slipped stitch over (decrease 1 stitch)
- k2tog: knit 2 stitches together (decrease 1 stitch)
- yo: yarn over (increase 1 stitch)
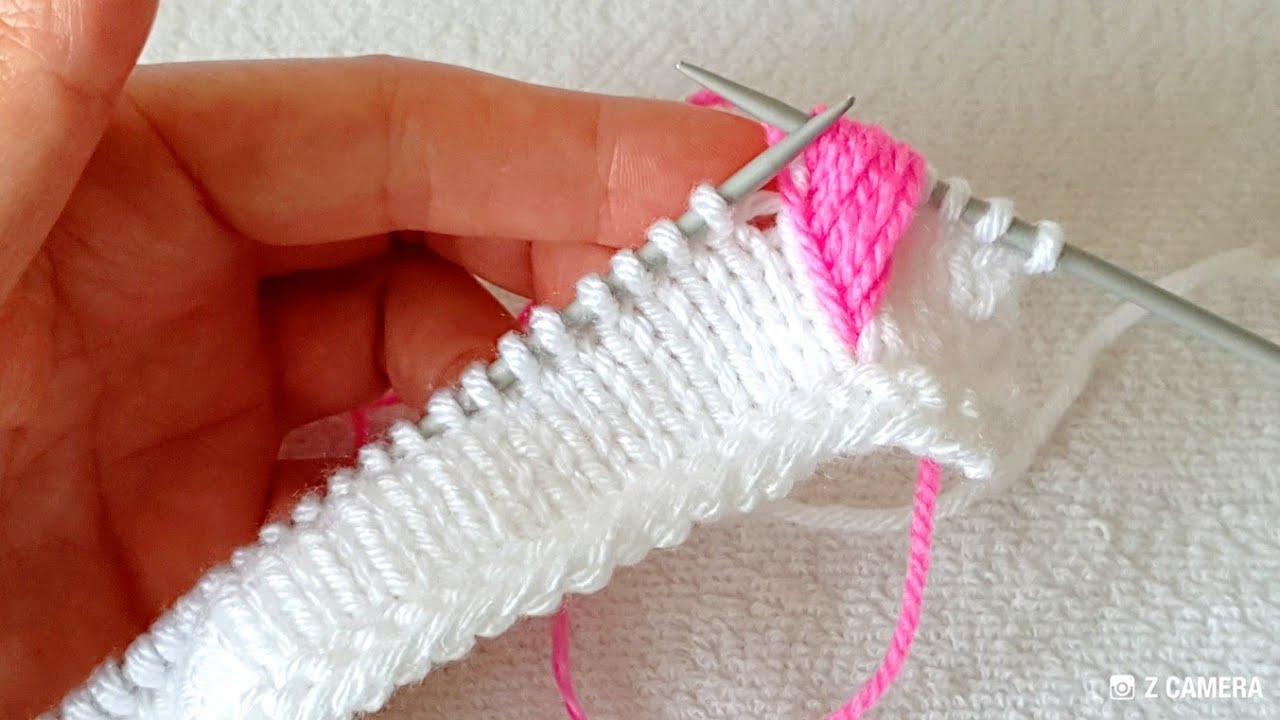
Video tutorial
Pattern for One Raised Leaf (Worked over 15 stitches and 16 rows):
Row 1 (RS): p2, k11, p2 Row 2 (WS): k2, p3, k5, p3, k2 Row 3 (RS): p2, k2, c4b, k3, p2 Row 4 (WS): k2, p3, k5, p3, k2 Row 5 (RS): p2, k3, c4f, k2, p2 Row 6 (WS): k2, p3, k5, p3, k2 Row 7 (RS): p2, k4, kfb, k2, p2 (16 stitches) Row 8 (WS): k2, p4, k6, p4, k2 Row 9 (RS): p2, k5, kfb, k2, p2 (17 stitches) Row 10 (WS): k2, p5, k7, p5, k2 Row 11 (RS): p2, k6, kfb, k2, p2 (18 stitches) Row 12 (WS): k2, p6, k8, p6, k2 Row 13 (RS): p2, k7, skp, k2, p2 (17 stitches) Row 14 (WS): k2, p5, k7, p5, k2 Row 15 (RS): p2, k6, skp, k1, p2 (16 stitches) Row 16 (WS): k2, p4, k6, p4, k2
Repeat these 16 rows for multiple leaves, or incorporate them into a larger pattern.
Incorporating Multiple Leaves:
When working multiple leaves across your fabric, you’ll likely want to include some background stitches between them. Here’s an example of how you might set up a row with multiple leaves, with 5 purl stitches between each:
Row (RS): p5, work Row 1 of Leaf, p5, work Row 1 of next Leaf, p5, and so on.
Remember to adjust the stitch counts accordingly based on your desired spacing.
Tips and Variations for Lush Foliage:
- Vary the Leaf Size: You can adjust the number of stitches and rows in the leaf pattern to create different sizes and shapes.
- Change the Vein Pattern: Experiment with different cable combinations and placements to create unique vein structures within the leaf.
- Add Texture with Yarn Overs: Incorporate yarn overs before and after the cable stitches to create small eyelets that add to the leaf’s texture.
- Reverse Stockinette Background: Using a reverse stockinette stitch (purl on the right side, knit on the wrong side) for the background can make the raised leaves stand out even more dramatically.
- Garter Stitch Background: A garter stitch background provides a lovely, textured contrast to the smooth stockinette of the leaf.
- Colorwork Leaves: Consider knitting the leaves in a contrasting color to the background for a bold and eye-catching effect.


Blocking Your Raised Leaves:
Blocking is crucial for defining the shape and texture of your knitted leaves.
- Gently hand wash your knitted piece in lukewarm water with a mild soap.
- Carefully squeeze out excess water (do not twist or wring).
- Lay the piece flat on a blocking board or foam mat.
- Gently shape each leaf with your fingers, emphasizing the raised veins. You can use pins around the edges of the leaves if needed to maintain their shape as they dry.
- Allow the piece to dry completely.
Bringing Your Knitted Leaves to Life:
The Raised Leaf pattern is incredibly versatile and can elevate a wide range of knitting projects:
- Scarves and Cowls: Create a stunning accessory with a repeating pattern of raised leaves.
- Blankets and Throws: Add a touch of natural elegance to your home decor with a textured leaf blanket.
- Sweaters and Cardigans: Incorporate a panel of raised leaves down the front or along the sleeves for a unique garment.
- Hats and Beanies: Add a single raised leaf or a small cluster for a subtle yet beautiful detail.
- Cushion Covers: Create textured and visually appealing home accents.
Let Your Creativity Sprout!