by
by 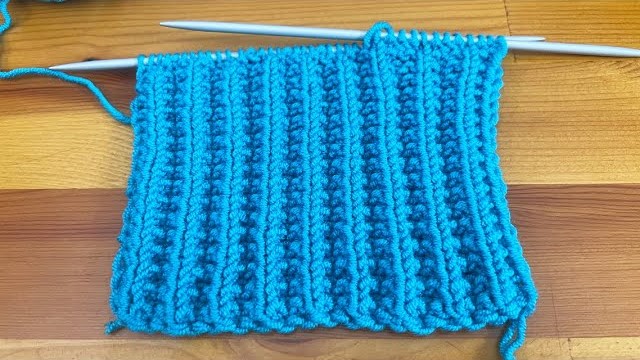
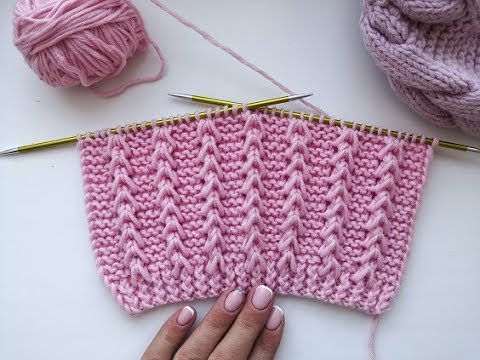
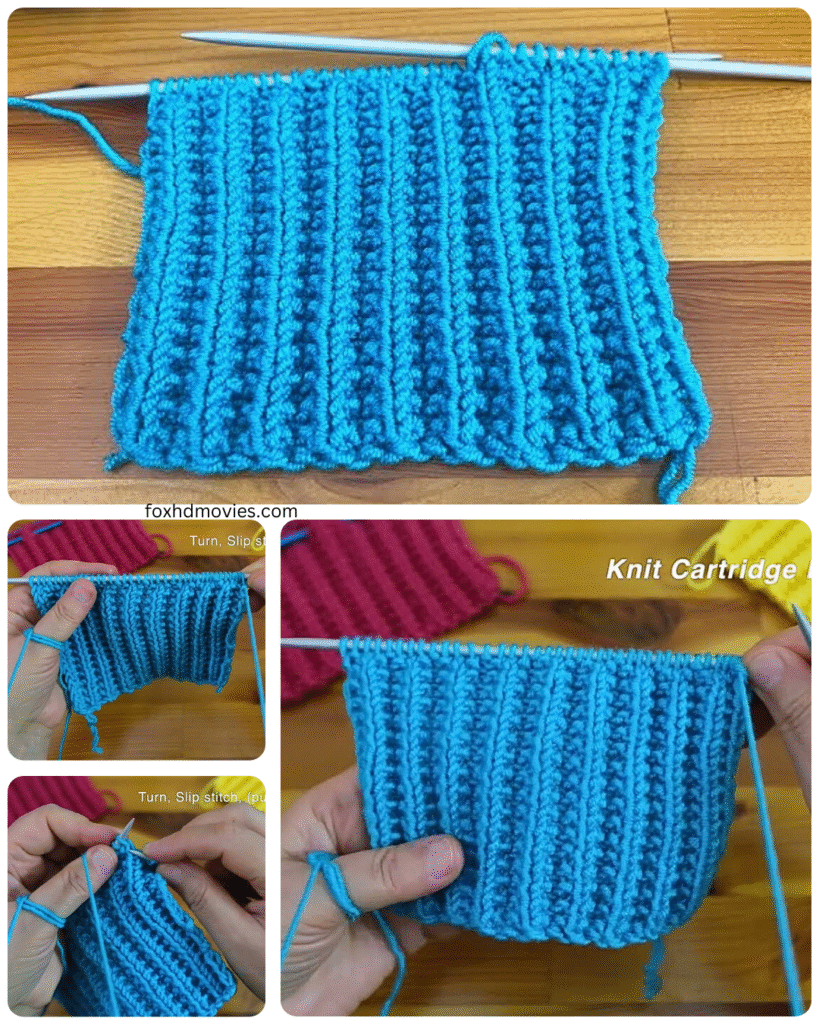
Are you ready to explore a stitch pattern that’s both visually striking and wonderfully textured? Today, we’re diving deep into the Cartridge Belt Rib Stitch. This fascinating stitch creates a fabric with bold vertical columns separated by deep, almost tucked-in horizontal bars, reminiscent of (you guessed it!) the loops on an old cartridge belt.
The Cartridge Belt Rib is more than just eye-catching; it offers a substantial, slightly firm fabric with a beautiful drape. It’s perfect for projects where you want a strong visual impact and a cozy feel, such as scarves, blankets, the body of sweaters, or even textured edgings.
While it might look complex at first glance, the Cartridge Belt Rib is built upon simple knit and purl stitches, combined with a clever slipped stitch technique. So, grab your needles and some yarn, and let’s unravel the secrets of this captivating stitch!
What You’ll Need:
- Yarn: Any weight yarn will work, but a worsted weight or heavier will really showcase the texture. Consider the drape and feel you want for your project.
- Knitting Needles: Choose the needle size appropriate for your yarn weight.
- Scissors: For snipping your yarn.
- Tapestry Needle: For weaving in ends.
Understanding the Anatomy of the Cartridge Belt Rib:
The Cartridge Belt Rib stitch pattern is worked over a multiple of 4 stitches plus 2. This means you’ll need to cast on a number of stitches that fits this formula for the pattern to work out evenly.
The key to the distinctive look lies in:
- Alternating knit and purl sections: Creating the vertical columns.
- Slipped stitches: Worked purlwise, these elongated stitches create the horizontal “bars” and pull the fabric inwards, adding depth.
Video tutorial
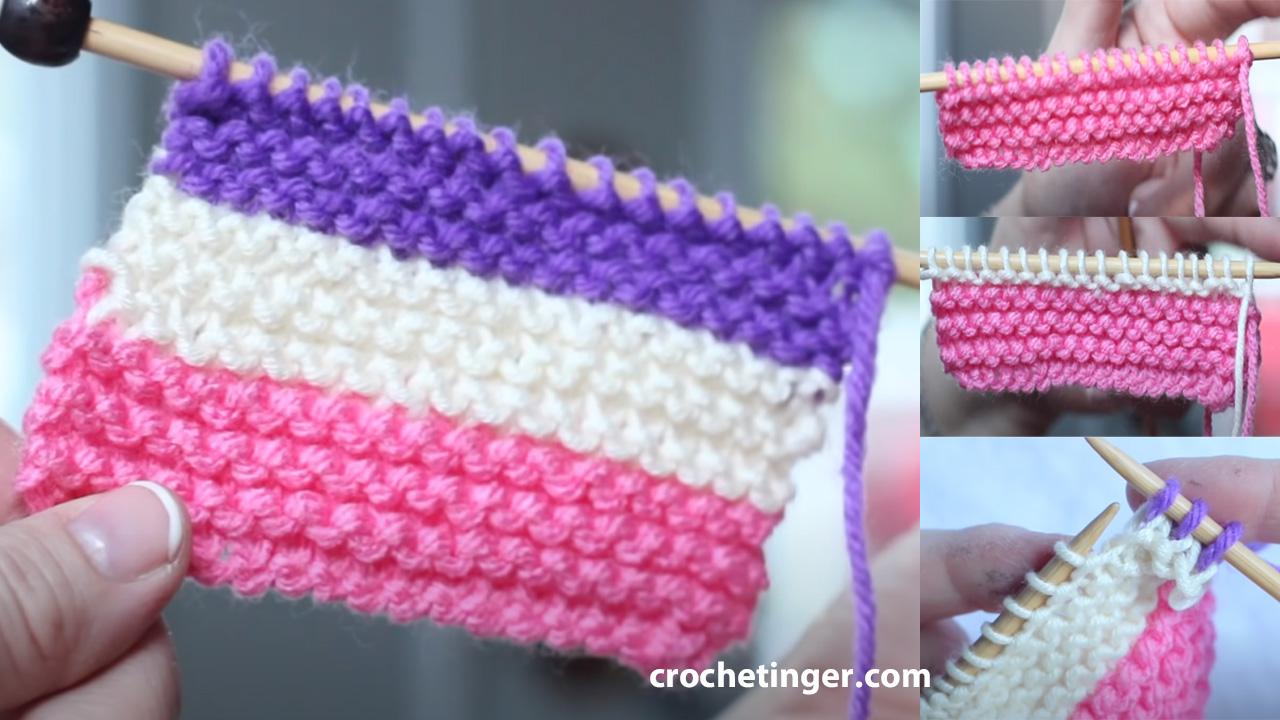
The Pattern: Step-by-Step to Textured Knitting
Let’s get those needles clicking! Here’s the step-by-step guide to working the Cartridge Belt Rib Stitch:
Cast On: Cast on a number of stitches that is a multiple of 4, plus 2 extra stitches. (e.g., for a swatch, you could cast on 4 x 3 + 2 = 14 stitches).
Row 1 (Right Side): Knit 2, *slip 2 purlwise, knit 2*; repeat from * to end.
Row 2 (Wrong Side): Purl 2, *knit 2, purl 2*; repeat from * to end.
Row 3 (Right Side): Knit 2, *knit 2, slip 2 purlwise*; repeat from * to end.
Row 4 (Wrong Side): Purl 2, *purl 2, knit 2*; repeat from * to end.
Repeat Rows 1-4 for the desired length of your fabric.
Breaking Down the Rows:

- Row 1 (RS): We start and end with knit 2 stitches, creating a neat edge. The repeating section involves slipping two stitches purlwise (without working them, just transferring them from the left needle to the right as if to purl) and then knitting two stitches. The slipped stitches will create the horizontal bars on the right side on subsequent rows.
- Row 2 (WS): This row establishes the purl background behind the slipped stitches. We start and end with purl 2, and the repeating section is knit 2, purl 2. Notice how the knits on this wrong-side row will become the raised columns on the right side.
- Row 3 (RS): This row shifts the placement of the slipped stitches. We again start and end with knit 2. The repeating section is now knit 2, slip 2 purlwise. This staggering of the slipped stitches is crucial for the overall texture.
- Row 4 (WS): This row mirrors the pattern of Row 2, but the knit and purl sections are shifted to align with the stitches below. We start and end with purl 2, and the repeating section is purl 2, knit 2.
By repeating these four rows, the slipped stitches on the right side will create those distinctive horizontal bars that pull the fabric in, while the knit stitches on the right side will form the raised vertical ribs.

Tips for Success:
- Slip Stitches Purled Wise: Always slip the stitches as if you were going to purl them. This ensures they are elongated and create the desired horizontal effect.
- Maintain Even Tension: Consistent tension is key to showcasing the texture of this stitch. Avoid pulling your yarn too tightly or too loosely.
- Watch Your Edges: The knit 2 at the beginning and end of the right-side rows (and purl 2 on the wrong side) help to create a tidier edge.
- Practice Makes Perfect: If you’re new to slipped stitches or this combination, work a small swatch first to get comfortable with the rhythm of the pattern.
- Blocking: Blocking can significantly enhance the texture and drape of your Cartridge Belt Rib fabric. Gently wash and lay your finished piece flat to dry, pinning it if necessary to maintain evenness.

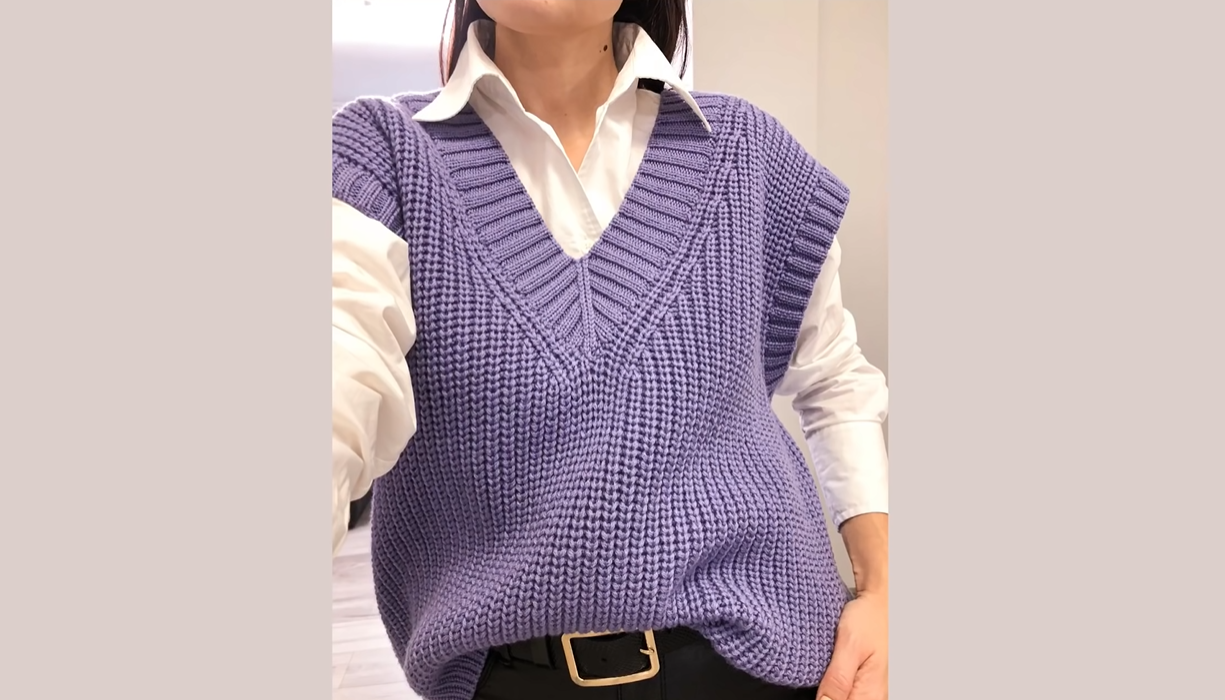
Project Ideas for the Cartridge Belt Rib:
The bold texture of the Cartridge Belt Rib makes it a fantastic choice for a variety of projects:
- Scarves and Cowls: The substantial fabric provides warmth and visual interest.
- Blankets and Throws: The texture adds a cozy and inviting feel.
- Sweater Panels: Use it for the main body or as textured panels on sleeves or yokes.
- Hats: Creates a warm and stylish textured hat.
- Cushion Covers: Adds a tactile and decorative element to home decor.
- Edgings and Borders: A unique way to finish other knitted projects.