 by
by 
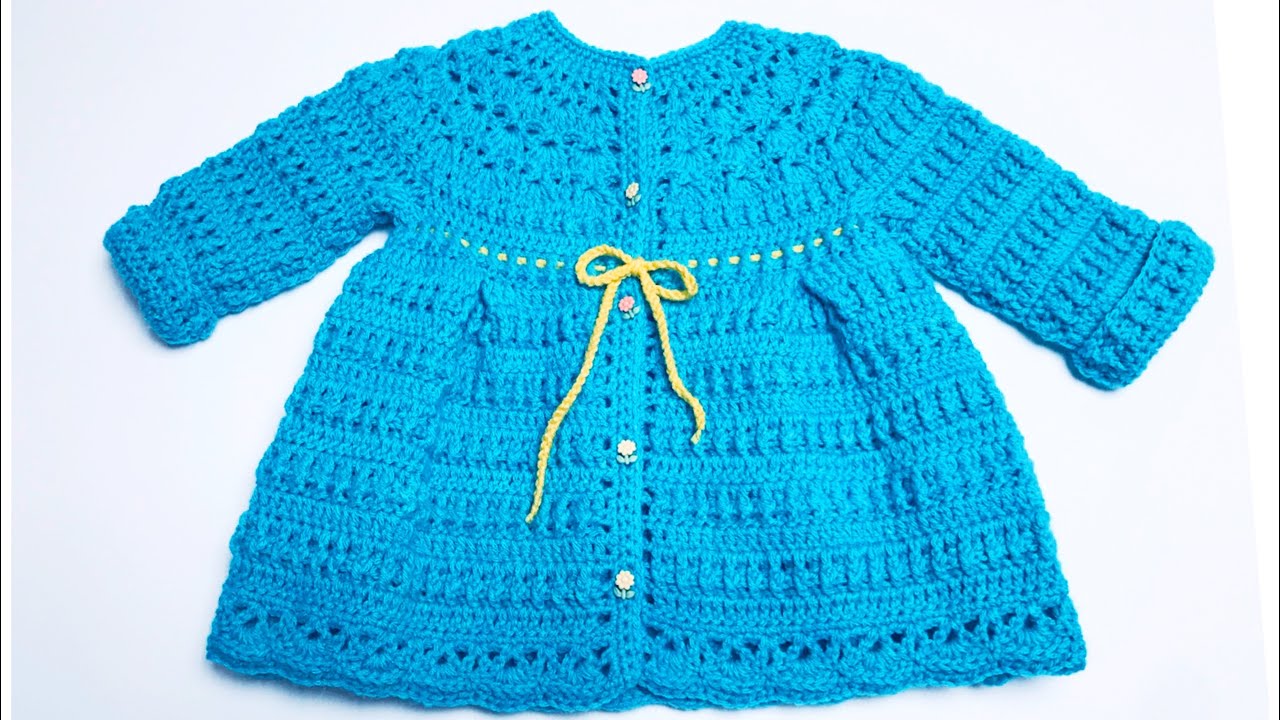
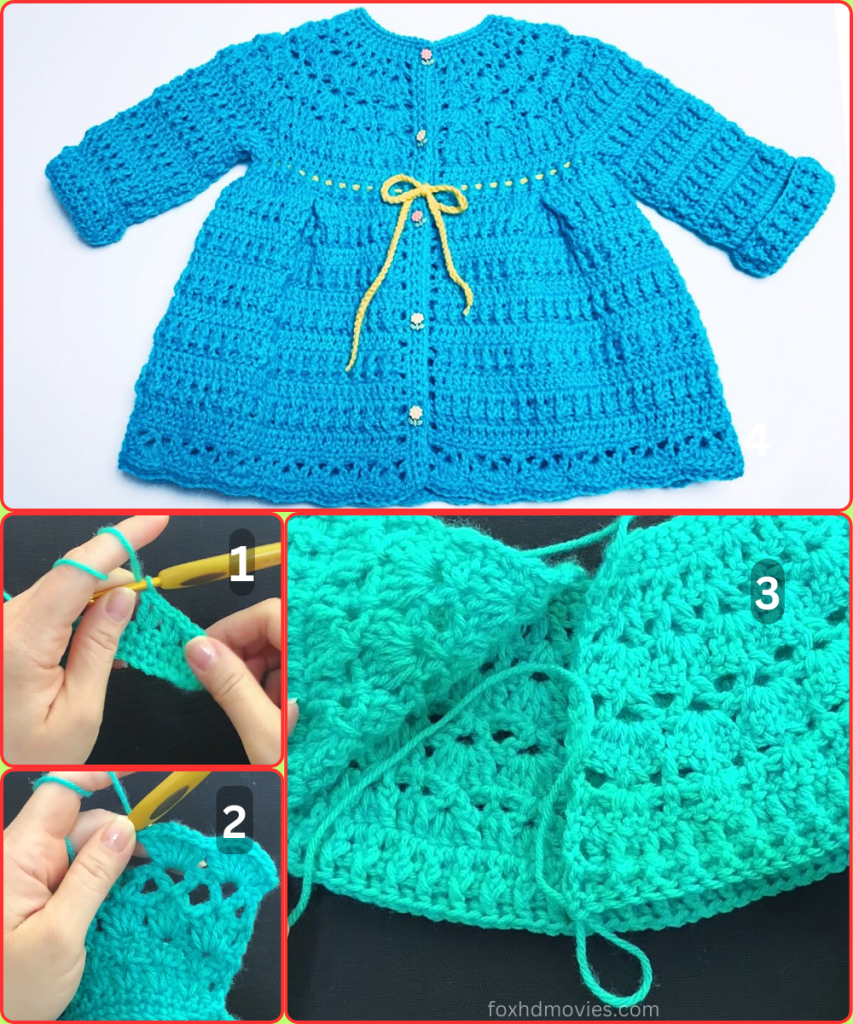
Welcome to our crochet blog, where we’re creating beautiful things for the little ones we love! Today’s project is a charming Sapphire Shells Baby Coat, a delightful, top-down crochet coat with a textured shell stitch bodice and a flowing skirt. This pattern is designed to be detailed and long, making it perfect for an intermediate beginner ready to tackle a special garment. The coat features a circular yoke, a textured body, and a sweet drawstring waist with a decorative accent.
Materials Needed
- Approximately 150-180g of DK weight (or light worsted weight) yarn in a main color (MC). The image shows a vibrant blue.
- Approximately 20-30g of DK weight yarn in a contrasting color (CC) for the drawstring (yellow in the image).
- A 4.0mm (G-6) crochet hook.
- 4-5 small buttons (about 1.5 cm or ⅝ inch).
- Tapestry needle for weaving in ends.
- Scissors.
- Stitch markers (optional but helpful).
Gauge
To ensure the coat fits correctly, please check your gauge.
- 18 double crochets (dc) and 10 rows = 4 inches (10 cm).
Adjust your hook size as needed to meet this gauge.
Stitches and Abbreviations
- ch: chain
- sl st: slip stitch
- sc: single crochet
- dc: double crochet
- Shell St: Shell Stitch (5 dc in the same stitch or space)
- sk: skip
- dc2tog: double crochet two together (a decrease)
- […]: repeat instructions within brackets
- (…): number of stitches at the end of the round or row
Construction Overview
This coat is worked from the top down, starting with the round yoke. We’ll then divide for the sleeves and body, and transition to a shell stitch pattern for the skirt. The coat is finished with a drawstring and decorative border.
The Yoke (Worked in Rounds)
We’ll start with a circular yoke, which is then split for the front opening.
Round 1: Using MC, ch 56. Sl st to the first ch to form a ring. Ch 3 (counts as your first dc). Dc in the same ch as the sl st. Dc in each ch around. Join with a sl st to the top of the beginning ch-3. (56 dc)
Round 2: Ch 3 (counts as dc). Dc in the same st. Dc in the next dc. 2 dc in the next dc, dc in the next dc. Repeat from * to * around. Join with a sl st to the top of the beginning ch-3. (84 dc)
Round 3: Ch 3. Dc in the same st. Dc in the next 2 dc. 2 dc in the next dc, dc in the next 3 dc. Repeat from * to * around. Join with a sl st. (105 dc)
Round 4: Ch 3. Dc in the same st. Dc in the next 3 dc. 2 dc in the next dc, dc in the next 4 dc. Repeat from * to * around. Join with a sl st. (126 dc)
Round 5: Ch 3. Dc in the same st. Dc in the next 4 dc. 2 dc in the next dc, dc in the next 5 dc. Repeat from * to * around. Join with a sl st. (147 dc)
Round 6: Ch 3. Dc in the same st. Dc in the next 5 dc. 2 dc in the next dc, dc in the next 6 dc. Repeat from * to * around. Join with a sl st. (168 dc)
Splitting the Yoke and Beginning the Body
Now, we will divide the work to create the armholes and begin working in rows.
Row 1 (Separation): Ch 3. Dc in the next 28 dc (Right Front). Ch 3, sk the next 26 dc for the sleeve. Dc in the next 58 dc (Back). Ch 3, sk the next 26 dc for the sleeve. Dc in the last 29 dc (Left Front). (115 dc, 2 ch-3 spaces for armholes)
The Main Body of the Coat
You will now work back and forth in rows.
Row 2: Ch 3. Turn. Dc in each stitch and in each ch of the ch-3 sps across. (121 dc)
Row 3: Ch 3. Turn. Dc in each dc across.
Row 4: Ch 1. Turn. Sc in each dc across.
Row 5 (Drawstring Row): Ch 3. Turn. Dc in the next 2 sc. Ch 2, sk 2 sc, dc in the next 3 sc. Repeat from * to * across the row. End with a dc in the last sc. (26 dc, 24 ch-2 sps)
Row 6: Ch 3. Turn. Dc in the first dc. Dc in each of the next 2 chs. [Dc in the next 3 dc, dc in each of the next 2 chs]. Repeat from * to * across the row. (121 dc)
Row 7 (Shell Stitch): Ch 3. Turn. Dc in the first dc. Sk 2 dc, Shell St in the next dc, sk 2 dc, dc in the next dc. Repeat from * to * across the row. End with a dc in the last stitch.
Row 8: Ch 3. Turn. Dc in the first dc. Shell St in the center dc of the next shell, dc in the next dc. Repeat from * to * across the row. End with a dc in the last stitch.
Repeat Row 8 for the skirt of the coat until you reach your desired length, or about 10-12 rows from the drawstring row.
Last Row of Body: Ch 1. Turn. Sc in each stitch across. Fasten off MC.
Sleeves (Make 2)
Join MC to the center of one of the ch-3 spaces at the underarm.
Round 1: Ch 3. Work 3 dc in the same ch-3 sp. Dc in the next 26 dc of the sleeve. Work 3 dc in the other side of the ch-3 sp. Join with a sl st to the top of the beginning ch-3. (32 dc)
Round 2: Ch 3. Turn. Dc in each dc around. Join with a sl st.
Round 3: Ch 3. Turn. Sk 2 dc, Shell St in the next dc, sk 2 dc, dc in the next dc. Repeat from * to * around. Join with a sl st.
Round 4: Ch 3. Turn. Shell St in the center dc of the next shell, dc in the next dc. Repeat from * to * around. Join with a sl st.
Repeat Round 4 until the sleeve reaches the desired length.
Last Round of Sleeve: Ch 1. Sc in each stitch around. Fasten off MC.
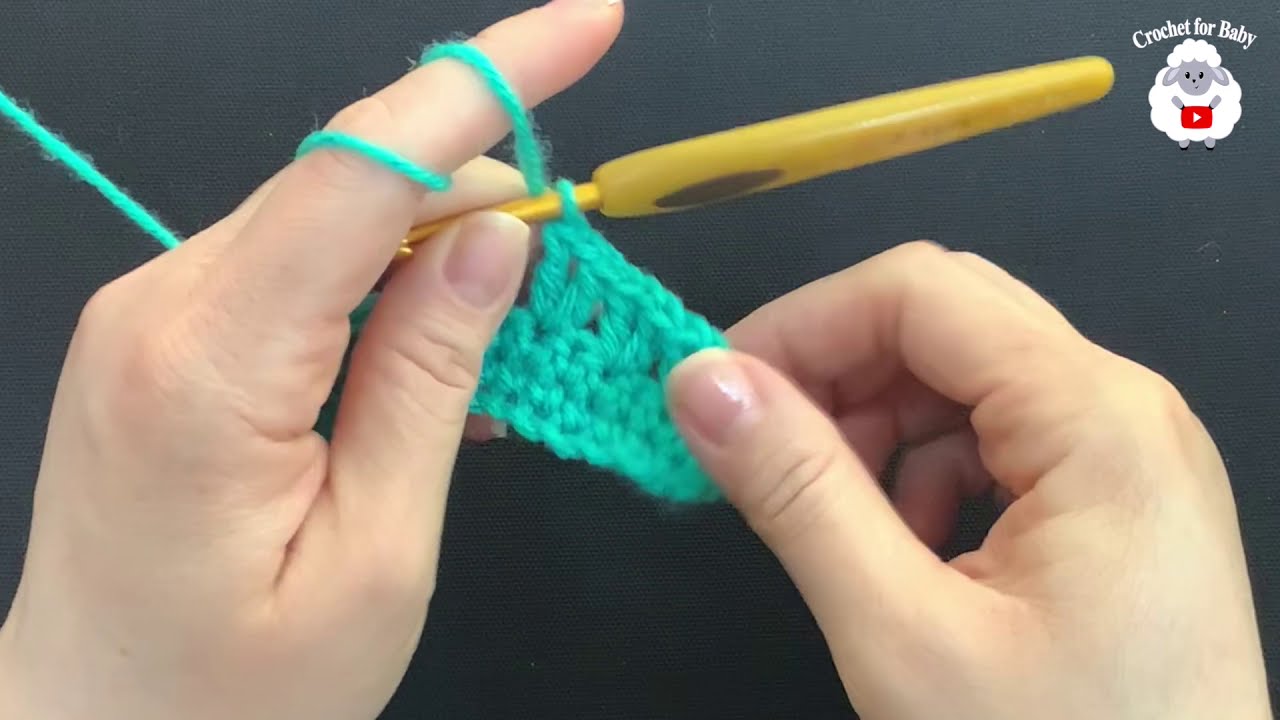
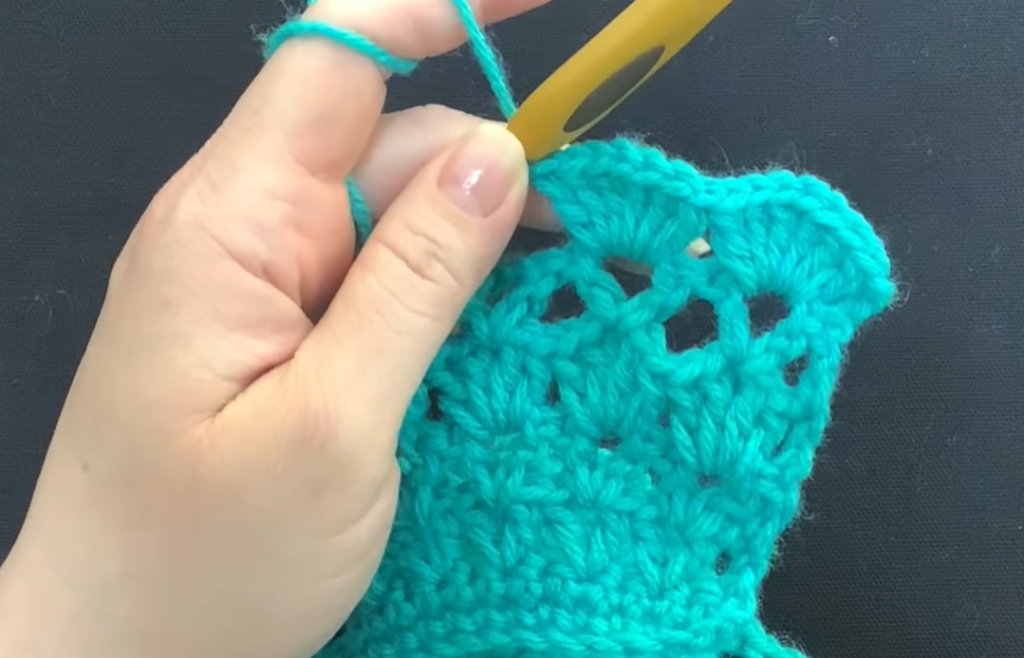
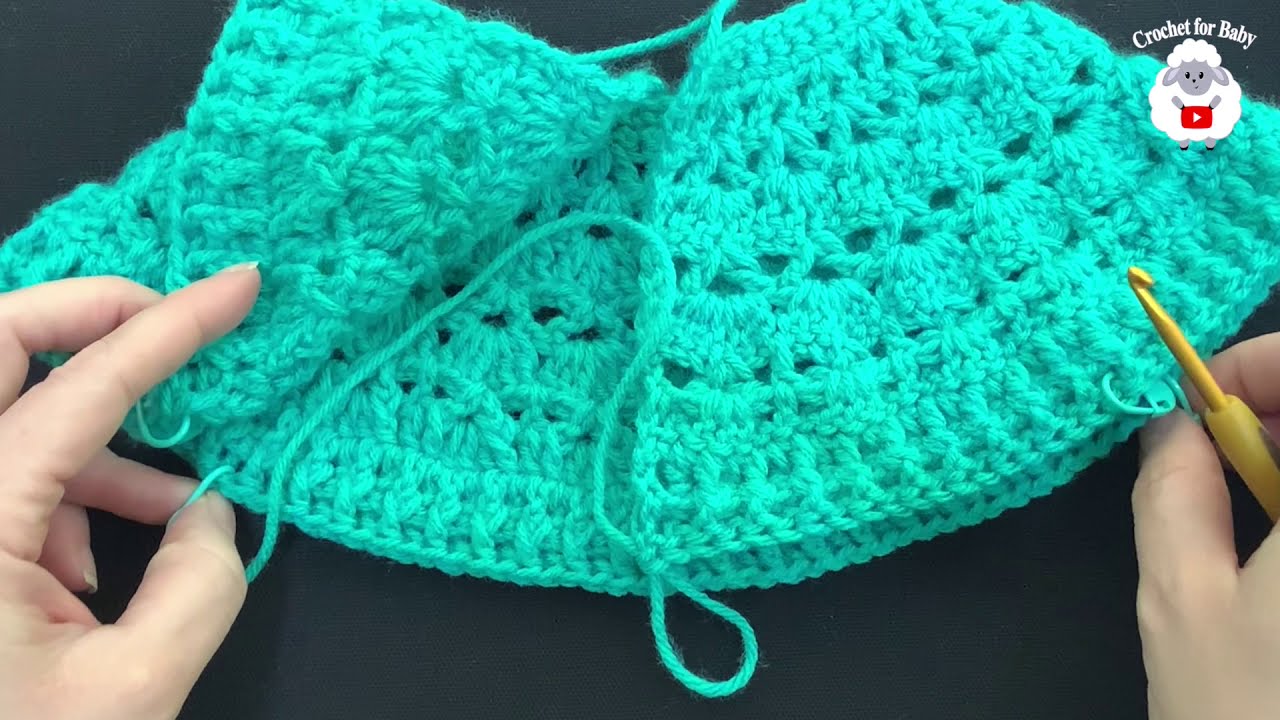
Video tutorial
Finishing Touches
Front Border and Buttonholes:
- Join MC at the bottom right front corner. Ch 1. Work sc evenly up the entire right front edge, around the neckline, and down the left front edge. Make a sc in each row end.
- Buttonholes (Left Front): When you’re working down the left front edge, decide where you want your buttons. For each buttonhole, work [ch 2, sk 2 sc, sc in the next 5 sc]. Continue sc down the rest of the front.
- Fasten off. Sew on your buttons opposite the buttonholes.
Drawstring:
- Using CC, ch 120 (or a bit more, depending on how long you want the ties). Fasten off.
- Weave the chain through the ch-2 spaces of the drawstring row (Row 5 of the body section). Tie a bow in the front.
Weave in all remaining ends. Now, your beautiful, handmade creation is ready to be worn and cherished. The combination of the classic shell stitch with the charming drawstring detail makes this coat a truly special piece.