 by
by 
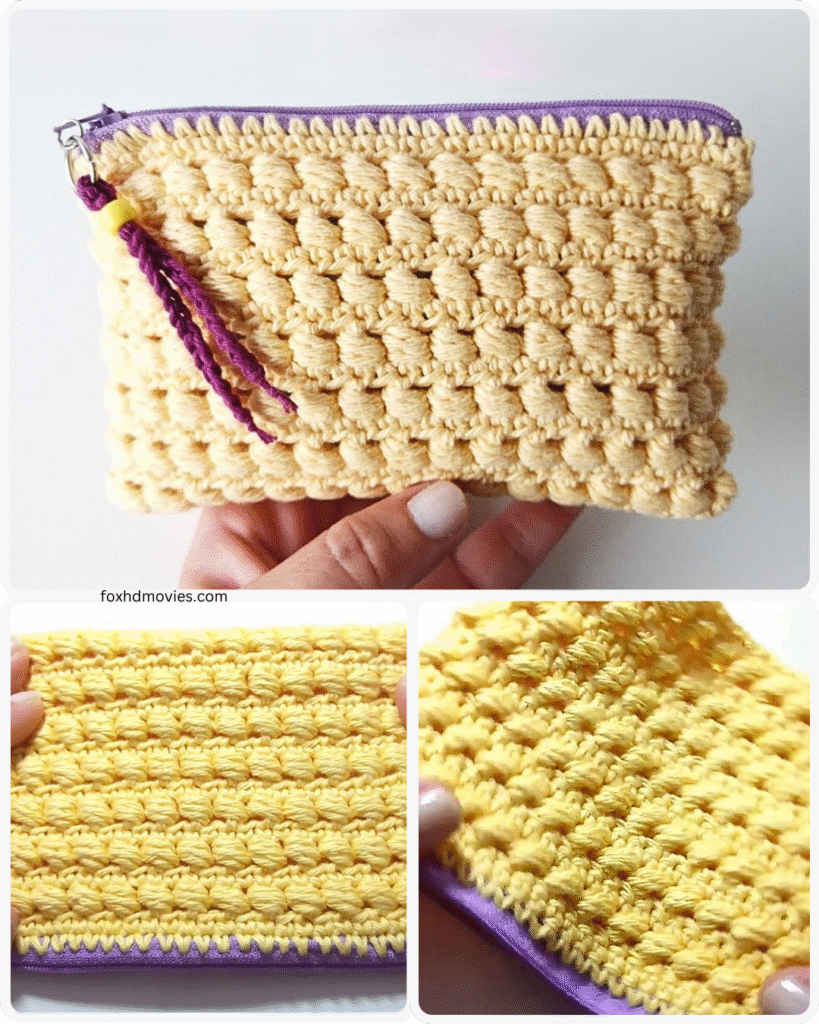
Don’t worry if you’ve never installed a zipper before. I’ll guide you through each step with clear instructions and helpful tips. So, gather your yarn, hook, and a zipper, and let’s crochet a bag that’s both beautiful and secure!
What You’ll Need:
- Yarn: Choose a sturdy yarn that will hold up well with use, such as cotton, acrylic, or a blend. The amount will depend on the size of your bag.
- Crochet Hook: Select a hook size appropriate for your chosen yarn.
- Zipper: Choose a zipper that complements the size and style of your bag. Make sure it’s long enough for the opening of your bag.
- Fabric for Lining (optional but recommended): Cotton fabric is a good choice.
- Sewing Machine or Needle and Thread: For sewing the lining and zipper.
- Scissors: For cutting yarn and fabric.
- Yarn Needle: For weaving in ends.
- Pins: For holding fabric and crochet pieces together.
- Measuring Tape or Ruler: For measuring your crochet and fabric.
- Fabric Glue or Fusible Web (optional): For temporarily securing the zipper to the crochet.

Understanding the Basics: Choosing Your Bag Style
Before we dive into the pattern, let’s talk about the basic construction of a crochet bag with a zipper. There are many ways to crochet a bag, but here are a few popular options:
- Rectangular/Square Bag: This is a simple shape to crochet and works well for beginners. You’ll crochet a rectangle or square and then fold and seam it to create the bag.
- Circular/Oval Bag: This shape creates a more rounded bag. You’ll start by crocheting a flat circle or oval and then continue working in rounds to create the sides of the bag.
- Tapestry Crochet Bag: This technique allows you to create intricate designs and patterns on your bag. You’ll carry multiple colors of yarn and switch between them to create the design.
For this tutorial, we’ll focus on a simple rectangular/square bag as it’s the easiest to construct and perfect for learning the zipper installation technique.
The Pattern: Crocheting the Bag Body
Here’s a basic pattern for crocheting a rectangular bag. Feel free to adjust the dimensions to your desired size.
- Foundation Chain: Chain 30 (adjust for the width of your bag).
- Row 1: Single crochet (sc) in the second chain from the hook and in each chain across. Turn. (29 sc)
- Row 2: Chain 1, sc in each st across. Turn. (29 sc)
- Rows 3-25: Repeat Row 2 (adjust for the height of your bag).
- Fasten off and leave a long tail for seaming.
Creating the Bag Shape:
- Fold the crocheted rectangle in half, with the wrong side facing out.
- Using the long tail, seam the two side edges together using a slip stitch or mattress stitch. This creates the main body of your bag.

Adding a Lining (Optional but Recommended):
A lining adds structure and durability to your bag and helps to keep your belongings secure.
- Cut the Fabric: Measure the inside of your crochet bag. Cut two pieces of fabric according to these measurements, adding a seam allowance of about 1/2 inch on all sides.
- Sew the Lining: With the right sides facing together, sew the two pieces of fabric together along the side seams, leaving the top edge open.
- Prepare the Top Edge: Fold the top edge of the lining fabric to the wrong side by 1/2 inch and press.
- Insert the Lining: Place the lining inside the crochet bag, with the wrong side of the lining facing the wrong side of the crochet.
- Pin the Lining: Pin the lining to the crochet bag along the top edge.
- Sew the Lining (Optional): You can either hand-sew or machine-sew the lining to the crochet bag along the top edge. A slip stitch works well for hand sewing.
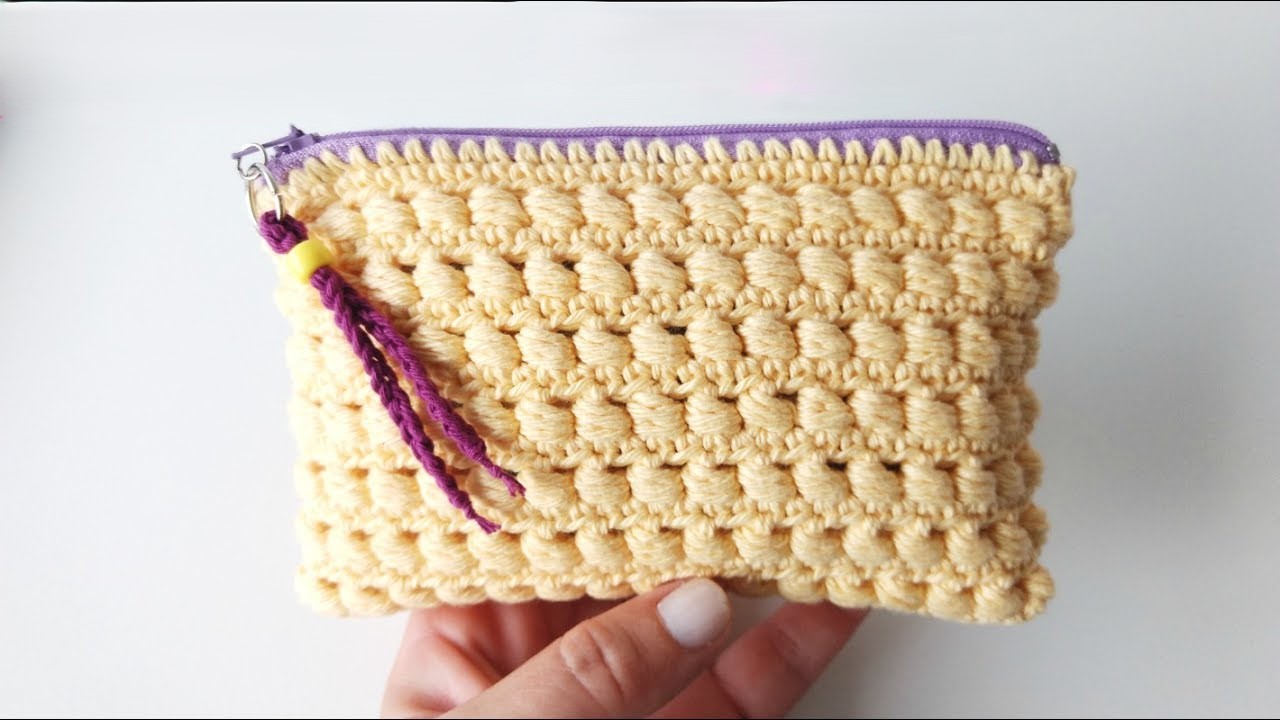
Installing the Zipper: The Key to Security
Now comes the part that might seem intimidating, but don’t worry, we’ll take it step by step!
- Prepare the Zipper: If your zipper is too long, you’ll need to shorten it. To do this, sew a few hand stitches across the zipper teeth where you want the new top stop to be. Then, cut off the excess zipper below the stitching.
- Position the Zipper: Place the zipper along the top edge of the bag opening, ensuring that the zipper pull is inside the bag when closed.
- Secure the Zipper (Temporary):
- Option 1 (Fabric Glue): Carefully apply a thin line of fabric glue along the zipper tape. Press the zipper tape onto the top edge of the crochet bag. Repeat for the other side of the zipper. Let the glue dry completely.
- Option 2 (Fusible Web): Cut strips of fusible web and place them between the zipper tape and the crochet bag. Press with an iron according to the fusible web instructions.
- Option 3 (Pins): Carefully pin the zipper tape to the top edge of the crochet bag. This is the most basic method, but it requires careful sewing to prevent the zipper from shifting.
- Sew the Zipper:
- Machine Sewing: Use a zipper foot on your sewing machine. Sew along both sides of the zipper tape, close to the zipper teeth. Sew slowly and carefully, removing the pins as you go.
- Hand Sewing: Use a backstitch or a whip stitch to sew the zipper tape to the crochet bag. Sew along both sides of the zipper tape, close to the zipper teeth.
- Finishing: Once the zipper is securely sewn in, weave in all loose ends of yarn and thread.
Embellishing Your Bag (Optional):
Now that your bag is complete, you can add some personal touches! Here are a few ideas:
- Fringe: Add fringe along the bottom edge or the sides of your bag.
- Straps/Handles: Crochet straps or handles and attach them to the sides of your bag.
- Buttons/Appliques: Sew on decorative buttons or appliques.
- Embroidery: Embroider a design or your initials onto the bag.
- Beads: Add beads to the crochet stitches for a touch of sparkle.
Video tutorial
Tips for Success:
- Choose the Right Yarn: A sturdy yarn like cotton or a blend will provide the necessary structure for your bag.
- Use a Lining: A lining is highly recommended for added durability and security.
- Take Your Time with the Zipper: Installing a zipper requires patience and precision. Don’t rush, and double-check your work as you go.
- Use a Zipper Foot: If you’re using a sewing machine, a zipper foot will make the process much easier.
- Practice on Scrap Fabric: If you’re new to sewing zippers, practice on a scrap piece of fabric first.
Show Off Your Creation!
Congratulations! You’ve successfully crocheted a bag with a zipper. Now you have a beautiful and functional bag that you can use every day.